
40m EFHW Spool Antenna
Print Profile(1)
Bill of Materials
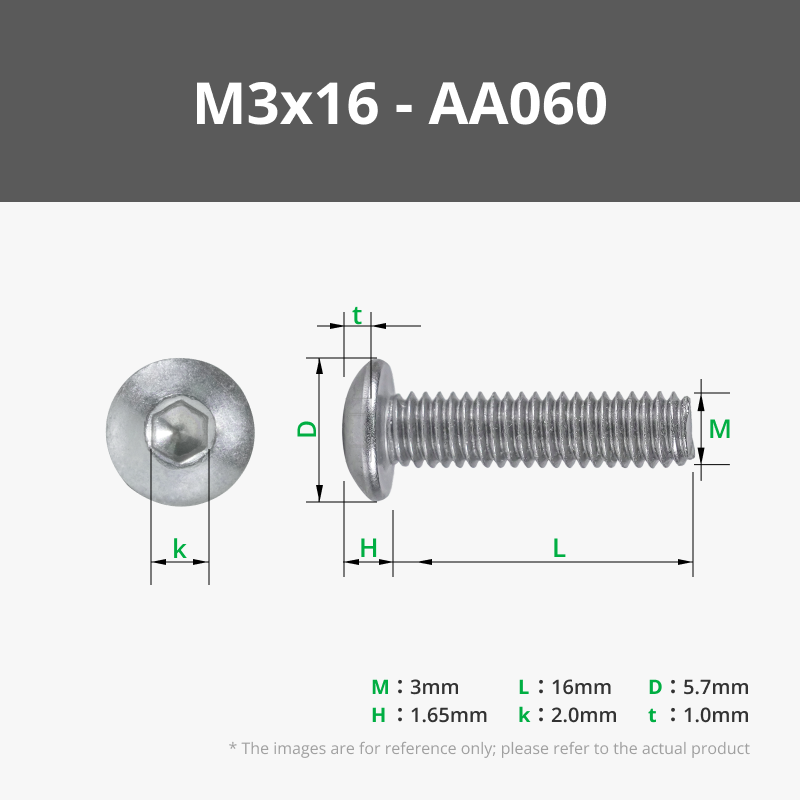



- Zip ties x 3: 2 for the toroid and 1 for the antenna end connector
- About 80ft 18 AWG Silicone Wire x 1: about 70ft for antenna and 7 for counterpoise
- Banana Plug x 1: for counterpoise
- 100pf 3KV Capacitor x 1: TDK Recommended
- 50" 14 AWG magnet wire x 1:
- Chassis Mount SO-239 Connector x 1:
- Fair-Rite Toroid 2643251002 x 1: Other FT240 toroids "should" work
Description
7 July 26 - I've updated the tolerance on the opening for the bearings to ensure free rotation. I've also added the plate for a BNC connector.
UPDATE: Since I usually do POTA from my car the size isn't an issue. For the POTA/SOTA hikers looking for a lightweight solution - I've added a new model: https://makerworld.com/en/models/3007429-qrp-spool-antenna-10m-40m#profileId-3377337 It uses DX Engineering's Stealth Wire and complete weighs about 5.5 ounces (155 grams).
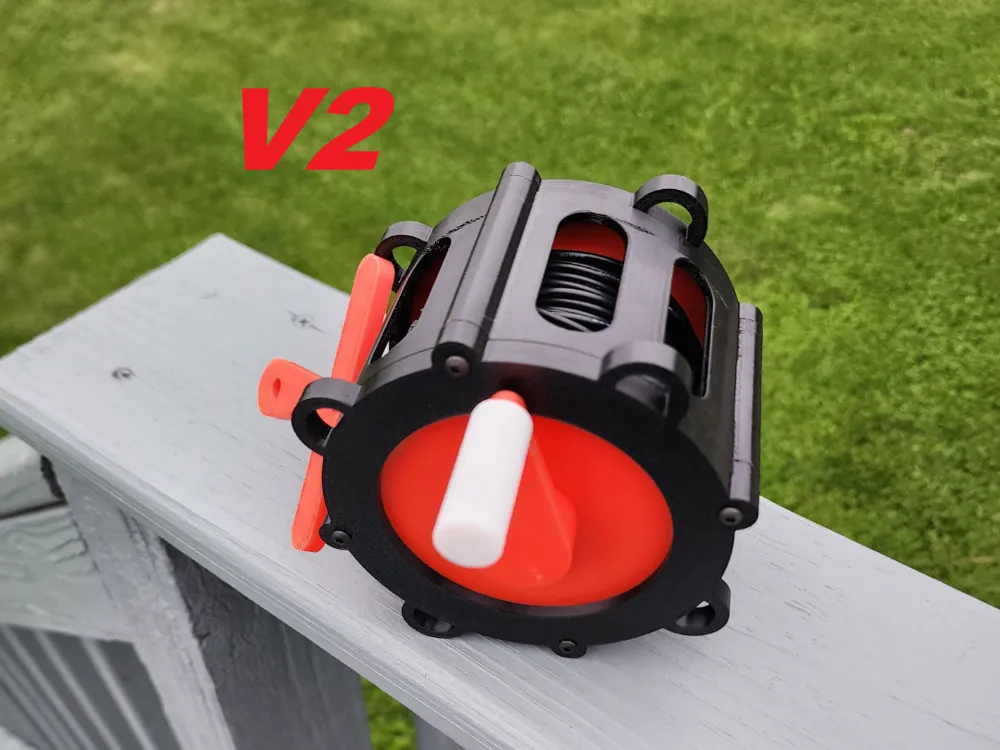
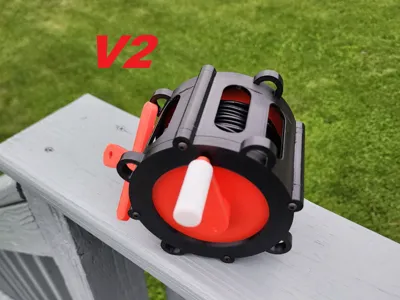
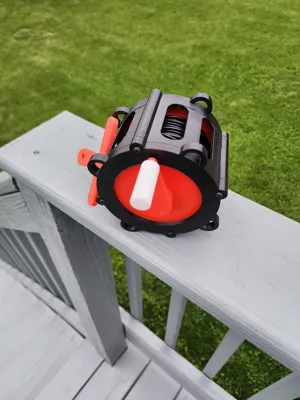
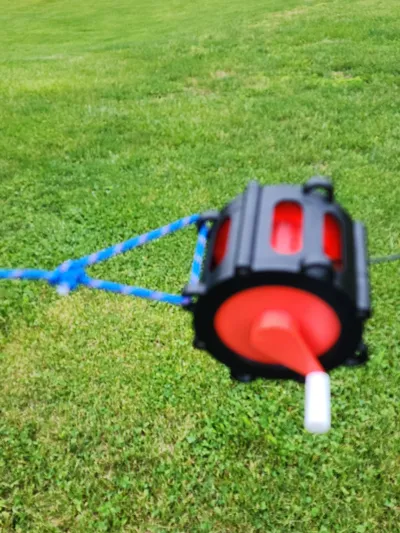
Design Intent: have a portable, temporary 10m – 40m EFHW antenna for field use.
I wanted a portable, easy to deploy 40m EFHW for field activations. Having a trusty BambuLabs printer – I decided to try making one rather than buying one. In the spirit of amateur radio, this is an experiment. If you decide to print and use it, I would appreciate feedback to help refine the design. If you want a finished, commercial grade antenna, a Spooltenna is the way to go.
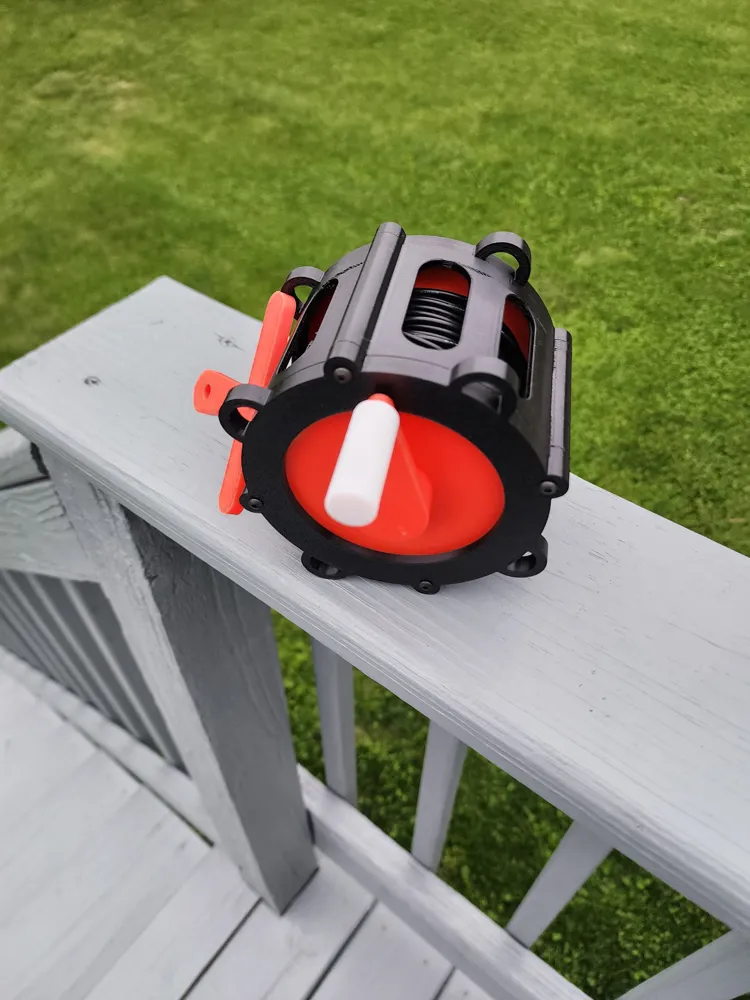
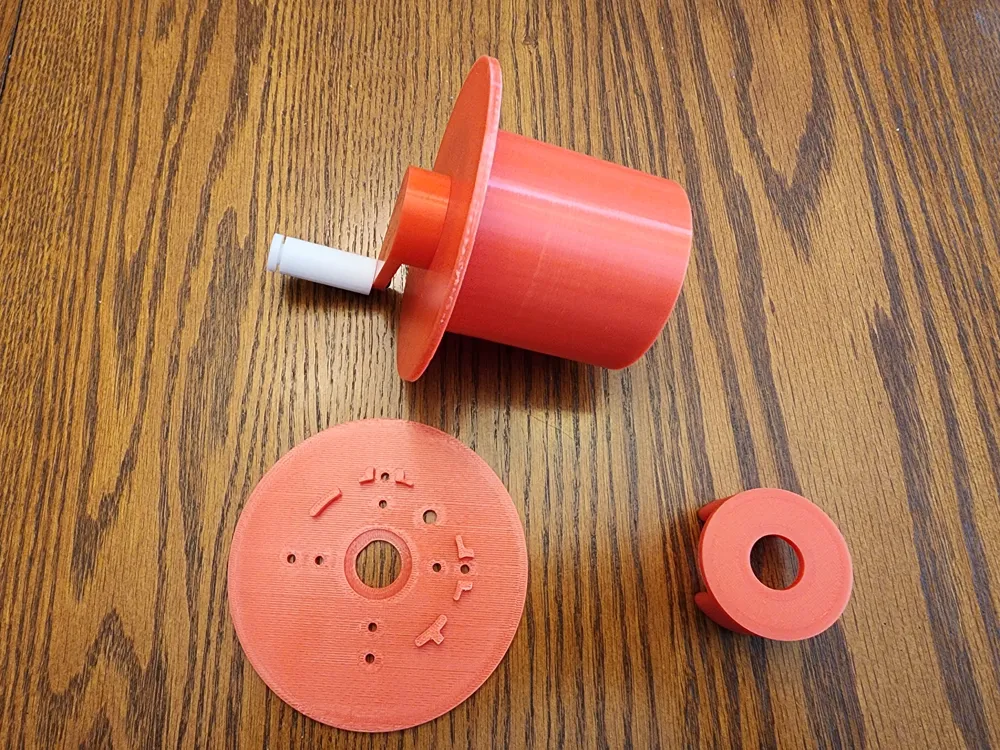
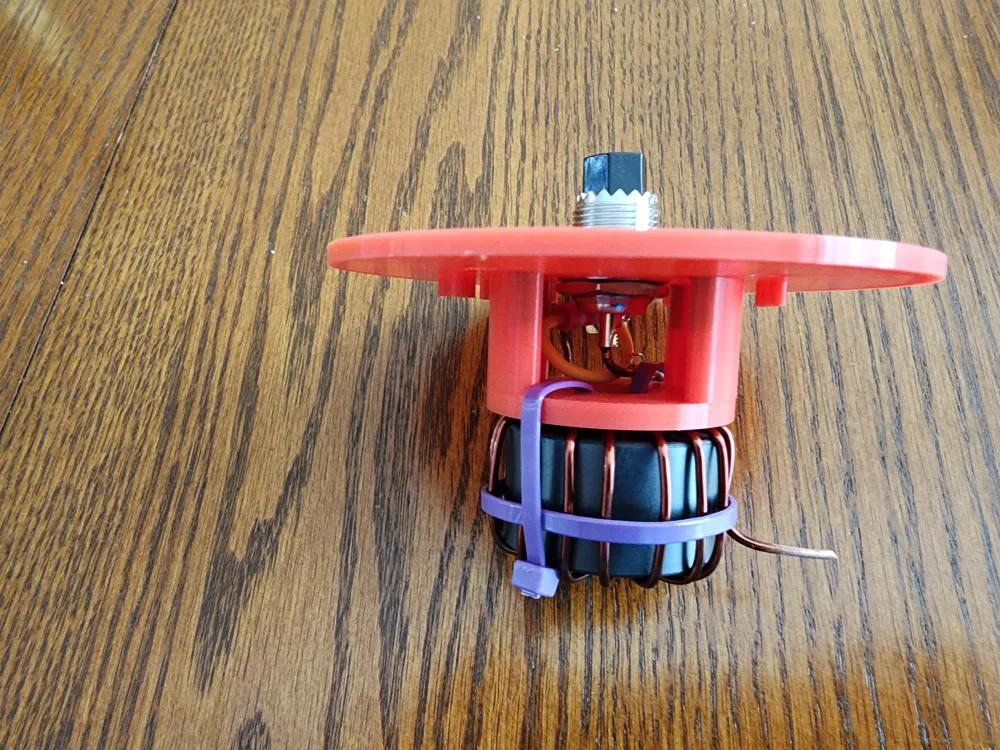
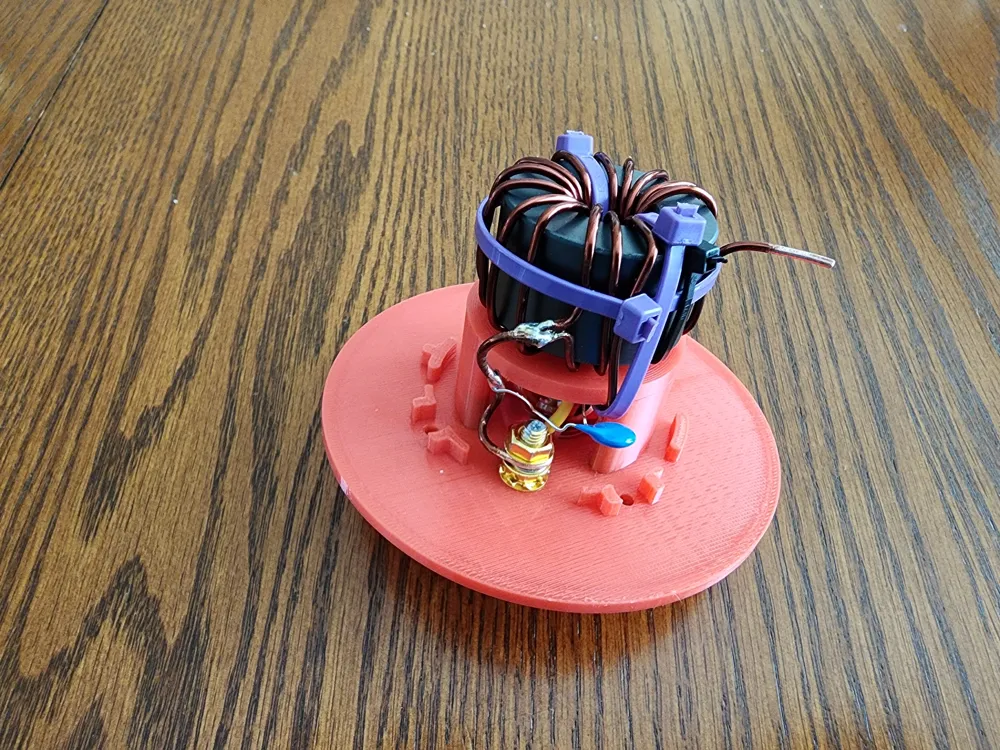
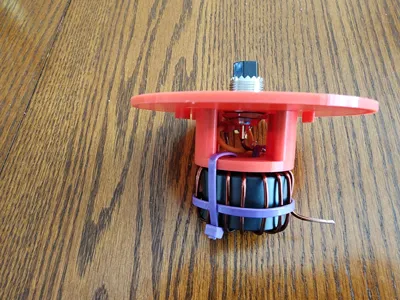
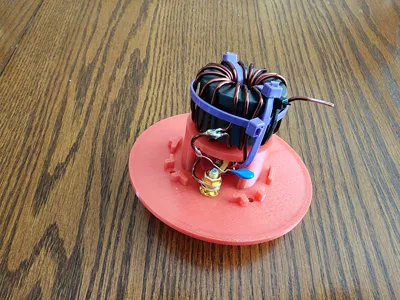
The cool thing is that the 49:1 UnUn is built into the hub. I have two versions of end plates, one for an SO-239 and the other for a BNC. (I’ve completely built the SO-239 version so I haven’t uploaded the BNC version yet as it still needs updates.)
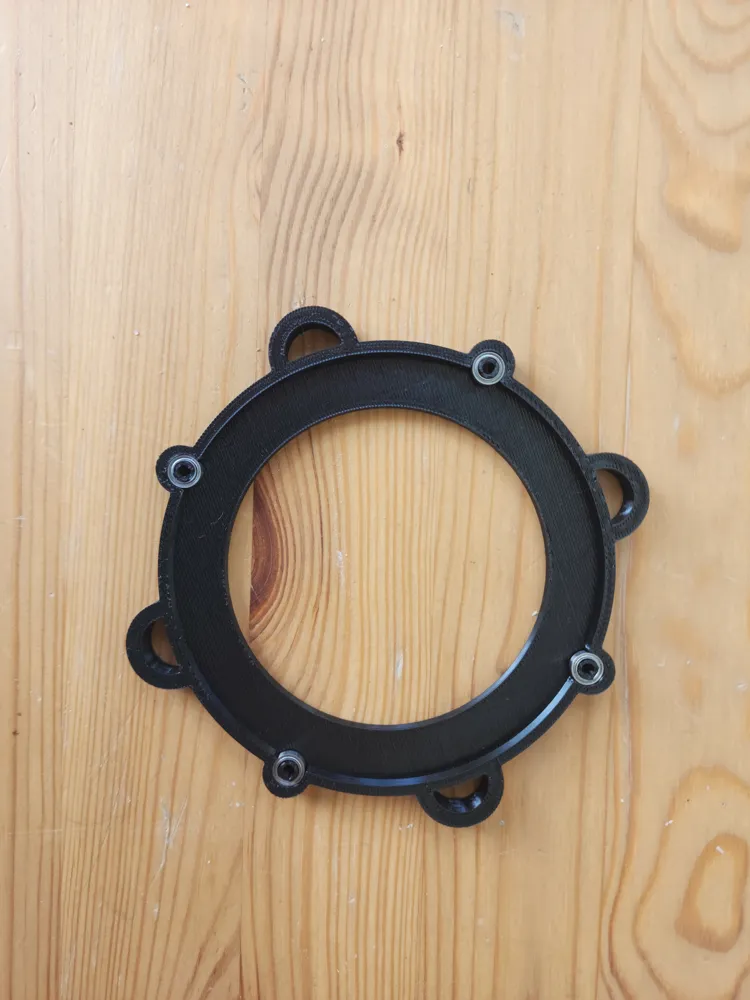
I’ve gone through a number of non-functional design iterations, and this one seems to be pretty solid. I deployed and recovered the wire over a dozen times and saw no appreciable signs of wear. The key to making this work well is the bearings. (I do need field use and feedback.)
There are lots of videos on winding 49:1 UnUns. I’ll provide a link but I didn’t do anything fancy for the UnUn other than using the Fair-Rite which is supposed to easily handle 100 watts. Overkill for portable, but….
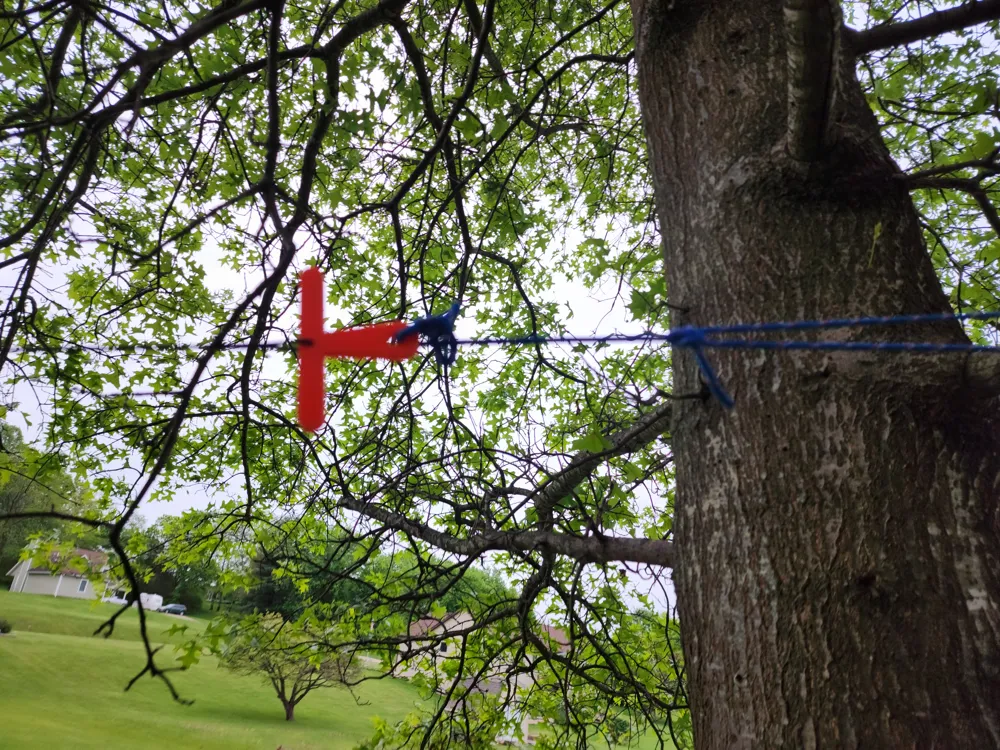
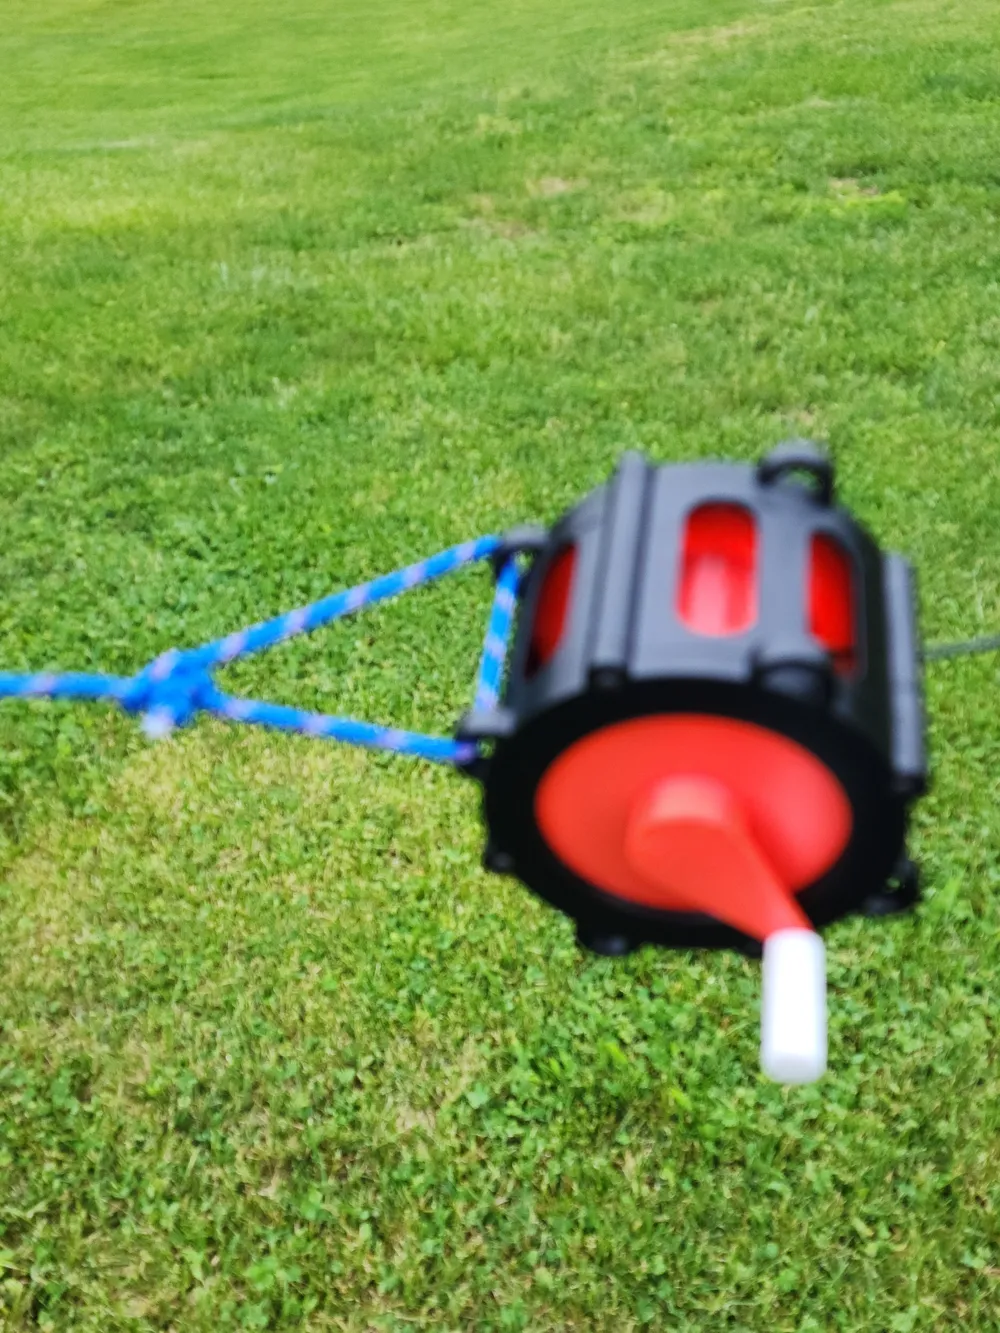
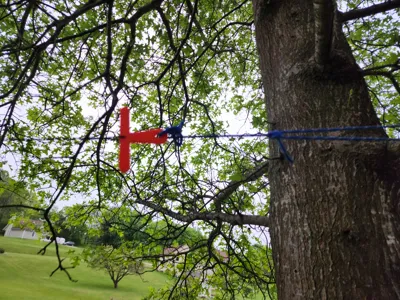
There is a part to attach a guy rope to the wire and the reel has a number of “lugs” for using rope to hold the spool at the base of the antenna.
The parts list is as follows (BOM provided below):
- BnTechGio 18 AWG Silicone Wire (about 70ft for EFHW, about 7ft for counterpoise)
- (8) MR85ZZ bearings
- (8) M3 x 16mm screws (for end caps of outer reel, 12mm will strip the part to easily)
- (10) M3 x 12mm screws
- Banana plug for counterpoise
- chassis mount SO-239 or BNC connector
- Fair-Rite 2643251002 Toroid
- (50 inches) 16 AWG Magnet wire (I had 14 AWG and used that)
- 100pf 3KV (TDK) Capacitor
- Zip ties (two large ones for the toroid one smaller one for the antenna end)
I used the 18 AWG for strength and the silicone coating. It is bulky. I may do a version in the future with stealth wire.
Printed Parts:
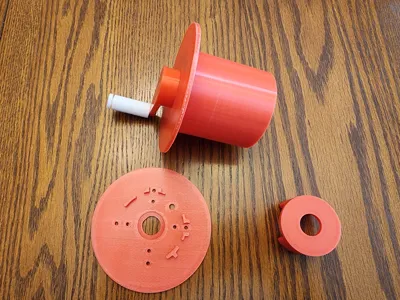
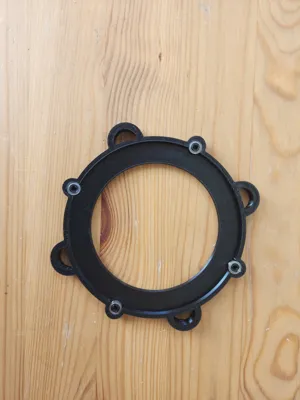
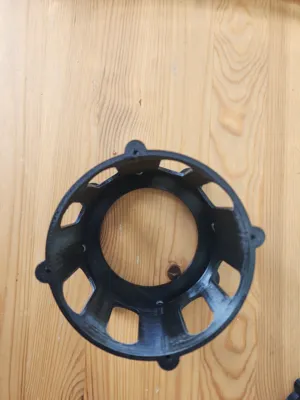
- (1) Outside reel
- (2) Outside reel covers each with 4 bearings installed
- (1) crank arm
- (1) handle center
- (1) handle sleeve
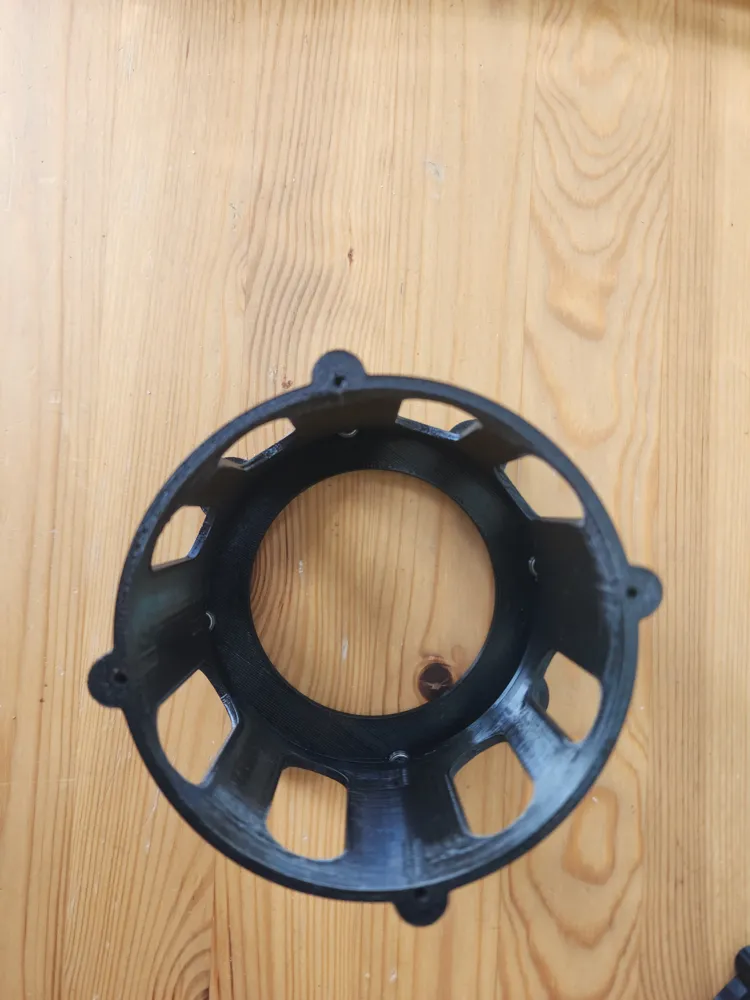
- (1) inner hub
- (1) inner hub cap (SO-239 plate)
- (1) toroid holder
- (1) Wire end connector
Instructions for winding the toroid can be found here:
https://www.youtube.com/watch?v=thuusY-qkHI&t=2065s
Recommendations:
- Do a flow calibration
- Do a pressure calibration
- Do a filament shrinkage calibration
- Use PETG
- While I printed with “standard” settings, you may want to print for strength
- The only part that really needs support is the crank arm
- The handle parts benefit from a brim
Boost Me (for free)
I spend a fair amount of time and filament taking a model from "good enough for me" to, "good enough to share".
Positive feedback and boosts really motivate me to keep on sharing.
Thanks/73
License

You shall not share, sub-license, sell, rent, host, transfer, or distribute in any way the digital or 3D printed versions of this object, nor any other derivative work of this object in its digital or physical format (including - but not limited to - remixes of this object, and hosting on other digital platforms). The objects may not be used without permission in any way whatsoever in which you charge money, or collect fees.


Comment & Rating (13)