MOTU Skeletor


Print Profile(1)
Bill of Materials


Description
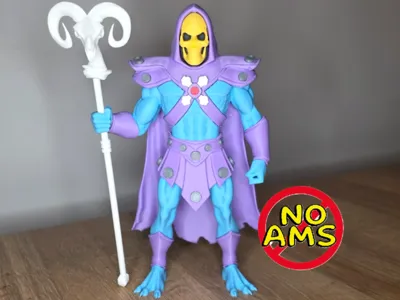
Skeletor Masters of the Universe Fan Art
Skeletor, He-Mans nemesis and ruler of Snake Mountain. He seeks to conquer Castle Grayskull, a mystical fortress from which He-Man draws his power, and in controling the fortress he can conquer Eternia and the Universe. A powerful sorcerer and stong fighter he is a formidable force to contend with, except when his in compintence and that of his minions lead to his inevitable downfall!
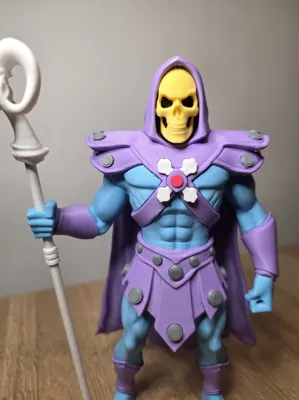
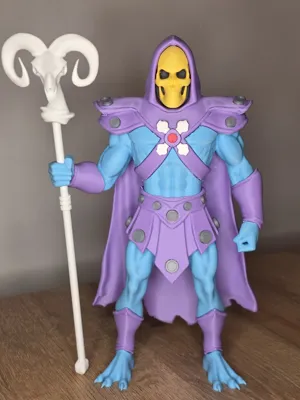
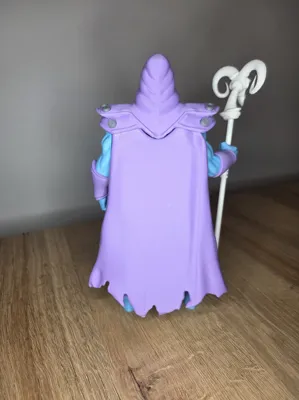
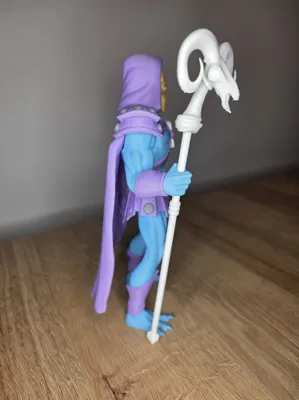
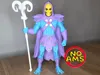
Unleash the power of Eternia on your desktop with this detailed fan art recreation is my own interpretation of the infamous and beloved villain. Mixing his original look with some stylistic choices to make him more imposing. Includes his iconic rams head staff, Yellow skull face and hollow black eyes. I have seen a few interprestations on here, but many are single colour models, which loose the detail in printing. I went for a No AMS needed design to complete his colourful look.
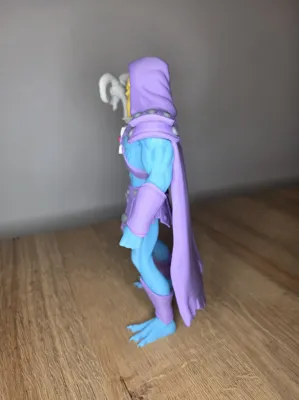
Standing around 23cm tall in my profile at 200%. I feel this is the best size to deal with the smaller peices. Glue is heaily required for the assembly, appologies on that one, but the peg method I chose to make sure it fit together as best as possible, as well as the orientation on the build plate for the best finished look.
📌 Recommended printing settings:
- Material: PLA
- Layer height: 0.16 mm (High Detail)
- Infill: 15%
- Nozzle: 0.4mm
supports where nessesary - I have tried to make it so all have a surface contacting the plate however due to the detail and complexity of the modeling they sometimes require alot of support, so be aware and be carefull during support removal. Use a naked flame gentley and for short intervals to clean surfaces after removal.
Assembly – Recommended Method on multipart models
- Dry fit: Assemble all parts without glue to check alignment and fit.
- Cleanup: Lightly deburr edges and pegs where nessesary with a file/modeling tool to ensure uniform contact. All parts are tested and fit together.
- Optimal fix: Use glue for permanent assembly.
- Small Parts can require tweasers for ease of assembley.
NOT AI, NO AI COLOUR PICS WHICH DISGUISE A POOR DETAILED SINGLE COLOUR PRINT. REAL PRINTED RESULTS!
MOST OF MY MODELS ARE FAN ART RECREATIONS AND ARE FOR PERSONAL USE ONLY : MY MODELS ARE UNOFFICIAL FAN ART AND ARE NOT AFFILIATED OR ENDORSED BY THIRD PARTY IP HOLDERS
Thankyou to everyone who has rated and boosted my prints, if you like the models and want to continue to support the creation of more please consider boosting, it really does help incentivise the creation of more models for makerworld.
If you would like to "buy me a coffee" to support the continued creation of fun prints you can do so here;

All of my models posted here are free for you to use commercially for free. I make them as a hobby and a bit of fun, with the points helping supply filament and consumables. All i ask if you wish to support my designs and want to sell them is that you are aware of the IP infringement which apply to some of the models and take appropriate responsibility. Please also boost them as much as you can and help with the points and please correctly attribute the model design to this page in your descriptions etc - Thankyou again everyone!
Boost Me (for free)
If you like the model please consider boosting to support the continued creation of fun and exciting prints.
License
You shall not share, sub-license, sell, rent, host, transfer, or distribute in any way the digital or 3D printed versions of this object, nor any other derivative work of this object in its digital or physical format (including - but not limited to - remixes of this object, and hosting on other digital platforms). The objects may not be used without permission in any way whatsoever in which you charge money, or collect fees.
Comment & Rating (19)