Search models, users, collections, and posts

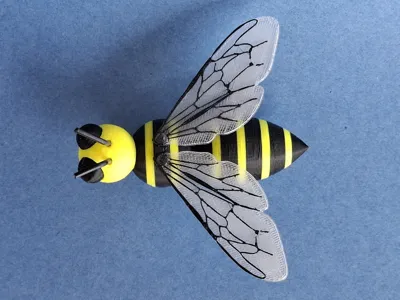
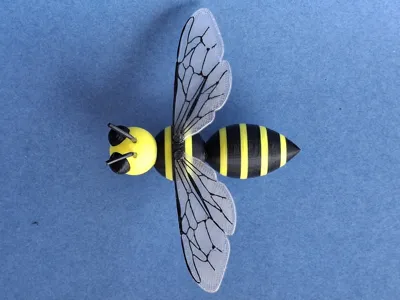
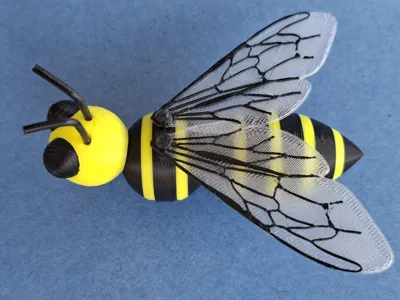
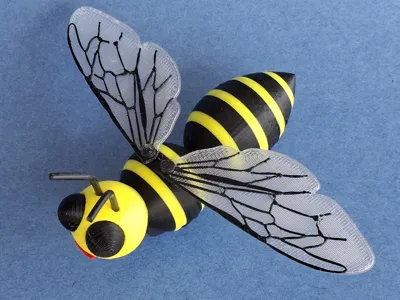
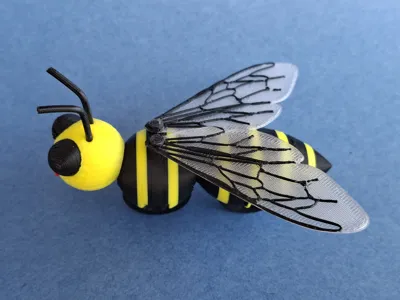
Biker bee - Biker-Biene
IP Report
Print Profile(1)
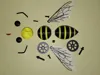
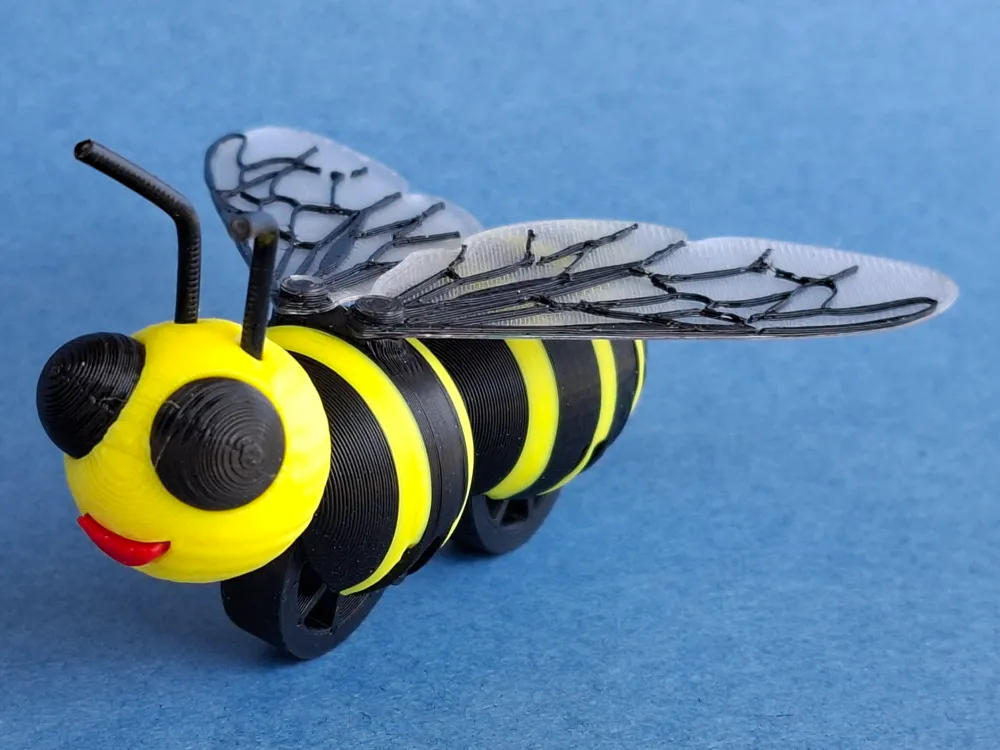
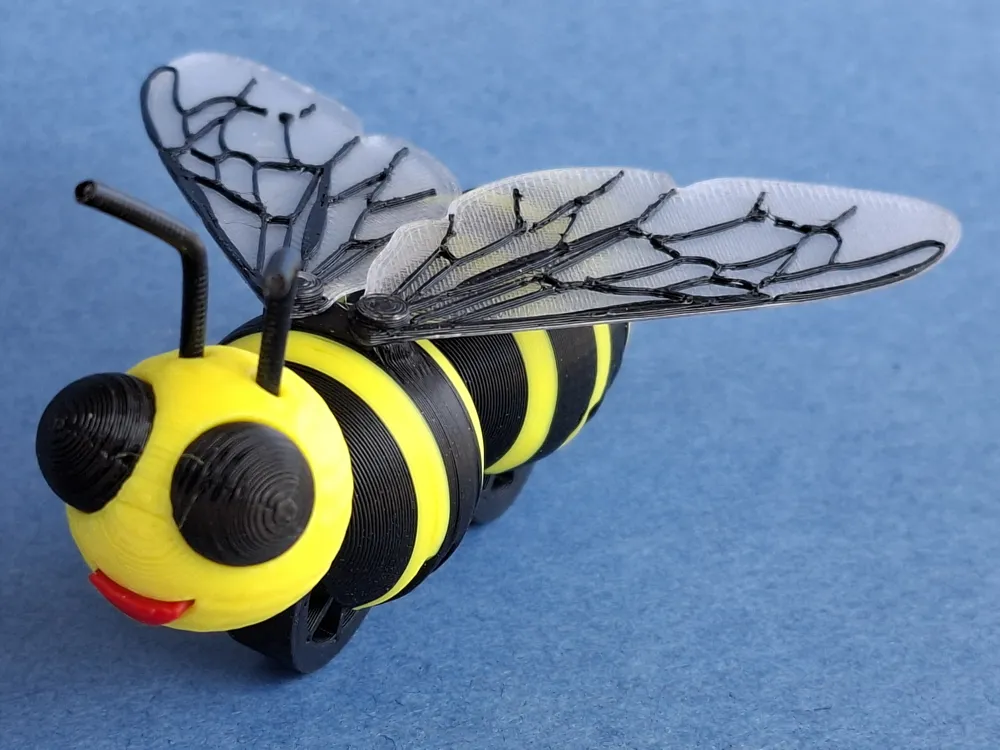
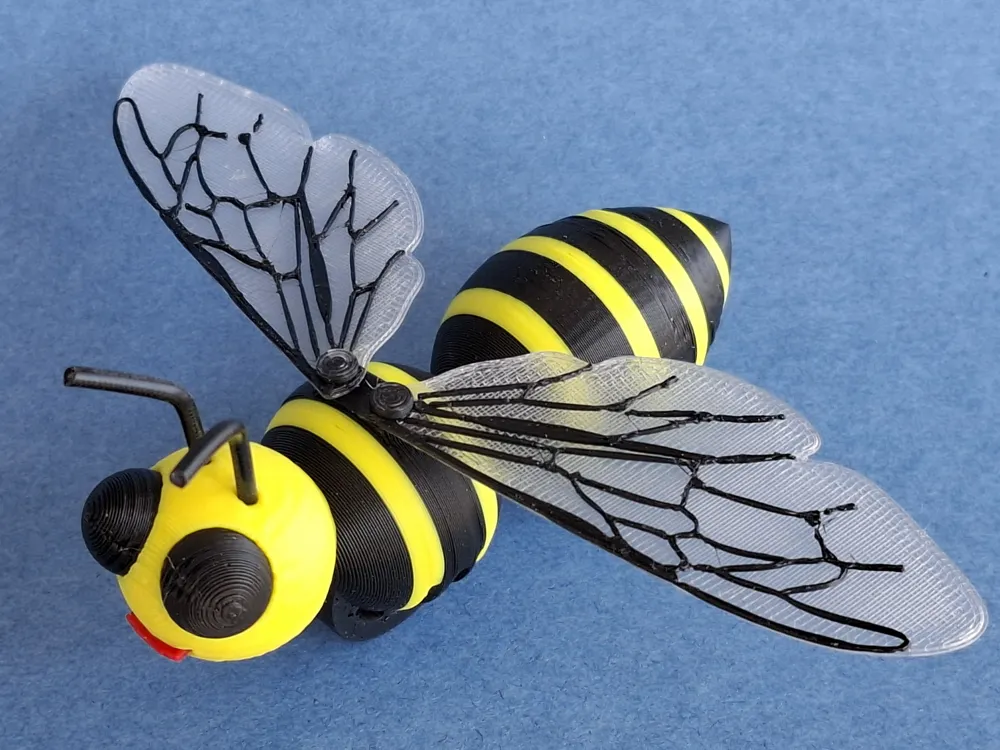
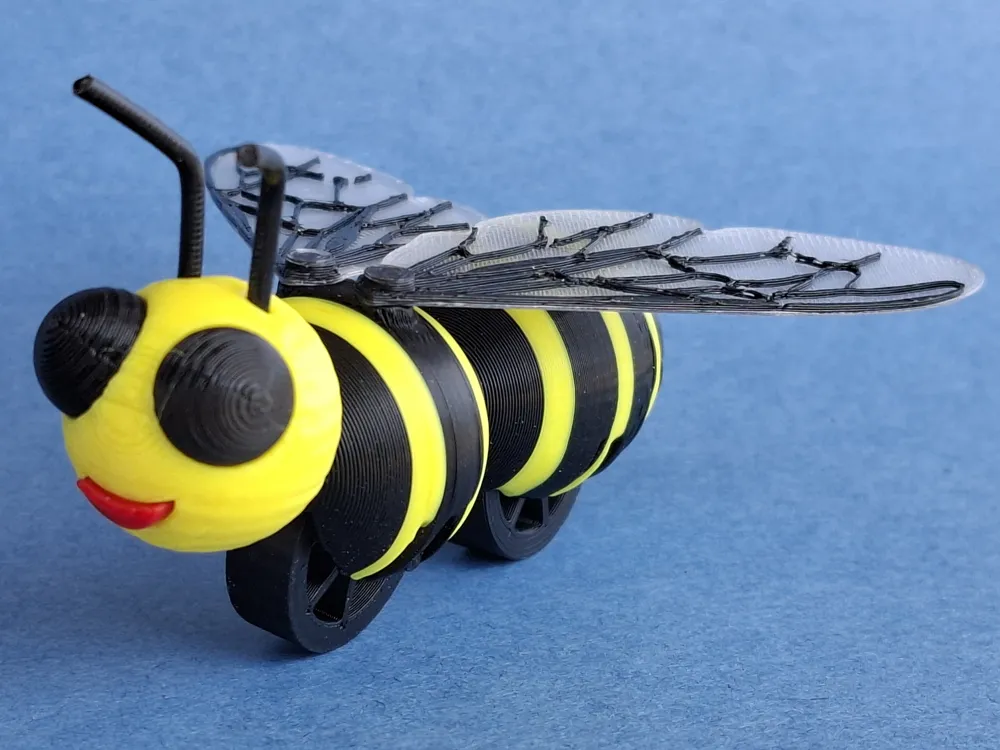
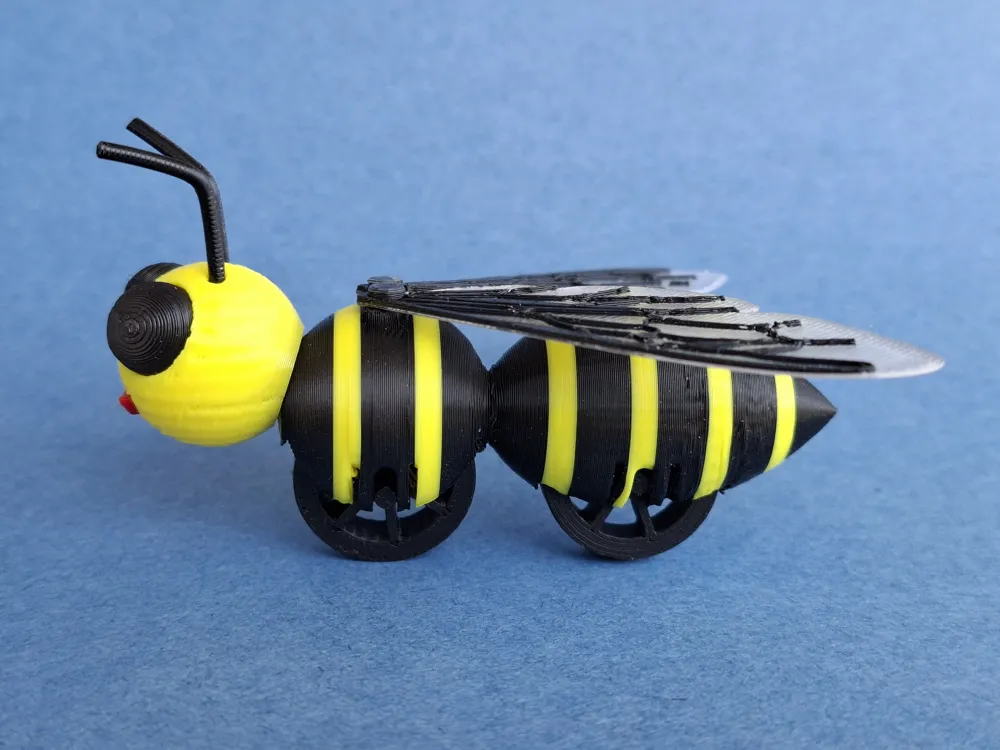
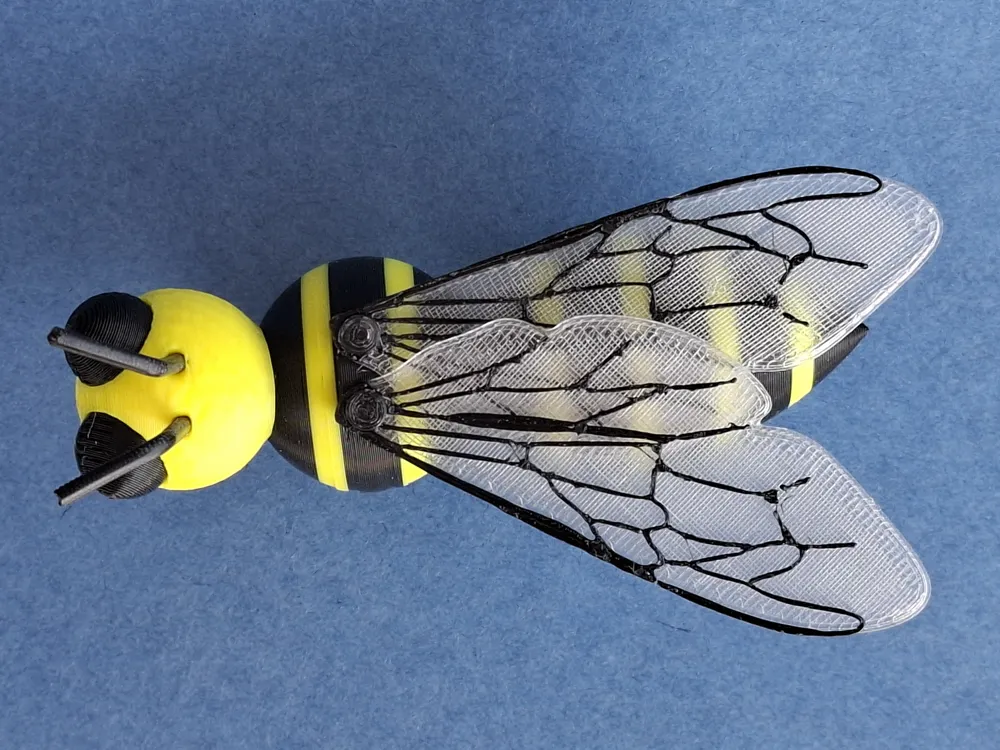
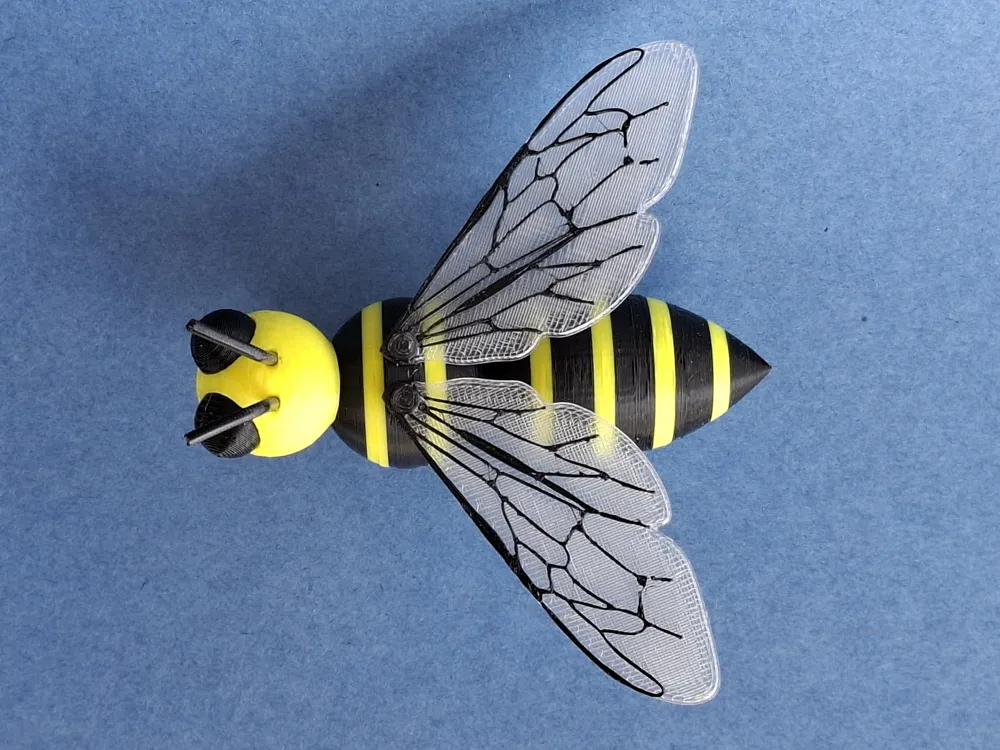
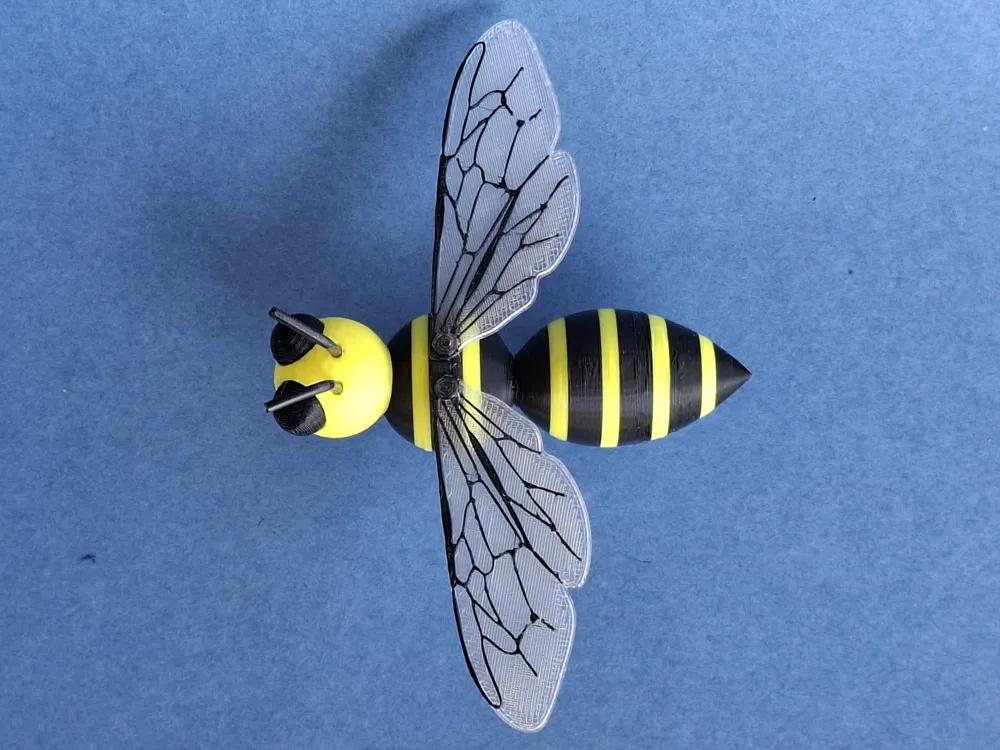
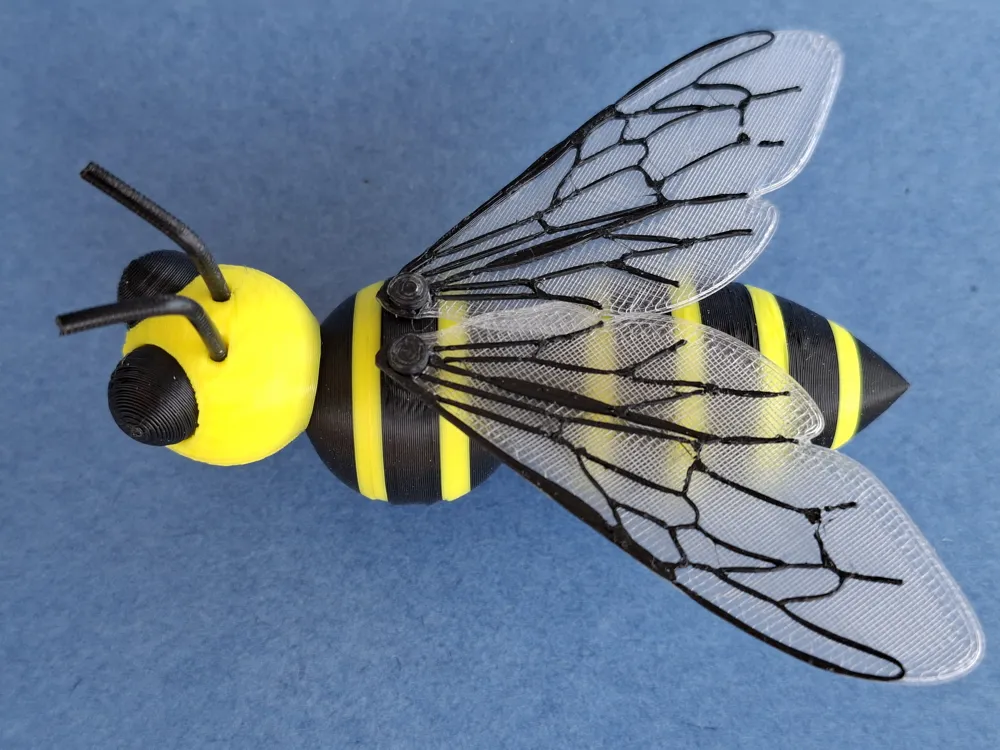
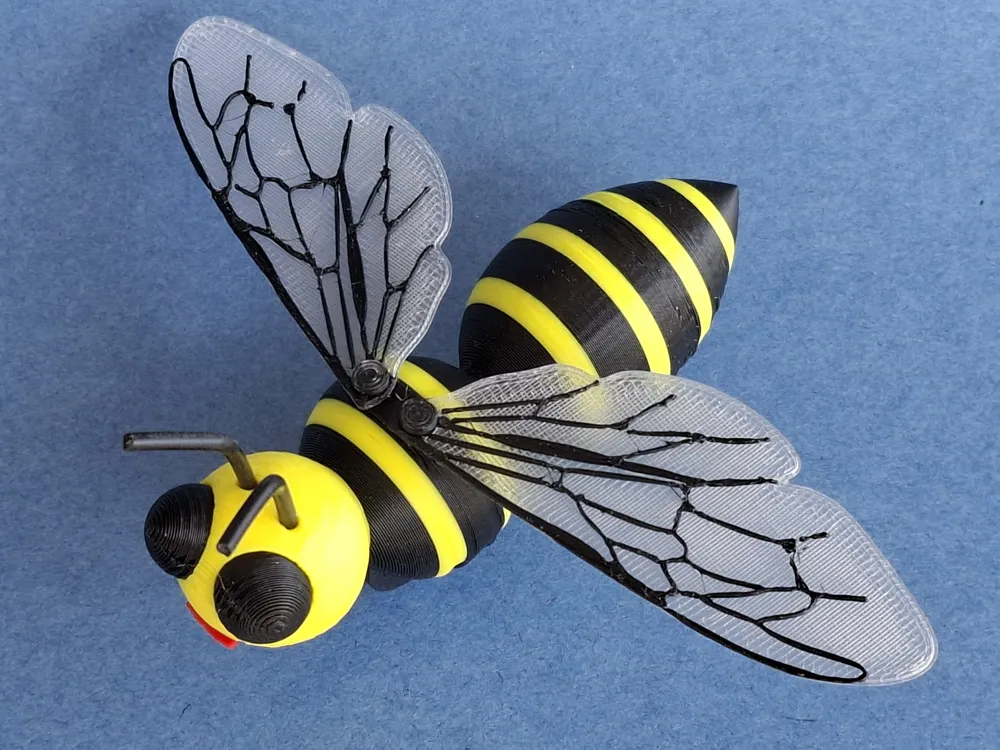
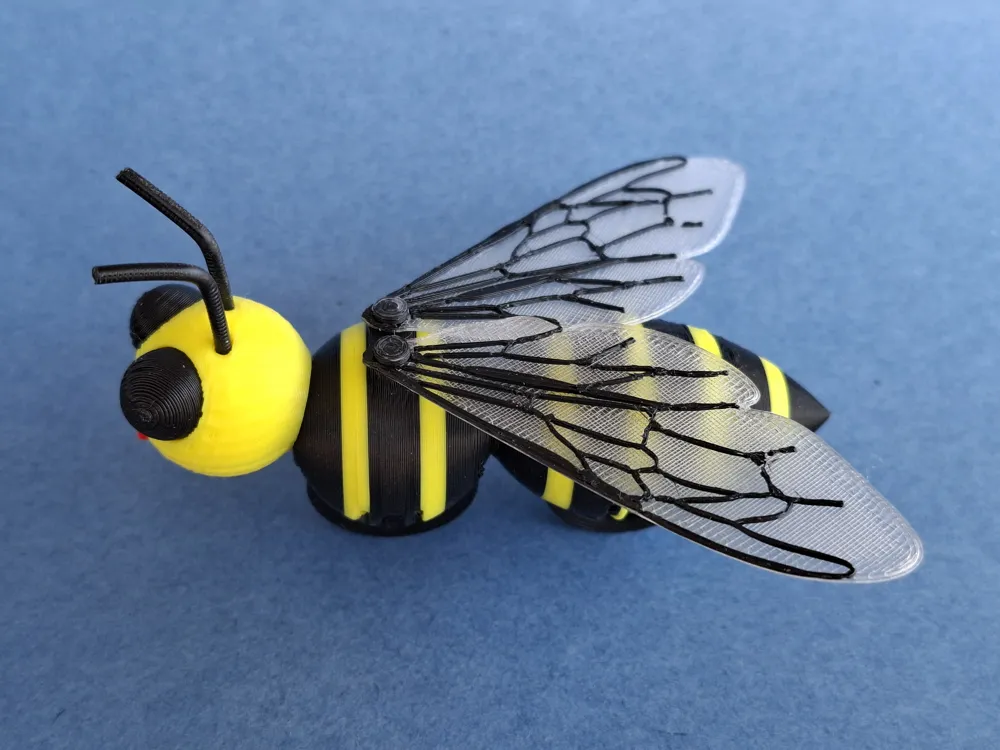
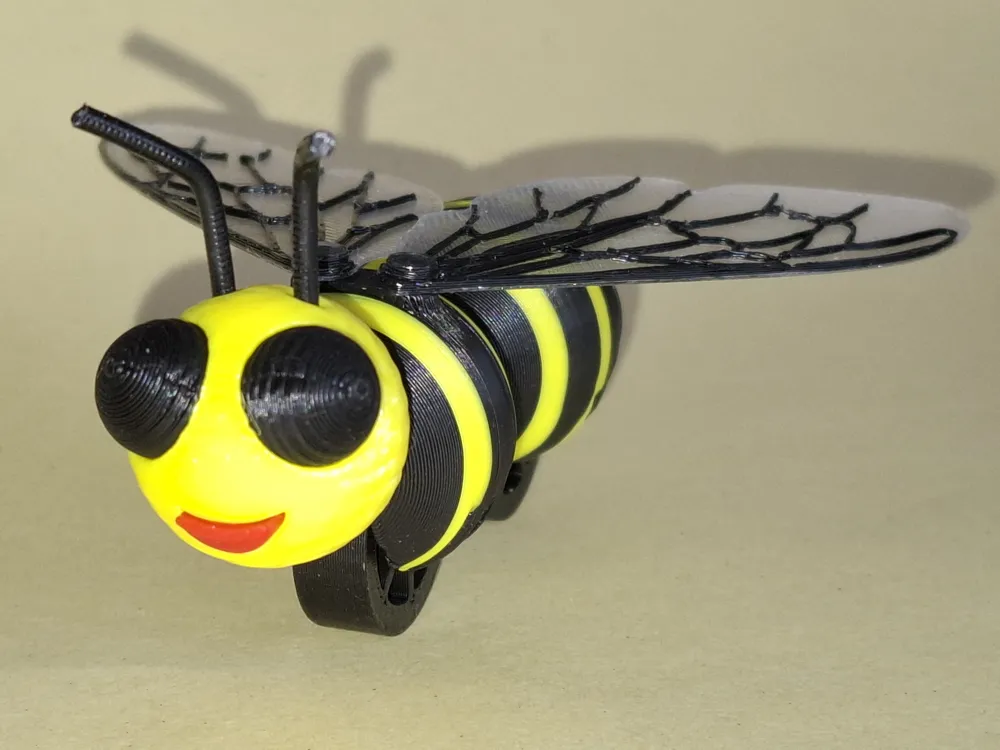
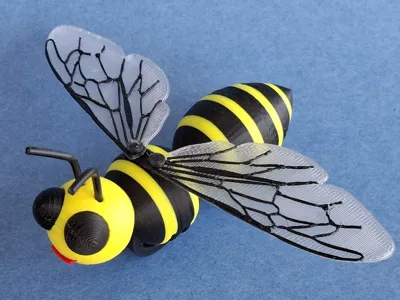
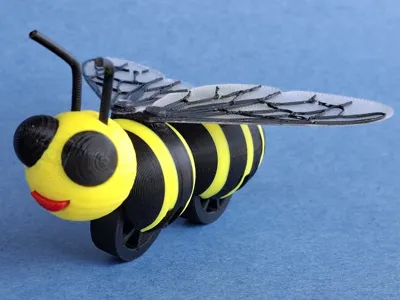
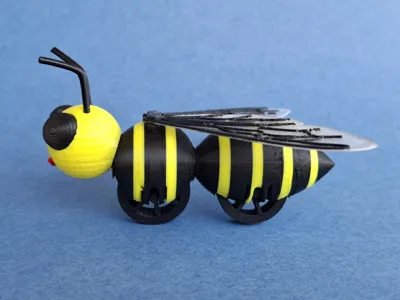
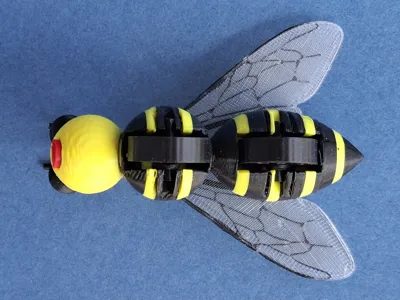
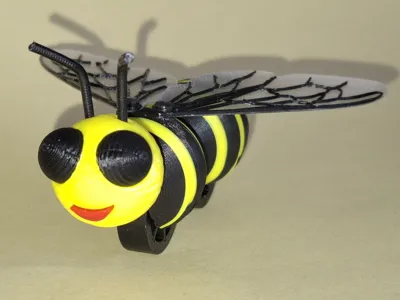
Biker bee with black & yellow stripes
Designer
1.8 h
5 plates
Open in Bambu Studio
Boost
2
4
0
0
3
2
Released
Description
Content has been automatically translated.
English |
|
English>
- Around here, a lot of farmers ride motorcycles… and so do their wives.
- They’ve named themselves the “Biker Bees.”
- When they asked me if I could design a mascot for them, I gave it a try. Here’s the result.
- But it wasn’t quite what the girls really wanted. It was supposed to be something that could be attached to a motorcycle. And this one is too delicate for that.
- Oh well, I’ll just have to try something else.
- Since I personally think the model is quite successful in its own way, I’m presenting it to you here, with all its special features:
- The AMS is only needed for the body stripes.
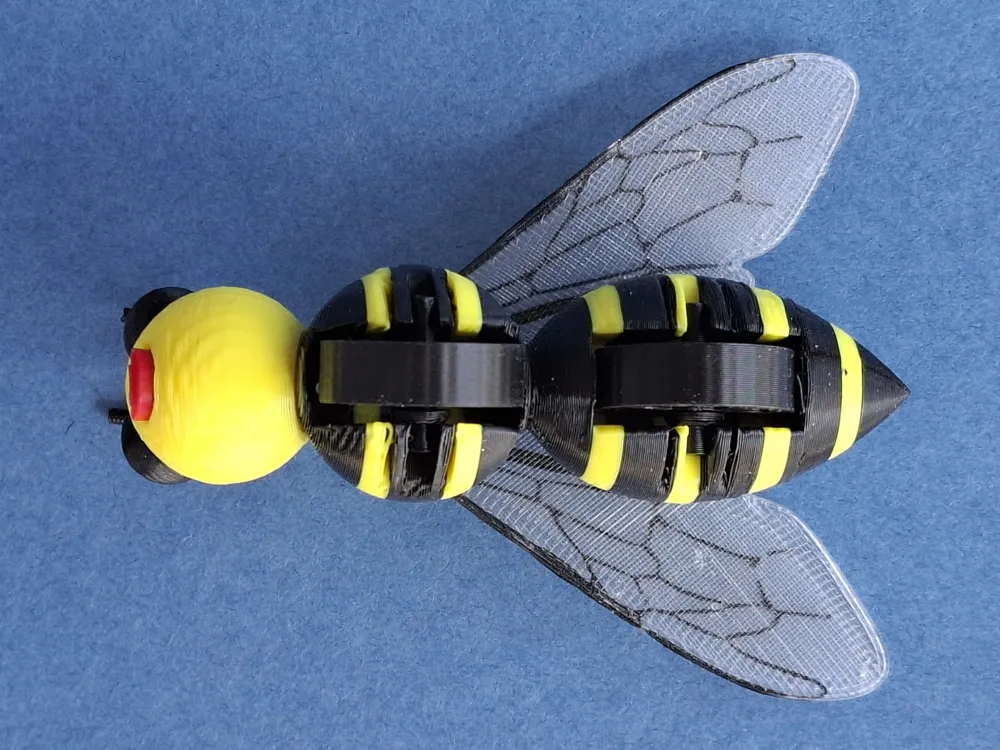
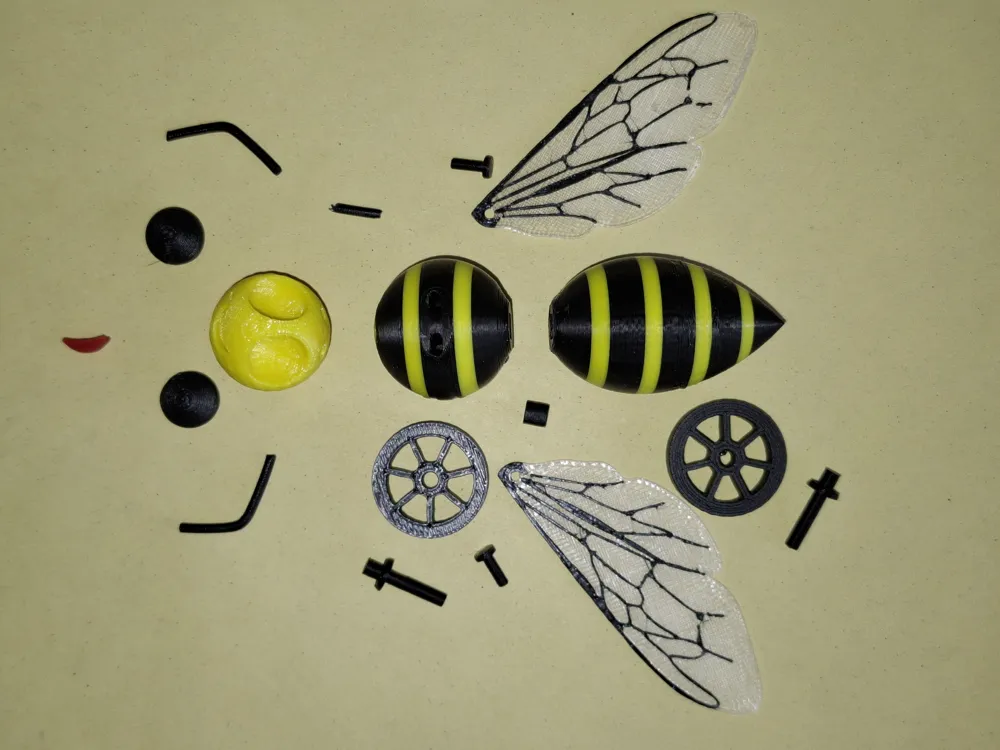
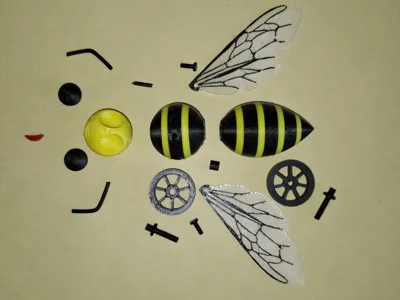
- The (18) parts are printed individually and assembled later.
- The wheels have a small axle and can therefore spin wonderfully.
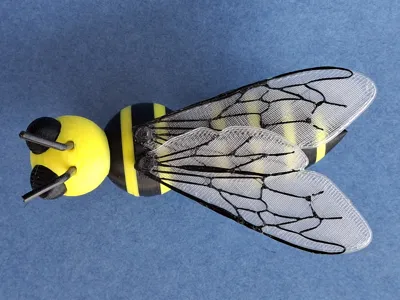
The wing structure is modeled after a real bee wing using a photo. To simplify things, I combined the large and small wings. Normally, bees have 4 wings.
Assembly
- The head is connected to the thorax using a small piece of filament for positioning and should be secured with glue.
- The thorax and abdomen are connected using a small cube and should be secured with glue.
- The mouth and eyes are simply inserted and stay in place without glue.
- The antennae are also made of filament and are first heated and then bent.
- When inserting the wheels, however, you must make sure that the axles on the left and right are different thicknesses. They will only snap into place correctly if oriented the right way.
- For the wings, you must first insert one of the small pins through the hole and then attach it to the thorax.
- Since the pins can easily get lost, I included plenty of spares in the initial print.
- Material>
- The material doesn't really matter. PLA Basic is the easiest to print with. I printed the wings using PETG Translucent because I don't have any other transparent filament.
License

This user content is licensed under a Standard Digital File License.
You shall not share, sub-license, sell, rent, host, transfer, or distribute in any way the digital or 3D printed versions of this object, nor any other derivative work of this object in its digital or physical format (including - but not limited to - remixes of this object, and hosting on other digital platforms). The objects may not be used without permission in any way whatsoever in which you charge money, or collect fees.


Comment & Rating (0)