Goosky RS5 Magnet Canopy mount


Print Profile(1)
Description
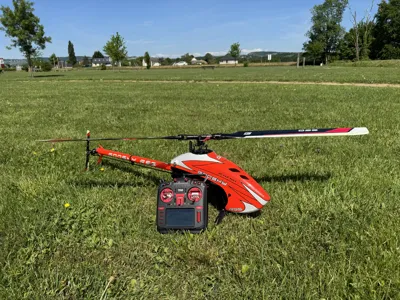
🧲 Magnetic Canopy Mount System for GOOSKY RS5
A robust and removable magnetic mounting system designed for the GOOSKY RS5 canopy
Engineered for precise alignment, secure mounting, and excellent vibration resistance
🆕 What's New
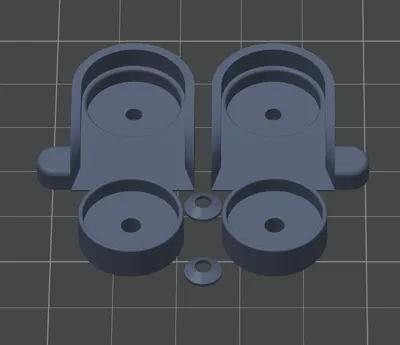
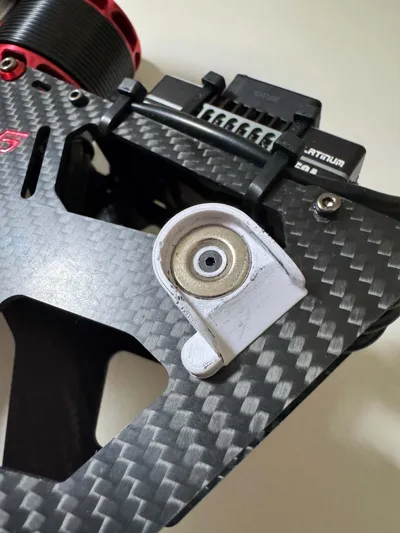
This new version features a dedicated recess integrated directly into the printed part to accommodate the head of the screw located on the GOOSKY RS5 frame
This recess acts as an anti-rotation system, preventing the magnetic mount from rotating around its mounting point. The mount remains perfectly aligned on the frame, even under heavy vibration or demanding 3D maneuvers
This improvement provides a more secure installation, better canopy alignment, and increased long-term reliability
📦 Description
✔ Strong and secure mounting
✔ Precise magnetic alignment
✔ Quick and easy installation/removal
✔ Excellent vibration resistance
✔ Allows fast canopy installation and removal while preventing wear caused by repeated handling
👉 This system significantly reduces wear on the GOOSKY RS5 canopy by eliminating the mechanical stress of the original mounting system
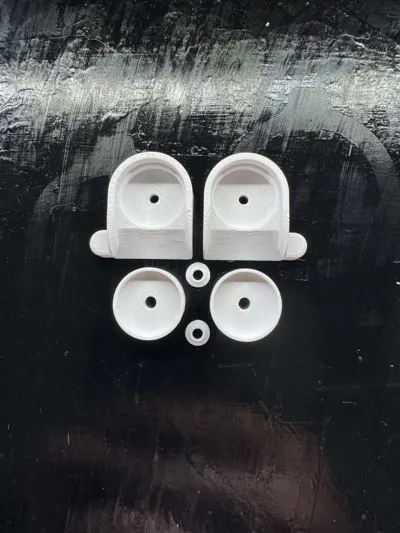
🧱 Print Settings
- Material: PETG recommended (PLA not recommended)
- Infill: 100%
- Walls: 4 minimum
- Layer Height: 0.20 mm
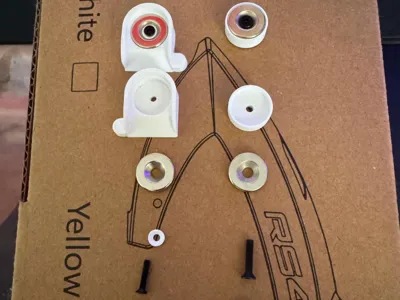
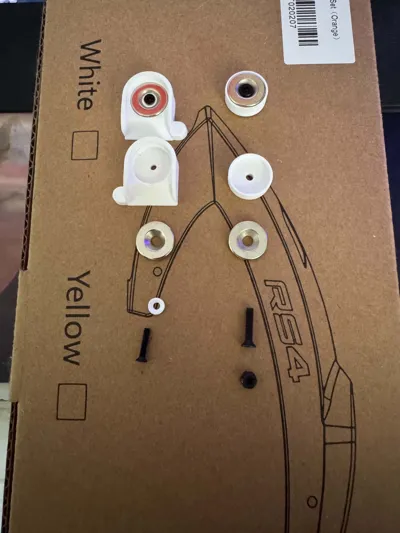
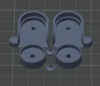
🧲 Magnets (IMPORTANT)
4 × 15 × 3 mm neodymium magnets with a Ø5 mm center hole
➡️ Only one magnet is used on each side of the mount, for a total of 4 magnets
The magnets I personally use and recommend are available on Amazon:
👉 https://www.amazon.fr/dp/B0BKWM6GDW?ref=ppx_yo2ov_dt_b_fed_asin_title&th=1
⚠️ Be sure to select the 15 × 3 mm version
This size fits perfectly into the printed parts without any modification
The package includes 5 matched pairs of magnets. Each pair already has the correct polarity, ensuring they naturally attract on the correct faces, making installation quick and foolproof
🧴 Gluing the Magnets
Gluing the magnets is completely optional
Thanks to their precise fit, the magnets remain securely in place during normal use without requiring any adhesive
If you still prefer to glue them permanently, use only a very small amount of two-part epoxy. Avoid excess adhesive and make sure the magnets remain perfectly flush with the printed part
⚠️ Important: Once the magnets have been glued, replacing a damaged or broken magnet will be nearly impossible without damaging the printed part. If a magnet breaks, the entire printed part will need to be reprinted
🔧 Canopy Assembly
- Use 2 × M3 × 14 mm screws passing through the canopy and the original rubber grommets
- Pass the screws through the magnets and the printed parts
- Secure them using 2 × M3 nylon lock nuts (Nylstop)
- Leave a slight amount of play to allow the magnets to align naturally
🚁 Helicopter Assembly
- Use 2 × M2.5 × 12 mm screws with the original conical washers
- Pass the screws through the magnets and secure the printed parts to the frame
- Make sure the head of the existing screw on the GOOSKY RS5 frame is correctly seated in the dedicated recess of the printed part. This recess acts as an anti-rotation feature, preventing the magnetic mount from rotating on the frame and ensuring maximum stability
- Apply medium-strength blue threadlocker (Loctite) to the M2.5 screws
- Do not overtighten
🛒 Bill of Materials (BOM)
The components can be purchased from any supplier. The links below are provided only as examples. Only the specified dimensions are important
🧲 Magnets
- 4 × 15 × 3 mm neodymium magnets with Ø5 mm center hole
👉 https://www.amazon.fr/dp/B0BKWM6GDW?ref=ppx_yo2ov_dt_b_fed_asin_title&th=1
🔩 Screws
- 2 × M3 × 14 mm screws
- 2 × M2.5 × 12 mm screws
👉 Example: https://fr.aliexpress.com/item/32968616563.html
🔩 Nuts
- 2 × M3 nylon lock nuts (Nylstop)
👉 Example: https://fr.aliexpress.com/item/32798773566.html
⚠️ Screws and nuts can be purchased anywhere, as long as the specified dimensions are respected
⚠️ Notes
- Verify the orientation of each magnet pair before installation
- Use PETG or a stronger engineering material only
- Do not apply threadlocker to nylon lock nuts
- Do not overtighten the screws
- Components may be purchased from any supplier
- This design was entirely created in Fusion 360 and validated through multiple prototypes to achieve a reliable, durable, and easy-to-install mounting system
- This system has been designed to provide fast canopy installation while maintaining a secure hold, even during demanding 3D flights
License
You may create derivative works based on this object, provided that all such derivative works are published exclusively on the MakerWorld platform and include proper attribution to the original creator. You may not share, upload, host, distribute, or publish this object—or any derivative work of this object—on any other digital platform, marketplace, or distribution channel. Commercial use of this object and any derivative works is strictly prohibited. This includes, but is not limited to, selling, renting, sublicensing, or using the object in any context in which you receive monetary compensation or other financial benefits.
Comment & Rating (5)