
Cruise Control for Fiat Ducato (2011-2014) Euro 5
Print Profile(1)
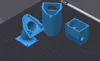
Description
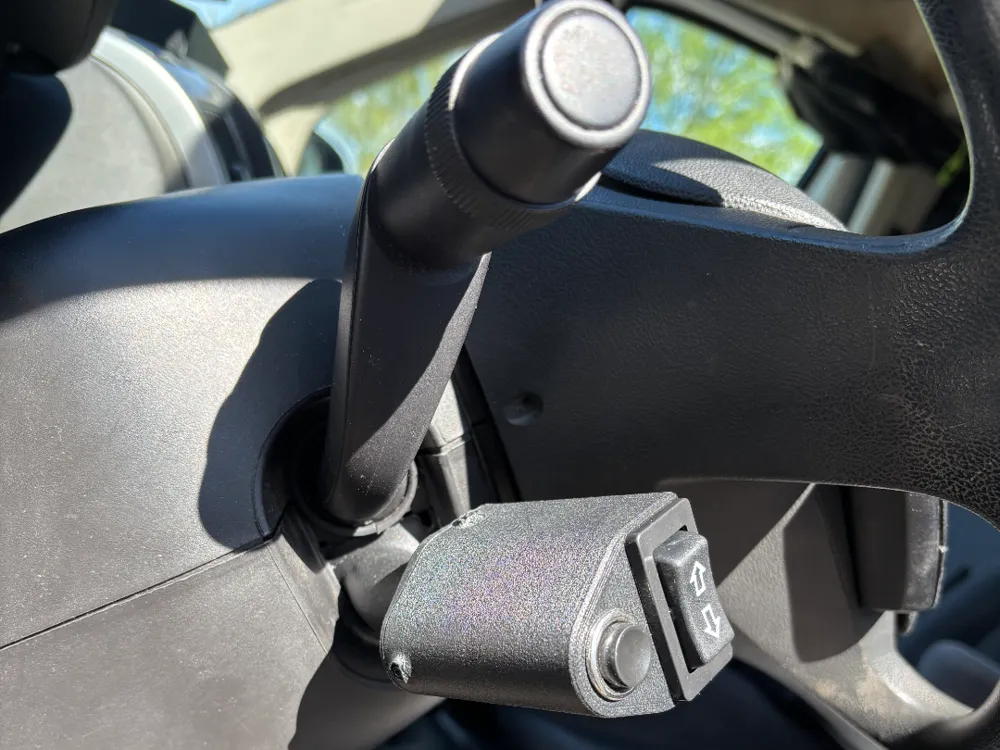
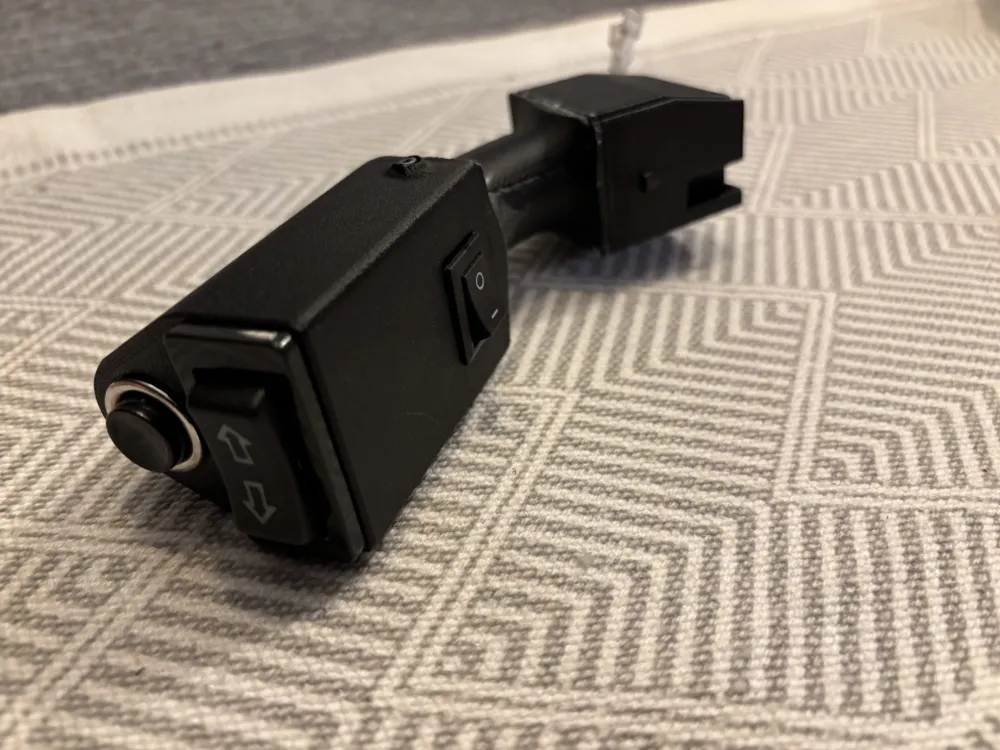
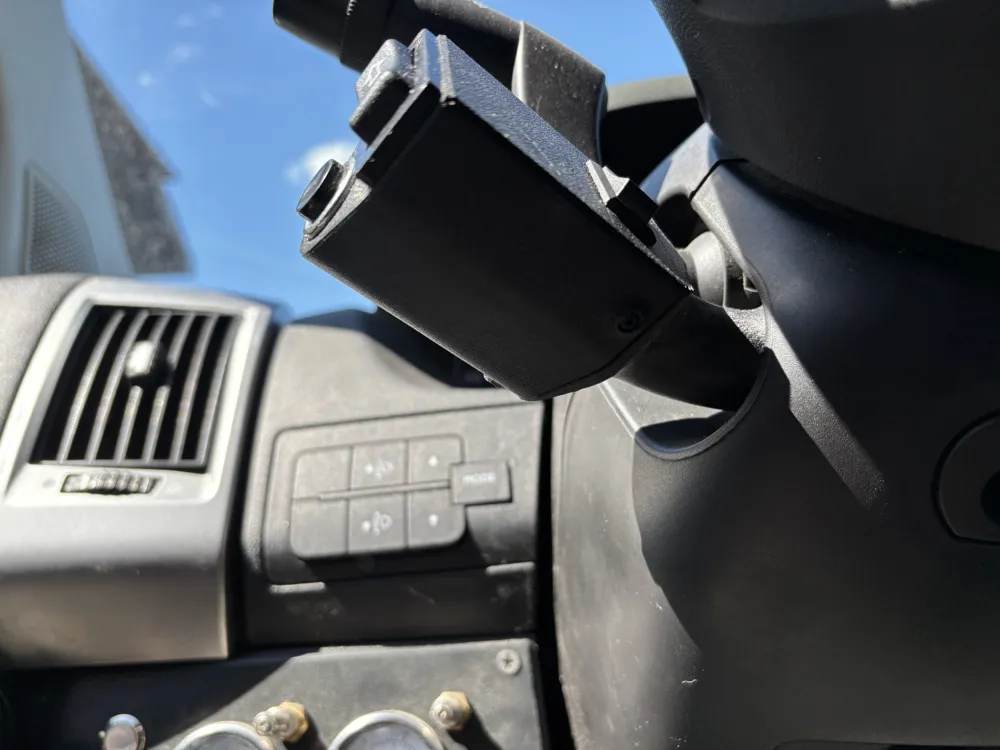
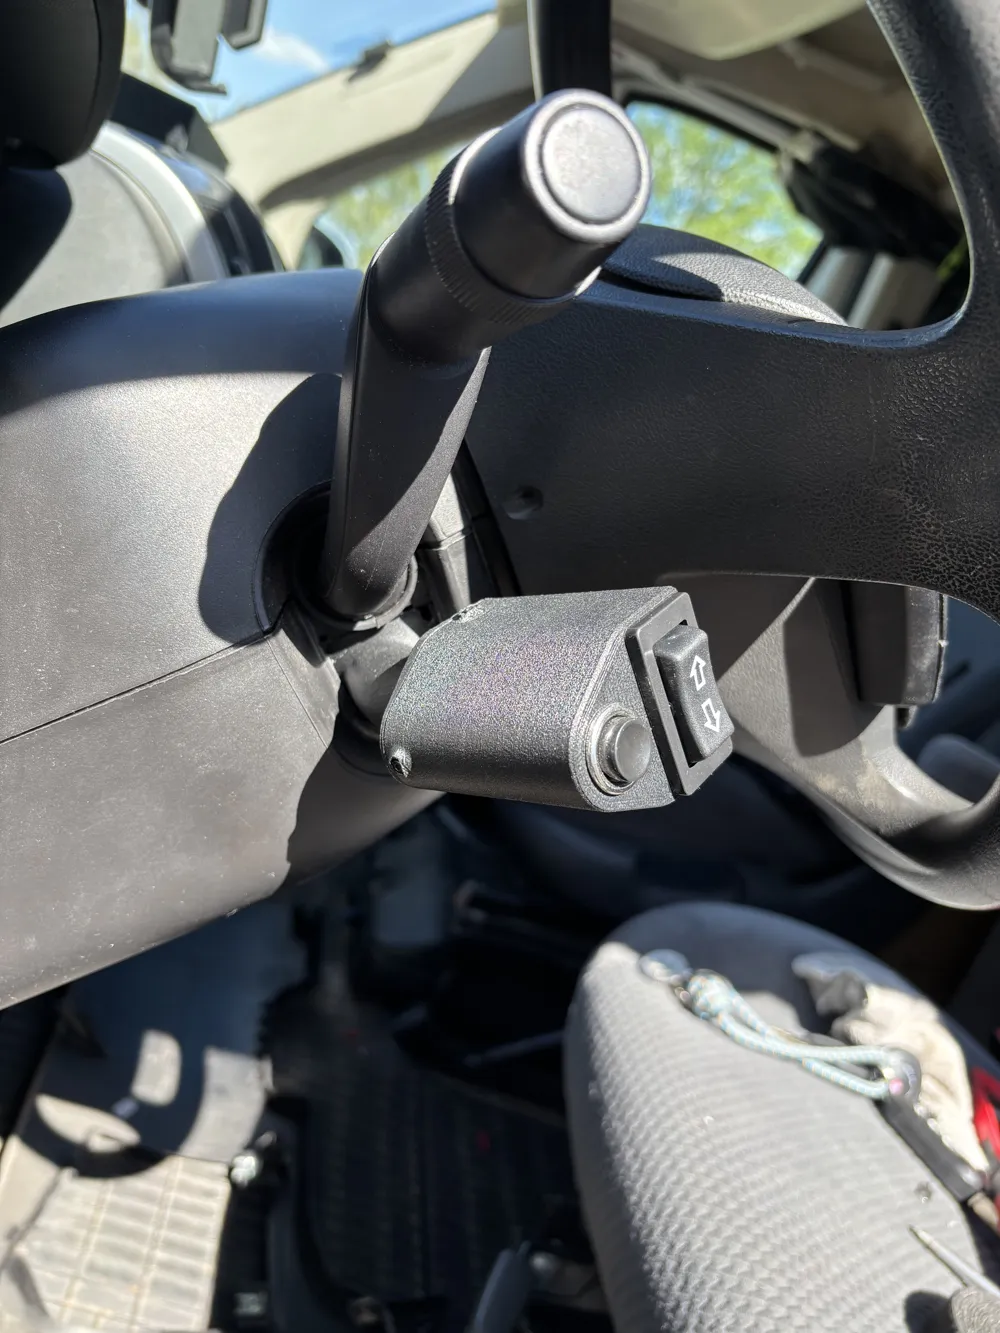
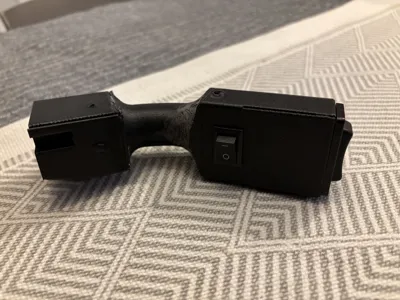
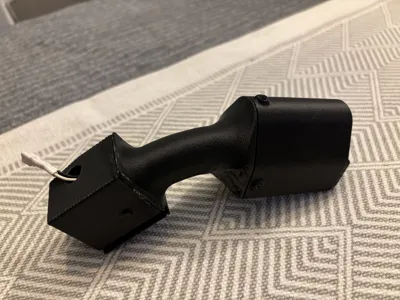
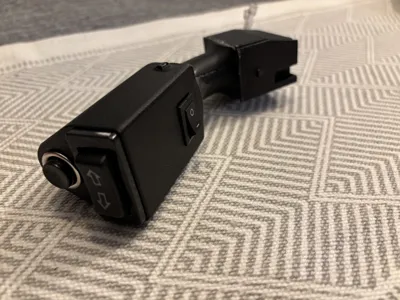
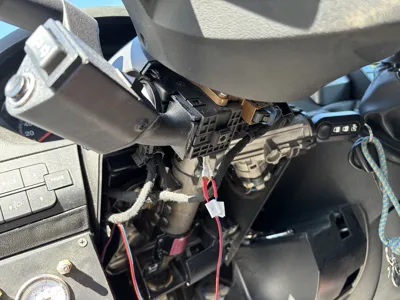
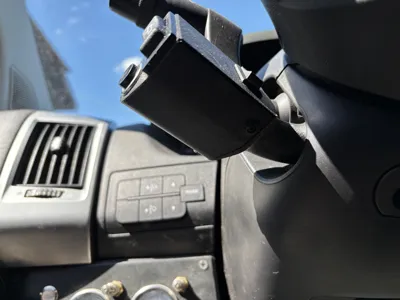
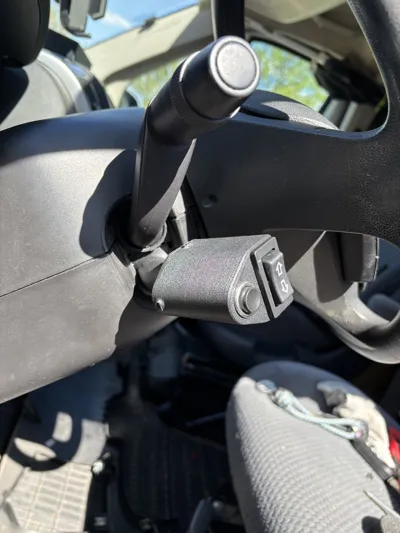
This is a fully functional, DIY cruise control lever designed to fit perfectly into the original mounting point of the Fiat Ducato (X250), Peugeot Boxer, and Citroen Jumper.
I designed this because the OEM levers are often expensive or hard to find. This version is built to last, using 1% metal film resistors to ensure stable operation even in extreme temperature conditions.
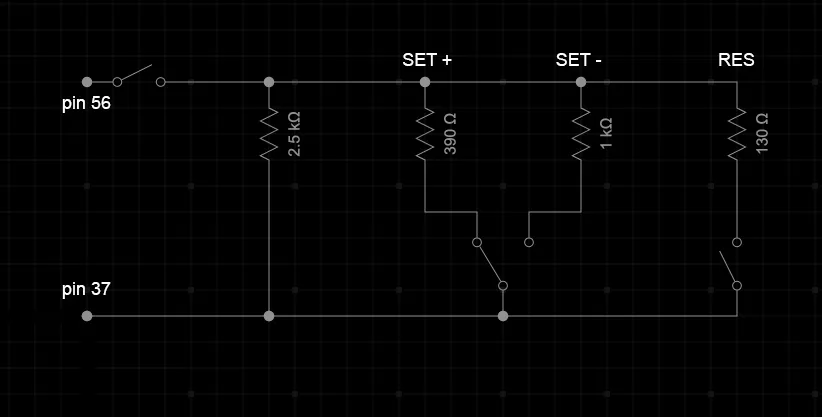
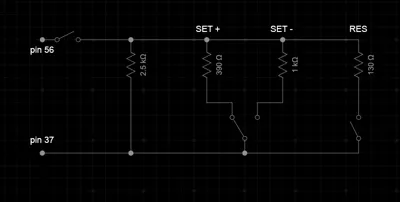
This design is strictly for the 2-WIRE (2-PIN) installation. Before building this, verify your vehicle's BCM connector. This solution is designed for systems where the cruise control signal is handled via a resistor ladder connected between Pin 37 and Pin 56 of the Blue Connector (AV). It will NOT work for older 5-wire/6-wire versions and new 3-wire version.
Overview
A robust, mechanical DIY cruise control lever for the Fiat Ducato (2011-2014 / Euro 5) and equivalents.
Bill of Materials (BOM)
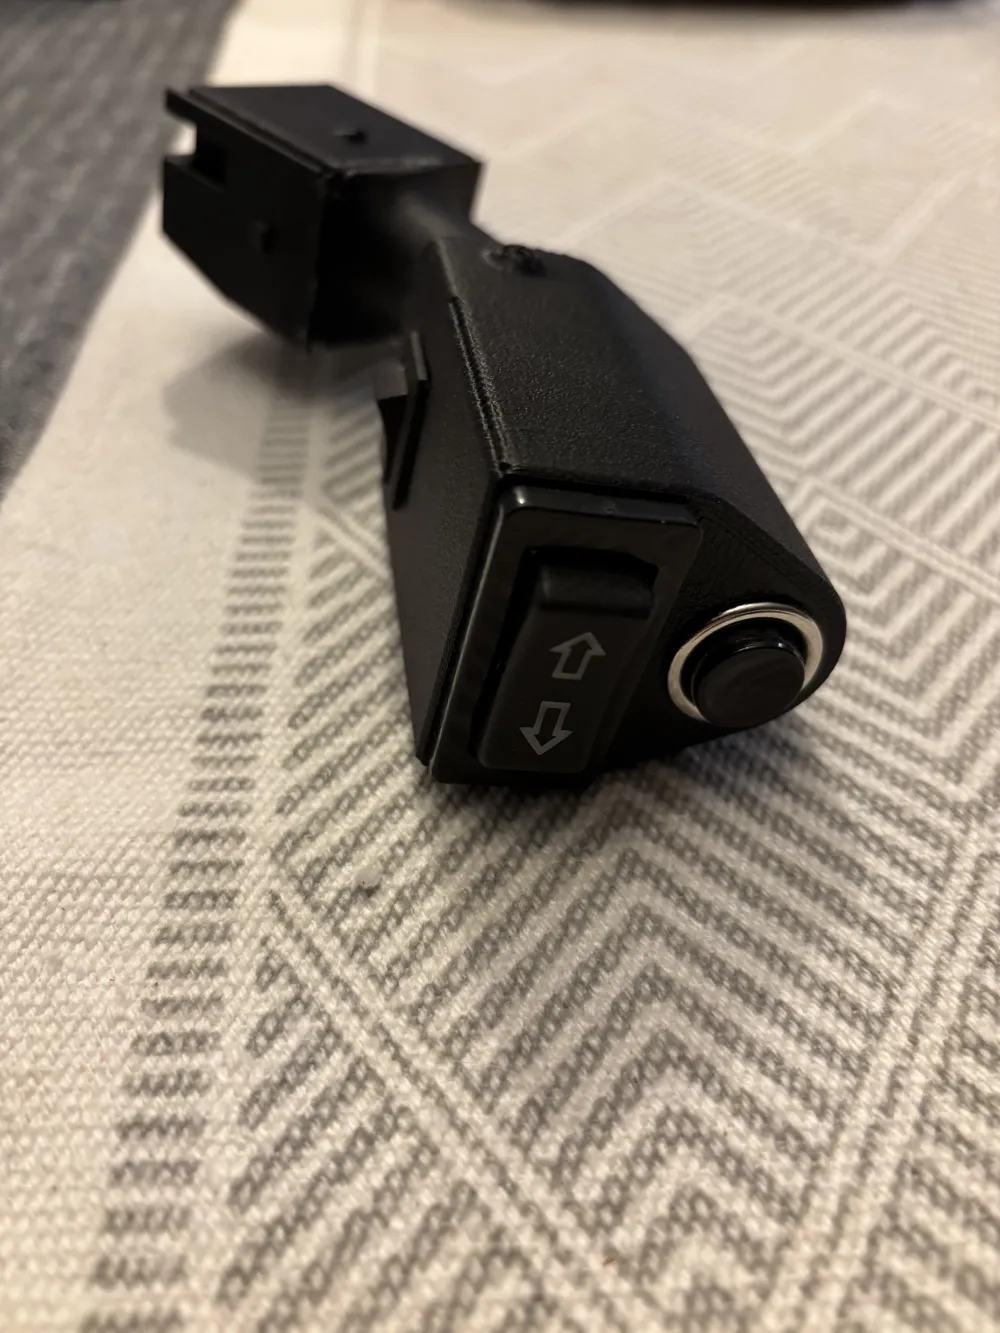
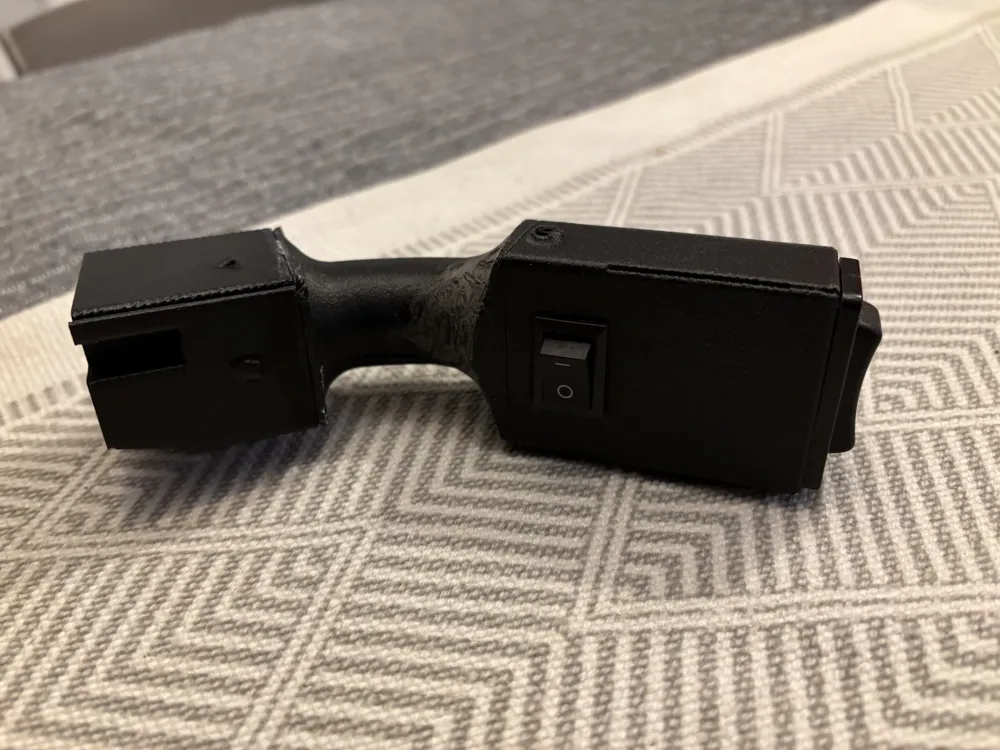
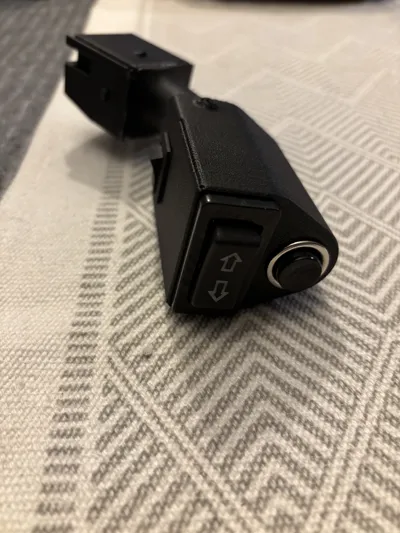
- Main ON/OFF Switch: 1x MRS-101A (Rocker, latching).
- SET+ / SET- Toggle: 1x ASW-01 (3-pos rocker, momentary ON-OFF-ON).
- RESUME Button: 1x PBS-26B (Push button, momentary).
- Resistors (1% Metal Film):
- Base: 2.6 kΩ
- For SET+: 390 Ω
- For SET-: 1.02 kΩ (or 1kΩ)
- For RESUME: 132 Ω (or 130Ω)
The Circuit Logic
This is a parallel resistor ladder configuration:
- The MRS-101A main switch sits at the beginning of the circuit to fully enable/disable the system.
- The 2.6kΩ Base Resistor is wired in parallel to the buttons, providing the "Standby" signal.
- Pressing a button adds its specific resistor in parallel to the base, dropping the total resistance to the target value recognized by the BCM.
Target Resistance Values (What the BCM sees):
- System ON (Standby): ~2.6 kΩ
- SET+ Pressed: ~340 Ω
- SET- Pressed: ~733 Ω
- RESUME Pressed: ~126 Ω
Installation & Activation
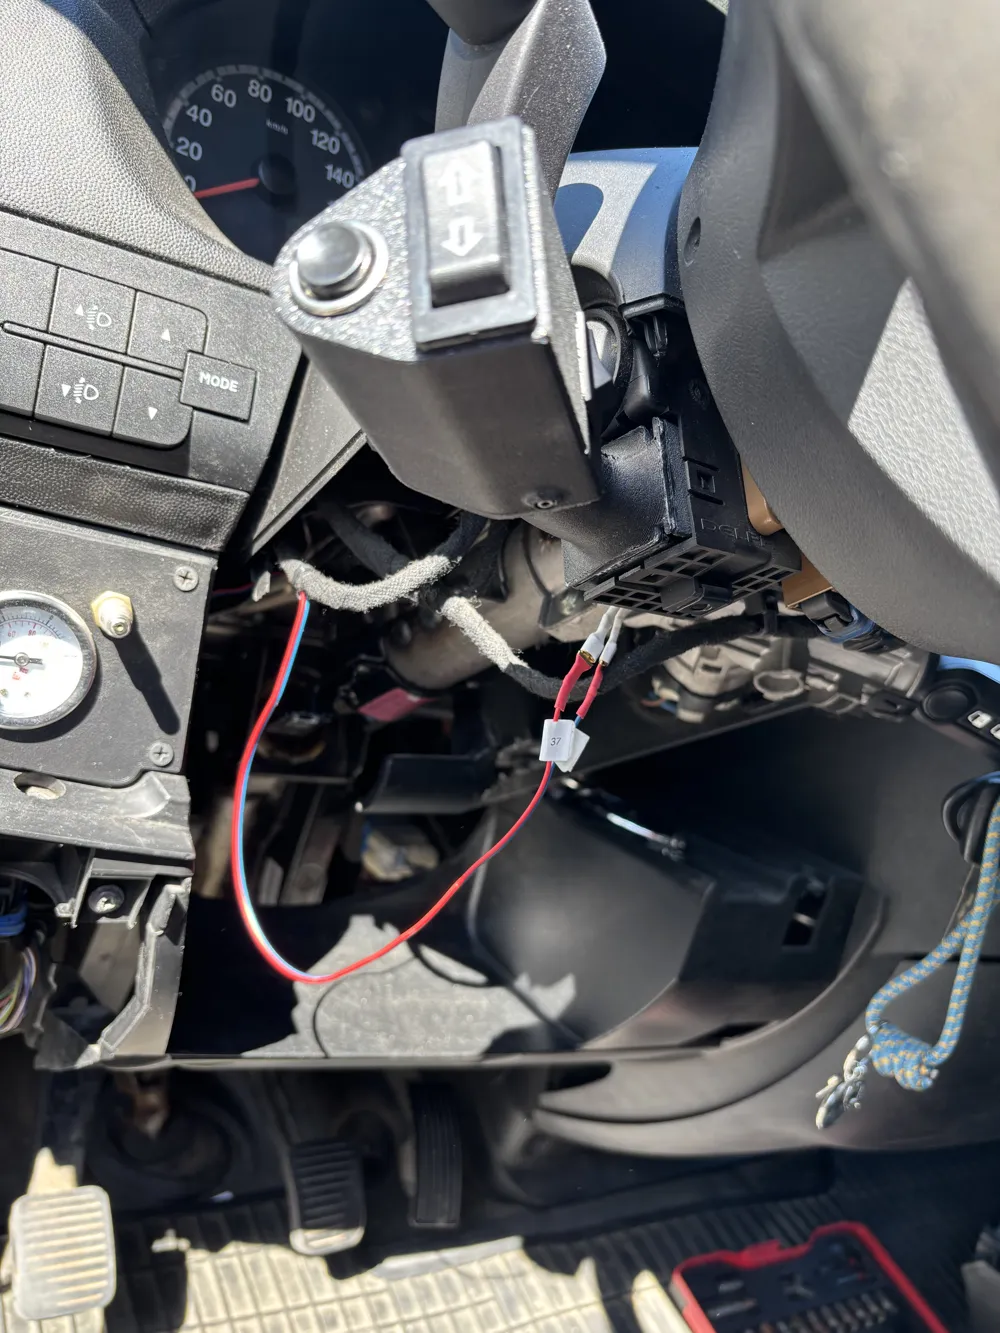
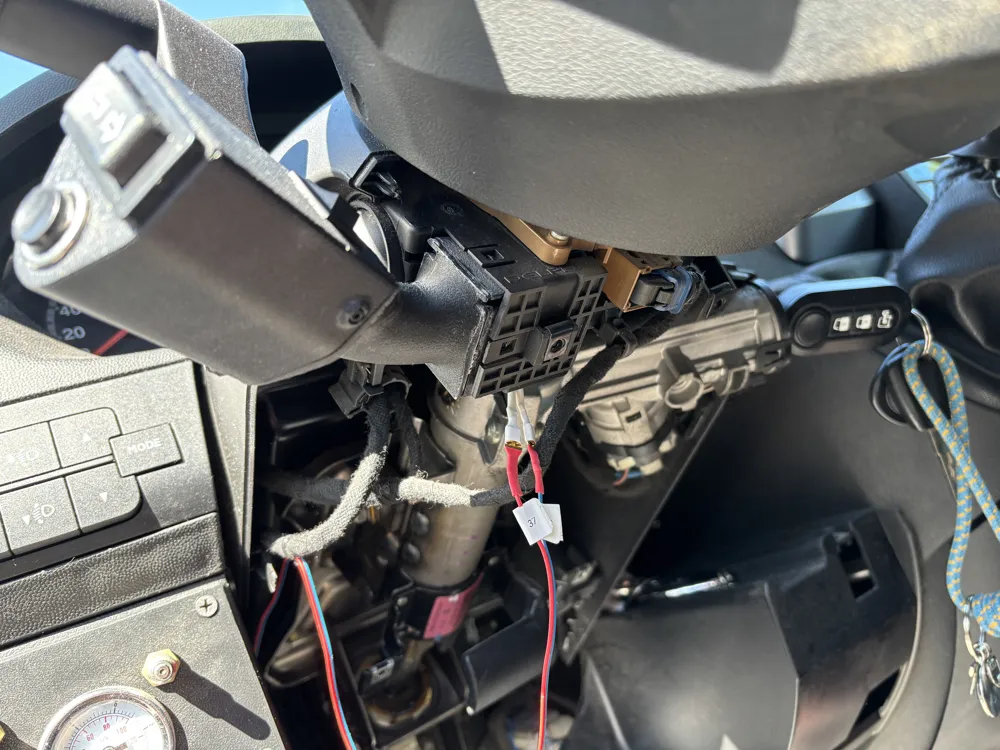
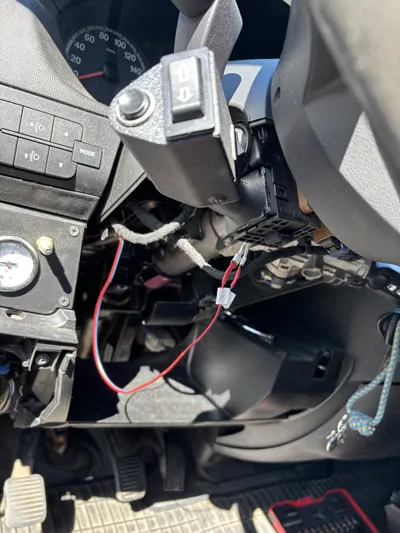
- Connect the harness to Pin 37 and Pin 56 of the Blue BCM Connector.
- Use MultiEcuScan to enable "Cruise Control" in the CAN configuration.
- Perform a Proxy Alignment procedure.
- Enjoy your custom, heavy-duty cruise control!
Wiring & Connector Pins
Depending on your vehicle's factory equipment, you might need to add the wiring from the BCM to the steering column yourself.
Recommended Pins: Ducon 0.8 (Part No: 12131423).
- Required Modification: The Ducon 0.8 is a "mirror image" of the OEM Fiat terminal. To make it fit:
- Use small precision nippers or a hobby knife.
- Cut off the small metal tabs/wings protruding from the sides of the pin.
- Once trimmed, the pin will slide into the BCM connector and lock securely.
- Connection Points: Insert the modified pins into Slot 37 and Slot 56 of the Blue BCM Connector.
3D Printing Recommendations
For the best durability and professional look, I recommend using engineering-grade filaments. Standard PLA is not recommended as it will soften and warp inside a car during hot summer days.
- Tested Material: PETG-CF (Carbon Fiber reinforced PETG). This provides excellent stiffness, heat resistance, and a premium matte finish that matches the car's interior.
- Alternative Materials: ASA or standard PETG are also great choices due to their UV and temperature resistance.
- Infill: 30% (Gyroid or Grid) for a solid feel.
- Walls: 3.
- Supports: yes.
Mechanical Assembly / Hardware
The housing is designed for a secure and clean fit using a mix of mechanical fasteners and adhesive:
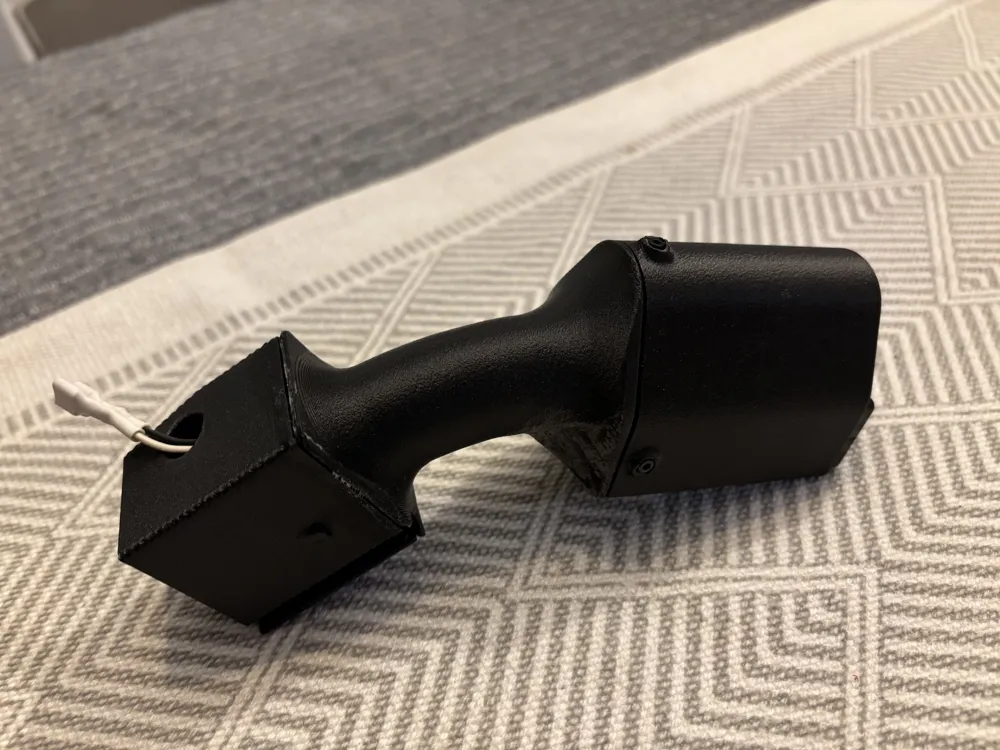
- Top Section: Secured with 3x M2 screws and 3x M2 brass heat-set inserts (threaded inserts). This allows for easy disassembly if you ever need to service the switches or resistors.
- Bottom Section: The lower part of the stalk is designed to be permanently glued.
- Alternative: If you don't have M2 hardware, the model is designed with tight tolerances and can be fully glued together.
License

You shall not share, sub-license, sell, rent, host, transfer, or distribute in any way the digital or 3D printed versions of this object, nor any other derivative work of this object in its digital or physical format (including - but not limited to - remixes of this object, and hosting on other digital platforms). The objects may not be used without permission in any way whatsoever in which you charge money, or collect fees.


Comment & Rating (1)