
X2D Dust Cover Set for Buffer & Belt & R-Extruder
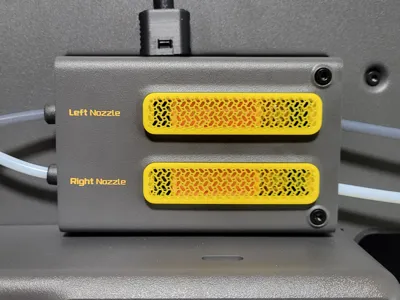
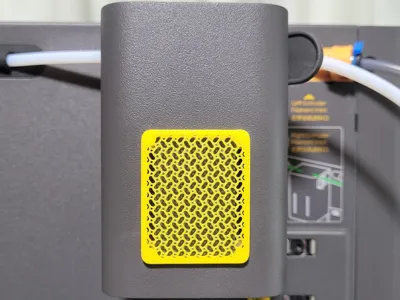
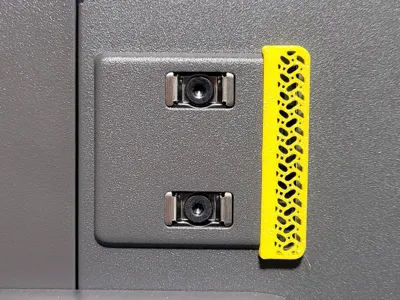
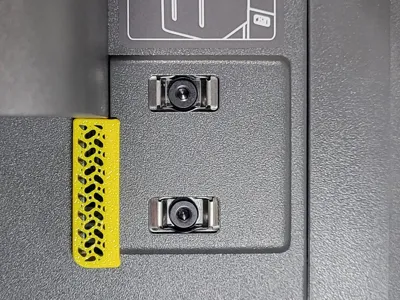
Print Profile(1)

Description
The model details are just below—feel free to scroll down!
Boost Me (for free)
Thanks for checking out my design! If you liked it, a Boost would mean a lot. I truly appreciate every follow, download, like, and boost. Thank you for your support!

- Making 3D Printing More Fun & Functional. -
◀ Printer Upgrade Collection ▶


Overview
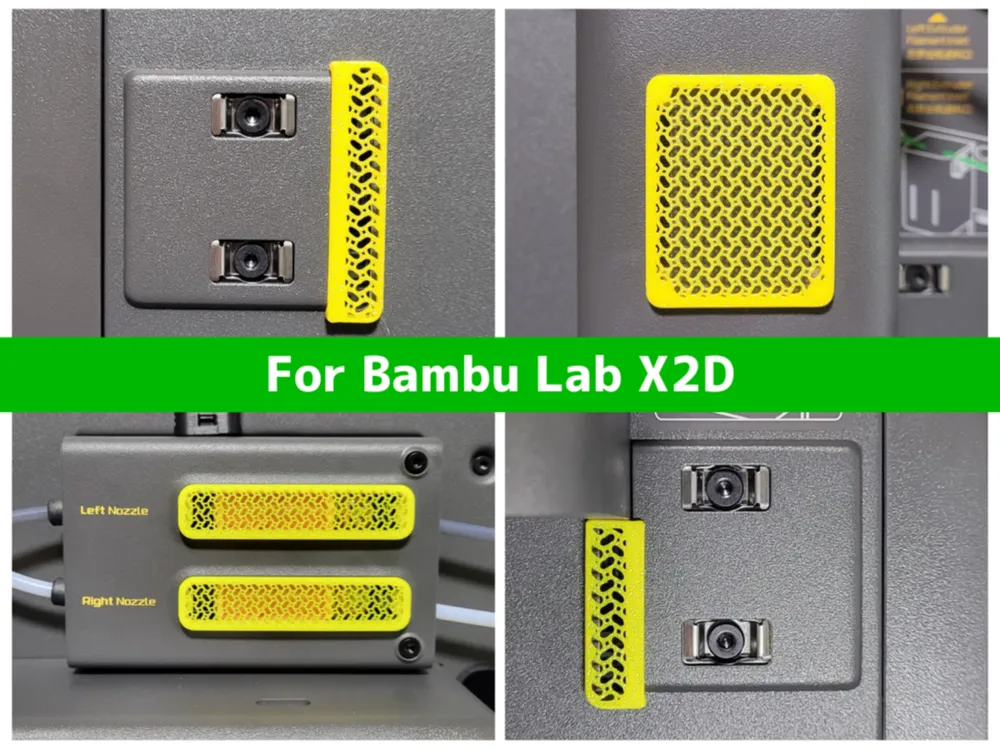
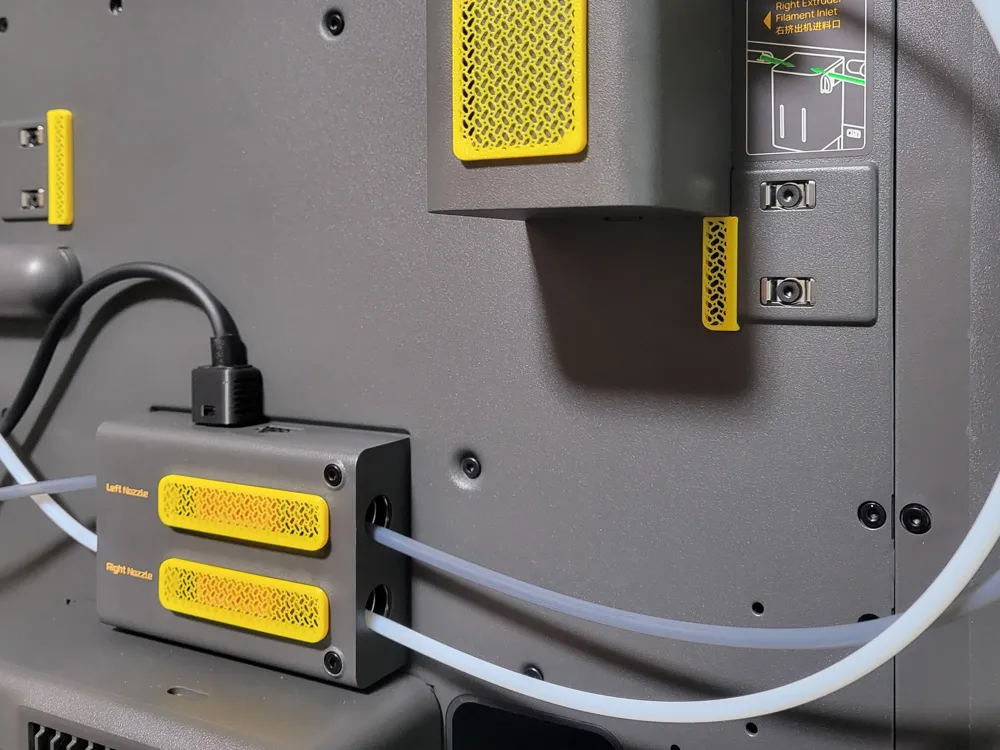
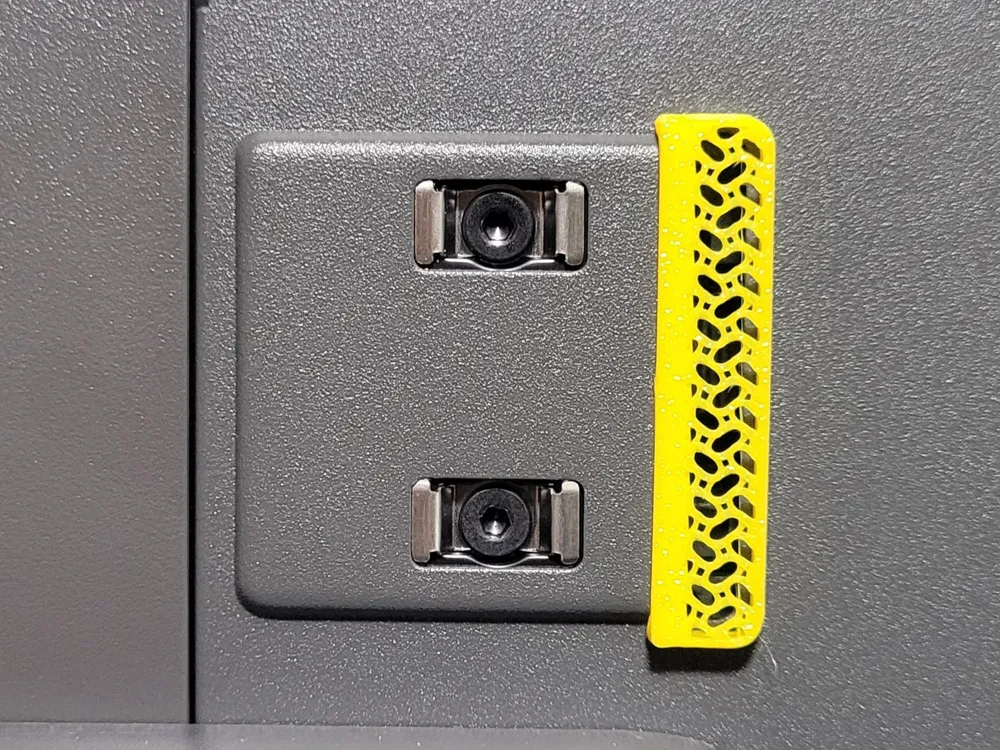
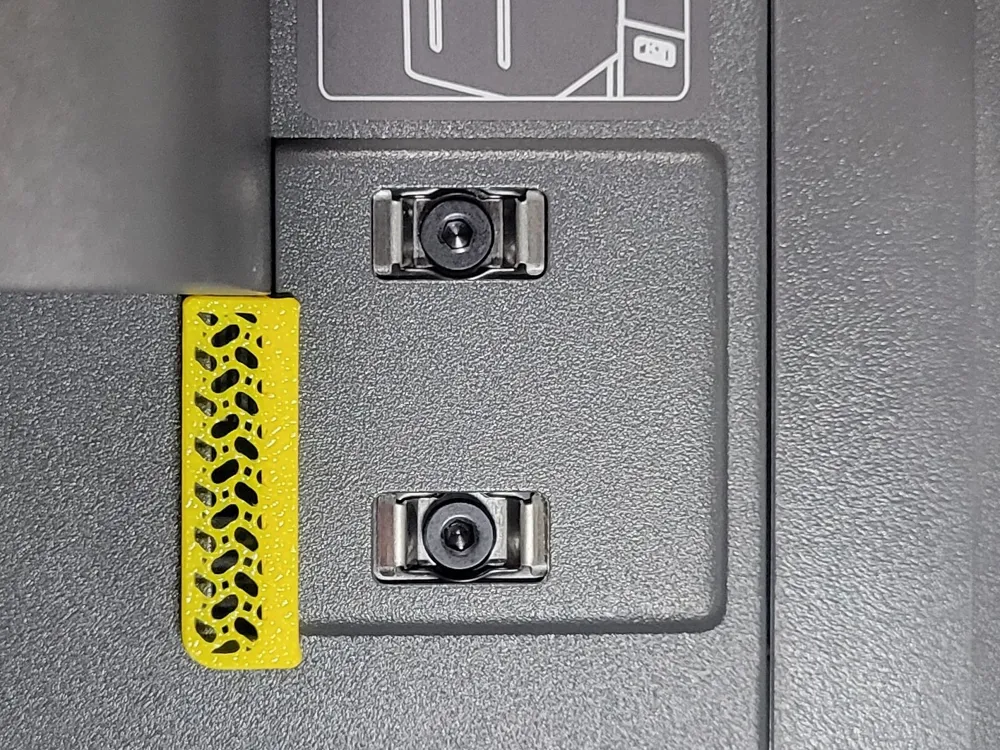
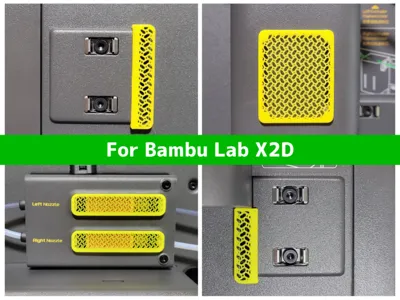
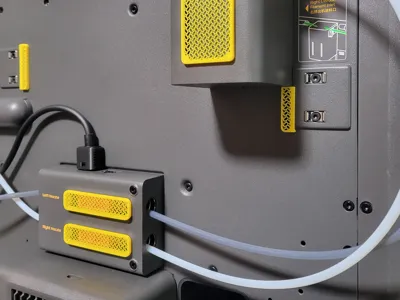
This model is a comprehensive protection kit designed for the Bambu Lab X2D, covering the timing belts, filament buffer, and external extruder on the rear of the machine. It is designed to significantly reduce the risk of foreign object ingress into moving parts and prevent interference with rear cabling.
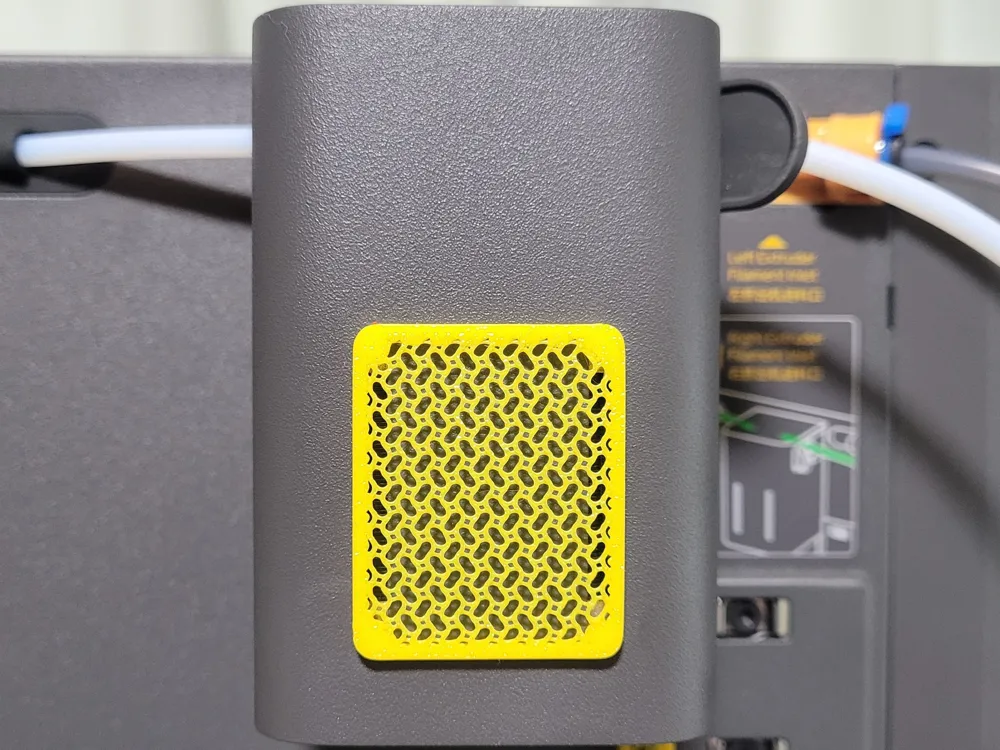
The design utilizes a press-fit and slide-in mechanism for easy installation—no magnets or tape required. The extruder cover is secured simply by pushing it into place.
⚠️ Note: This cover is intended for users who prioritize rear-side protection and debris prevention. After installation, always ensure that all components move smoothly without interference.
Features
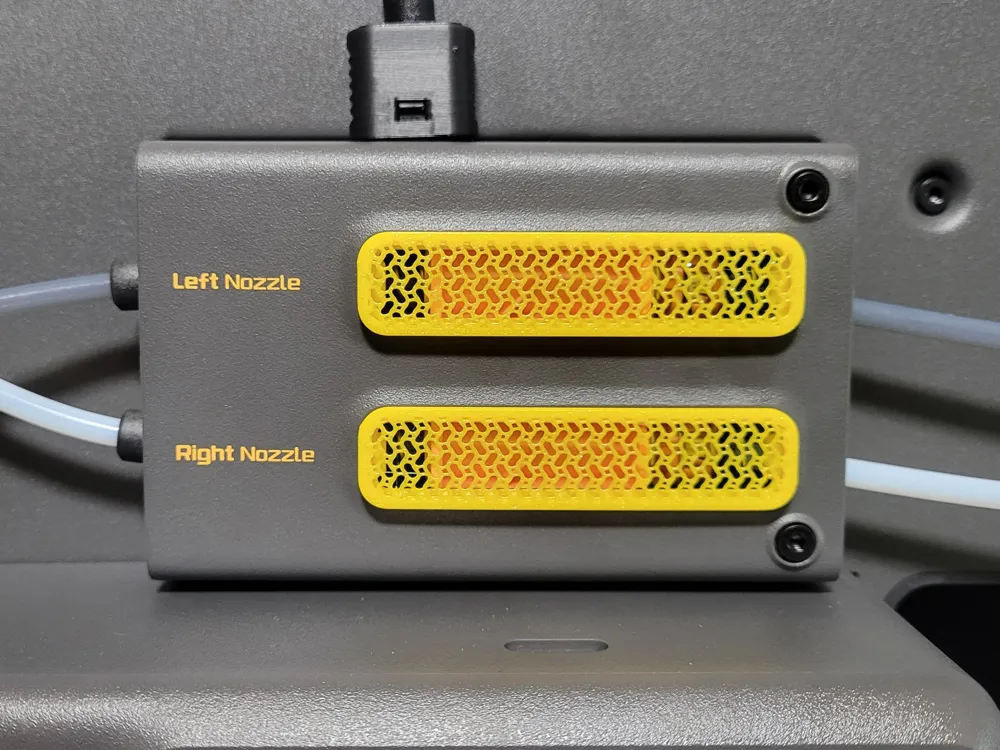
- Total Rear Protection: Specifically shaped to fit the updated belt sections, buffer area, and the external extruder on the X2D.
- Tool-Free Installation: No magnets or adhesive tape required. Simply fit and slide, or push the parts into place for a secure mechanical engagement.
- Debris Reduction: Helps prevent filament scraps and external dust from entering the high-speed motion system and extruder gears.
- Maintenance-Friendly: The "Mesh Style" design allows for easy visual monitoring of the printer’s operation while installed.
Installation Instructions
- Remove Supports: Ensure all support material is thoroughly removed to maintain the precision of the fit.
- Attach the Covers: * Belt & Buffer Covers: Slide them into the gaps at the designated locations on the rear panel. The buffer cover is universal and has no specific left/right orientation.
- Extruder Cover: Simply push it onto the external extruder unit until it is securely fixed.
Usage & Maintenance
- Cleaning: If dust accumulates, remove the cover and wipe it down.
- Precautions: * Before use, confirm that the cover does not obstruct the movement of the belts, the extruder rotation, or the spring mechanism of the buffer.
- This part is designed to improve protection against debris; it does not guarantee the prevention of all mechanical issues.
- If you notice unusual noise or vibration during high-speed printing, immediately check the fit and security of the cover.
Print Notes & Handling
- Cooling: Wait for the build plate to cool completely before removal to prevent warping.
- Bed Adhesion: Ensure the build plate is thoroughly degreased.
- Calibration: Ensure your printer's flow rate and tolerances (X-Y hole/contour compensation) are calibrated for a precise slide-fit and push-fit engagement.
🔥 my favorite printer upgrade for X2D 🔥 | |
 |  |
 |  |
 |  |
 |  |
License

You shall not share, sub-license, sell, rent, host, transfer, or distribute in any way the digital or 3D printed versions of this object, nor any other derivative work of this object in its digital or physical format (including - but not limited to - remixes of this object, and hosting on other digital platforms). The objects may not be used without permission in any way whatsoever in which you charge money, or collect fees.


Comment & Rating (32)