Marcelo Bielsa Bucket


Print Profile(6)
![[Marcelo AMS] 0.2mm layer, 2 walls, 15% infill](https://makerworld.bblmw.com/makerworld/model/USe782f1b0ffc4b0/733708730/instance/60228f5594a442b0.jpg?x-oss-process=image%2Fresize%2Cw_100%2Fformat%2Cwebp)
![[Marcelo Simple] 0.2mm layer, 2 walls, 15% infill](https://makerworld.bblmw.com/makerworld/model/USe782f1b0ffc4b0/733647590/instance/203783b4615dbc55.jpg?x-oss-process=image%2Fresize%2Cw_100%2Fformat%2Cwebp)
![[Marcelo Simple AMS] 0.2mm layer, 2 walls, 15% infill](https://makerworld.bblmw.com/makerworld/model/USe782f1b0ffc4b0/733715492/instance/230d12af8bb27ba4.jpg?x-oss-process=image%2Fresize%2Cw_100%2Fformat%2Cwebp)
![[Marcelo AMS Head] 0.2mm layer, 2 walls, 15% infill](https://makerworld.bblmw.com/makerworld/model/USe782f1b0ffc4b0/733652590/instance/38f1854041df42fa.jpg?x-oss-process=image%2Fresize%2Cw_100%2Fformat%2Cwebp)
Description
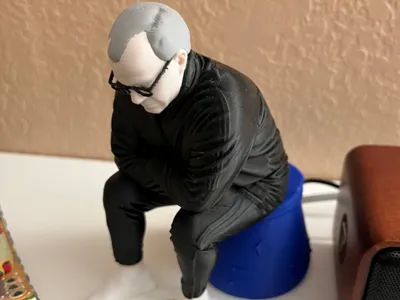
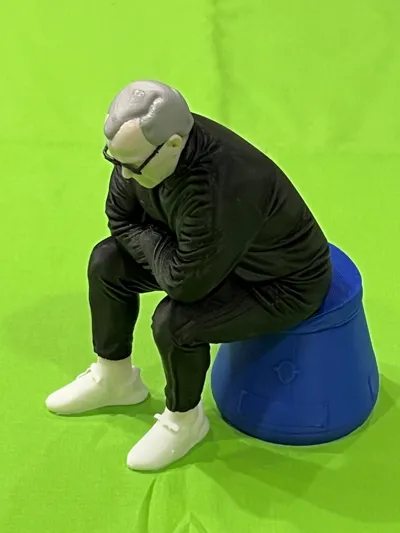
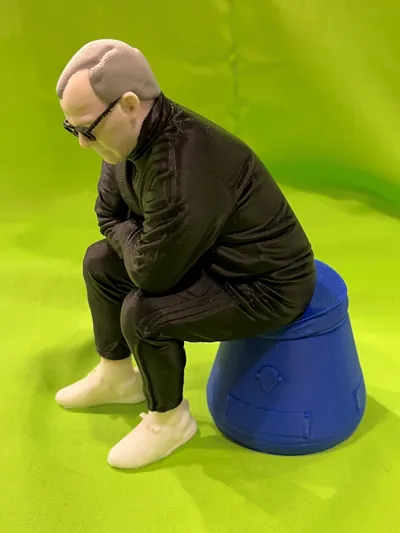
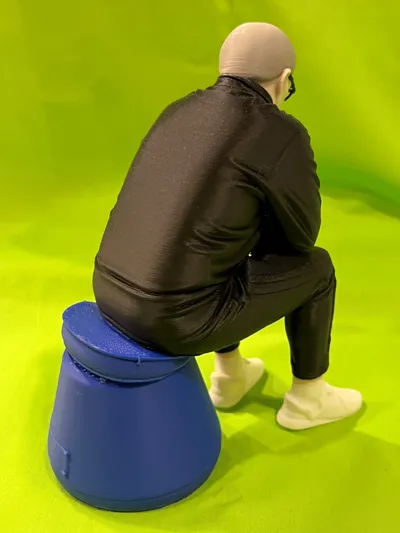
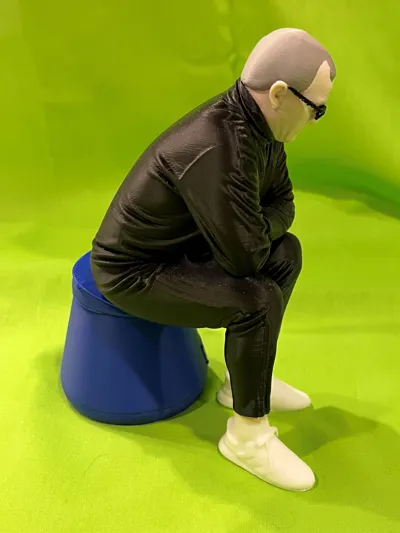
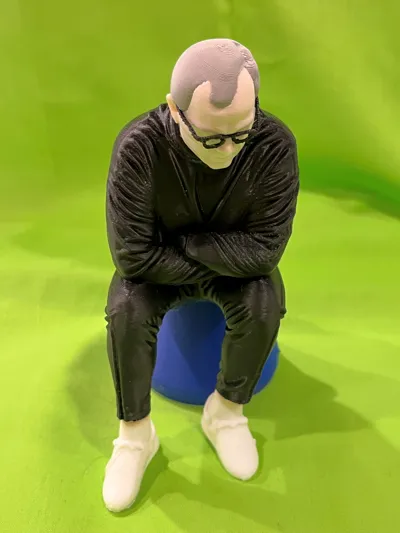
Marcelo Bielsa Bucket
Created from a photo using the MakerLab ‘Image to 3D Model’ tool (process is described below).

The pictures above are of a print done on a P1S using the ‘Marcelo AMS’ profile. Sections were then glued together.

This should print on the A1 Mini if you use the ‘Marcelo Simple’ profile (it does a filament swap on the main body to switch from white shoes / socks to black tracksuit).
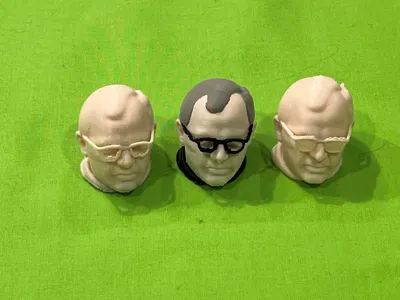
The ‘Simple’ versions print the head in a single color so does require that you paint the hair and glasses on the head.
If you want to keep it really simple and are into painting you can use the ‘Single Color Large’ profile and paint it (I didn’t try painting the single color versions I just used them to see how the print turned out).
Note, the supports on the glasses can be difficult to remove (I used an X-acto knife and tried it several times on a ‘single color’ head to practice before printing a head using the AMS profile).
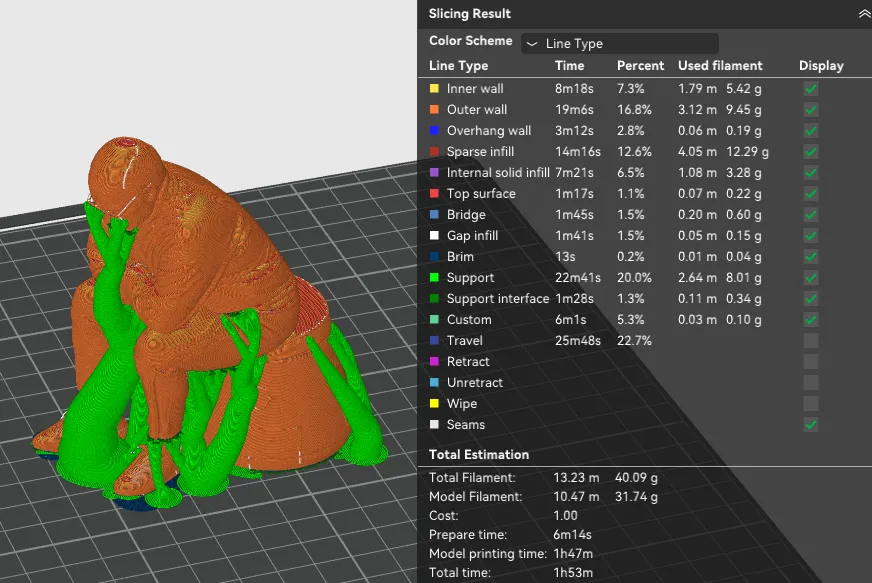
As far as settings go, I used ‘Enable support’ for all profiles:

I also used the ‘Purge into objects infill’ on the AMS profiles.

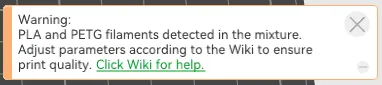
I did also experiment with the ‘Support/raft interface’ setting on the ‘Marcelo Single Color Head PETG Interface’ 3mf file to see if it made getting the support off the glasses easier. This basically uses a layer of PETG as the interface between the supports and the model and it seemed to work (note I only tried this once) – you have to ignore the warning about mixing filaments.

I’m not sure it was worth it but I may try it on other models down the line.
For comparison printing the ‘single color’ head took 30 minutes and used 8g of filament, versus, using the PETG interface which took 2 ½ hours and used 28g of filament. Probably better to just print the ‘single color’ head and reprint it if you mess up removing the supports.


The ‘Marcelo AMS Head’ profile takes 7 hours to print and uses 100g of filament

FYI, the ‘Marcelo Simple’ profile that does a color swap is about 20 minutes faster and uses 5g less filament than the ‘Marcelo Simple AMS’ profile.

The rest of this description is basically my journey into coming up with the ‘Marcelo Bielsa Bucket’ model that you see here and the steps I went through.
I was playing around with MakerLab and tried using the ‘Image to 3D Model’ tool to see what it would do.
I started with this image of Marcel Bielsa when he was Leeds manager sitting on his iconic bucket.

After plugging the image into the ‘Image to 3D Model’ tool it generated this 3D model:
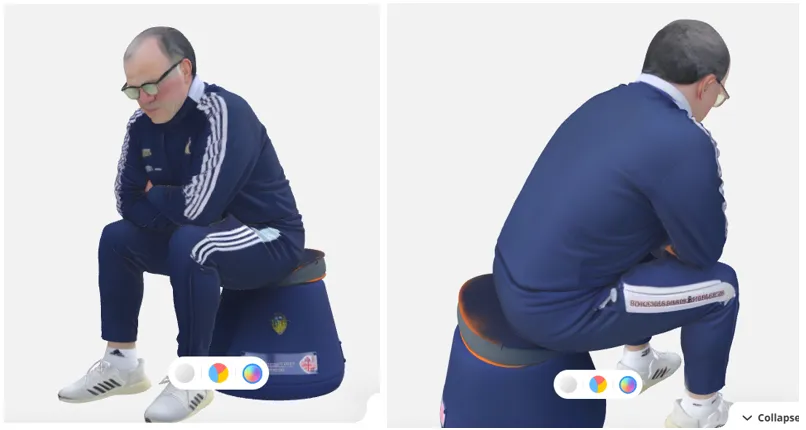
I thought this was pretty cool – only thing I would say on the generator was that his back came out very flat.
Taking the single color ‘stl’ file it produced I did a test print to see what it looked like and this is how it came out:

The ‘Single Color Small’ profile was created from this stl file and was a 2 hour print that used about 40g of filament.
I had some problems getting the supports off the glasses and broke them so I decided to scale up the model to 150% original size.
The scaled up single color model (‘Single Color Large’ profile) is a 4 ¼ hour print that uses 112g filament

Note, the ‘Image to 3D Model’ tool also produced a ‘reduced color’ stl file that used 12 different filaments, would use 325g of filament and would take 26 ½ hours to print (without supports) – I decided not to use this.
Even after I merged some of the colors to reduce it down to 5 filament colors a 115% scale version still had a 14 hour print time and used 180g filament – again not interested in printing it.

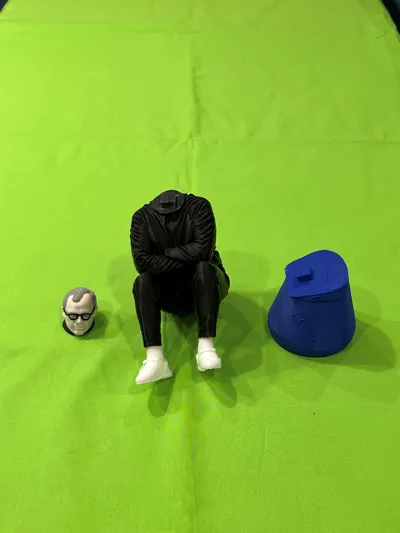
So, I used ‘Meshmixer’ to chop Marcelo up into parts and add pegs. I then used the paint tool in Bambu Studio to color the head and also the feet on the body section. These are the sections that have been combined together to this model.

Comment & Rating (0)