


Print Profile(5)
Bill of Materials


- E14 bulb sockest x 1: E14 bulb sockest + LAMP MAX LENGHT 85 mm
Description
Love this model? Help 4ma Lab grow! ❤️
Please use the BOM (Material List) below to buy your supplies. It costs you nothing extra, but the small commission I receive helps me fund future free projects.
Thank you for your support!
Boost Me (for free)
If you found this model helpful or enjoyable, feel free to show your support — it truly motivates me to keep sharing my creations. Thank you, and happy printing! 🙏
Membership
💛 Thank You So Much Your support truly means a lot! Thanks for helping me grow and keep sharing my 3D creations!
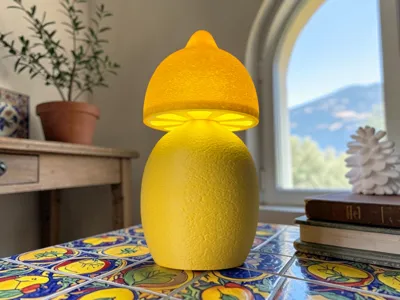
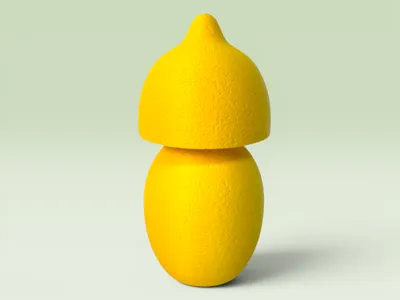
🍋 Lem-ON Lamp 🍋
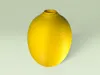
This designer lamp is a tribute to Mediterranean warmth, where organic citrus beauty meets a clean, modern aesthetic. I designed the base with a highly realistic "peel" texture, while the heart of the project is the internal citrus-slice support that radiates light through its segments.
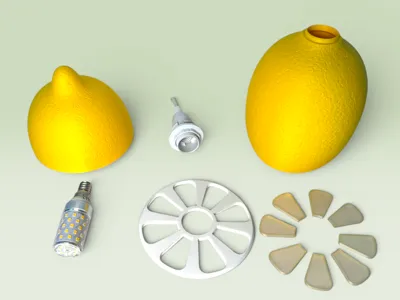
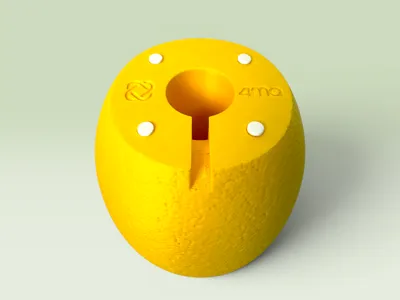
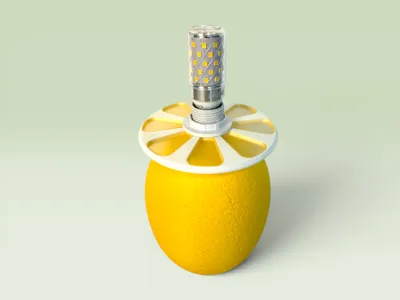
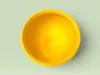
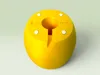
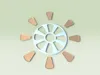
The model consists of 4 easy-to-print parts: the base, the main shade, the segment support, and the individual lemon slices that snap into place. Lem-ON is compatible with standard E14 bulb sockest; just make sure to use a bulb that isn't too long so it doesn't touch the top shade.
Assembly is straightforward: insert the socket into the base after removing the threaded ring, place the shade support onto the base's top protrusion, and screw the ring back on to lock everything together. After installing the bulb, simply rest the shade on top of the support. For extra grip, you can use adhesive rubber feet or print the TPU ones included in the provided print profiles.
Here you can find a fantastic reel with all the assembly steps created by Mooslo Made: https://www.instagram.com/reel/DZDBnp1NgRL/?utm_source=ig_web_copy_link&igsh=MzRlODBiNWFlZA==
or you can find a step-by-step assembly guide with photos in the attached documentation. 💡
Warning: do not use light bulbs that get too hot, as they could melt the plastic.
Documentation (1)
License
You shall not share, sub-license, sell, rent, host, transfer, or distribute in any way the digital or 3D printed versions of this object, nor any other derivative work of this object in its digital or physical format (including - but not limited to - remixes of this object, and hosting on other digital platforms). The objects may not be used without permission in any way whatsoever in which you charge money, or collect fees.
Comment & Rating (13)