Polestar 4 Hazard Light Button Guide


Print Profile(1)
Description
Polestar 4 Hazard Light Guide & Safety Guard
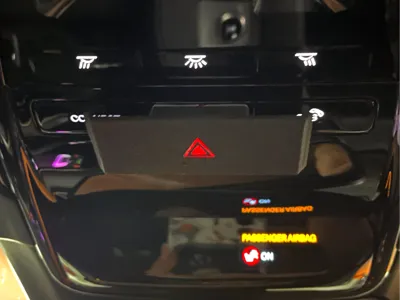
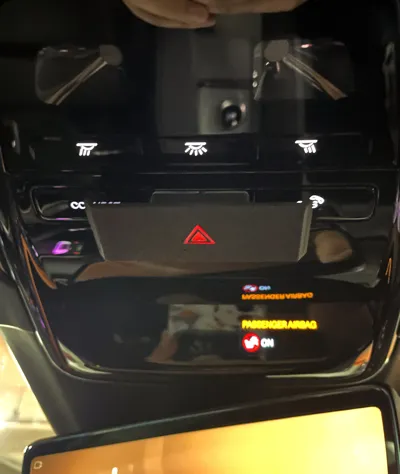
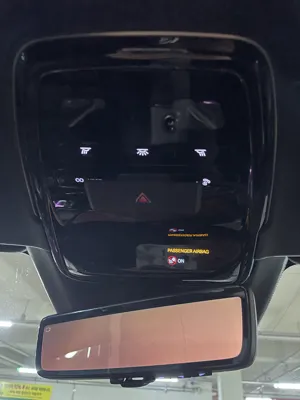
While the Polestar 4 features a sleek and minimalist interior, the overhead placement of the hazard light button can make it difficult to locate quickly in an emergency.
In many driving cultures (such as in Korea), hazard lights are frequently used for various communication purposes. The proximity of the SOS and CONNECT buttons to the hazard light increases the risk of accidental activation. This guide is designed to allow drivers to find the hazard light by touch alone while providing a physical barrier to prevent accidental SOS calls.
Key Features
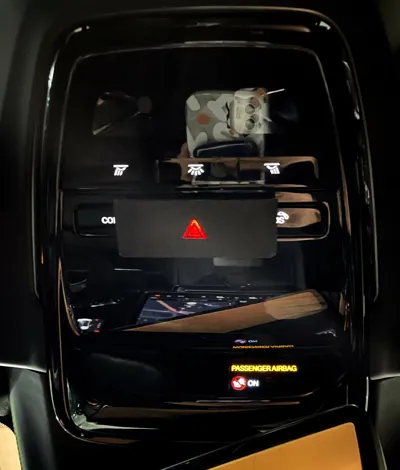
- Tactile Intuition: Designed to naturally guide your finger to the center hazard button without requiring you to take your eyes off the road.
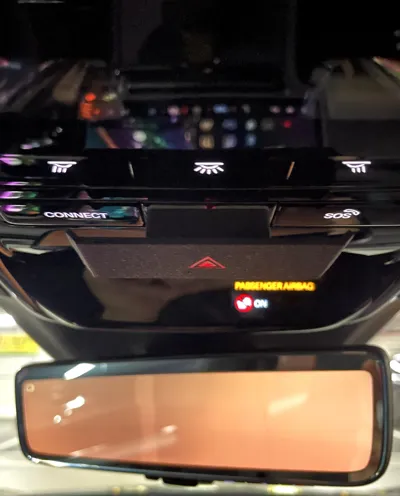
- Accidental Press Prevention (Safety Guard): The frame is wider than the hazard button itself, acting as a guard to prevent unintentional activation of the adjacent SOS and CONNECT buttons.
- Maintained Functionality: While it protects against accidents, the guide is precisely engineered so that the SOS and CONNECT buttons can still be pressed intentionally when needed.
- Aesthetic Integration: The design complements the Polestar 4’s elegant interior language and allows the button's backlight to remain visible for night driving.
Recommended Materials & Print Settings
To ensure both heat resistance for the vehicle interior and clear visibility of the button, we recommend the following material combination:
- Body (Main Frame): ASA or PETG
- ASA is highly recommended for its superior heat resistance (up to 90-100°C), preventing deformation during hot summer days.
- PETG is a solid alternative if ASA printing is not available.
- Transparent Part (Lens): Transparent PETG
- Using Transparent PETG for the center allows the hazard light icon and internal lighting to shine through clearly.
[Print Profile Note]
The provided print profile is pre-configured with Black Matte PLA for the body and Transparent PETG for the center. If you plan to use the guide in high-temperature environments (such as mid-summer), we strongly recommend swapping the Matte PLA for ASA or High-temp PETG in your slicer settings.
Installation
Simply apply thin double-sided adhesive (such as 3M VHB) to the back of the guide and press it firmly onto the overhead console.
Note: Due to camera lens distortion and close-up angles, the guide may appear slightly larger in photos than it does in person. It is designed to fit flush with the actual console dimensions.
License
You shall not share, sub-license, sell, rent, host, transfer, or distribute in any way the digital or 3D printed versions of this object, nor any other derivative work of this object in its digital or physical format (including - but not limited to - remixes of this object, and hosting on other digital platforms). The objects may not be used without permission in any way whatsoever in which you charge money, or collect fees.
Comment & Rating (0)