
Ornate Swan Crest | Multicolor Multipart no AMS
Print Profile(1)


Description
Boost Me (for free)
Boost = fuel for the next design! If you’ve enjoyed my work, hit Boost and be part of the creative streak. Also, tap Follow to catch the next drop.
Membership
You can sell physical prints of this model as long as you subscribe to my Commercial License Membership.
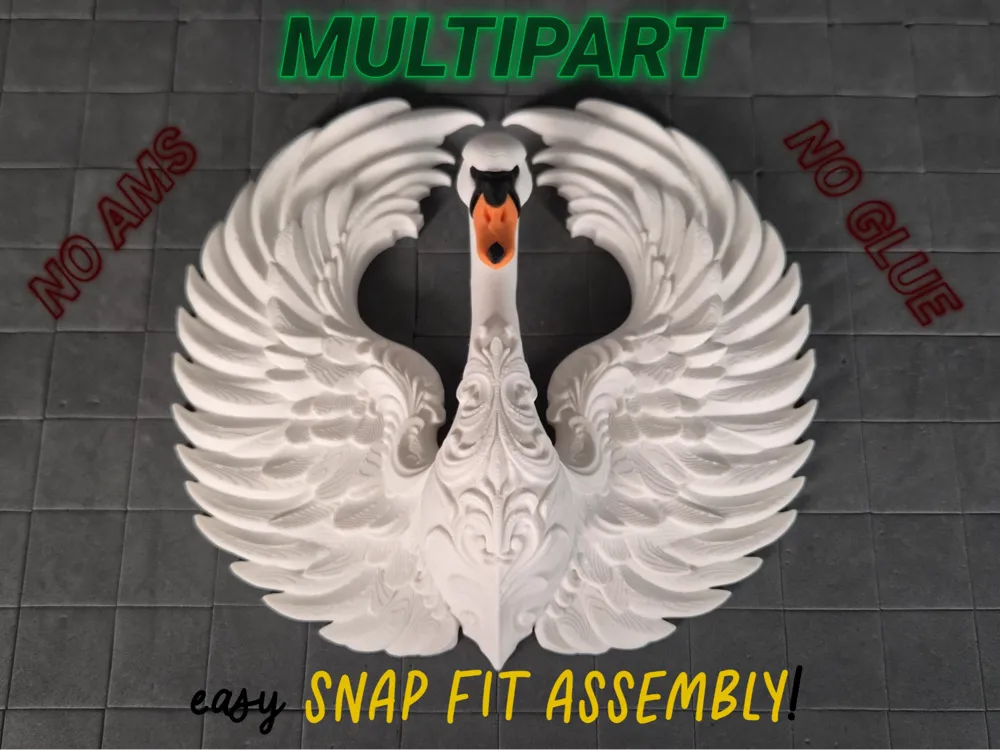
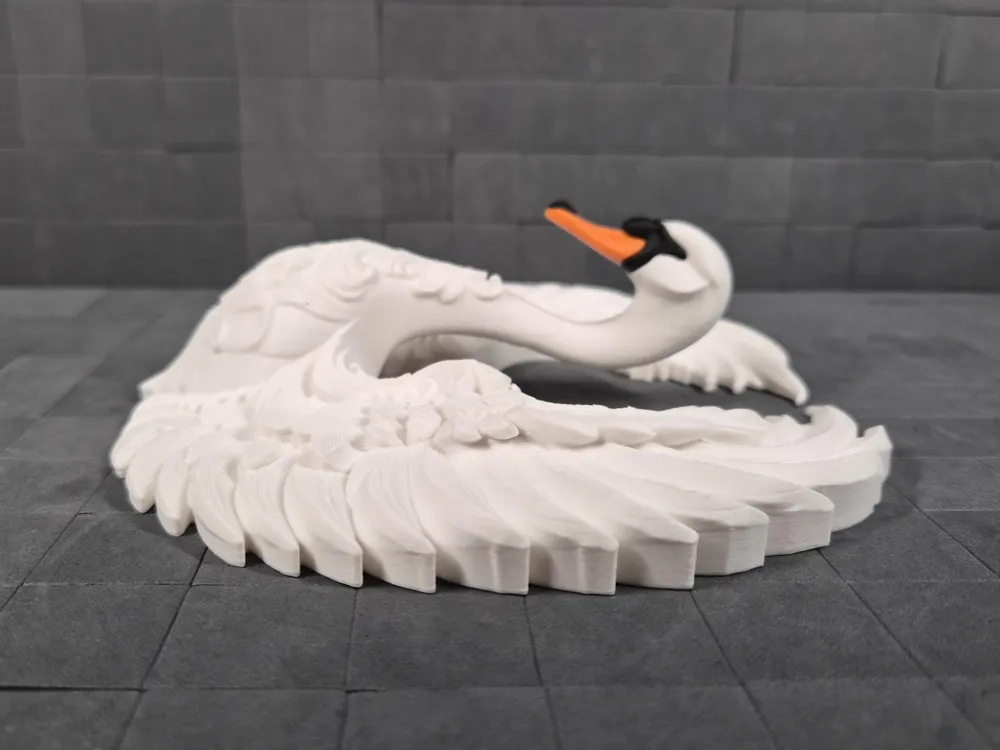
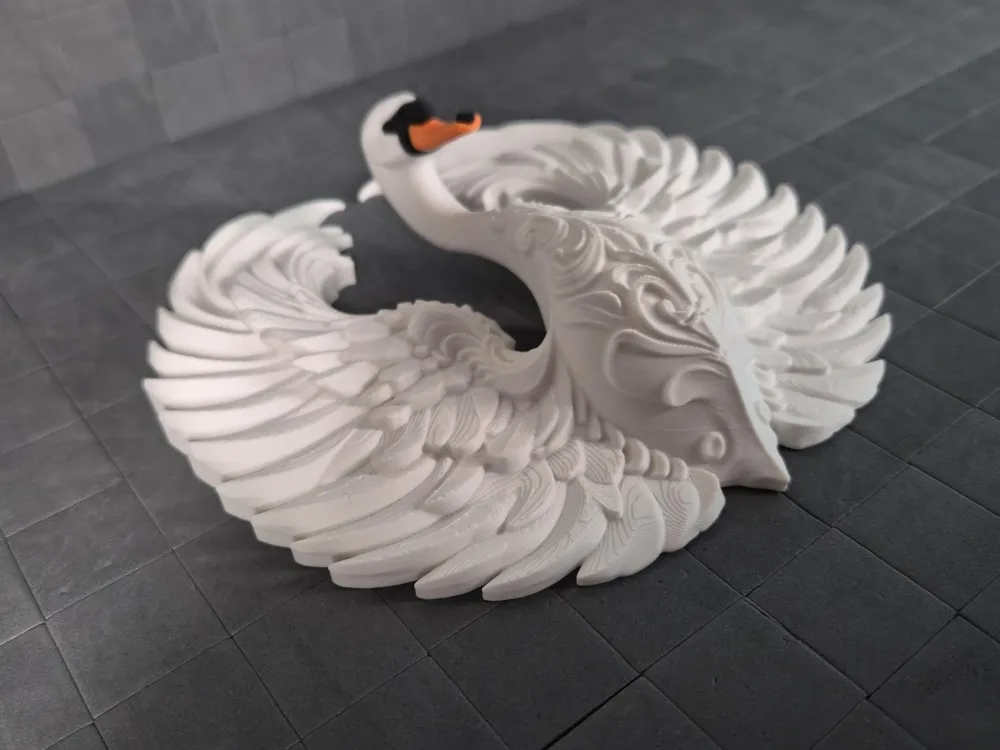
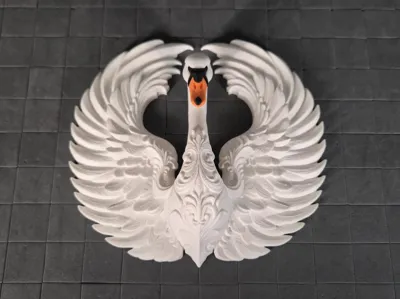
🦢 Ornate Swan Crest – Baroque Wings Wall Art
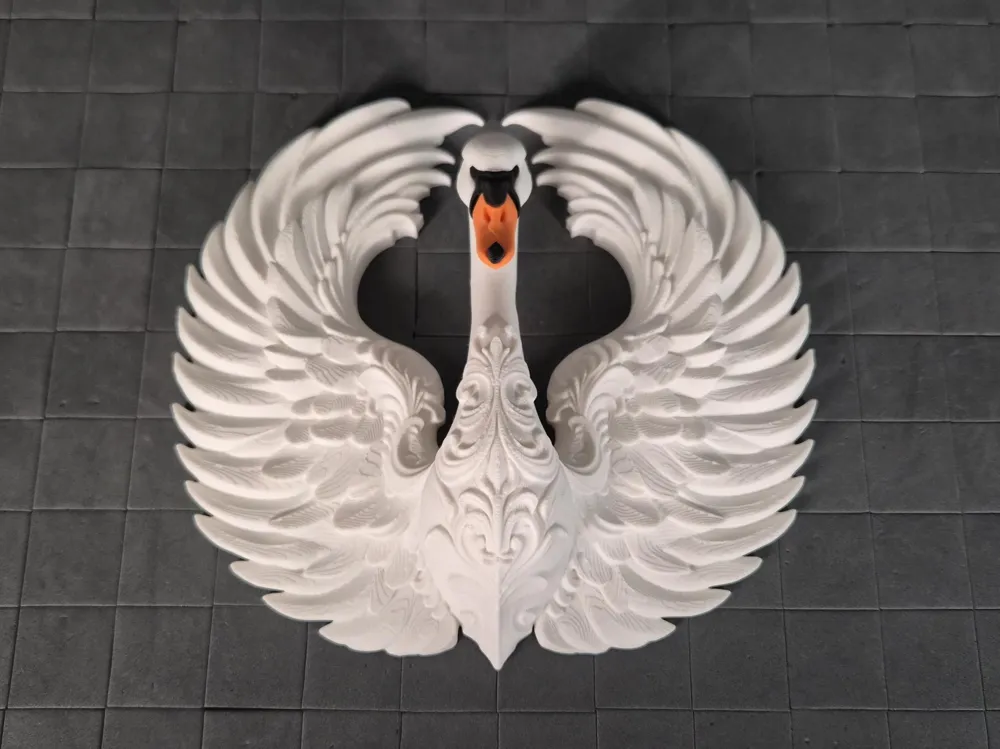
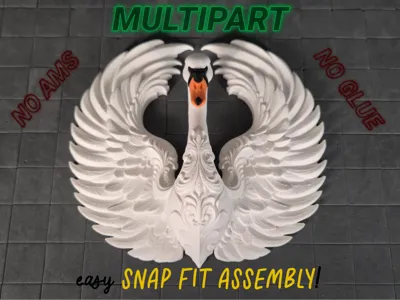
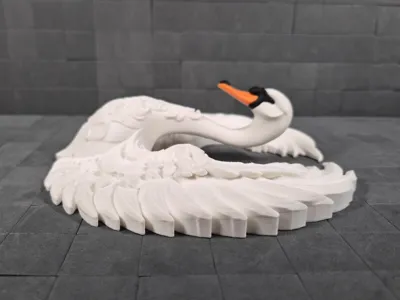
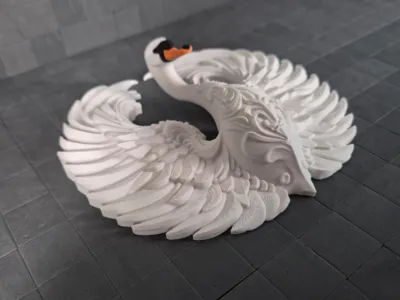
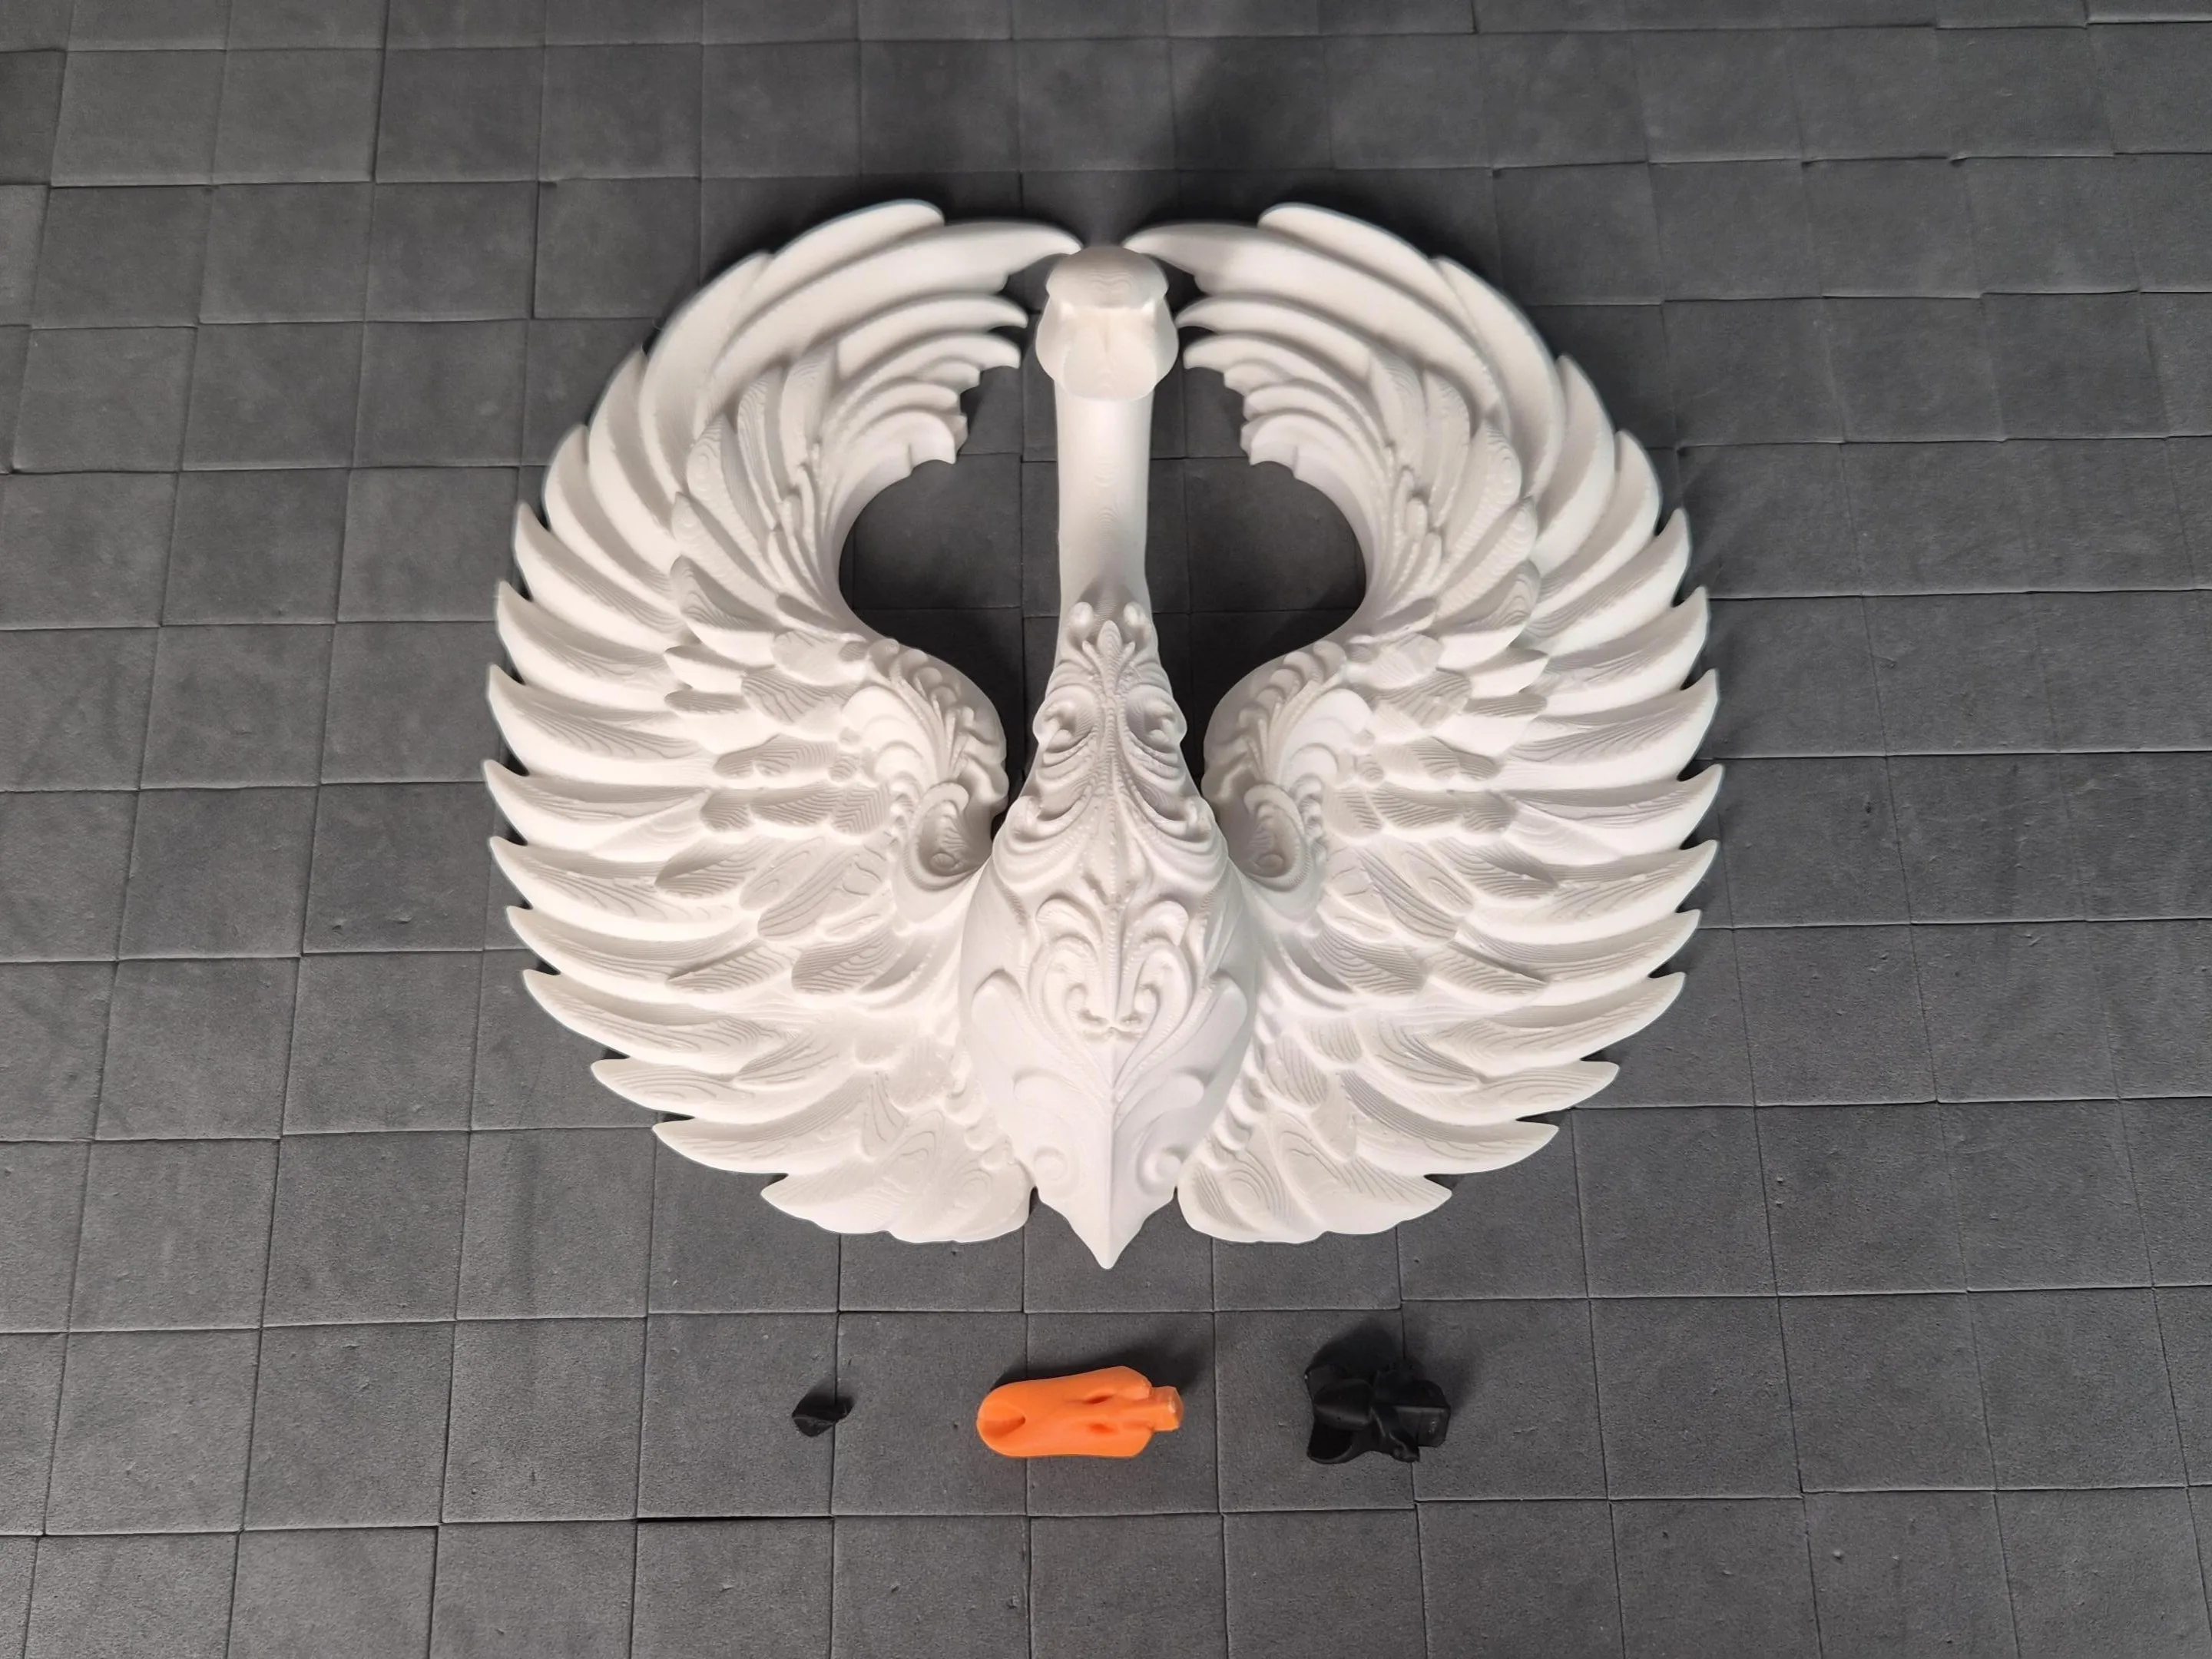
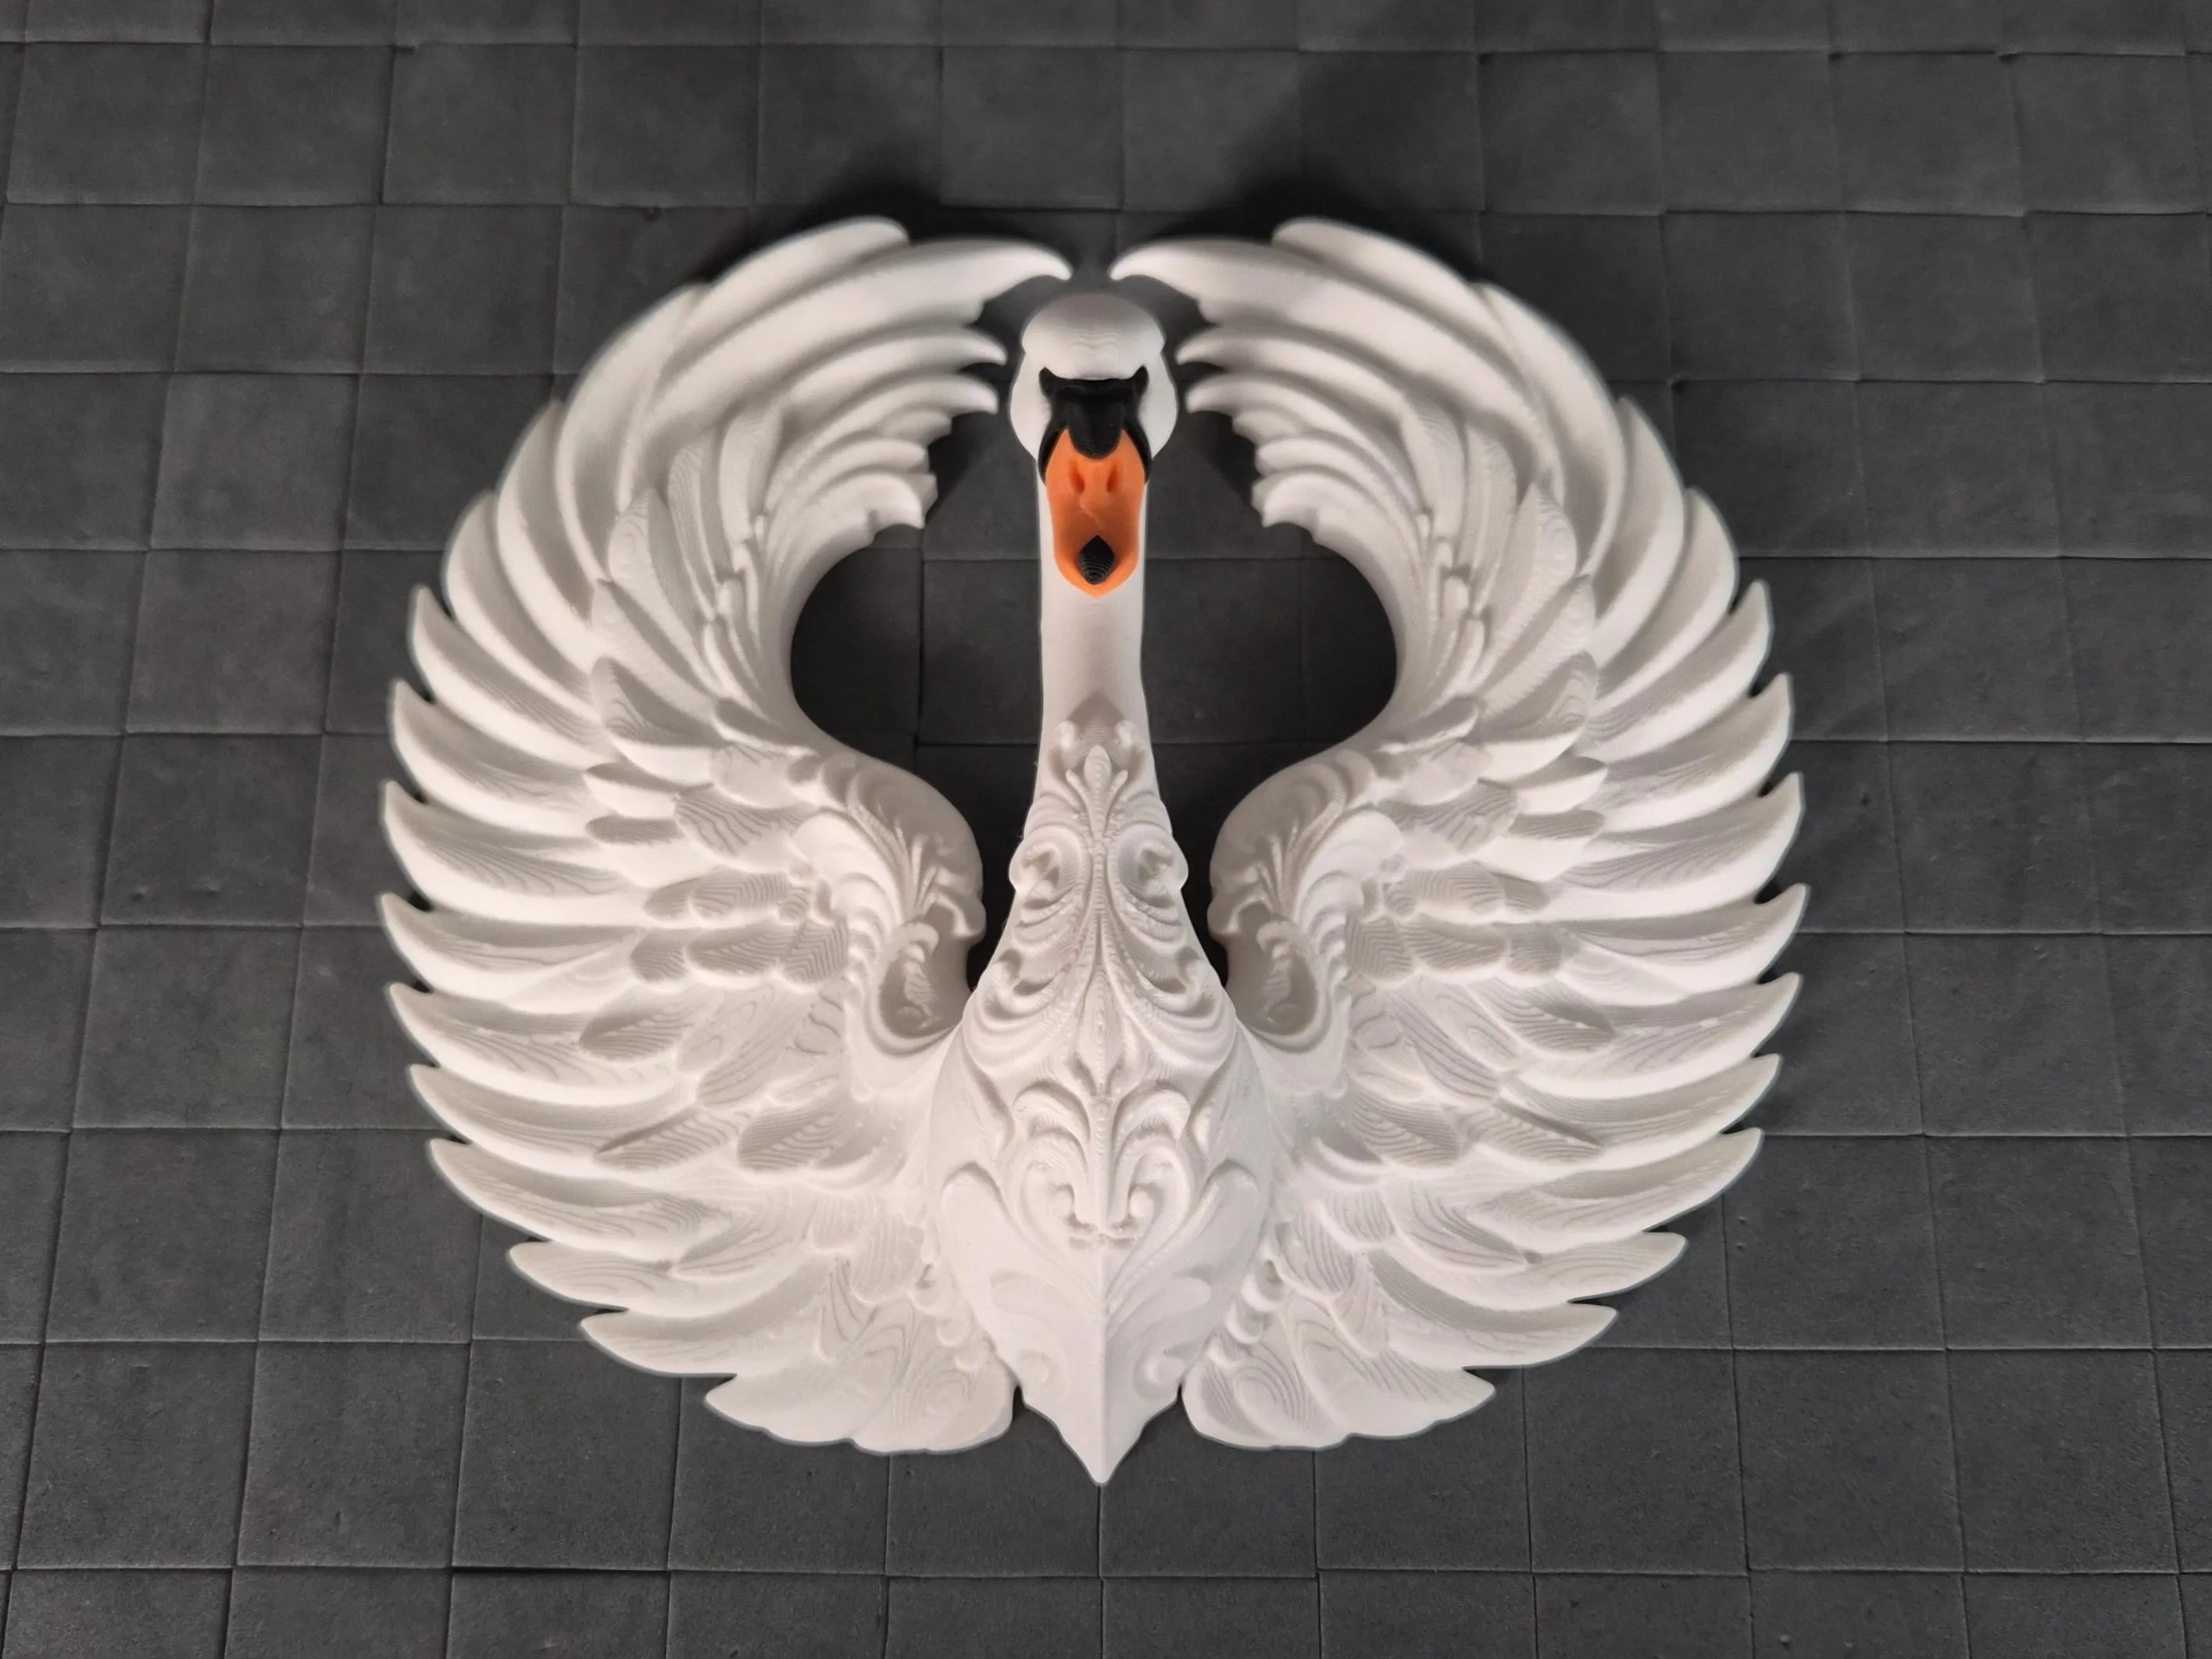
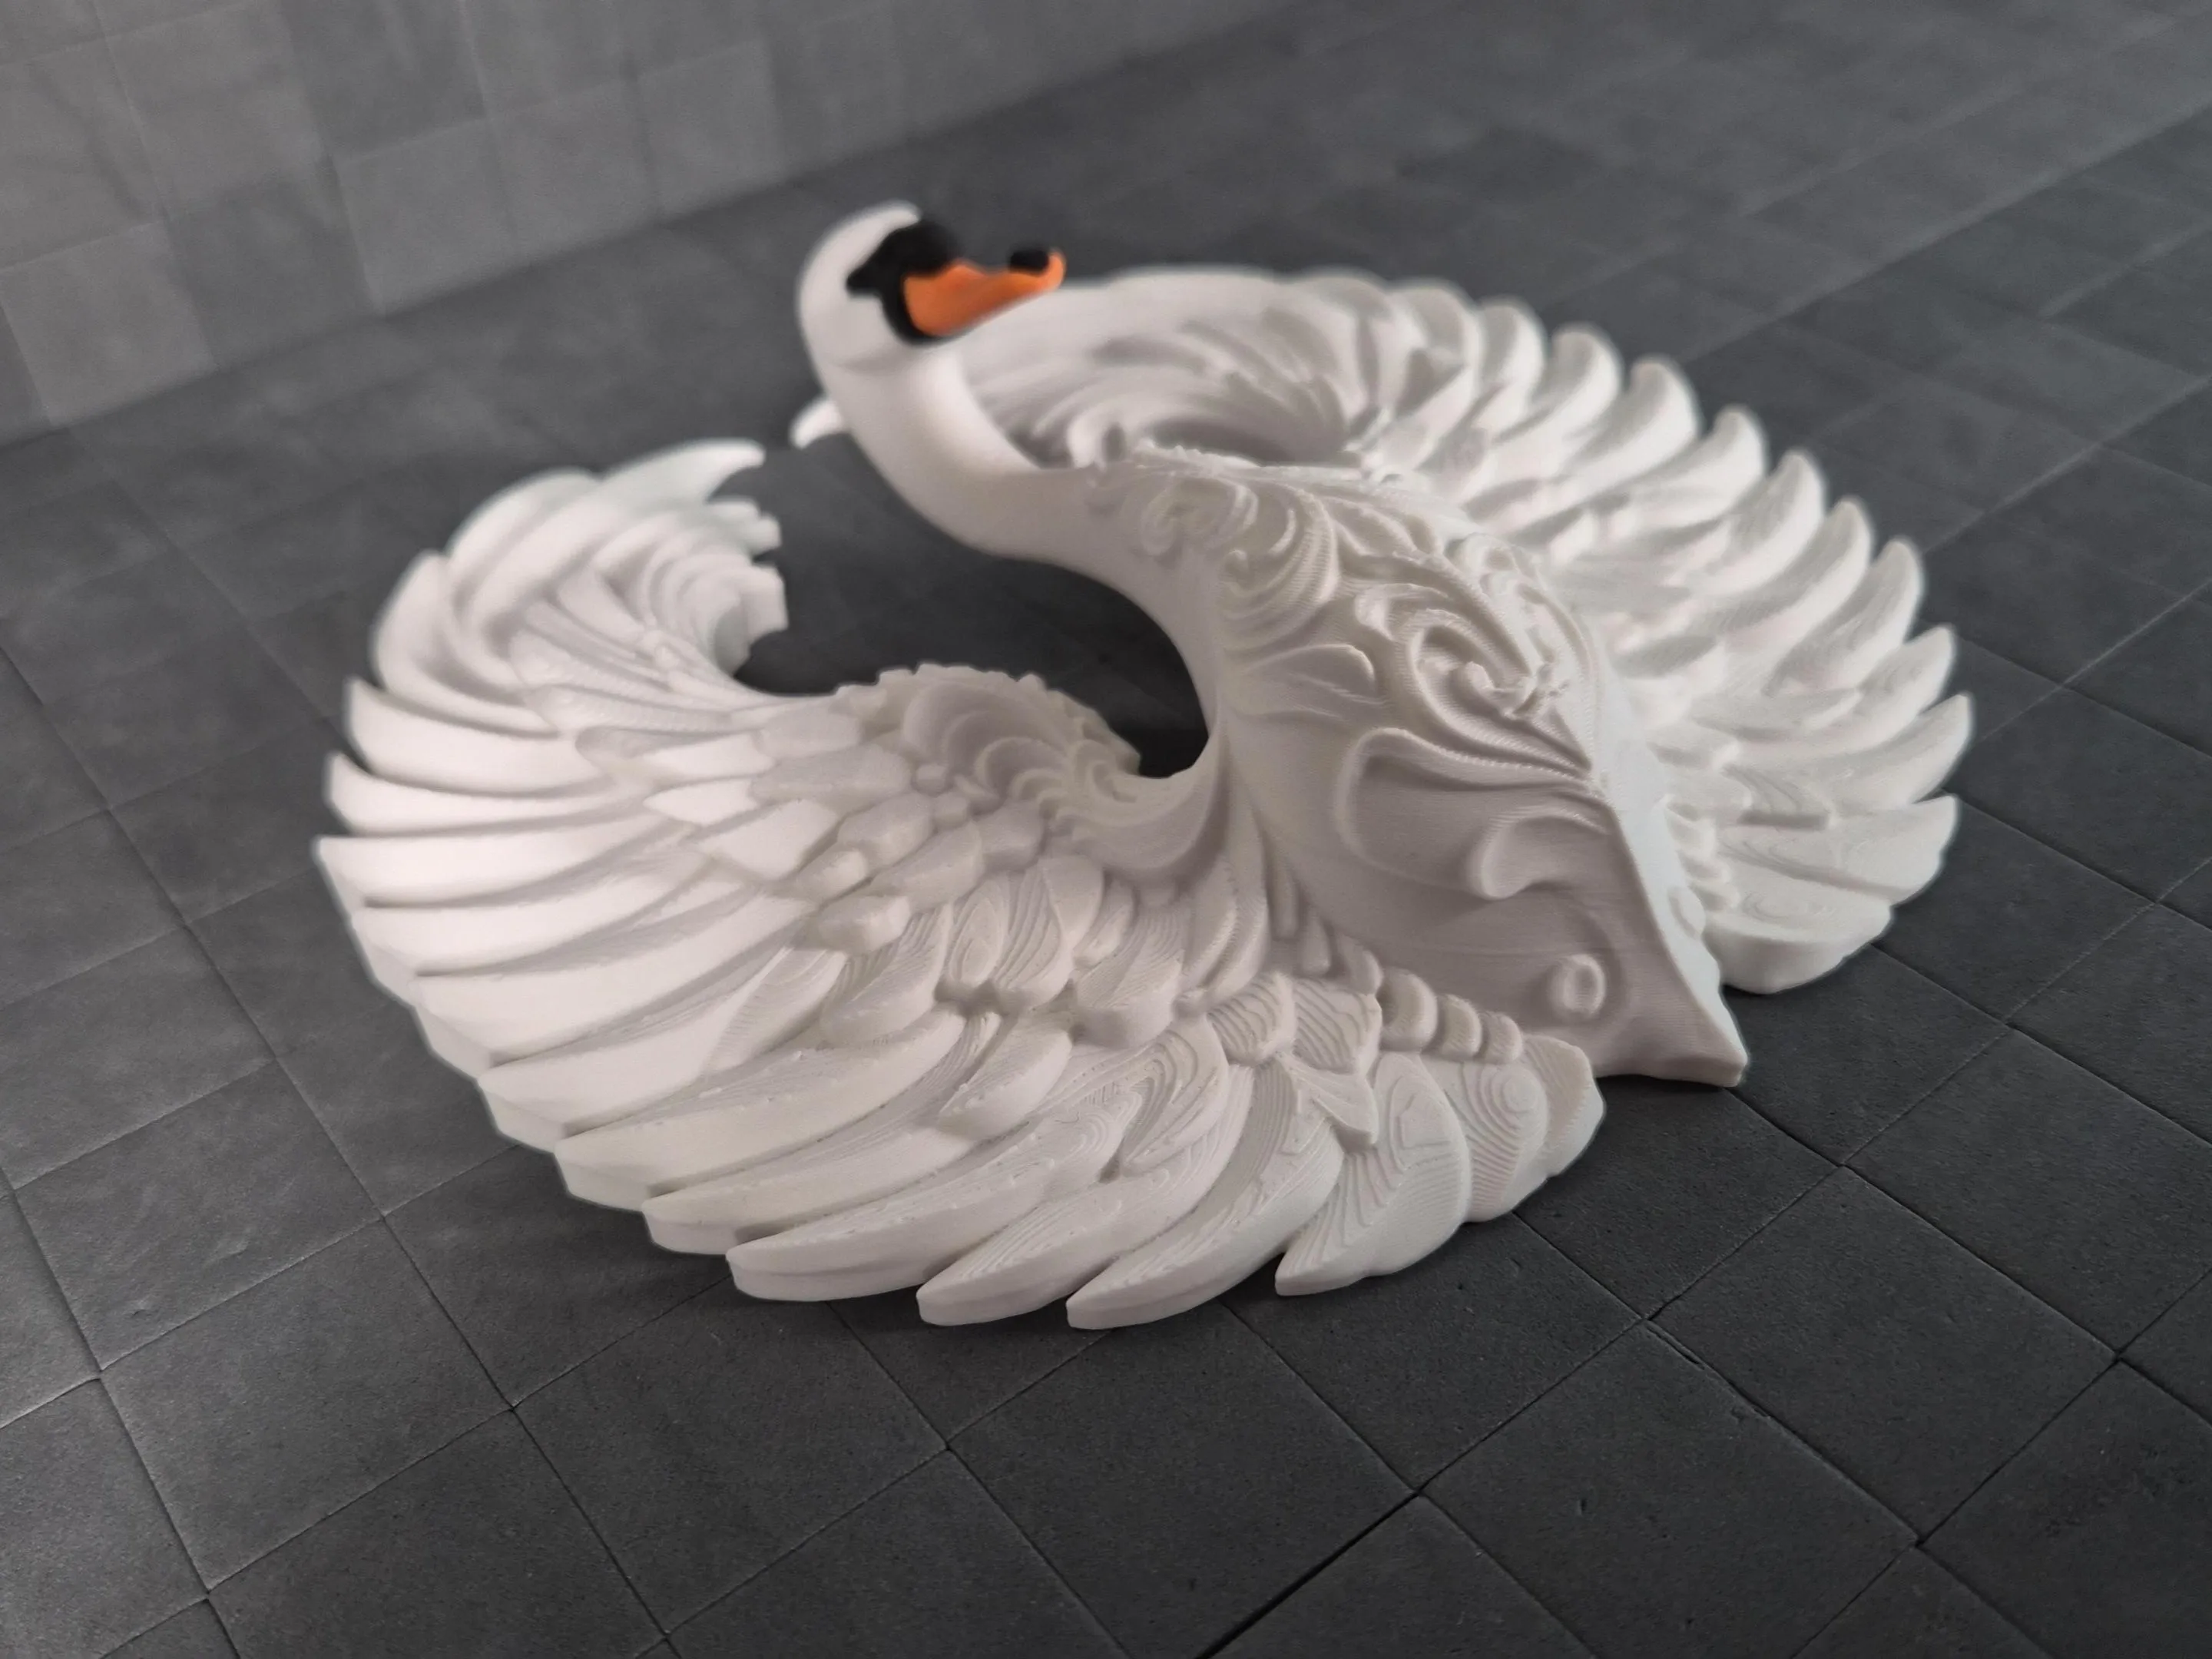
This majestic single-swan wall crest is the stunning addition to Walls of the Wild collection. Intricate baroque filigree and ultra-detailed layered feathers that form a perfect symmetrical crest, it brings regal elegance and timeless grace to any wall. The ornate body flows seamlessly into dramatic wings while the snap-fit orange beak and black detail pieces add that eye-catching pop of color.
Key Features:
- Glueless snap-fit assembly → all parts click together securely with no glue required
- No AMS needed → designed for single-color prints per part (white main body + vibrant orange & black accents)
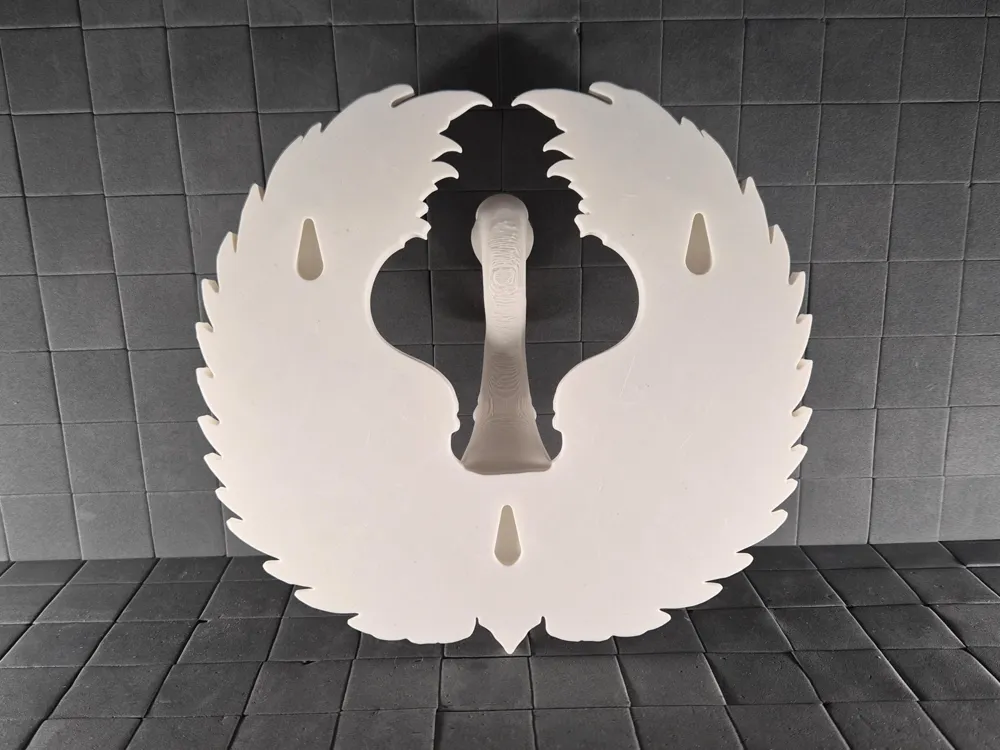
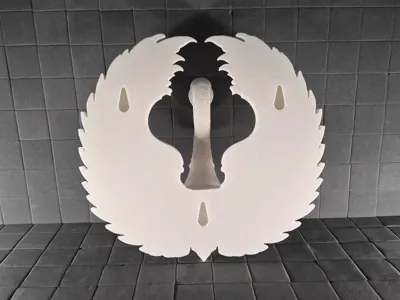
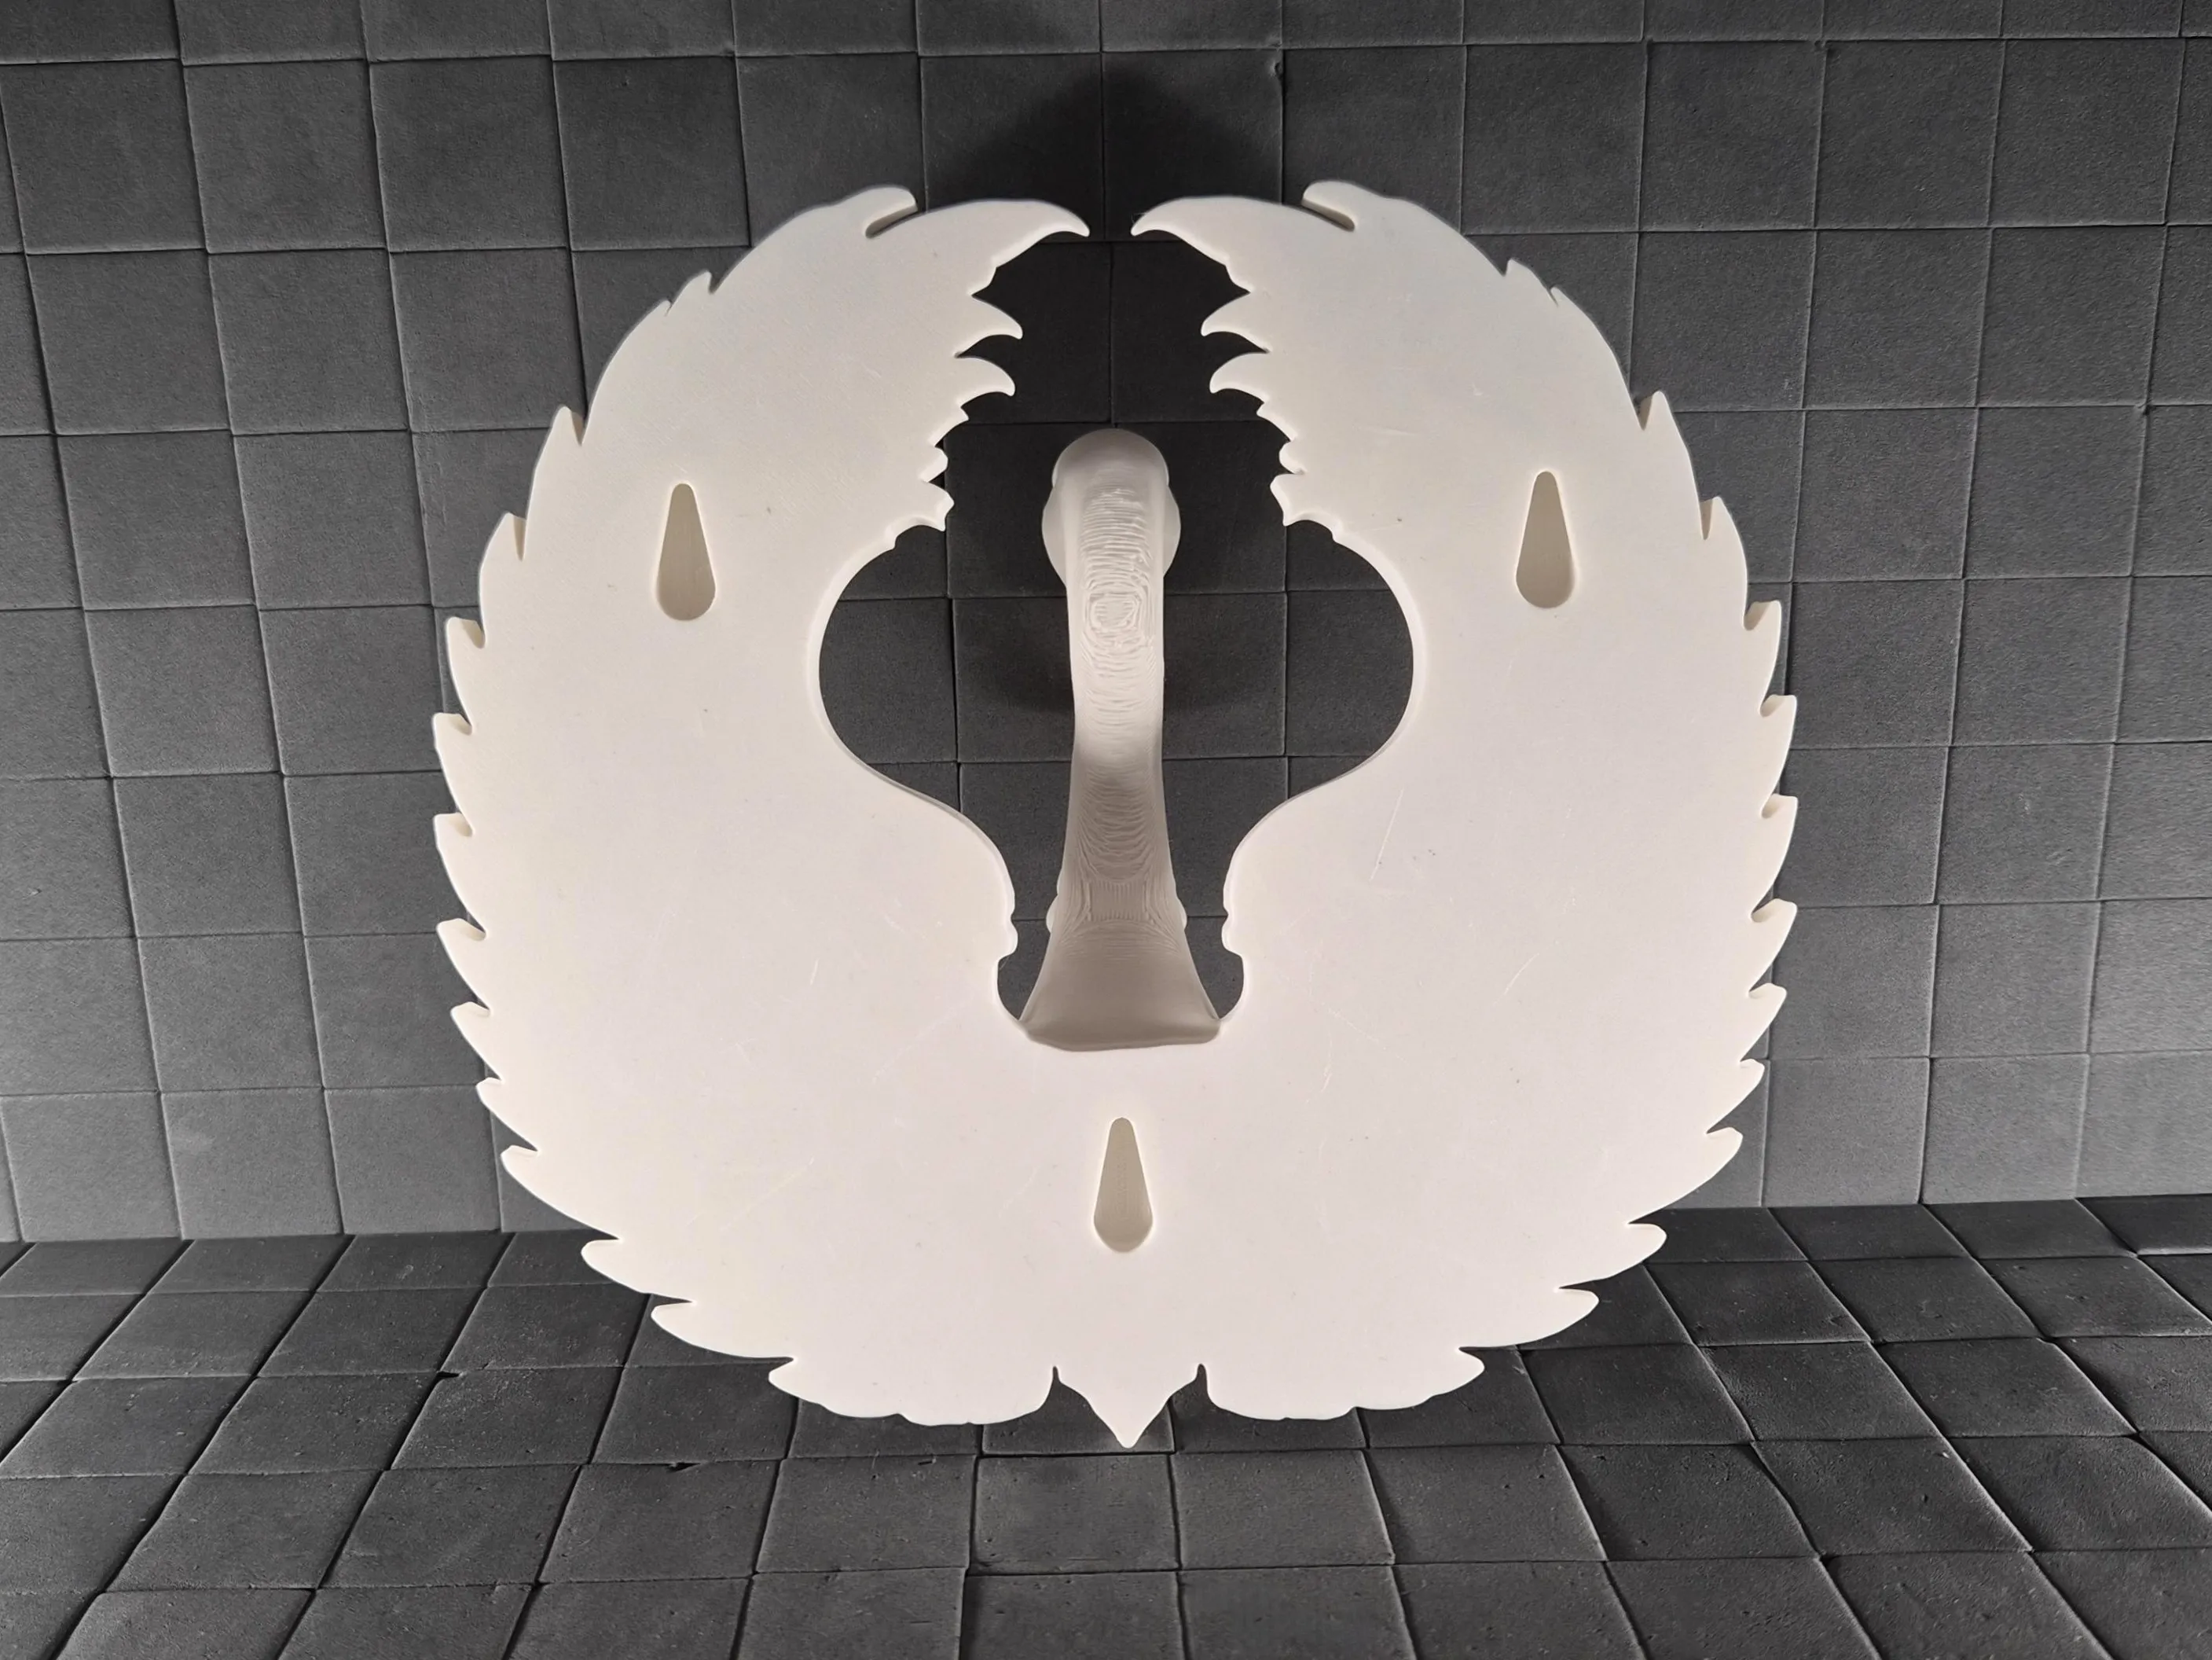
- Wall-ready → built-in mounting holes (teardrop slots) for easy hanging
Assembly
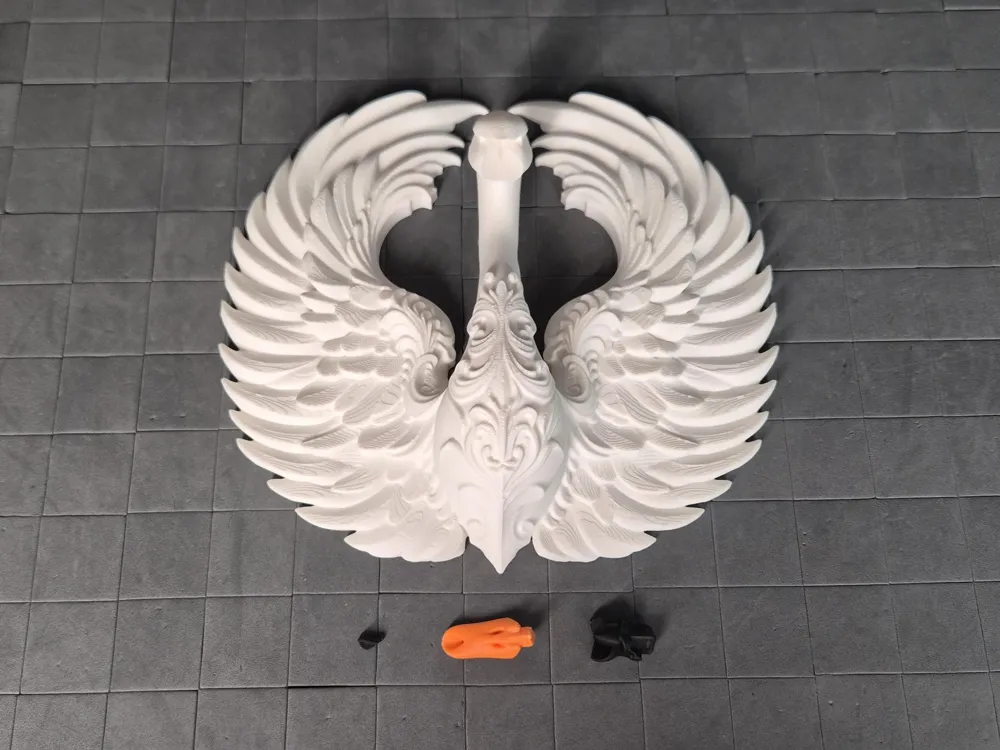
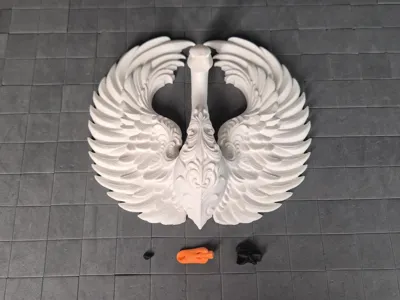
This multipart model is designed for effortless, glueless assembly! Snap everything together using the peg connectors. No glue required for a secure, satisfying fit.
- Preparation Carefully remove tree supports before assembly. Tree supports release most cleanly when cut between branches… snap them away without stressing surfaces.
- Peg Connections Almost all parts use the same snap-fit peg system:
- Pegs are intentionally tight for rock-solid hold → align and then push firmly until you feel/hear the snap.
If too tight → lightly trim peg domes (green) with a knife.
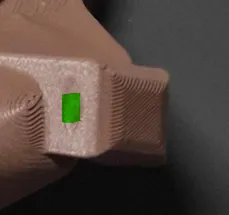
- If slightly loose → a tiny drop of superglue fixes it instantly.
- Smaller pegs may feel less "clicky" than larger ones but still provide reliable strength.
Print profile
- 100% scale = X175 mm × Y162 mm × Z53 mm
- Layer Height: 0.2 mm
- Walls: 2–3
- Infill: 5–20% (uses lower end for large parts to save filament/time; higher end for small/functional parts and connectors to boost durability and prevent breakage during repeated assembly/disassembly)
- Supports: Tree supports (auto generated) and painted into strategic places to add reliability of the print.
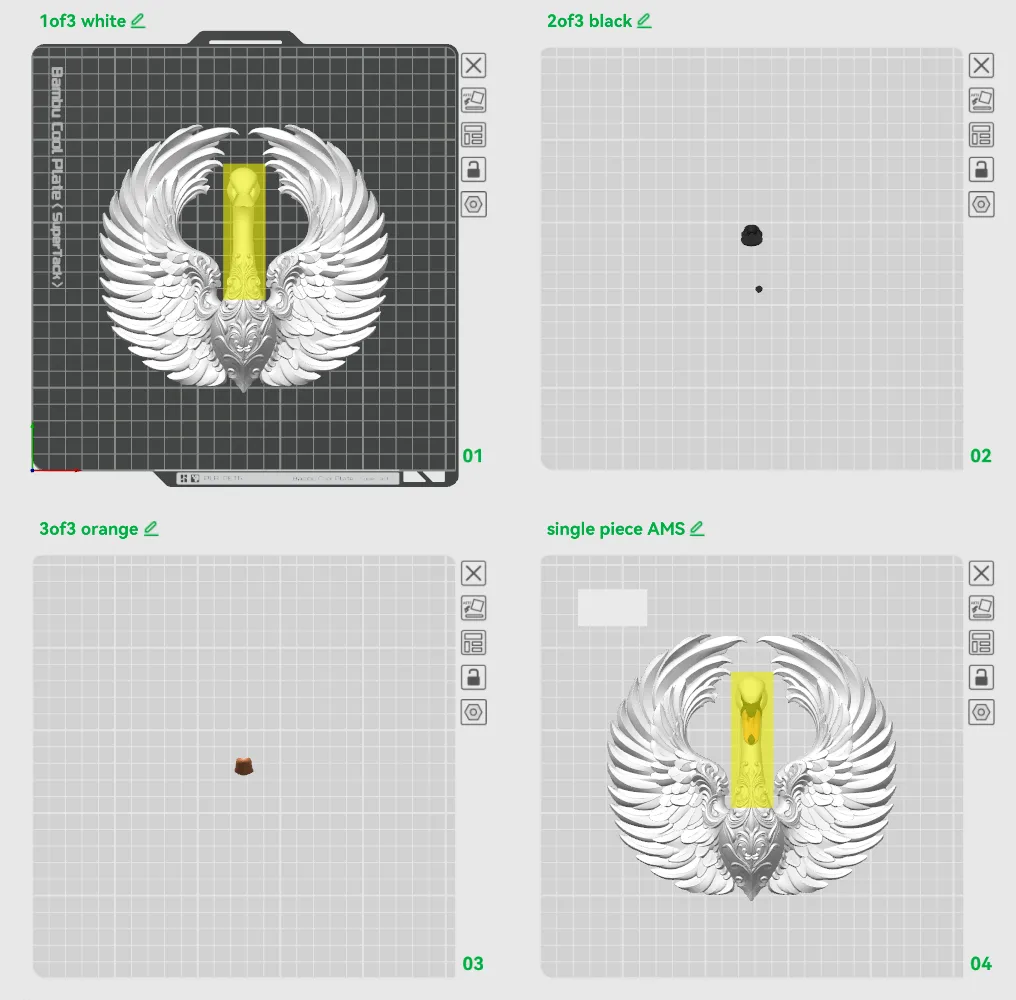
- Color Handling: Multipart design → no AMS required. Print plates separately in desired filaments. You can also rearrange the parts onto different plates if you want to mix the colors in a more unique way.
- Options: AMS option available for one piece printing
Plates
- 10f3 white
- 20f3 black
- 3of3 orange
- single piece AMS
Scaling Advice
- Scaling Up: Larger sizes should work well but not extensively tested yet. The peg connectors are robust, but connections may need minor tolerance tweaks (e.g., slight peg sanding or scaling adjustment) if fit feels off after upsizing.
- Scaling Down: Smaller sizes should also be possible, but connections might not be as clicky or secure → use glue if needed.
- Best Practice: Always scale all parts uniformly with the exact same percentage in Bambu Studio before slicing. Apply scaling globally to the entire project to keep peg/socket alignments perfect.
- Verification: After scaling, check the sliced preview in Bambu Studio to make sure supports are properly generated for overhangs and that small features don’t have thin walls. Keep in mind, some parts may not be printable if they’re too small.
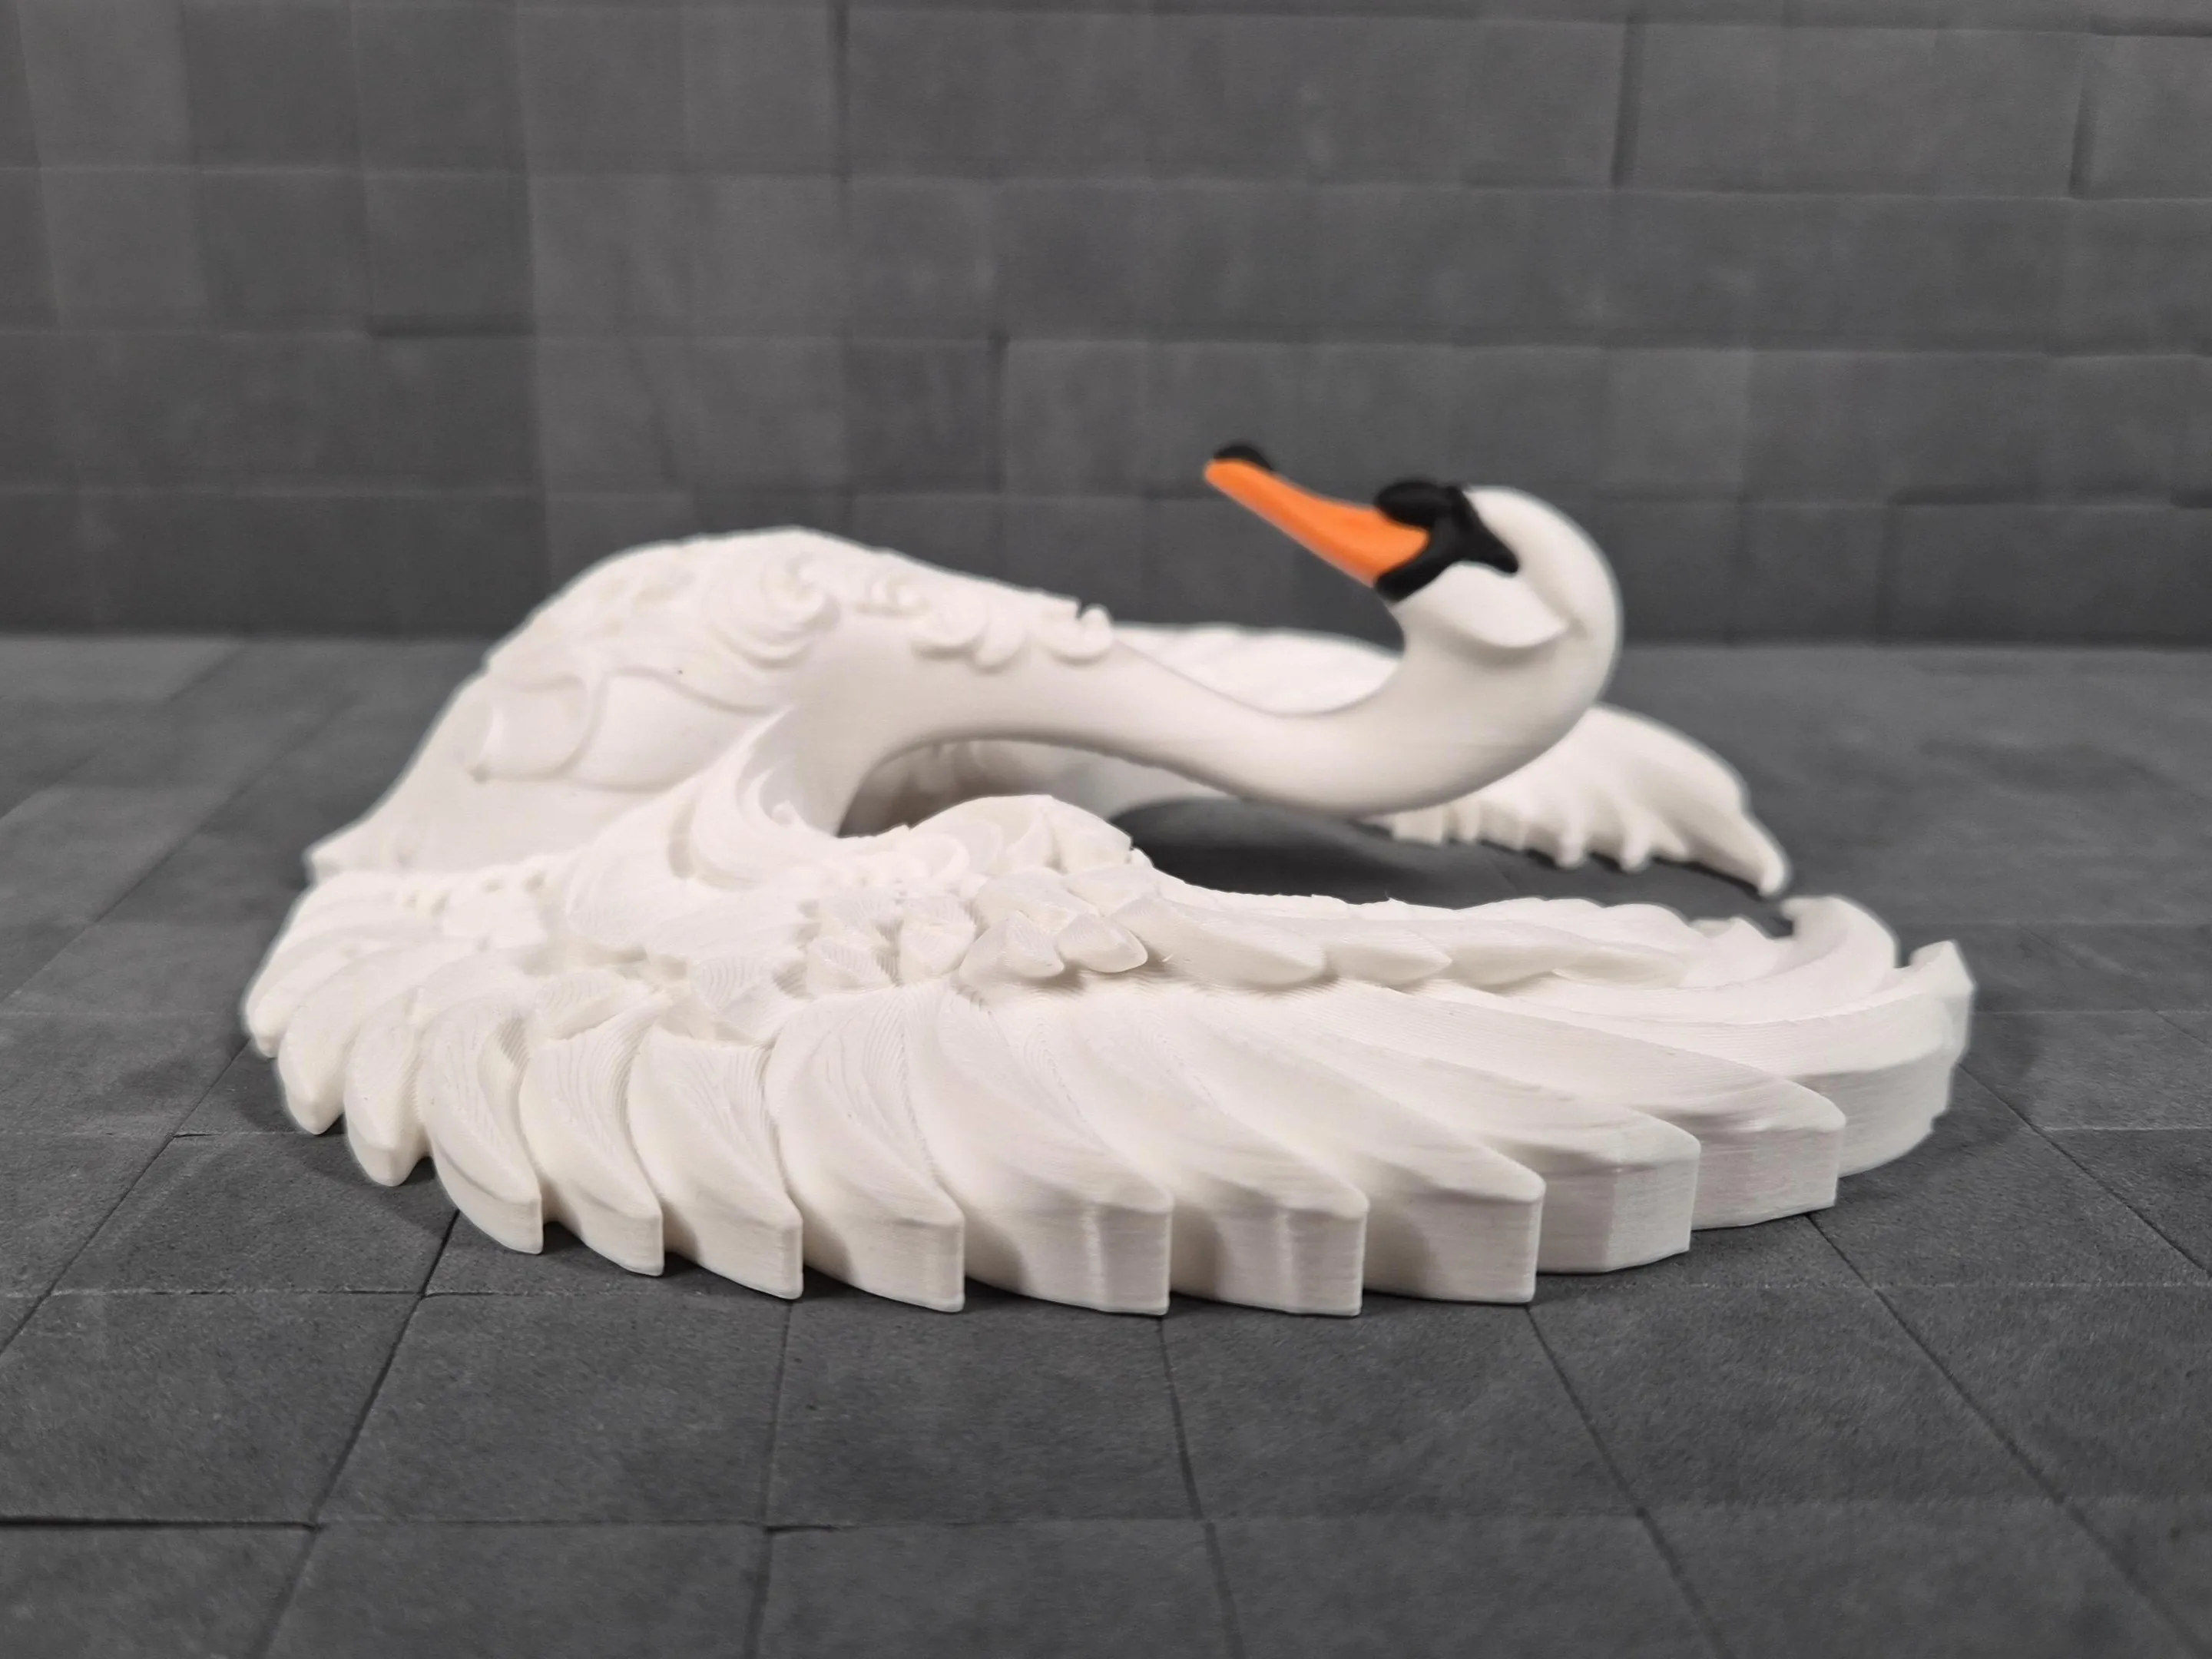
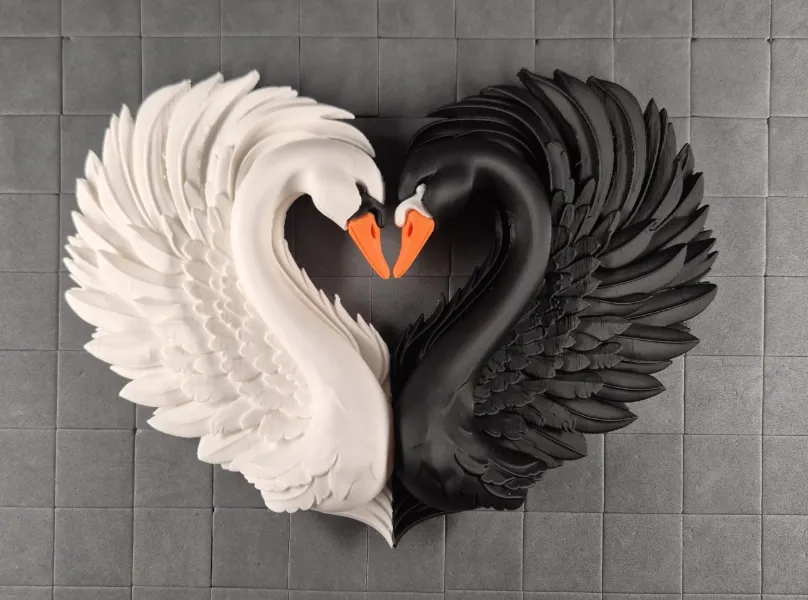
Key Printing Tips:
- Disable “Strength → Detect Thin Wall” → gives smoother, cleaner surfaces on detailed parts.
- Always check the slicing preview in Bambu Studio before starting the print.
- Support removal trick: Cut supports into small chunks first, then gently loosen → they usually pop off cleanly without damage.
- Some plates use lots of supports, if so → for reliable prints use these filament settings:
- Filament Overrides
- Z Hop When Retract: 0.6 mm
- Z Hop Type: Spiral
- Travel Distance Threshold: 1 mm
- ✅ Enable Retract When Changing Layer
- Also, disable these settings in Bambu Studio if Variable Layer height is used:
- Supports
- ❌ Disable Independent Support Layer Height
- Others
- ❌ Disable Reduce Infill Retraction
- I’ve found that a 0.15 mm top Z distance works best when printing with variable layer height.
- Supports
- Filament Overrides
Happy printing! Can't wait to see photos of your prints! If you're scaling, experimenting or encounter any issues, let me know → your input helps the next iteration. Please share your feedback for any rating below ⭐⭐⭐⭐⭐ so we can work on improving, thank you!
Boost Me (for free)
Boost / like / collect / follow if it made your day! 🚀
Membership
Now that you’ve printed this model, are you happy with the results? If so, why not sell it? With a subscription to my Commercial License Membership, you’re free to do so.
Documentation (1)
License

You shall not share, sub-license, sell, rent, host, transfer, or distribute in any way the digital or 3D printed versions of this object, nor any other derivative work of this object in its digital or physical format (including - but not limited to - remixes of this object, and hosting on other digital platforms). The objects may not be used without permission in any way whatsoever in which you charge money, or collect fees.


Comment & Rating (3)