STM32MP157F-DK2 Dev Kit Stand / Holder


Print Profile(1)
Bill of Materials
- Short USB-C to A, Micro USB to A, Ethernet Cables x 1: As needed - 15-20cm is about the right length
- M3 Hex Socket Head Screw (M3x12mm) x 2:
- M3 Heated Inserts (e.g. M3x4x5 or M3x6x5) x 2:
- UGREEN USB-C Hub (Part #60554) x 1: Optional
Description
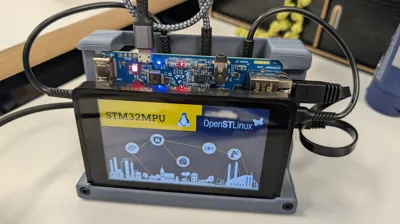
3D printed case / stand for an STM32MP157F-DK2 Dev Board Kit from ST Microelectronics.
I've been doing some embedded linux learning/development and the ST kit/board is great but it needs quite a few cables/accessories connected to work and made a complete mess of my desk and wasn't very portable (moving to/from work & home in my laptop bag).
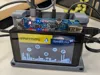
I built this stand to allow me to more easily see/use the touchscreen whilst maintaining access to the various ports / SD cards / boot selector DIP switches / buttons etc. It's not designed as a complete case - rather to assist with prototyping etc.
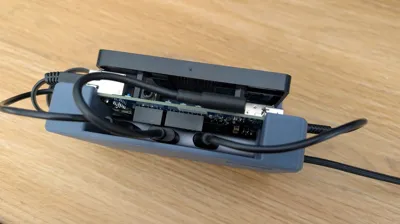
It doesn't allow access to the GPIO headers/pins (the USB cables / hub gets in the way) as I wanted a cleaner look, but you could always cut an additional slot/hole in Bambu Studio if you needed access to these.
A super-neat feature is that it can take a UGREEN USB Hub which has 3 USB ports (needed for programming / USB OTB) and a built-in ethernet port (for terminal access etc.). This is not required though - but it really makes it a simple setup as you only need to connect a single USB cable. Power draw of the whole setup is around 2.8W watts so it runs fine off a single USB port.
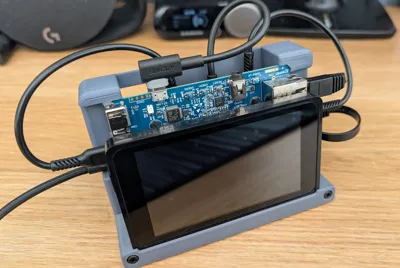
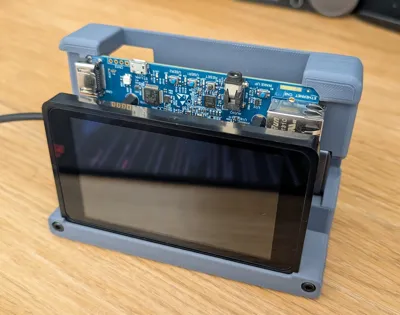
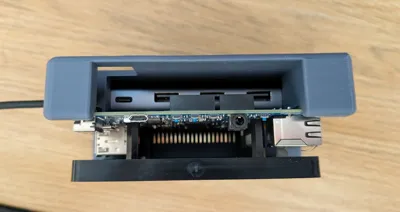
The DK2 is secured by slotting the PCB under two notches at the top and then the front piece holds the front of the screen. I've printed 5-6 of these now and the fit has been perfect every time but your mileage may vary.
For the cables - I used 15-20cm ethernet, USB-C to A and one micro-USB to A cables (as seen in photos) to hook everything up.
Print one of each part - I just used PLA.
You will also need a couple of M3 heated inserts / hex bolts to hold on the cover that retains the screen / holds it in place. The positioning of these is quite important for a good fit with the screen (I could have probably improved the design to make them self-centering).
Some self-adhesive rubber pads can be added to the underside/bottom to prevent it from slipping on your desk.
I'm sure this is a bit of a niche design - but hopefully helps my fellow embedded linux developers!
License
You may create derivative works based on this object, provided that all such derivative works are published exclusively on the MakerWorld platform and include proper attribution to the original creator. You may not share, upload, host, distribute, or publish this object—or any derivative work of this object—on any other digital platform, marketplace, or distribution channel. Commercial use of this object and any derivative works is strictly prohibited. This includes, but is not limited to, selling, renting, sublicensing, or using the object in any context in which you receive monetary compensation or other financial benefits.
Comment & Rating (0)