Adjustable needle pusher for Machine knitting


Print Profile(1)
Description
I was inspired by @abrugger (https://www.thingiverse.com/thing:6968792/files;I did not use their files, measurements, or geometry). I tried to make print in place work, but it either fused together or the pushers would immediately retract when any downward force was placed on them.
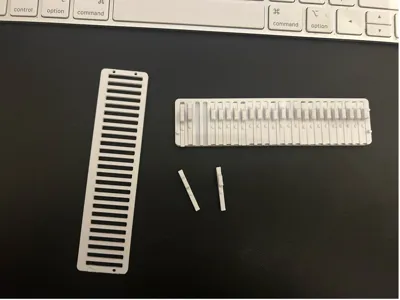
Instead, this project is printed as 3 pieces, the base, the top plate, and the pushers, then you assemble it and it clicks together with some force, I used pilers to get it to snap together. The print uses friction to keep the needles from retracting. Your printer needs to be able to print .1 tolerances.
The current STL files are for a 4.5mm gauge needle pusher with 25 pushers, you can easily change the gauge or amount of pushers using the F3D file, I've starred the relevant parameters.
Fusion Parameters interpretation:
- needle-spacing= gauge
- needle_count= amount of pushers
- pusher _clearance= the tolerance between the the pusher and the pusher holes in the base plate
- pusherbump height = the height of the bump on the pusher (this helps increase the friction and discourages the pushers from retracting)
- Pin_hole 1-4 = the diameter of the holes on the top plate
- pin 1-4 = the diameter of the pins on the base plate
Settings:
Printed using Bambu A1
Bambu studio used with default settings for esun PLA+ and .16mm high quality @bbl A1 settings
Textured PEI plate
A couple things to keep in mind:
- If you change the clearances/tolerance the pushers might easily retract when you use downward force when moving the needles
- I used a textured plate, I found when the smooth side of the top plate was on the the inside (touching the pushers) the needles easily retracted, but when the textured side was facing down, the friction kept the pushers in place
- the pins are thin and are prone to snapping off
- If you want to play with the clearances/tolerances, you can use the test STL files to see if the clearances/tolerances work with your printer (if the first pusher resists you pushing it back with light force then you are good to go, if the second pusher easily retracts it doesn't matter as the top plate doesn't have anything to snap to and will be slightly lifted, creating more clearance then there would normally be in the final print)
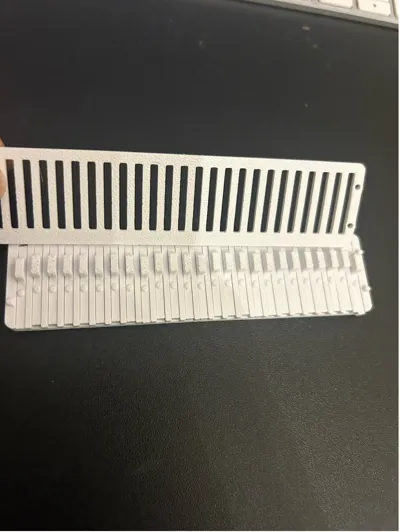
Assembly:
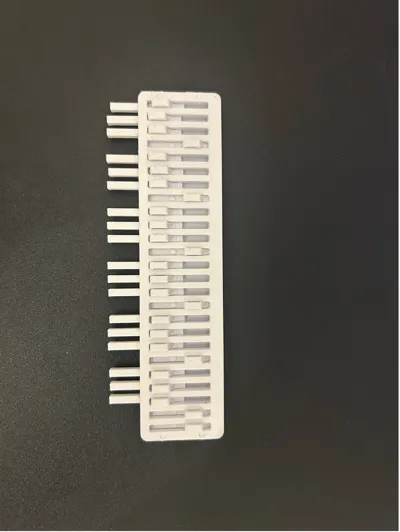
- Place the pushers into the base holes, with the handle facing the slightly wider side (refer to pictures and video)
- When installing the top plate, the textured side should face down towards to the pushers
- Use pliers to snap the pins into the holes
- Assembly video: https://youtube.com/shorts/6REVIw0e60c?si=-HtMj3mR387sLRHY
Comment & Rating (1)