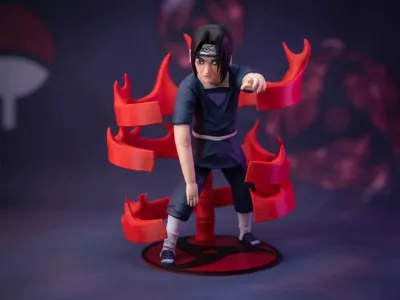
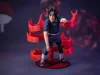
Itachi Uchiha multipart 38cm height


Print Profile(1)
Bill of Materials


Description
Finally, after a long wait, I have completed this project that I had been working on for almost 8 months. It is a multipart Itachi Uchiha from Naruto statue with a height of 38cm. A cut version for A1 mini will also be available soon.
Boost Me (for free)
Boosting is free for you and gives me great help
The project has many parts to print and requires some care. First, like all my projects, you may need to sand the components to ensure the pieces fit well, due to any supports or printing tolerances. Also, in this project, it is essential that each part is also glued with superglue, as it is very heavy and unbalanced and would otherwise not be in equilibrium. But now let's go over the main precautions to follow for the assembly guide.
- Head assembly:
insert the eyes into the head and the forehead protector, DO NOT ATTACH THE HAIR AT THIS TIME as you will not be able to assemble the head inside the body later glue the shirt to the head with the inclination as shown in the photo below, it will not be difficult to find the correct position as the pieces will fit perfectly CAUTION: IN THE PHOTO BELOW YOU WILL FIND THE HAIR MOUNTED ON THE HEAD BUT IT IS A DEMONSTRATIVE IMAGE, THEY ARE NOT TO BE ASSEMBLED YET!!

Once these parts are securely glued, you will need to insert the entire block (still without the hair, very important) into the body. The upper part, which has a tooth-like joint, will be inserted, and then the whole piece will be lowered into place as shown in the photo below (as you can see in this photo, there is no hair)

- once this piece is glued, YOU CAN FINALLY ATTACH THE HAIR and proceed to assemble the rest of the body, which does not require particular care. For now, do not attach the figure to the base; leave it free. The Susanoo will be assembled and glued first.
Proceed with the assembly of the Susanoo by gluing each part. Here, special care is required to fit only the central rib, following the image below, by first inserting the triangle into the slot and then lowering the entire piece.

- proceed to assemble the rest of the Susanoo and glue it to the base
- glue and attach the character to the base
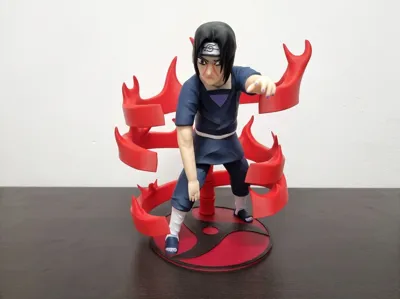
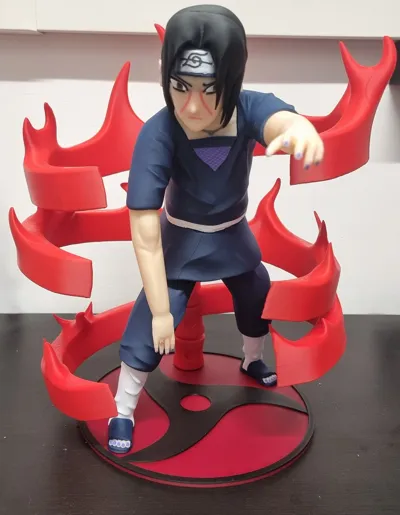
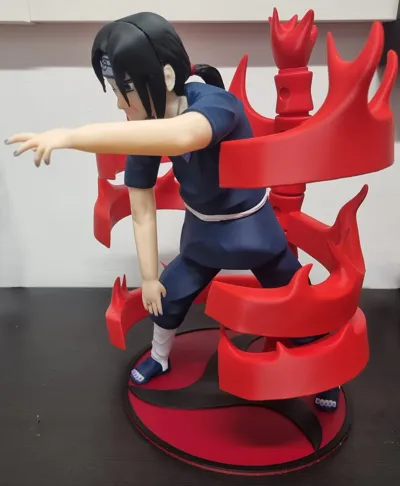
FINISHED!!!!
I hope you liked this project. I am, as I always say, a self-taught person who is learning but puts a lot of passion into it. I am working on a new Naruto-themed project!! I hope you like them
Thank you very much, please comment and share your photos. Even if you modify something, advice is welcome.
License
You shall not share, sub-license, sell, rent, host, transfer, or distribute in any way the digital or 3D printed versions of this object, nor any other derivative work of this object in its digital or physical format (including - but not limited to - remixes of this object, and hosting on other digital platforms). The objects may not be used without permission in any way whatsoever in which you charge money, or collect fees.
Comment & Rating (6)