
CC3D POD Cover Plexiglas cutting guide.
Print Profile(1)
Description
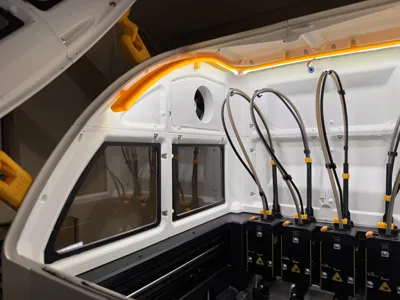
Hello everyone that purchased the top cover plan for Snapmaker U1, designed by CC3D. I made this post as a guide to show you how to cut the Plexiglass for the top cover, using table saw.
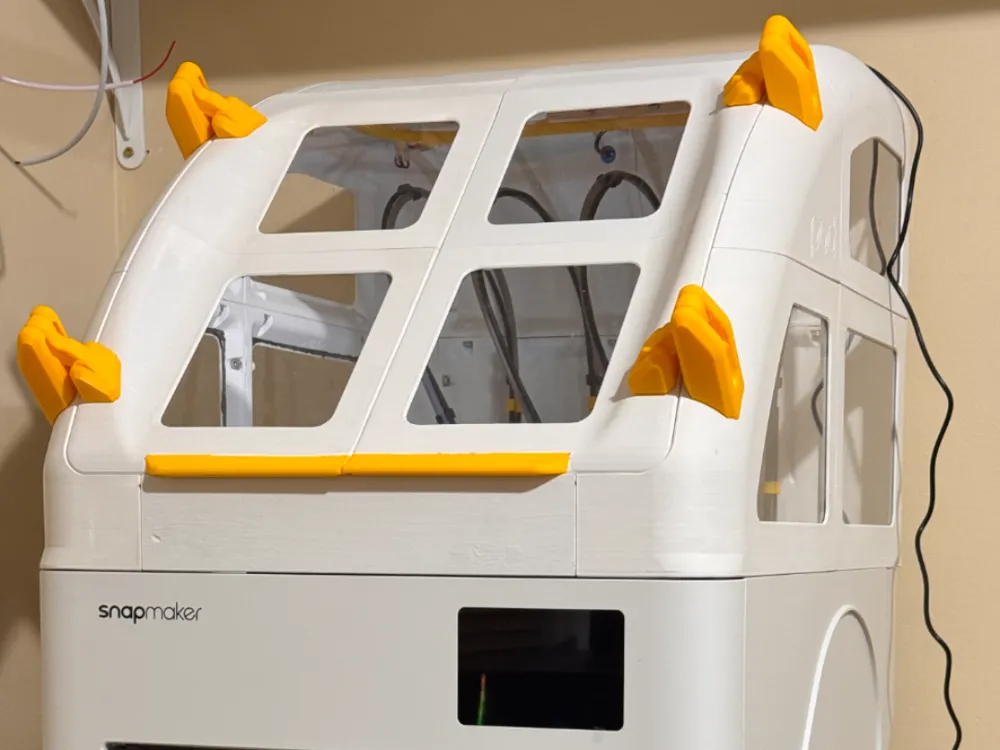
For everyone else who is curious, the top cover looks like this:
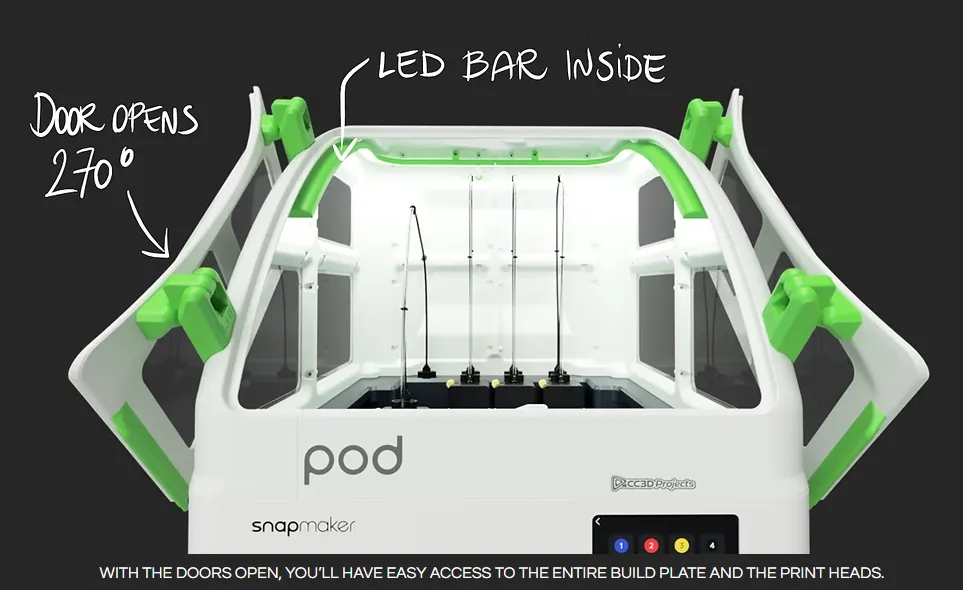
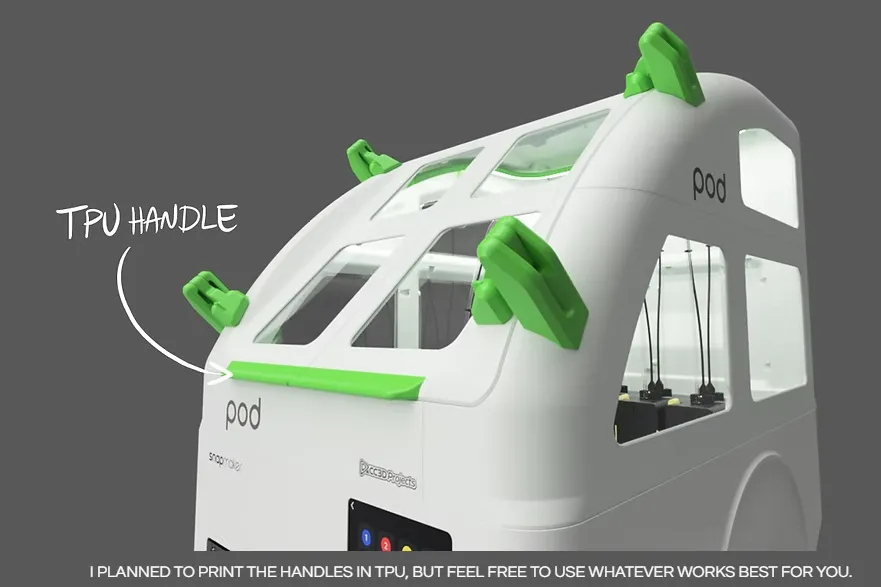
You can purchase the plan at https://www.cc3dprojects.com/snapmakeru1-pod-topcover
I. using the templates
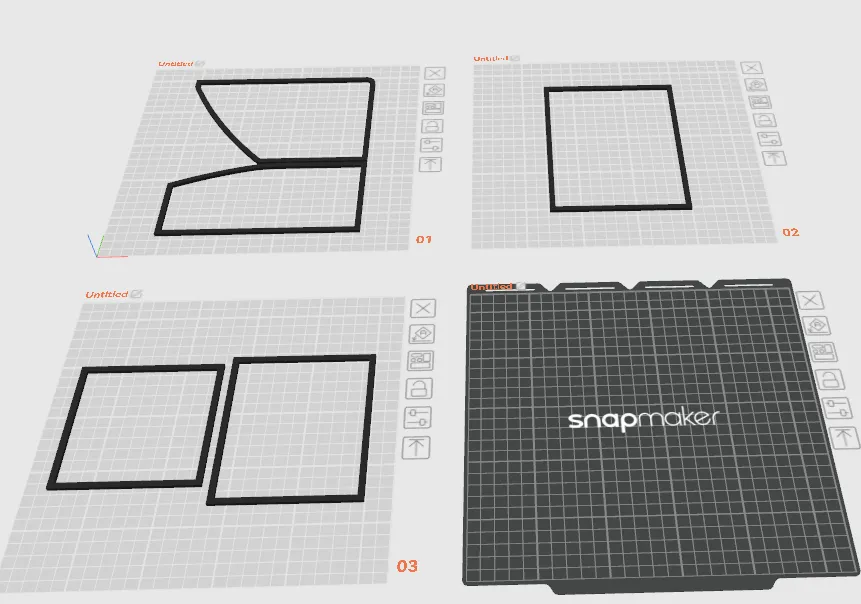
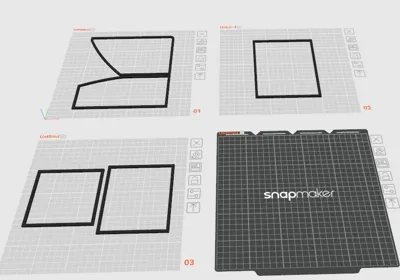
Now, get back to the Plexiglass. Please download the “CC3D Pod cover template-U1 profile” in the Download STL/CAD file menu, and print out the templates.
Measure the distance between the blade and the fence.
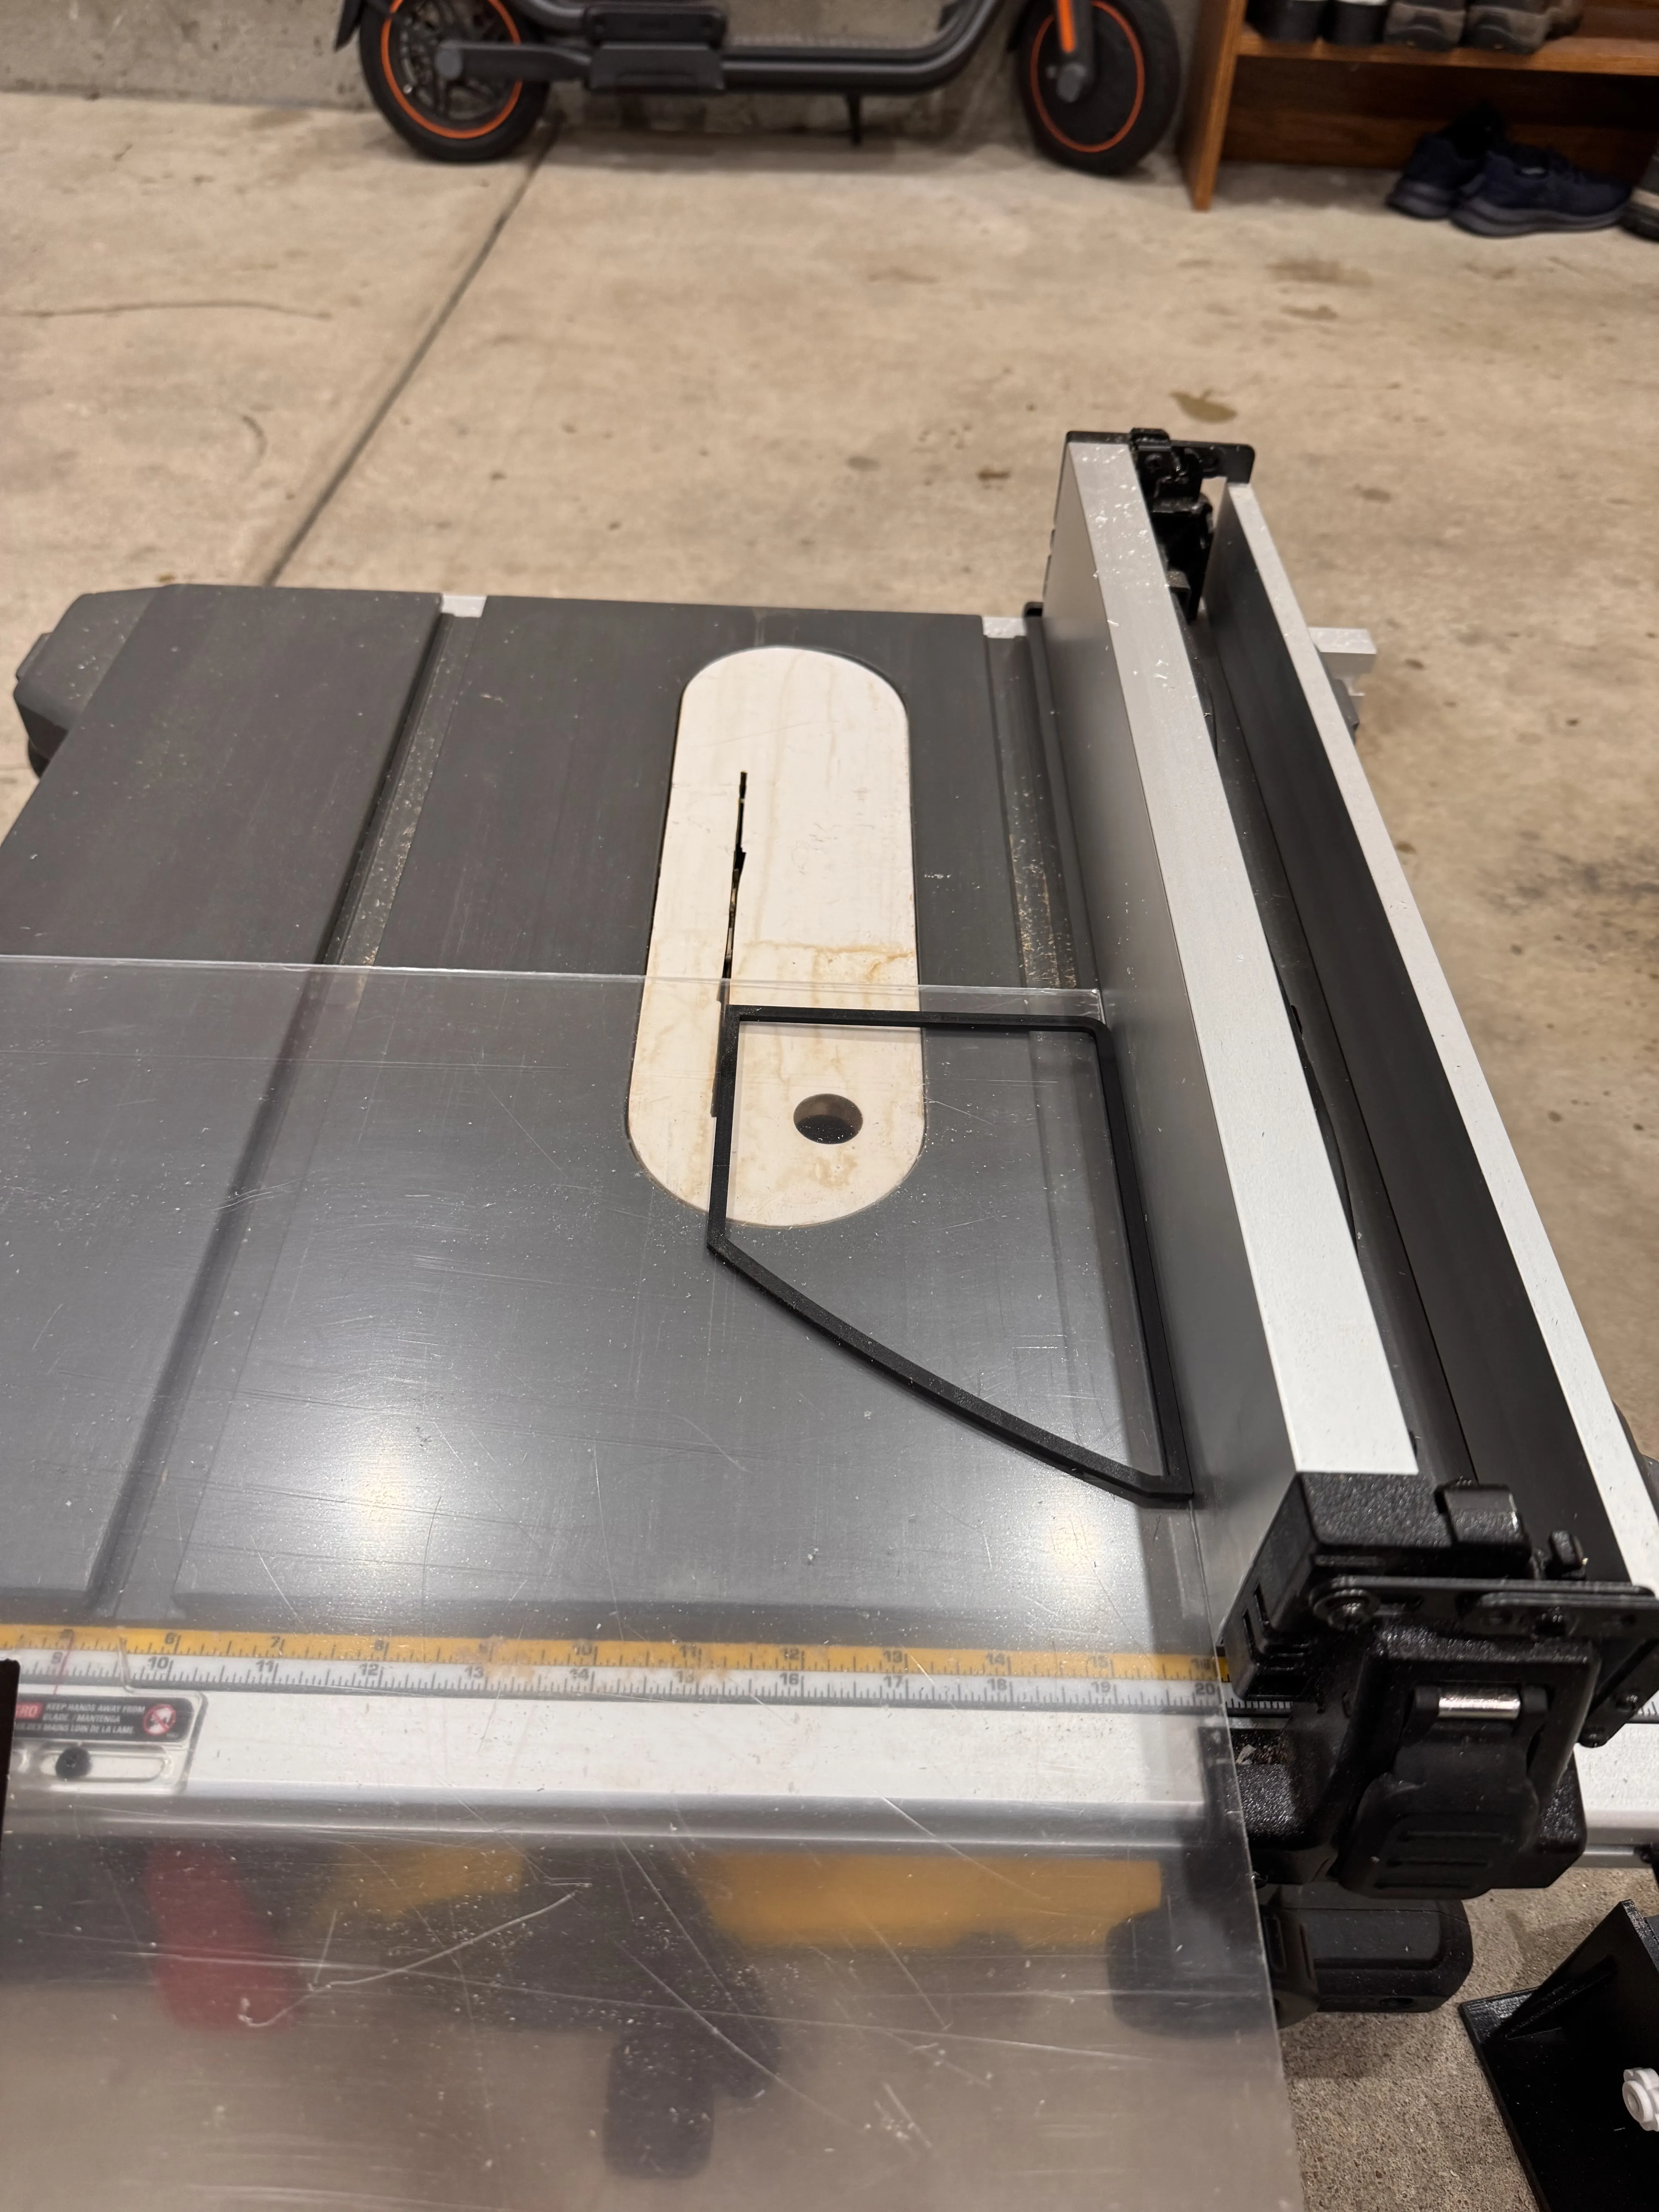
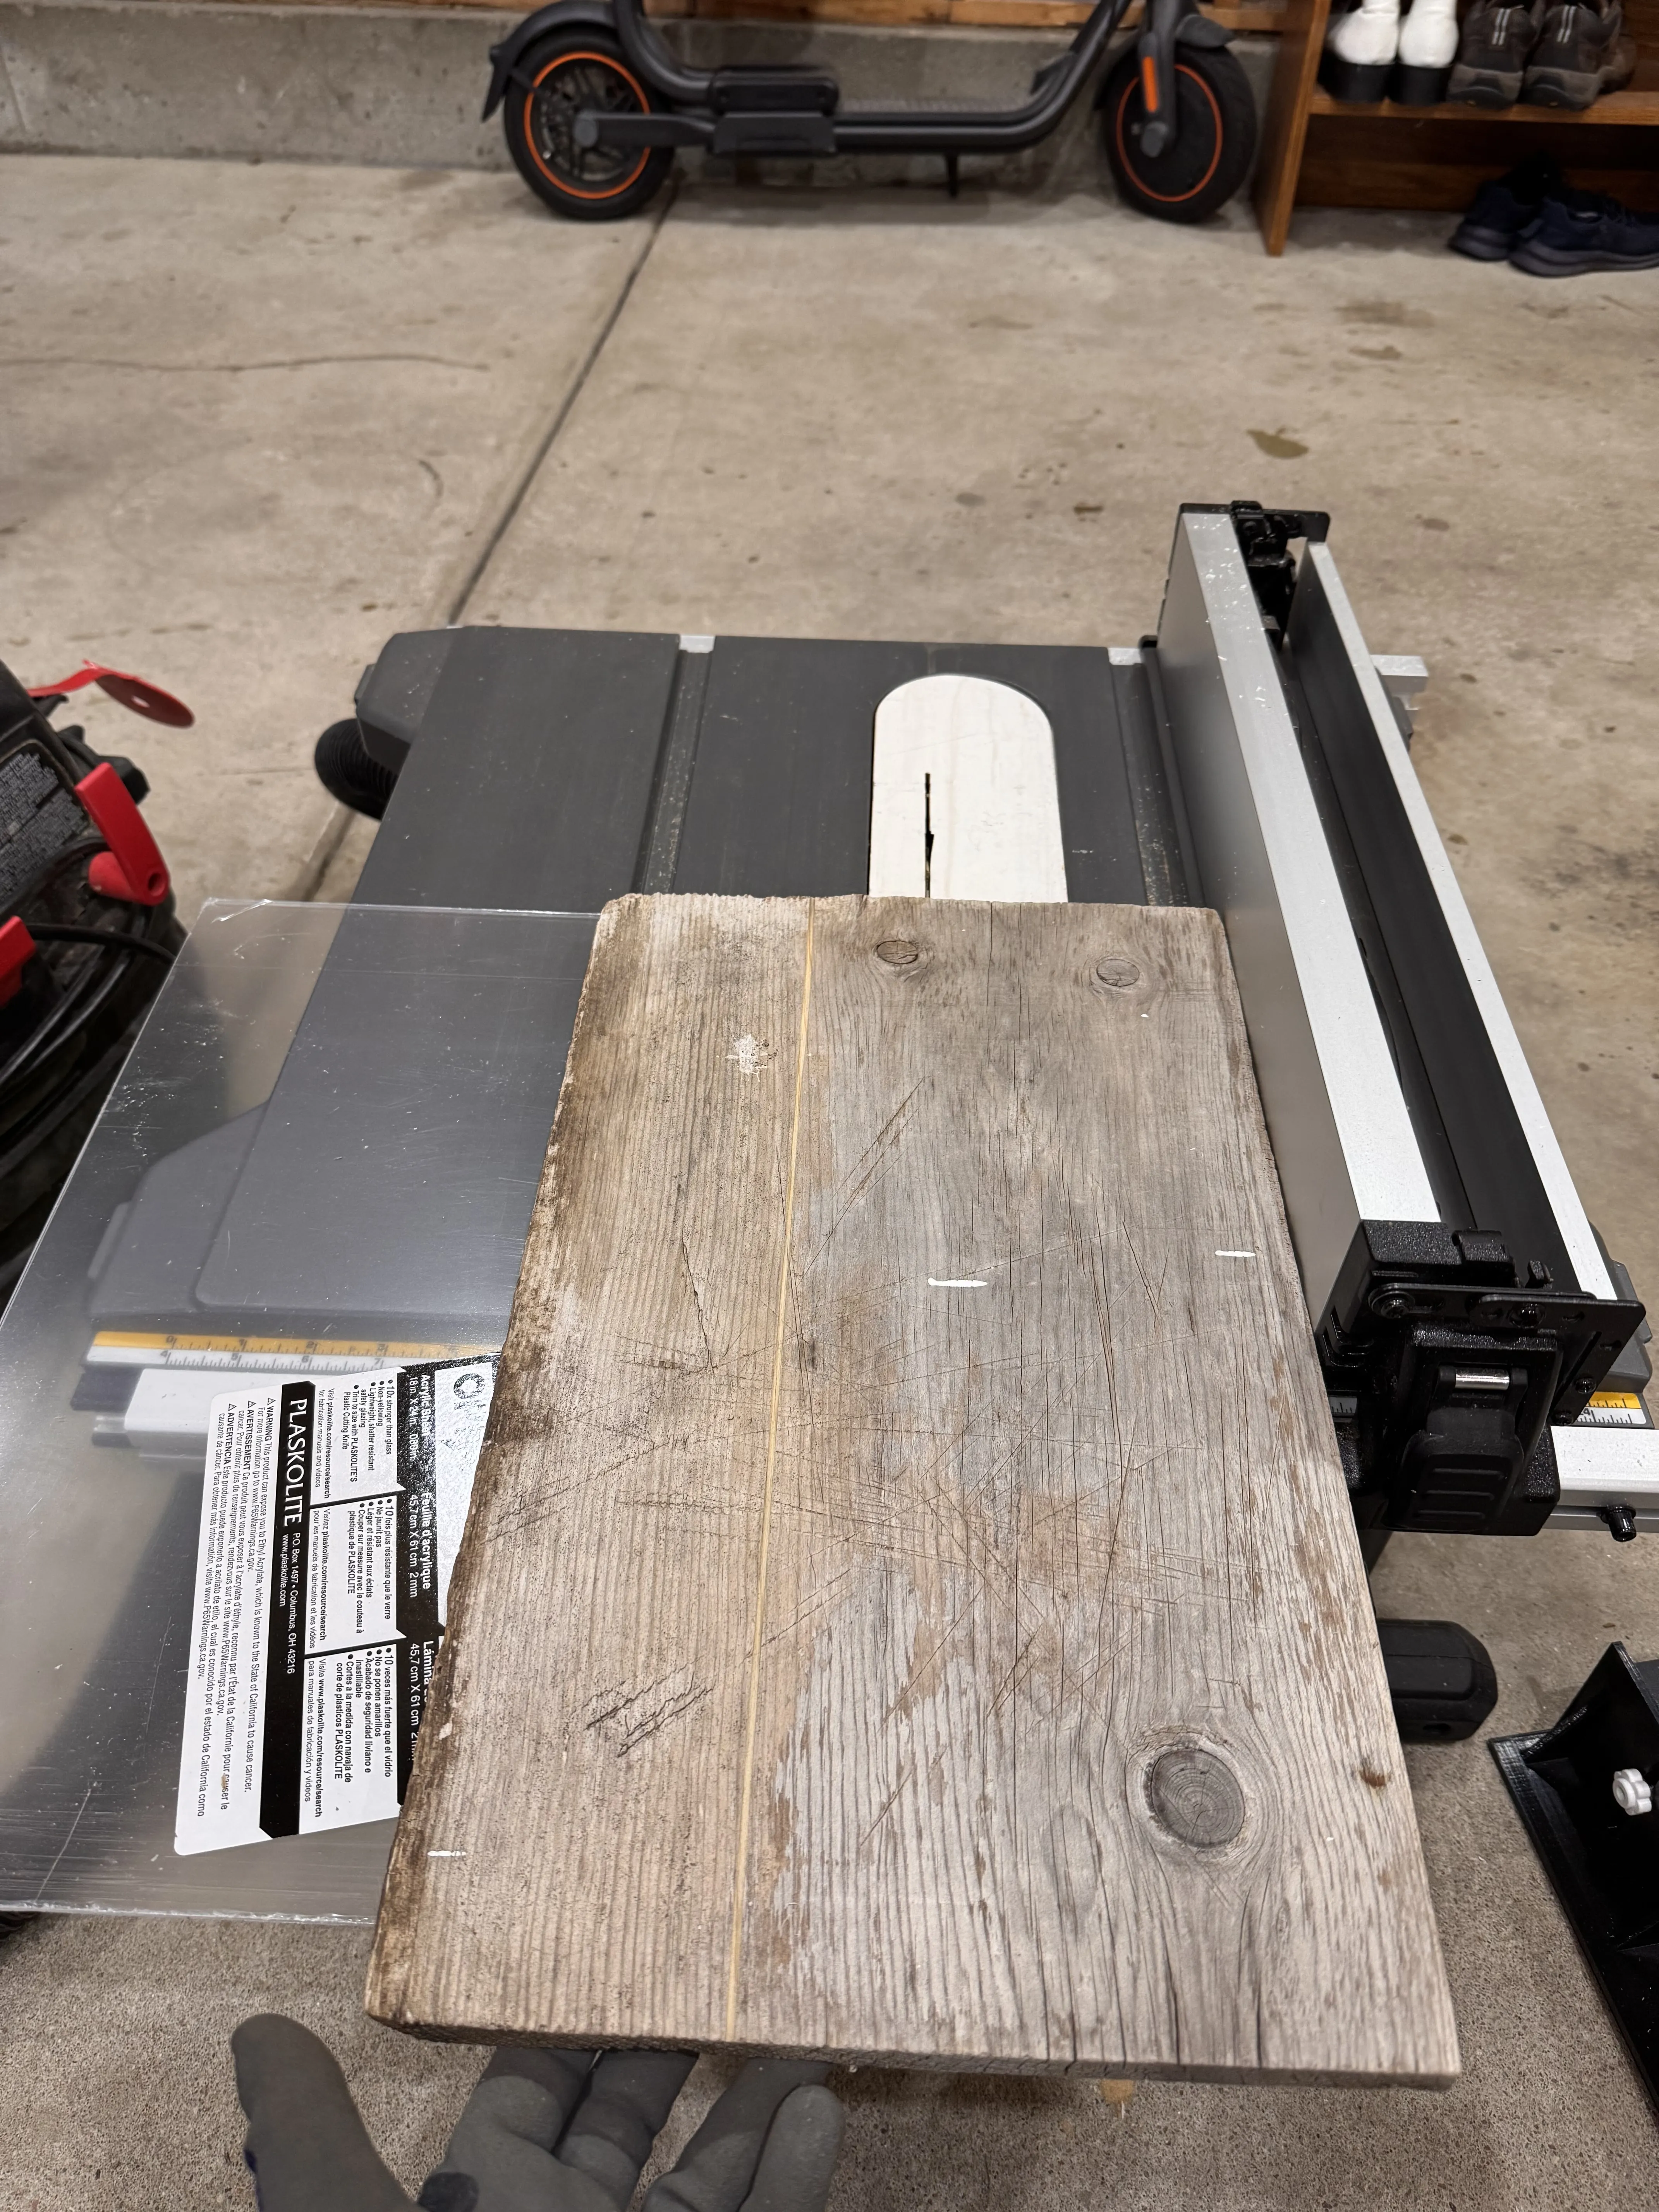
Put a painter tape along the cut line, both front and back. Then put a rectangular wood on top of the plexiglass.
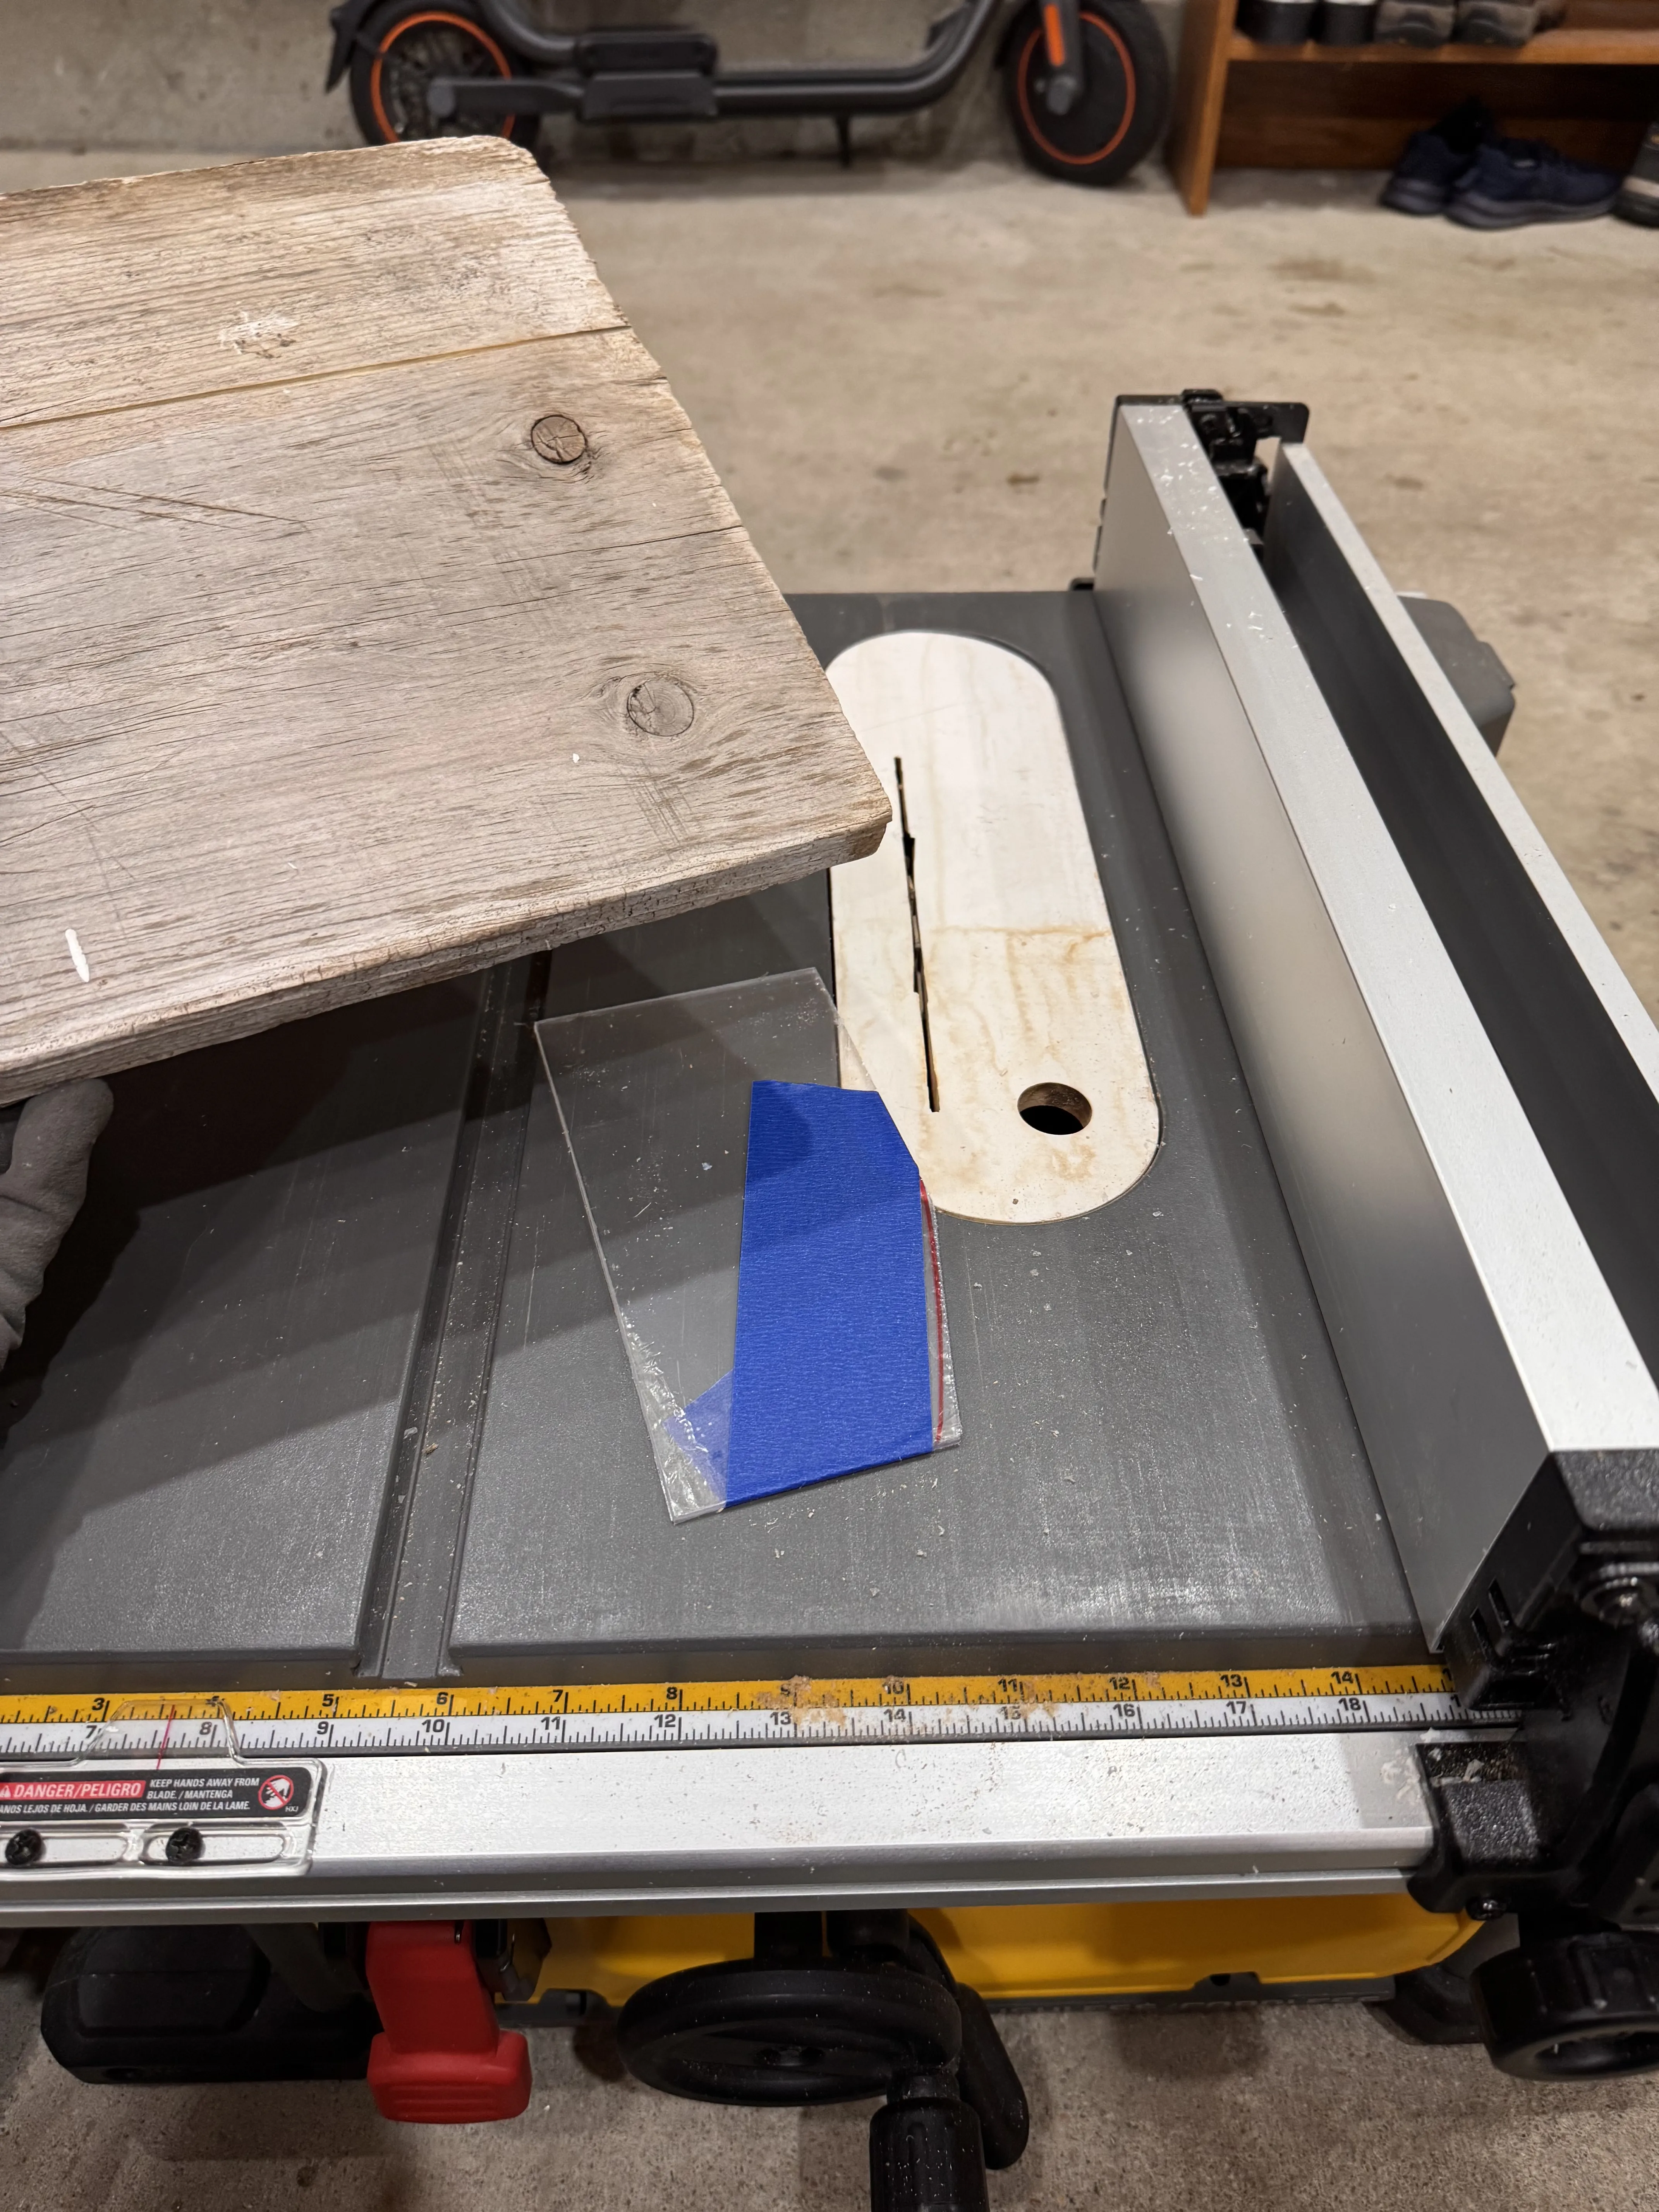
Cut the glass into rectangular shape.
For the panels with curves. Put the printed frame over than plexiglass, trace the outside of the frame with marker, then cut it as close to the maker line as possible.
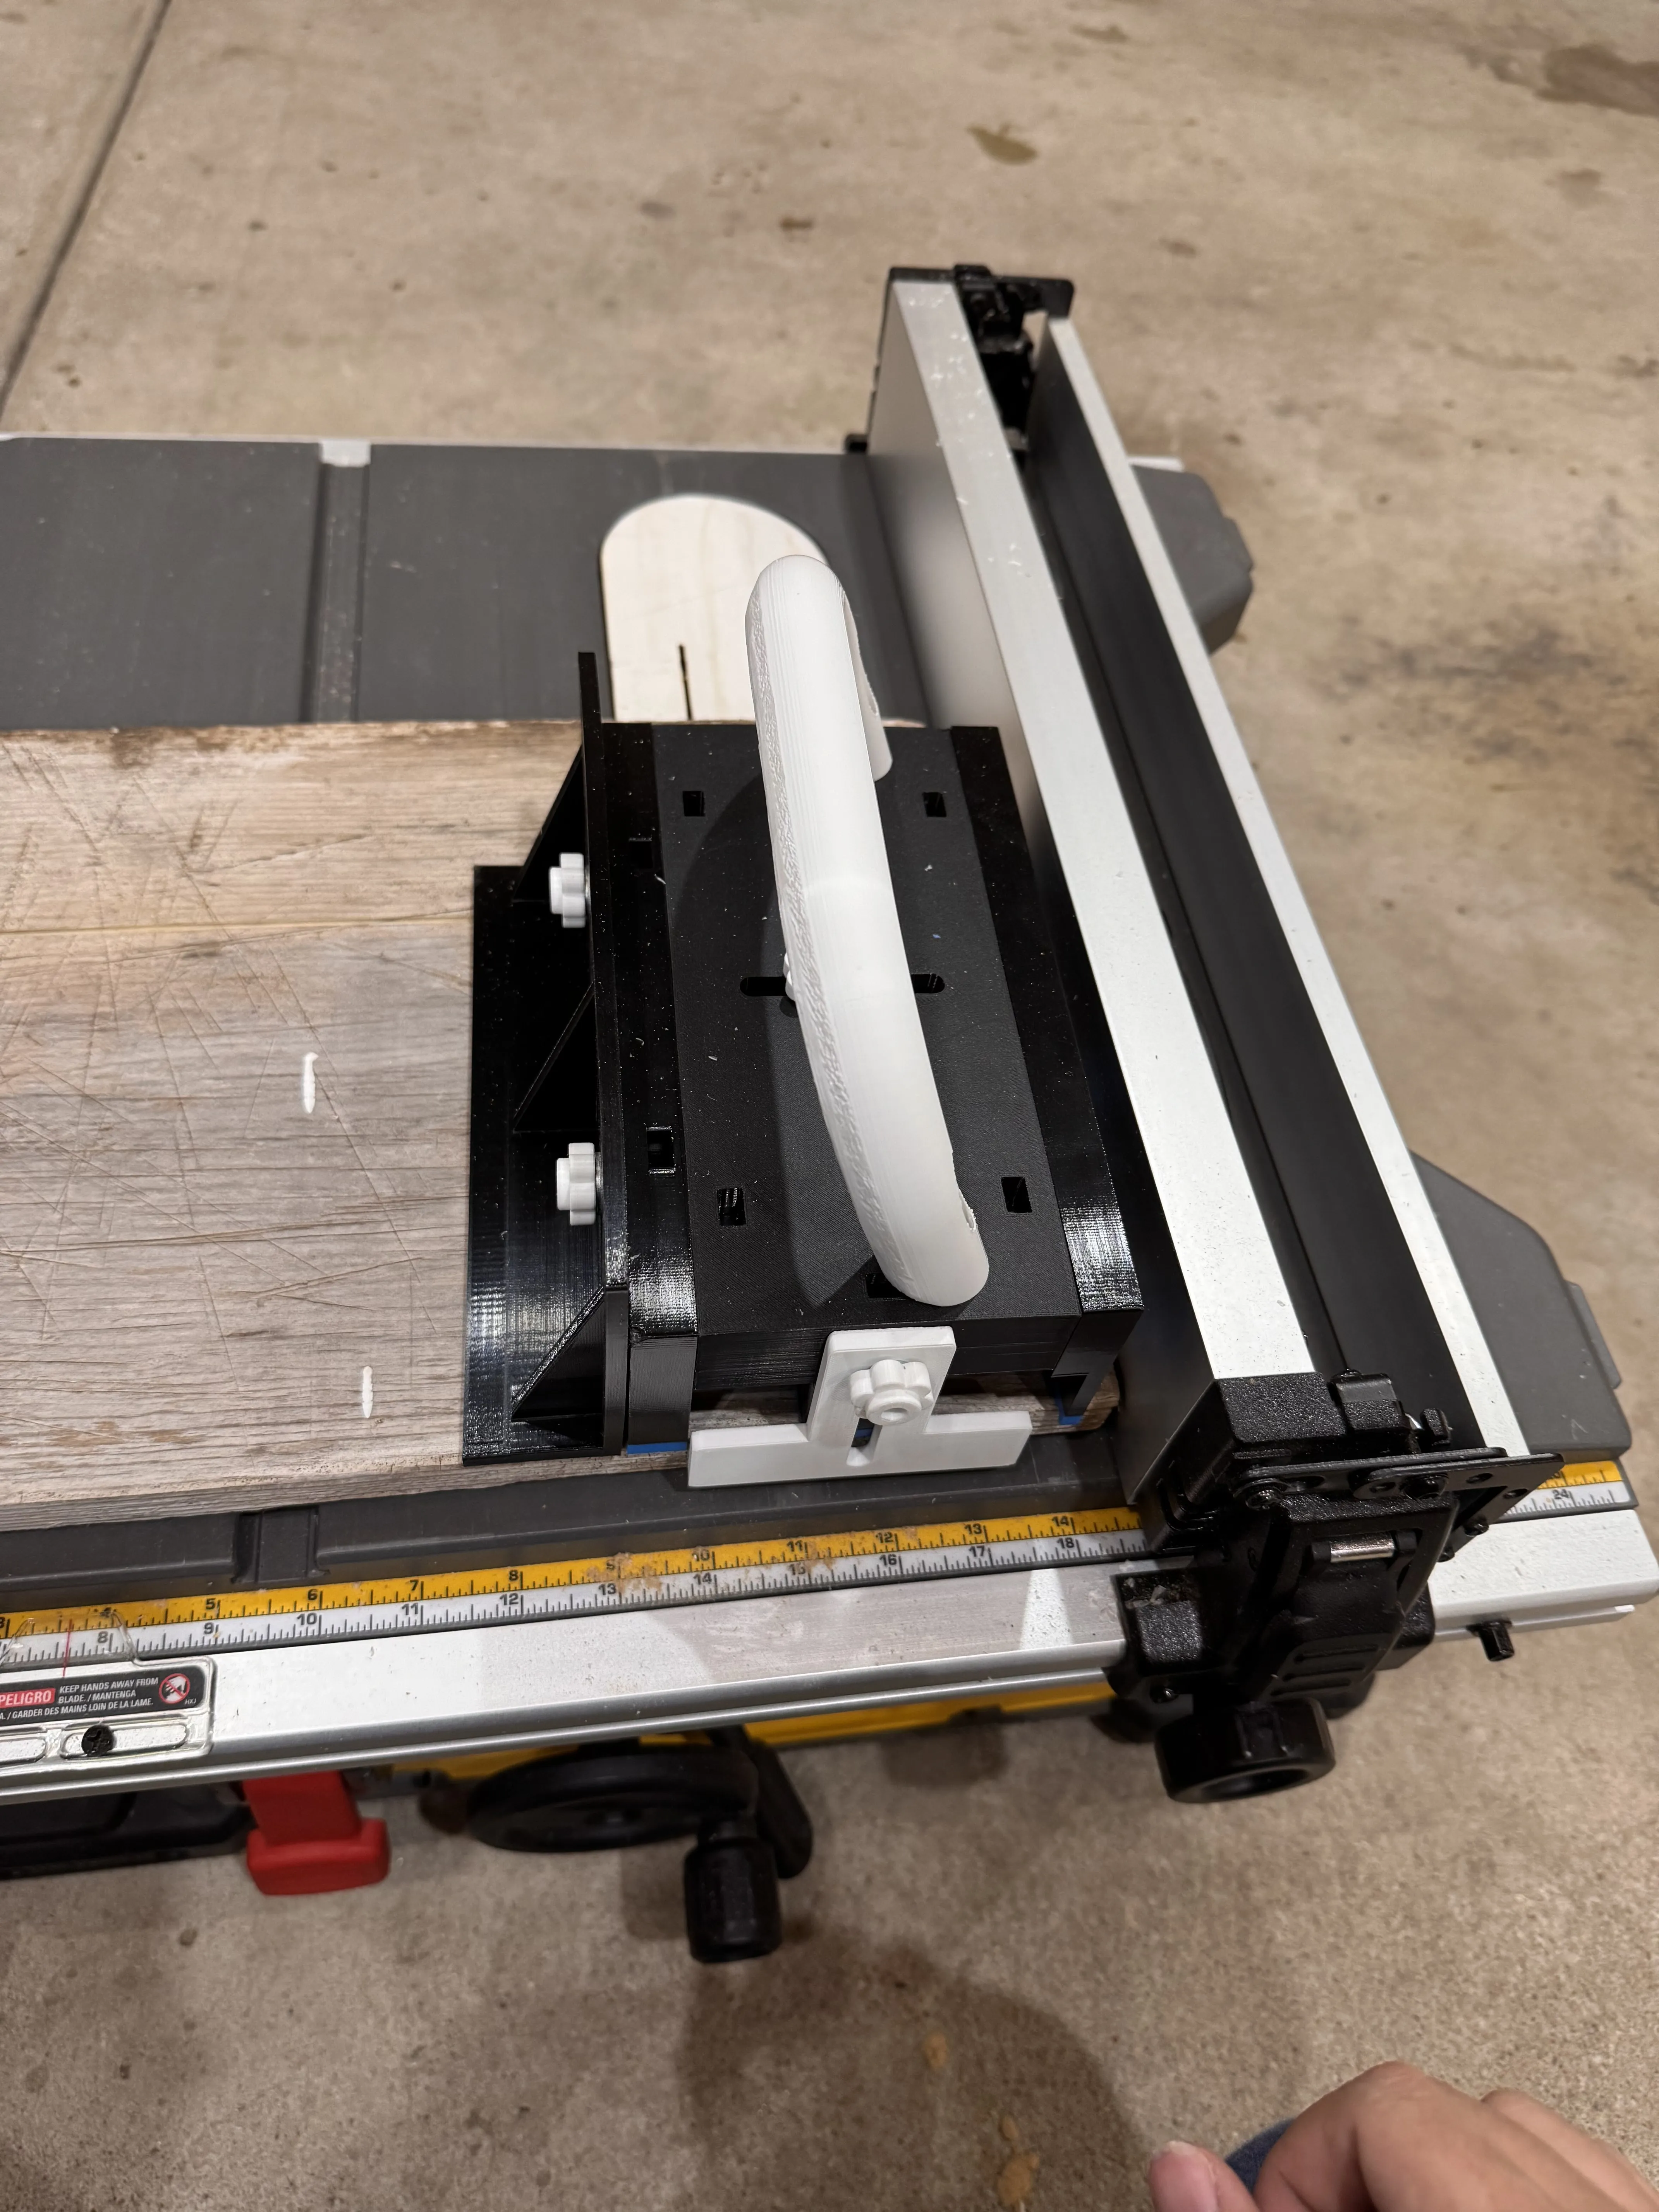
After that, just grind/file/sand the plexiglass using your favorite tool.
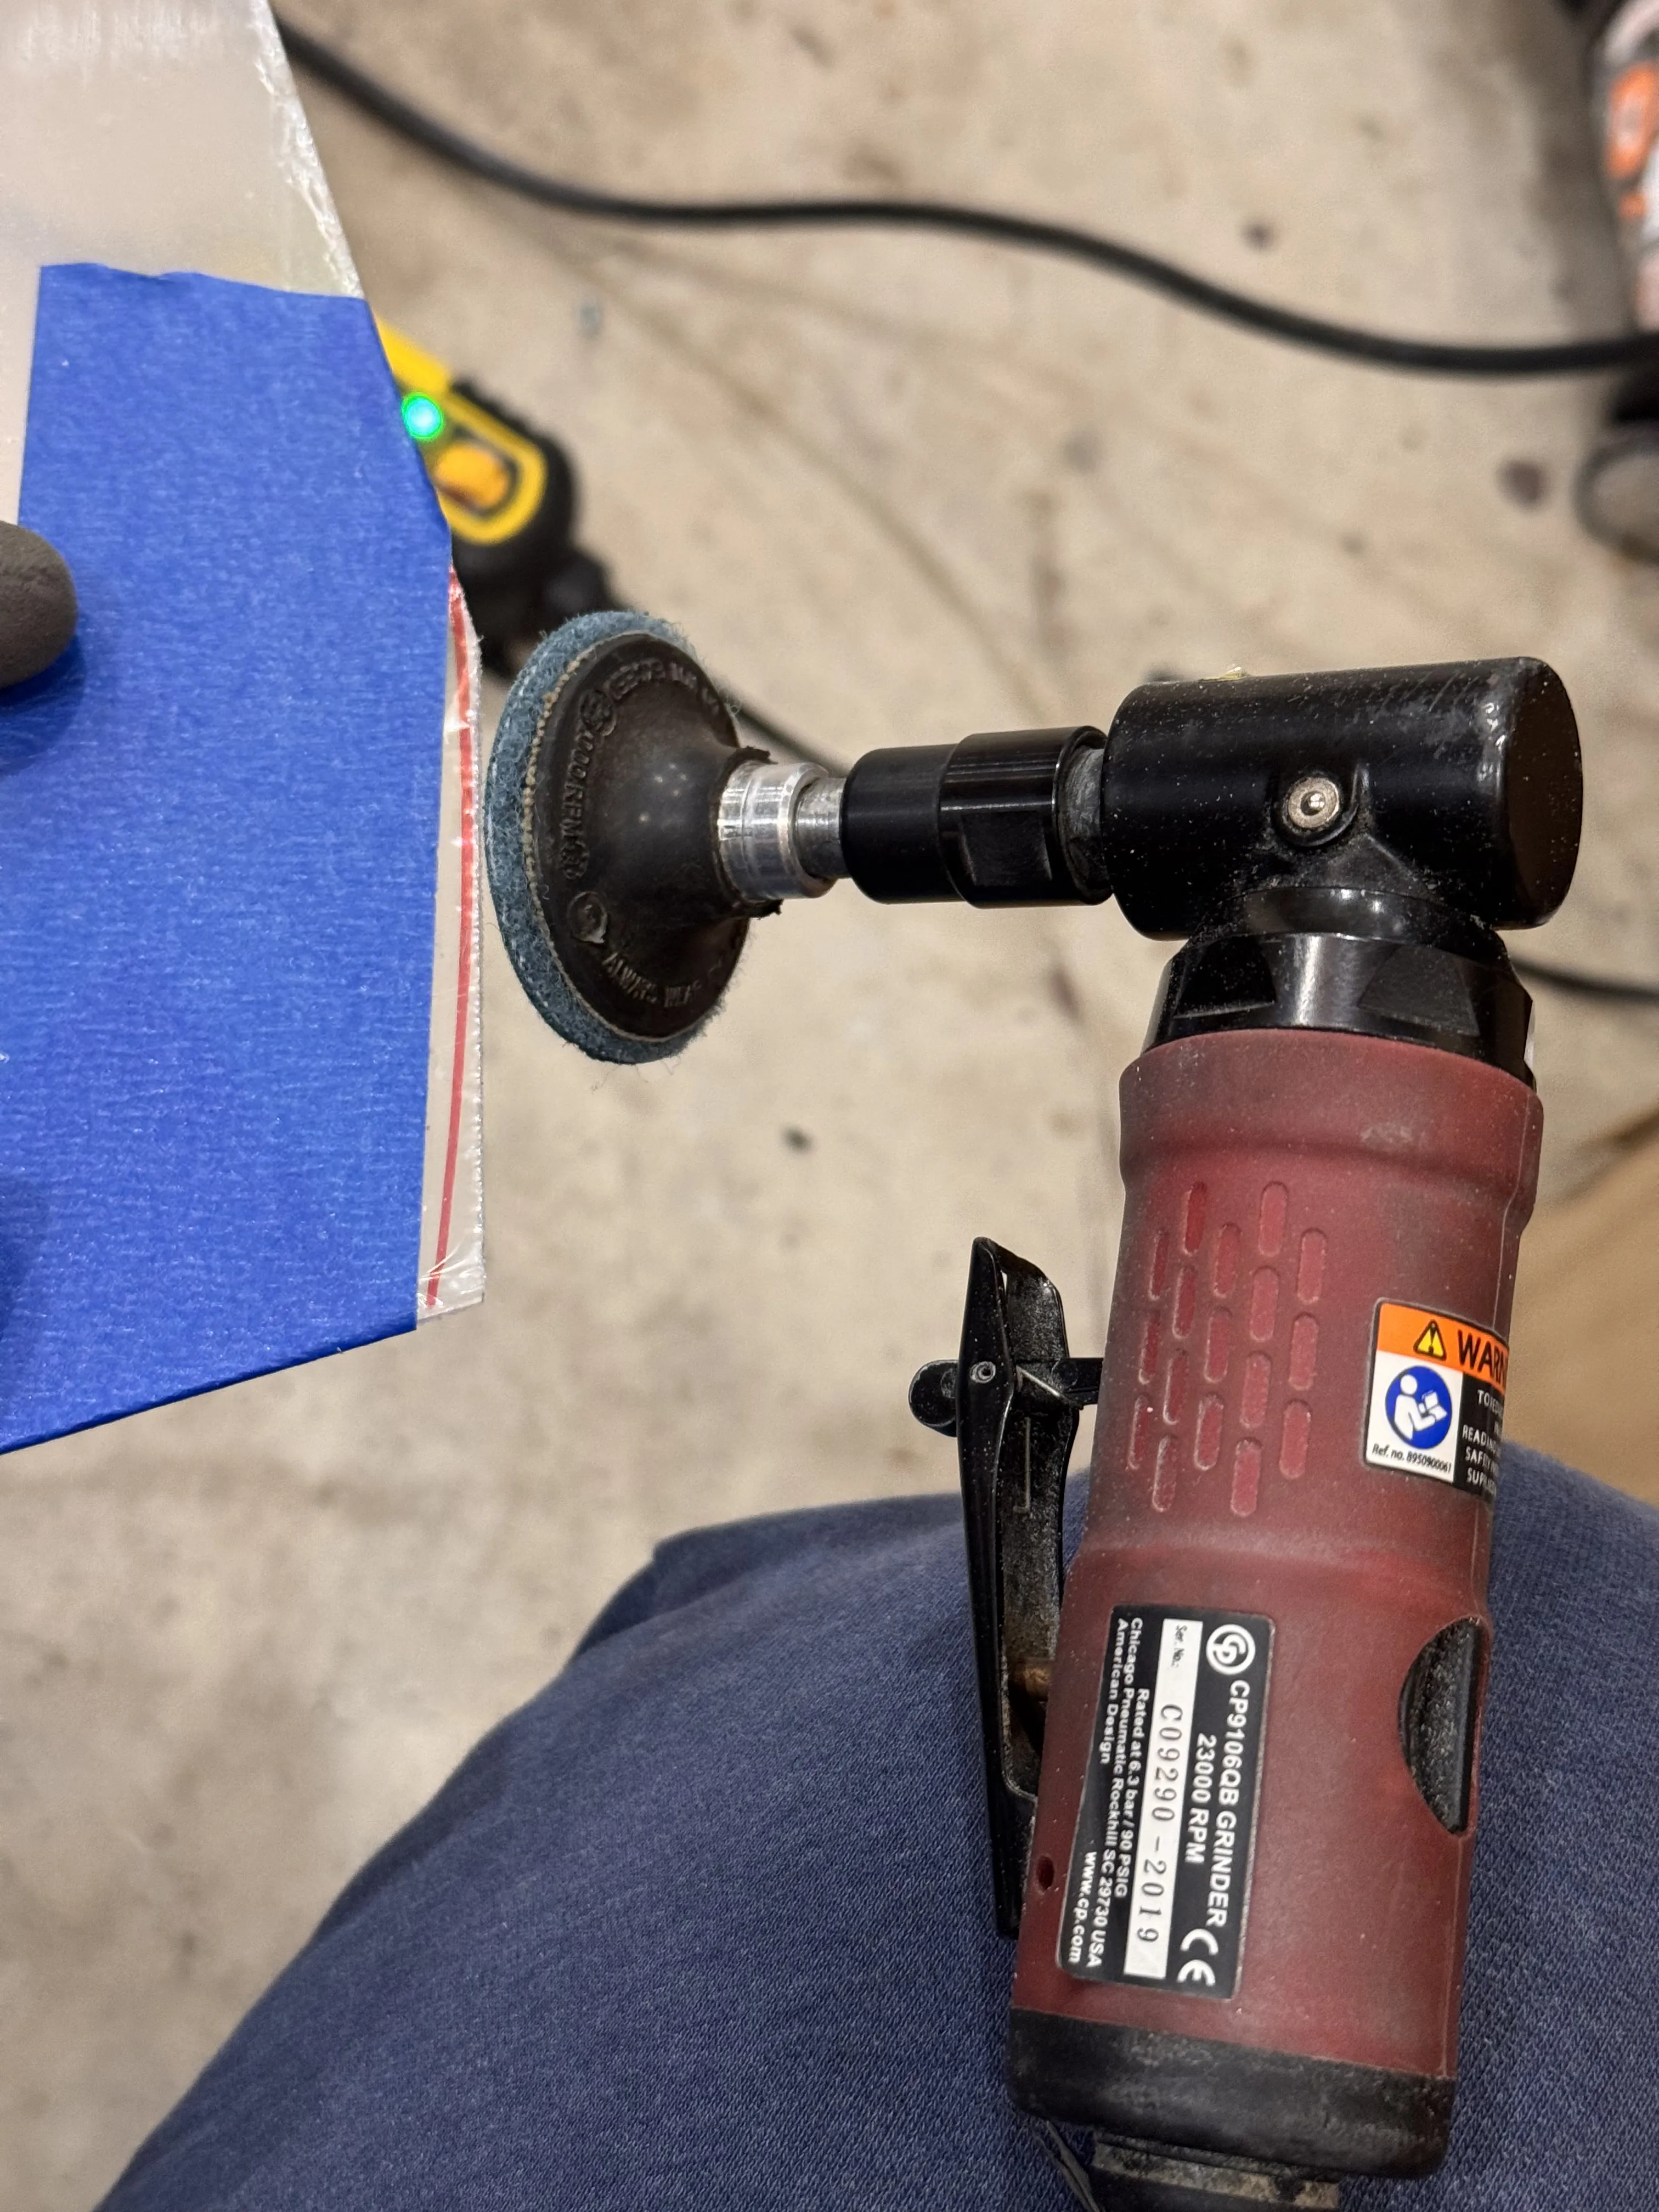
In the end, this would save you $66 hiring a laser cutter service.
However, you may need a $450 table saw, $8 painter tape, $18 plexiglass, $44 die grinder, and a $169 air compressor to operate that die grinder.
But really, you can cut them using a circular saw, jig saw, using a similar method.
Note: Watch out for your marker’s width! The templates are exact, so if you trace the outside, you’ll want to cut slightly inside your mark. You can also shave down the corners a bit to make fitting the glass a total breeze.
II. Window bezel trims
When you are done cutting the plexiglass, move forward with gluing. I made a terrible job. I couldn't make a straight line with my glue, as you can see here.
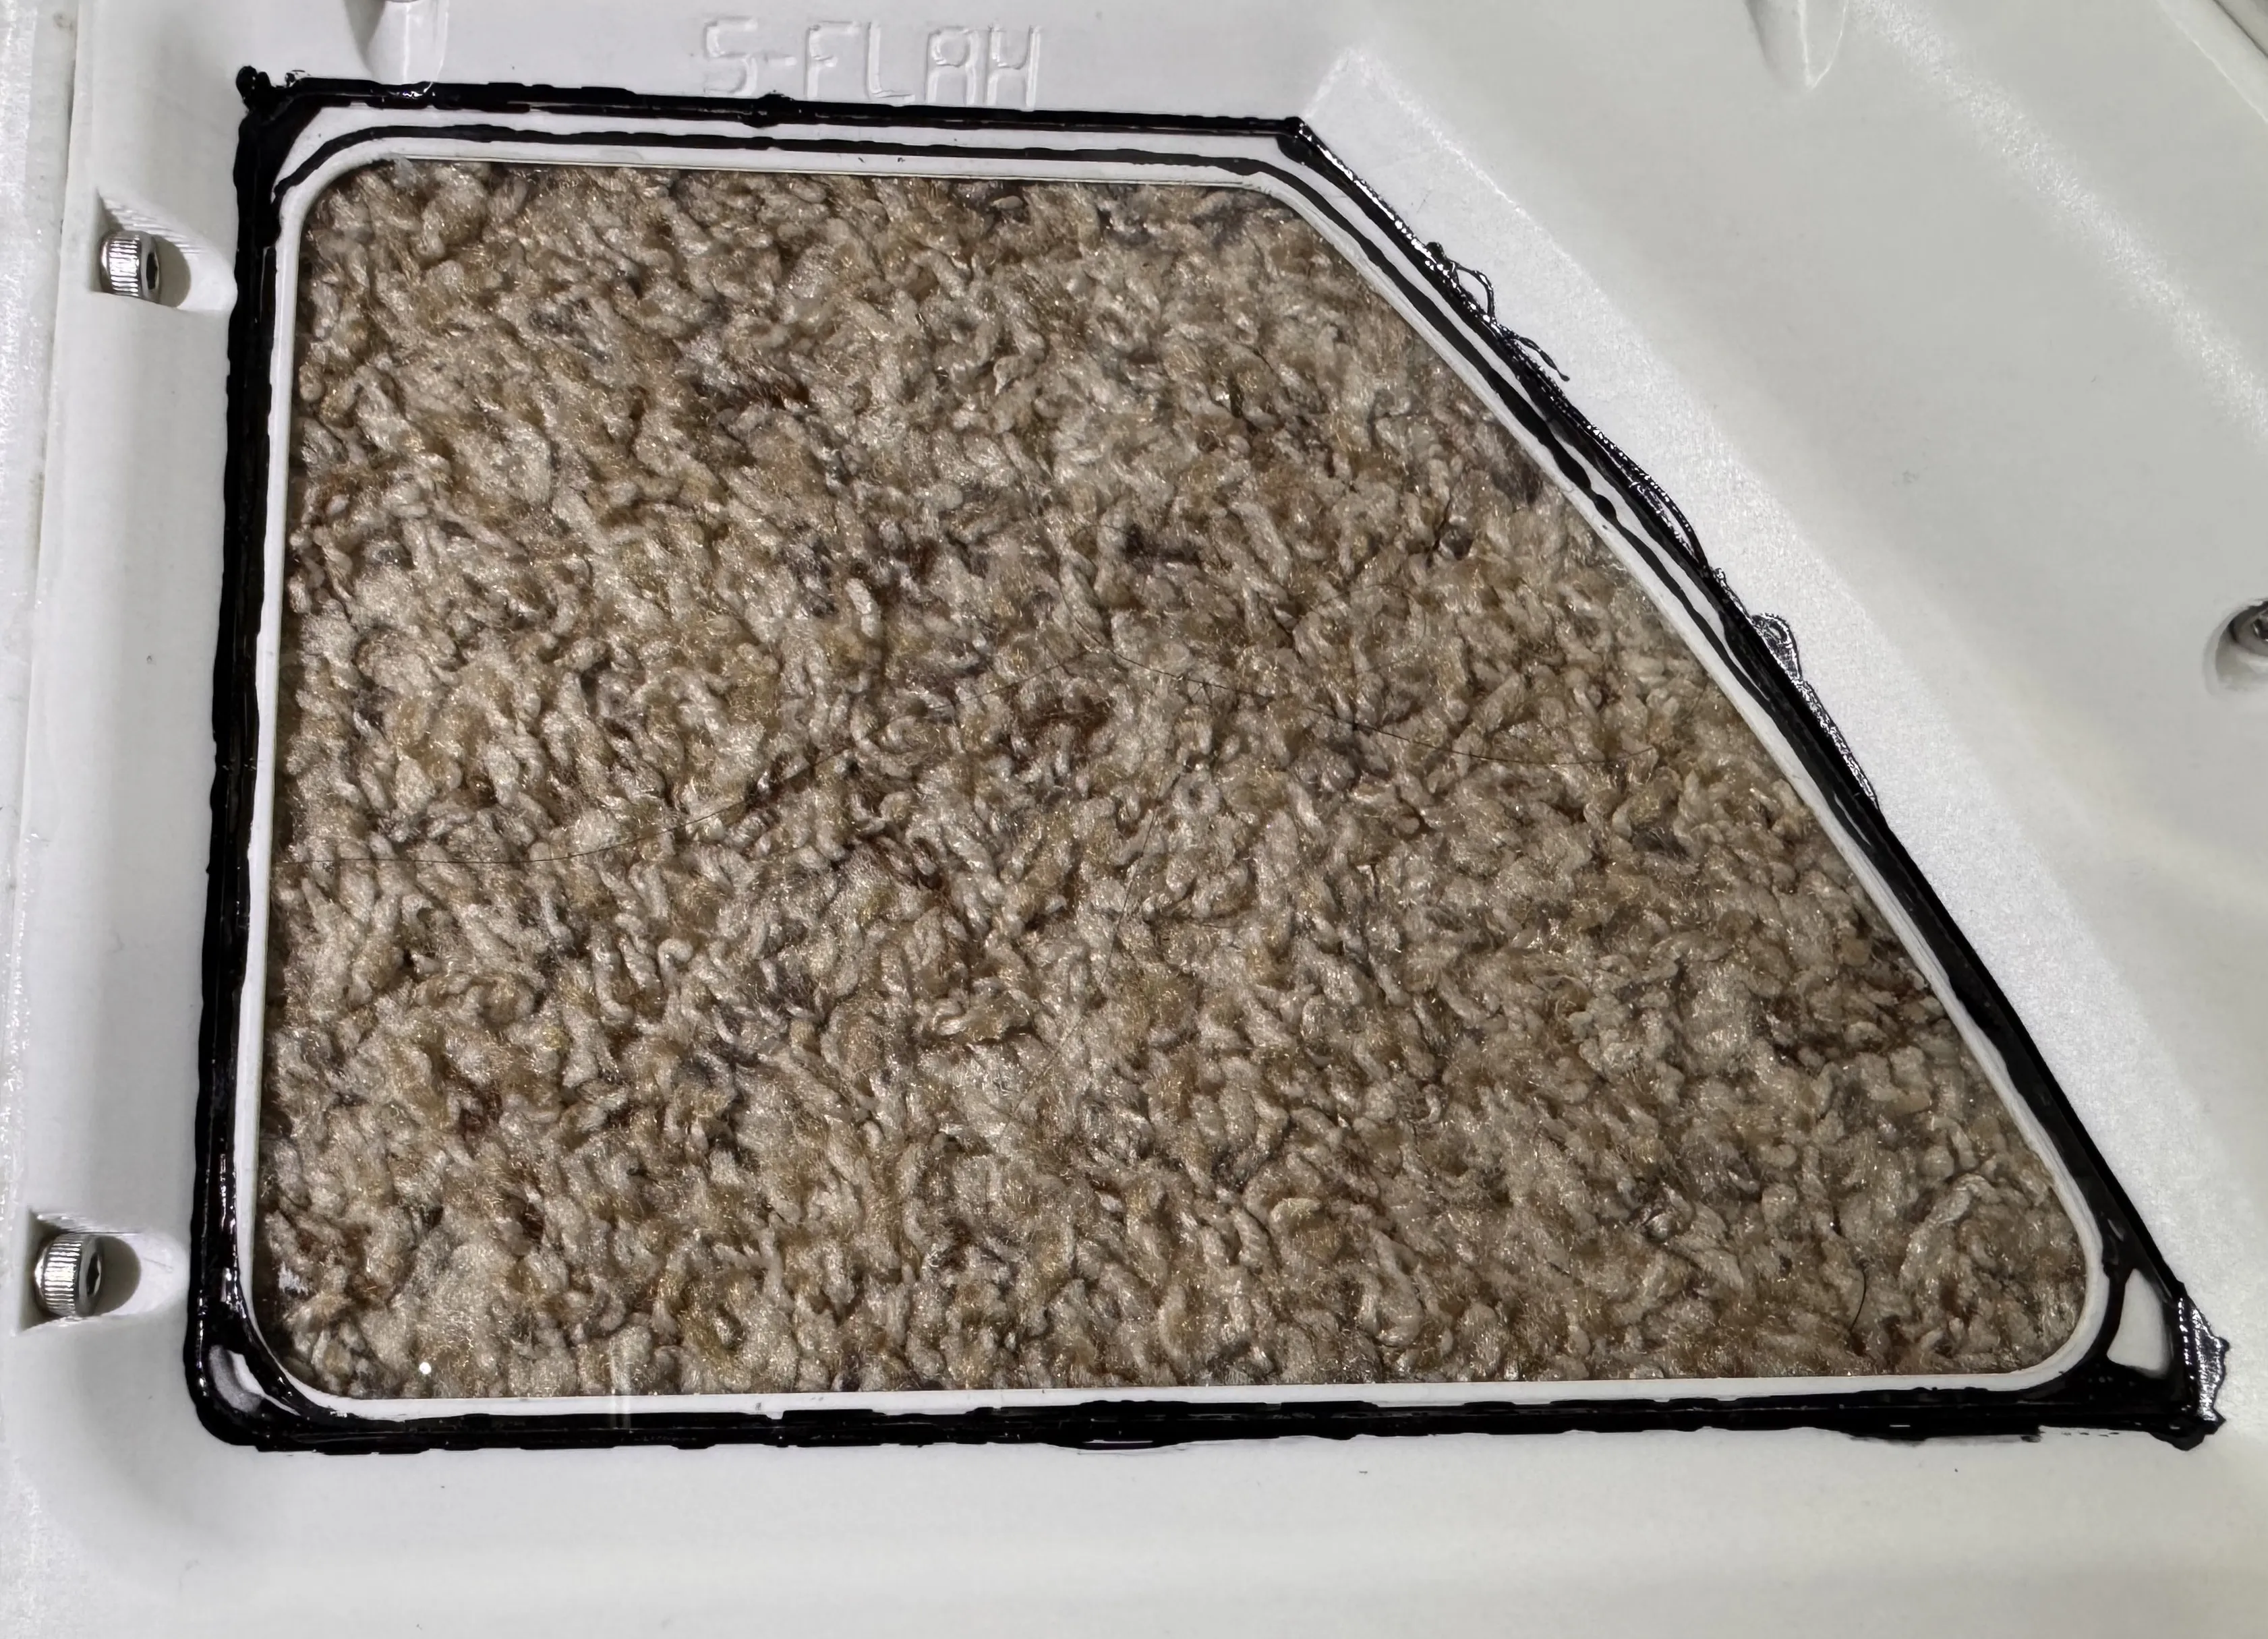
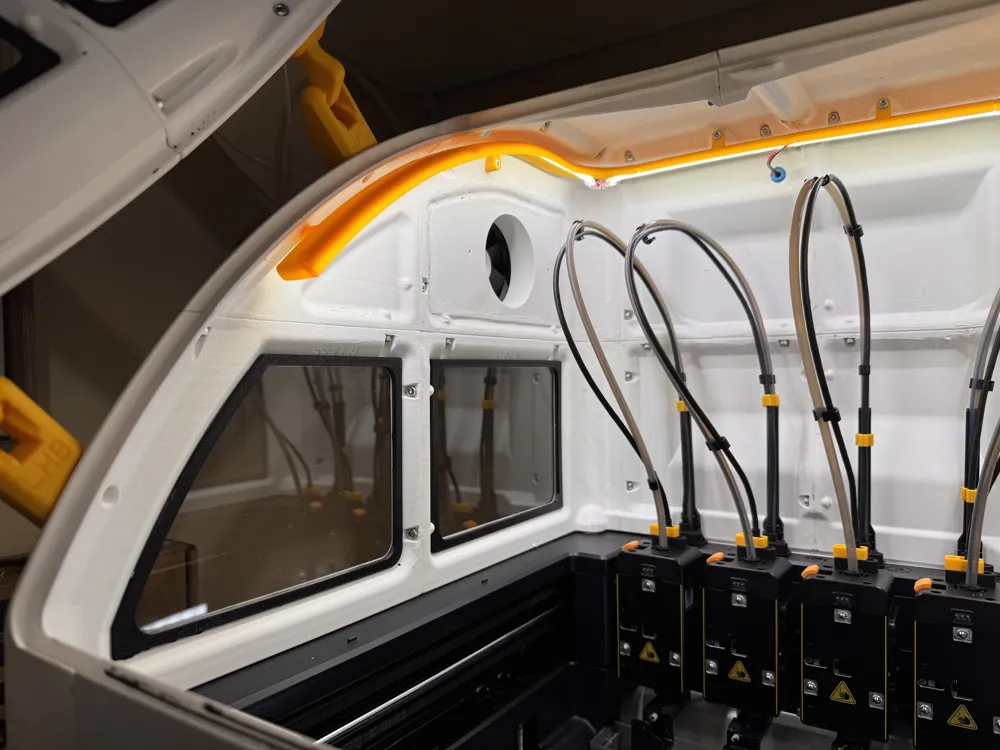
So I made some bezel trims to make it look better.
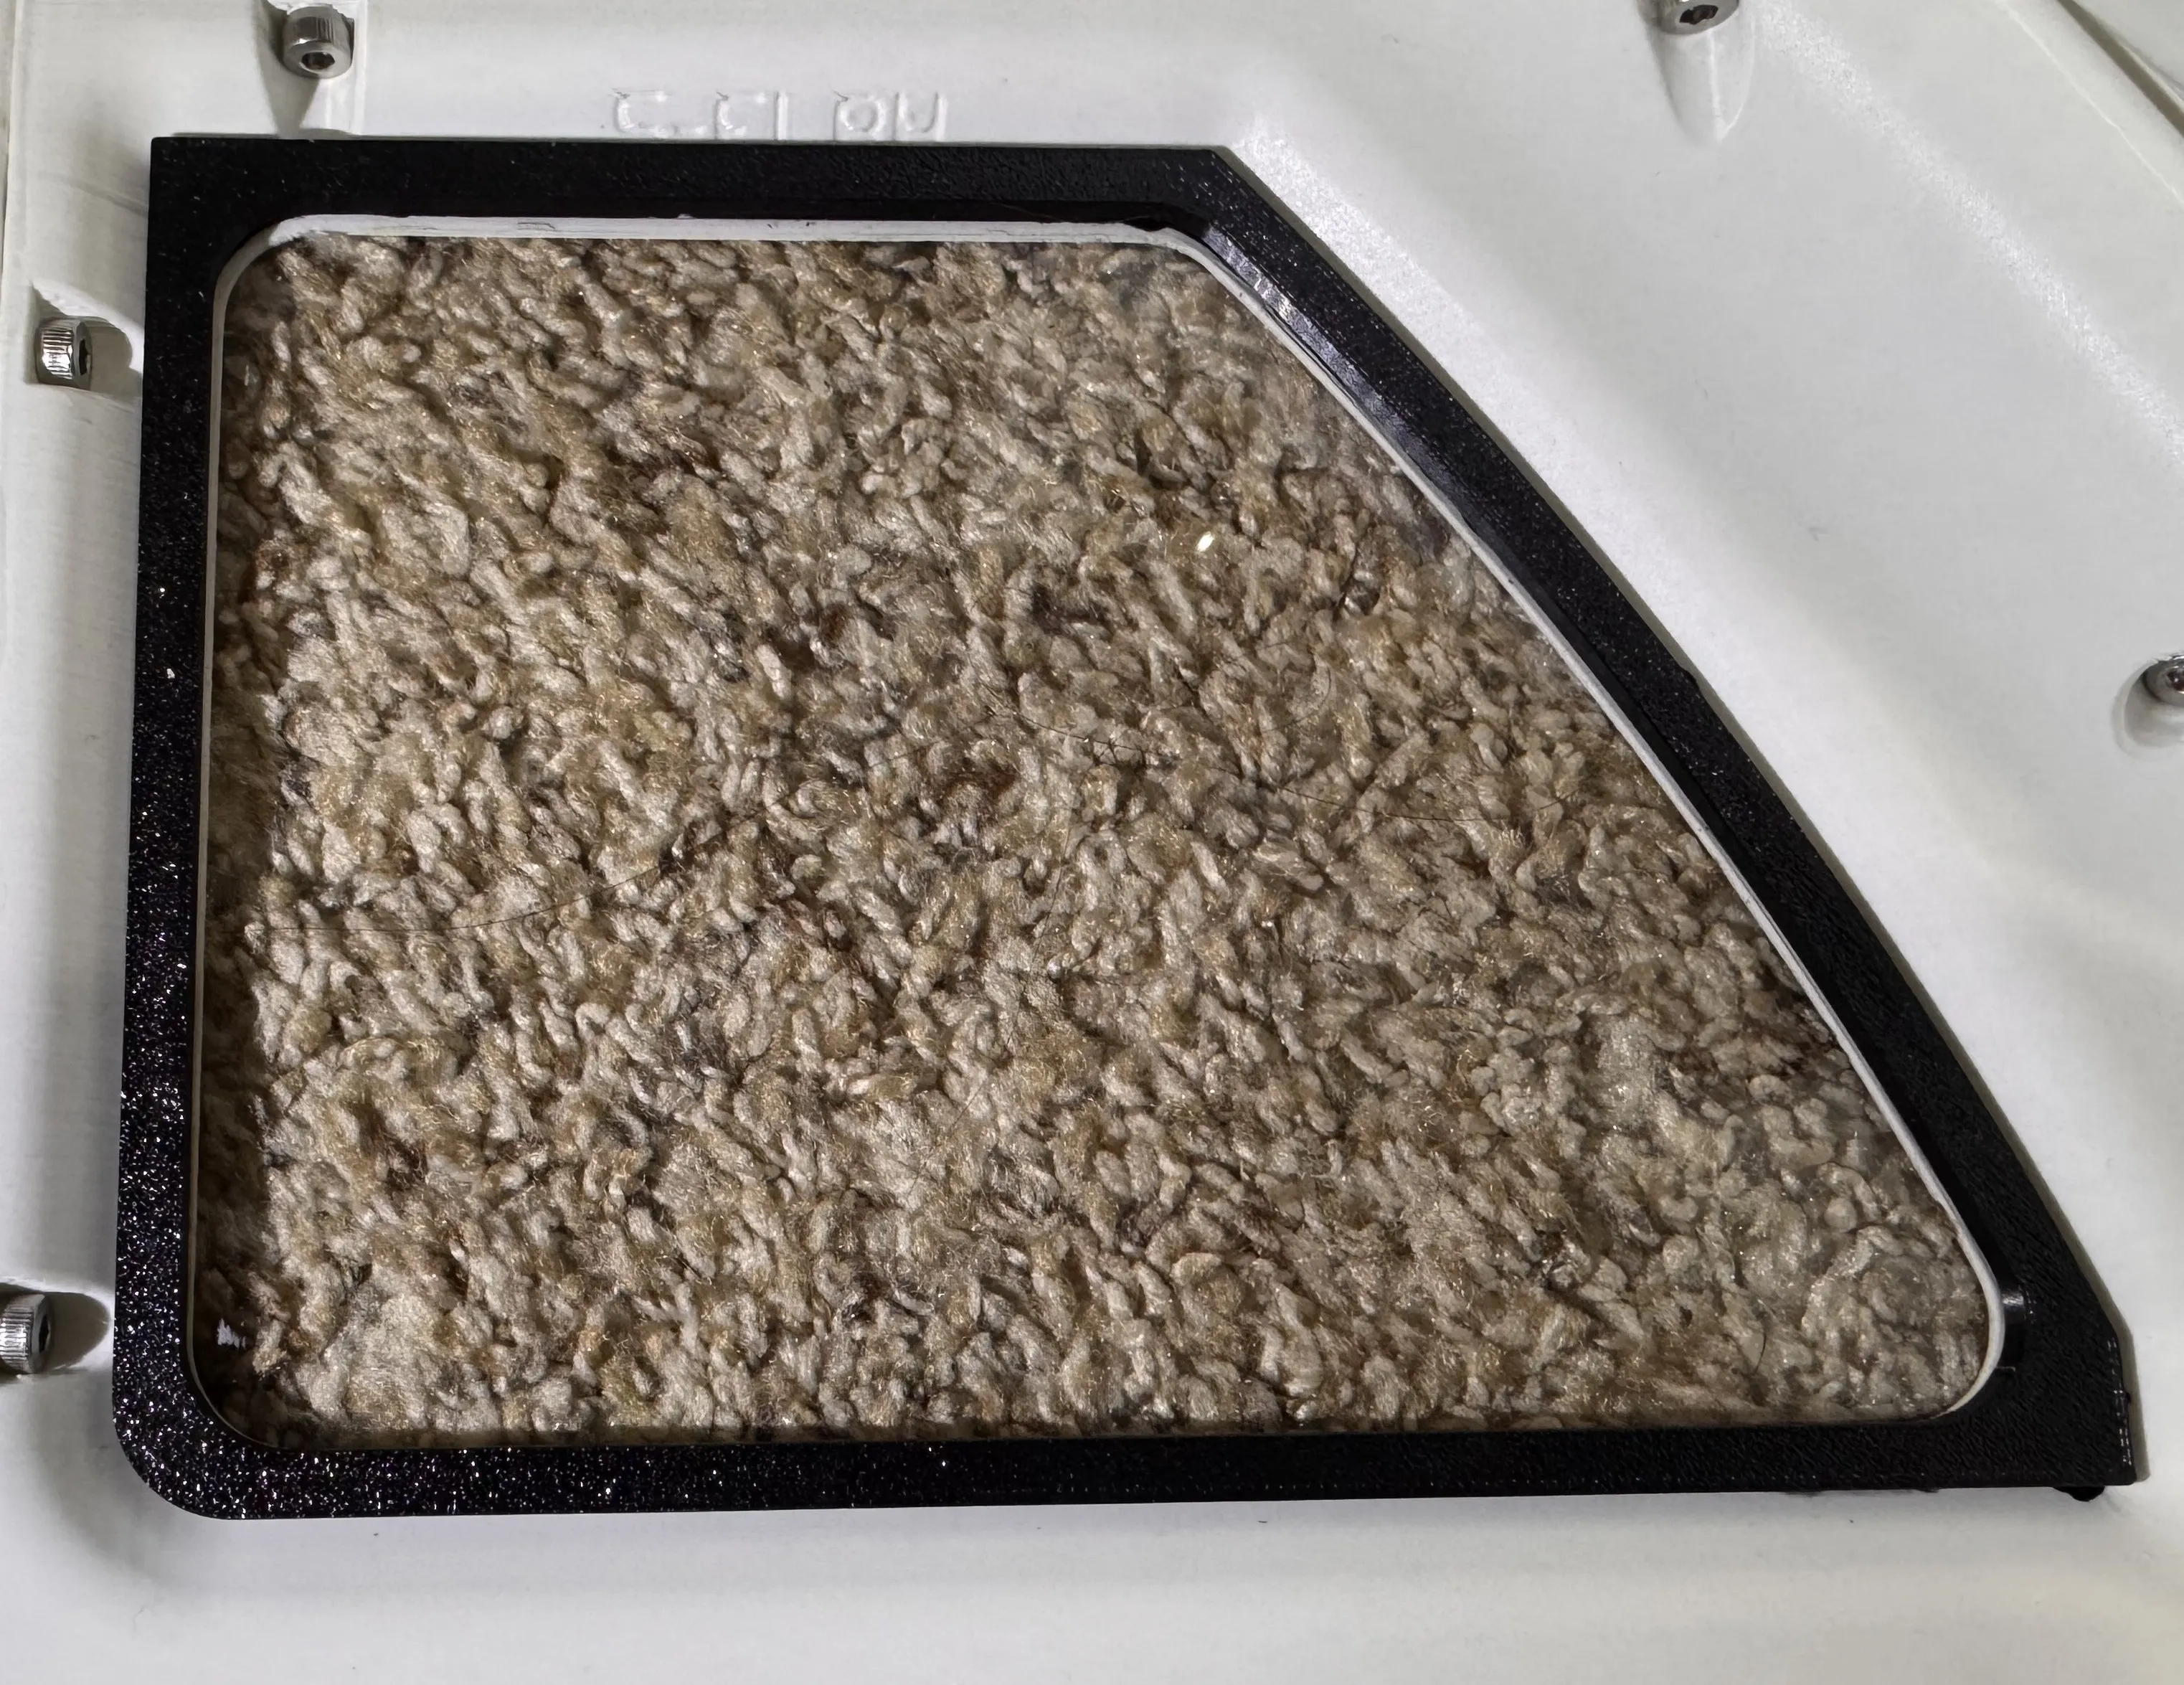
They look a lot better now
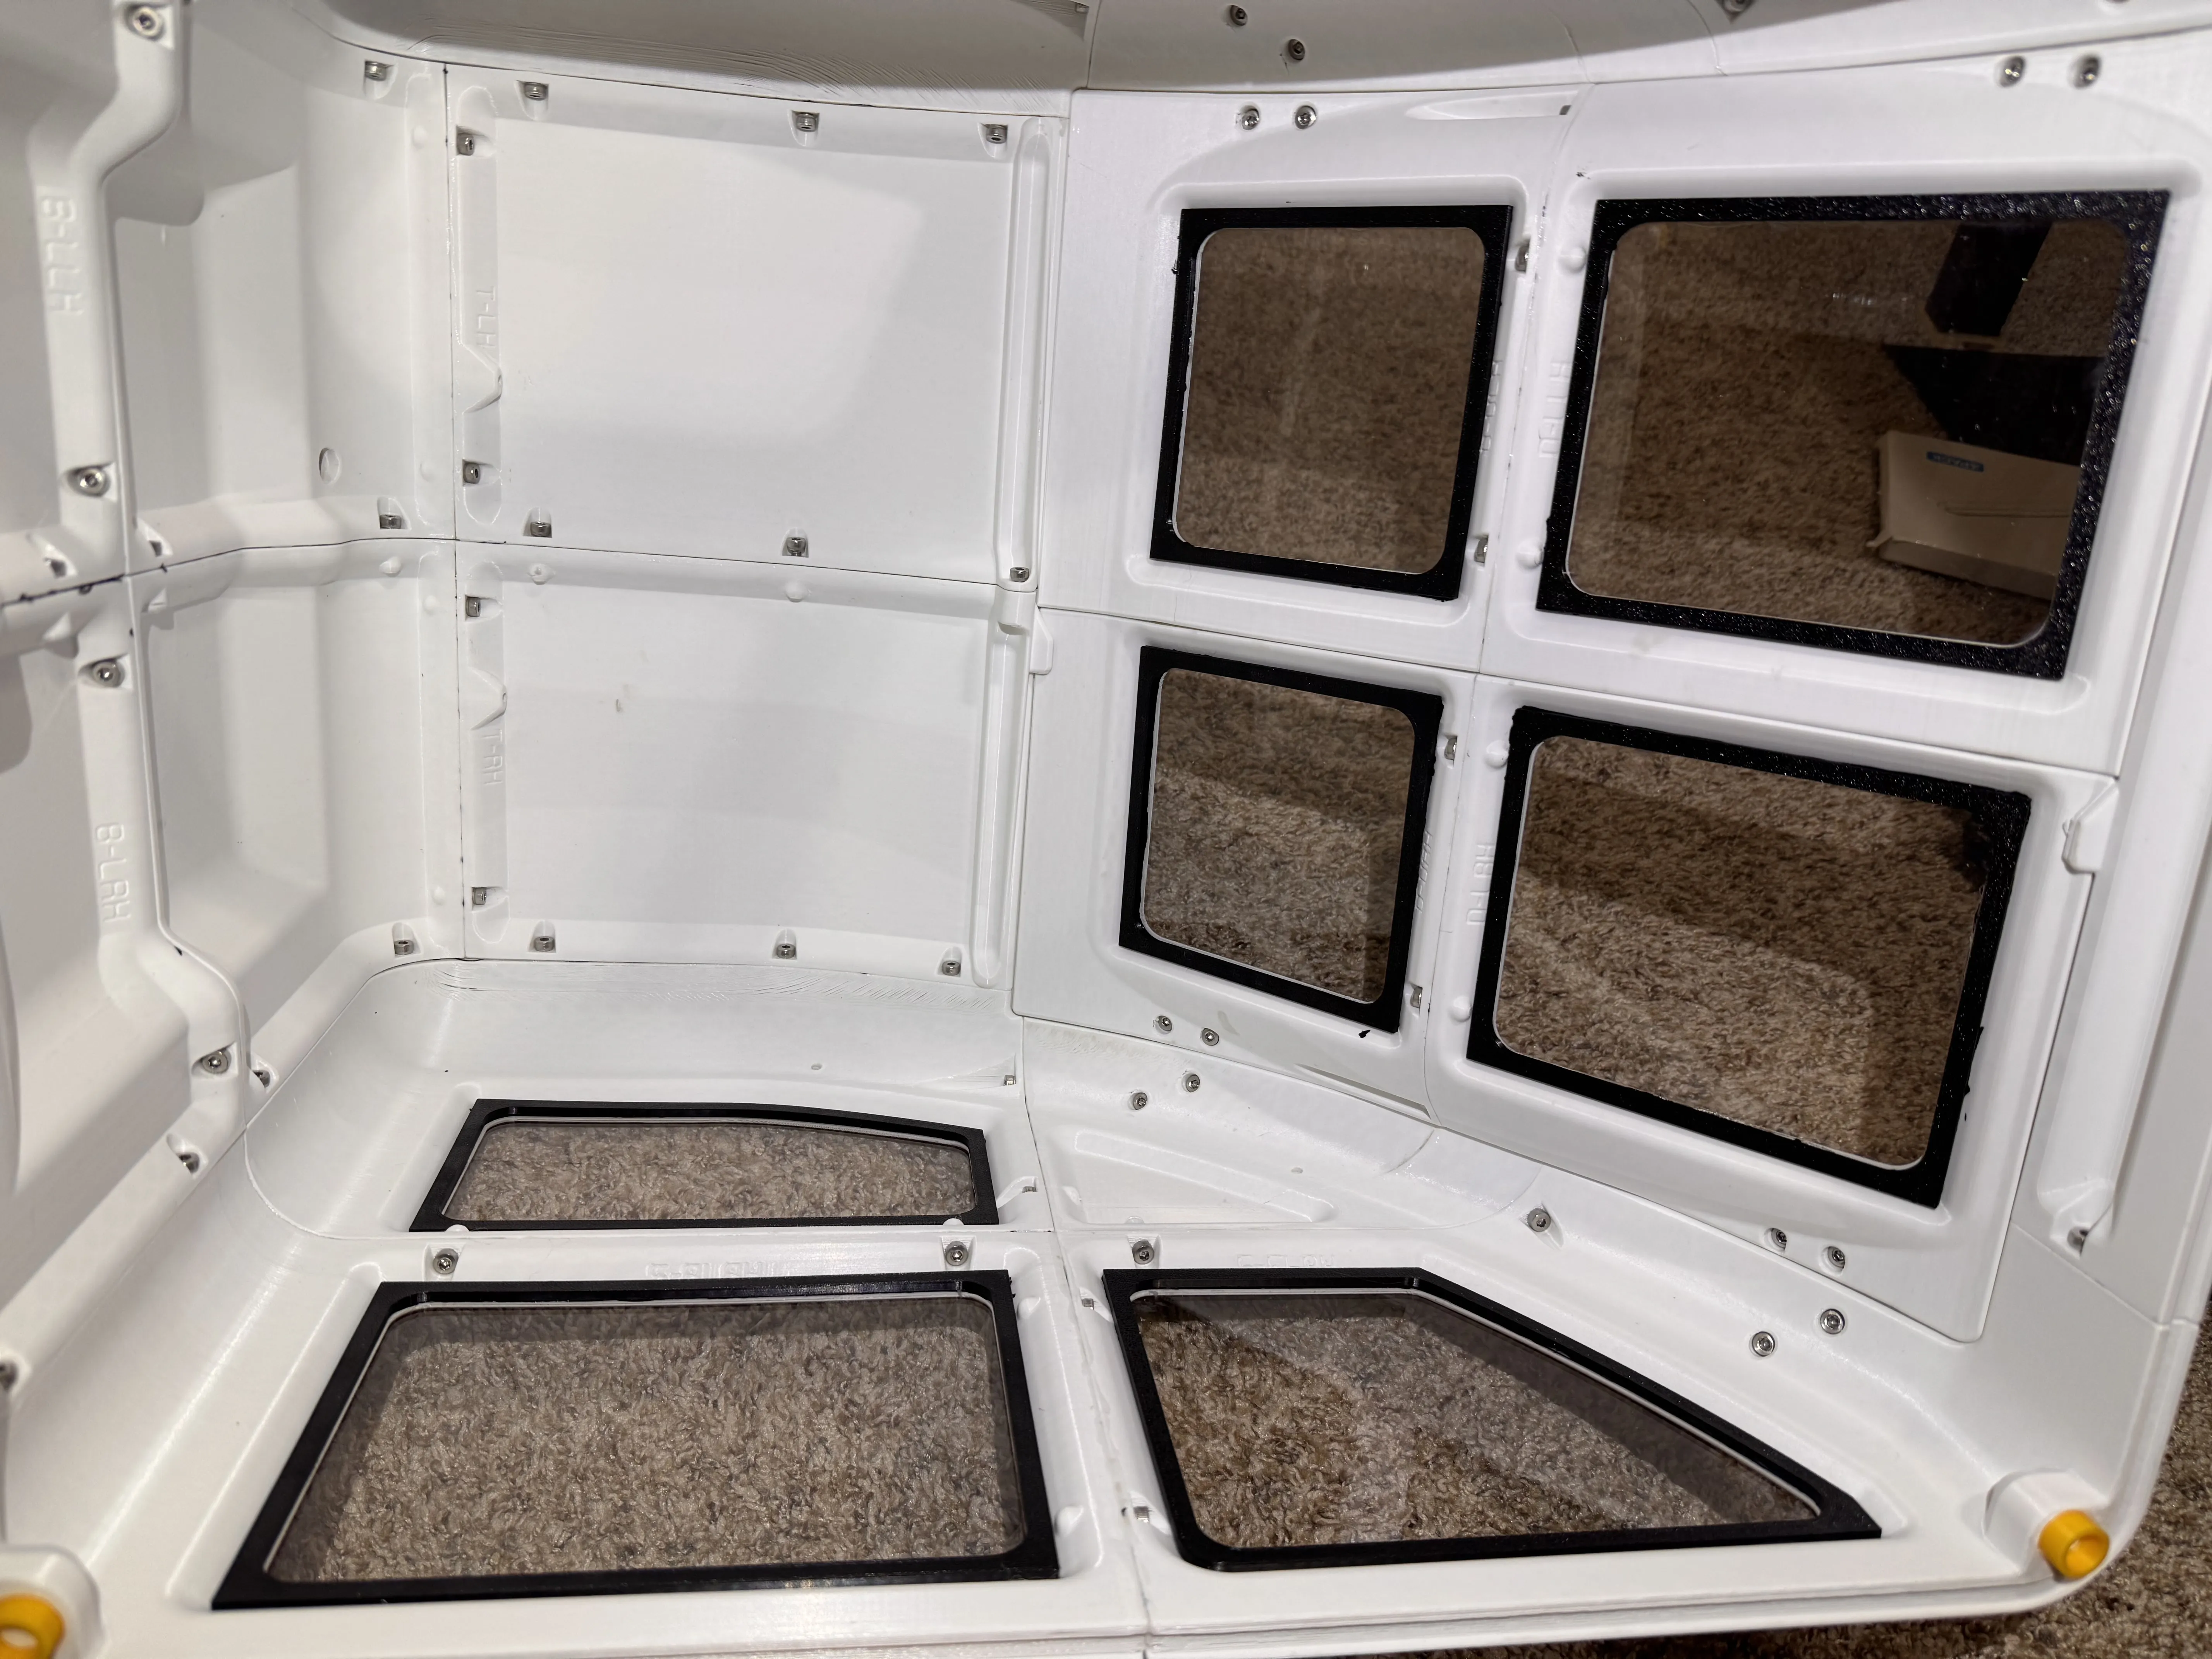
you can download the “CC3D POD Plexiglass Bezel Trim -U1 profile” in the Download STL/CAD file menu
Note: Any standard 3D print glue or super glue works fine. I’m using 0.08in (2mm) plexiglass—if your material is a different thickness, definitely do a test print before you go all in.
III. Ventilation system
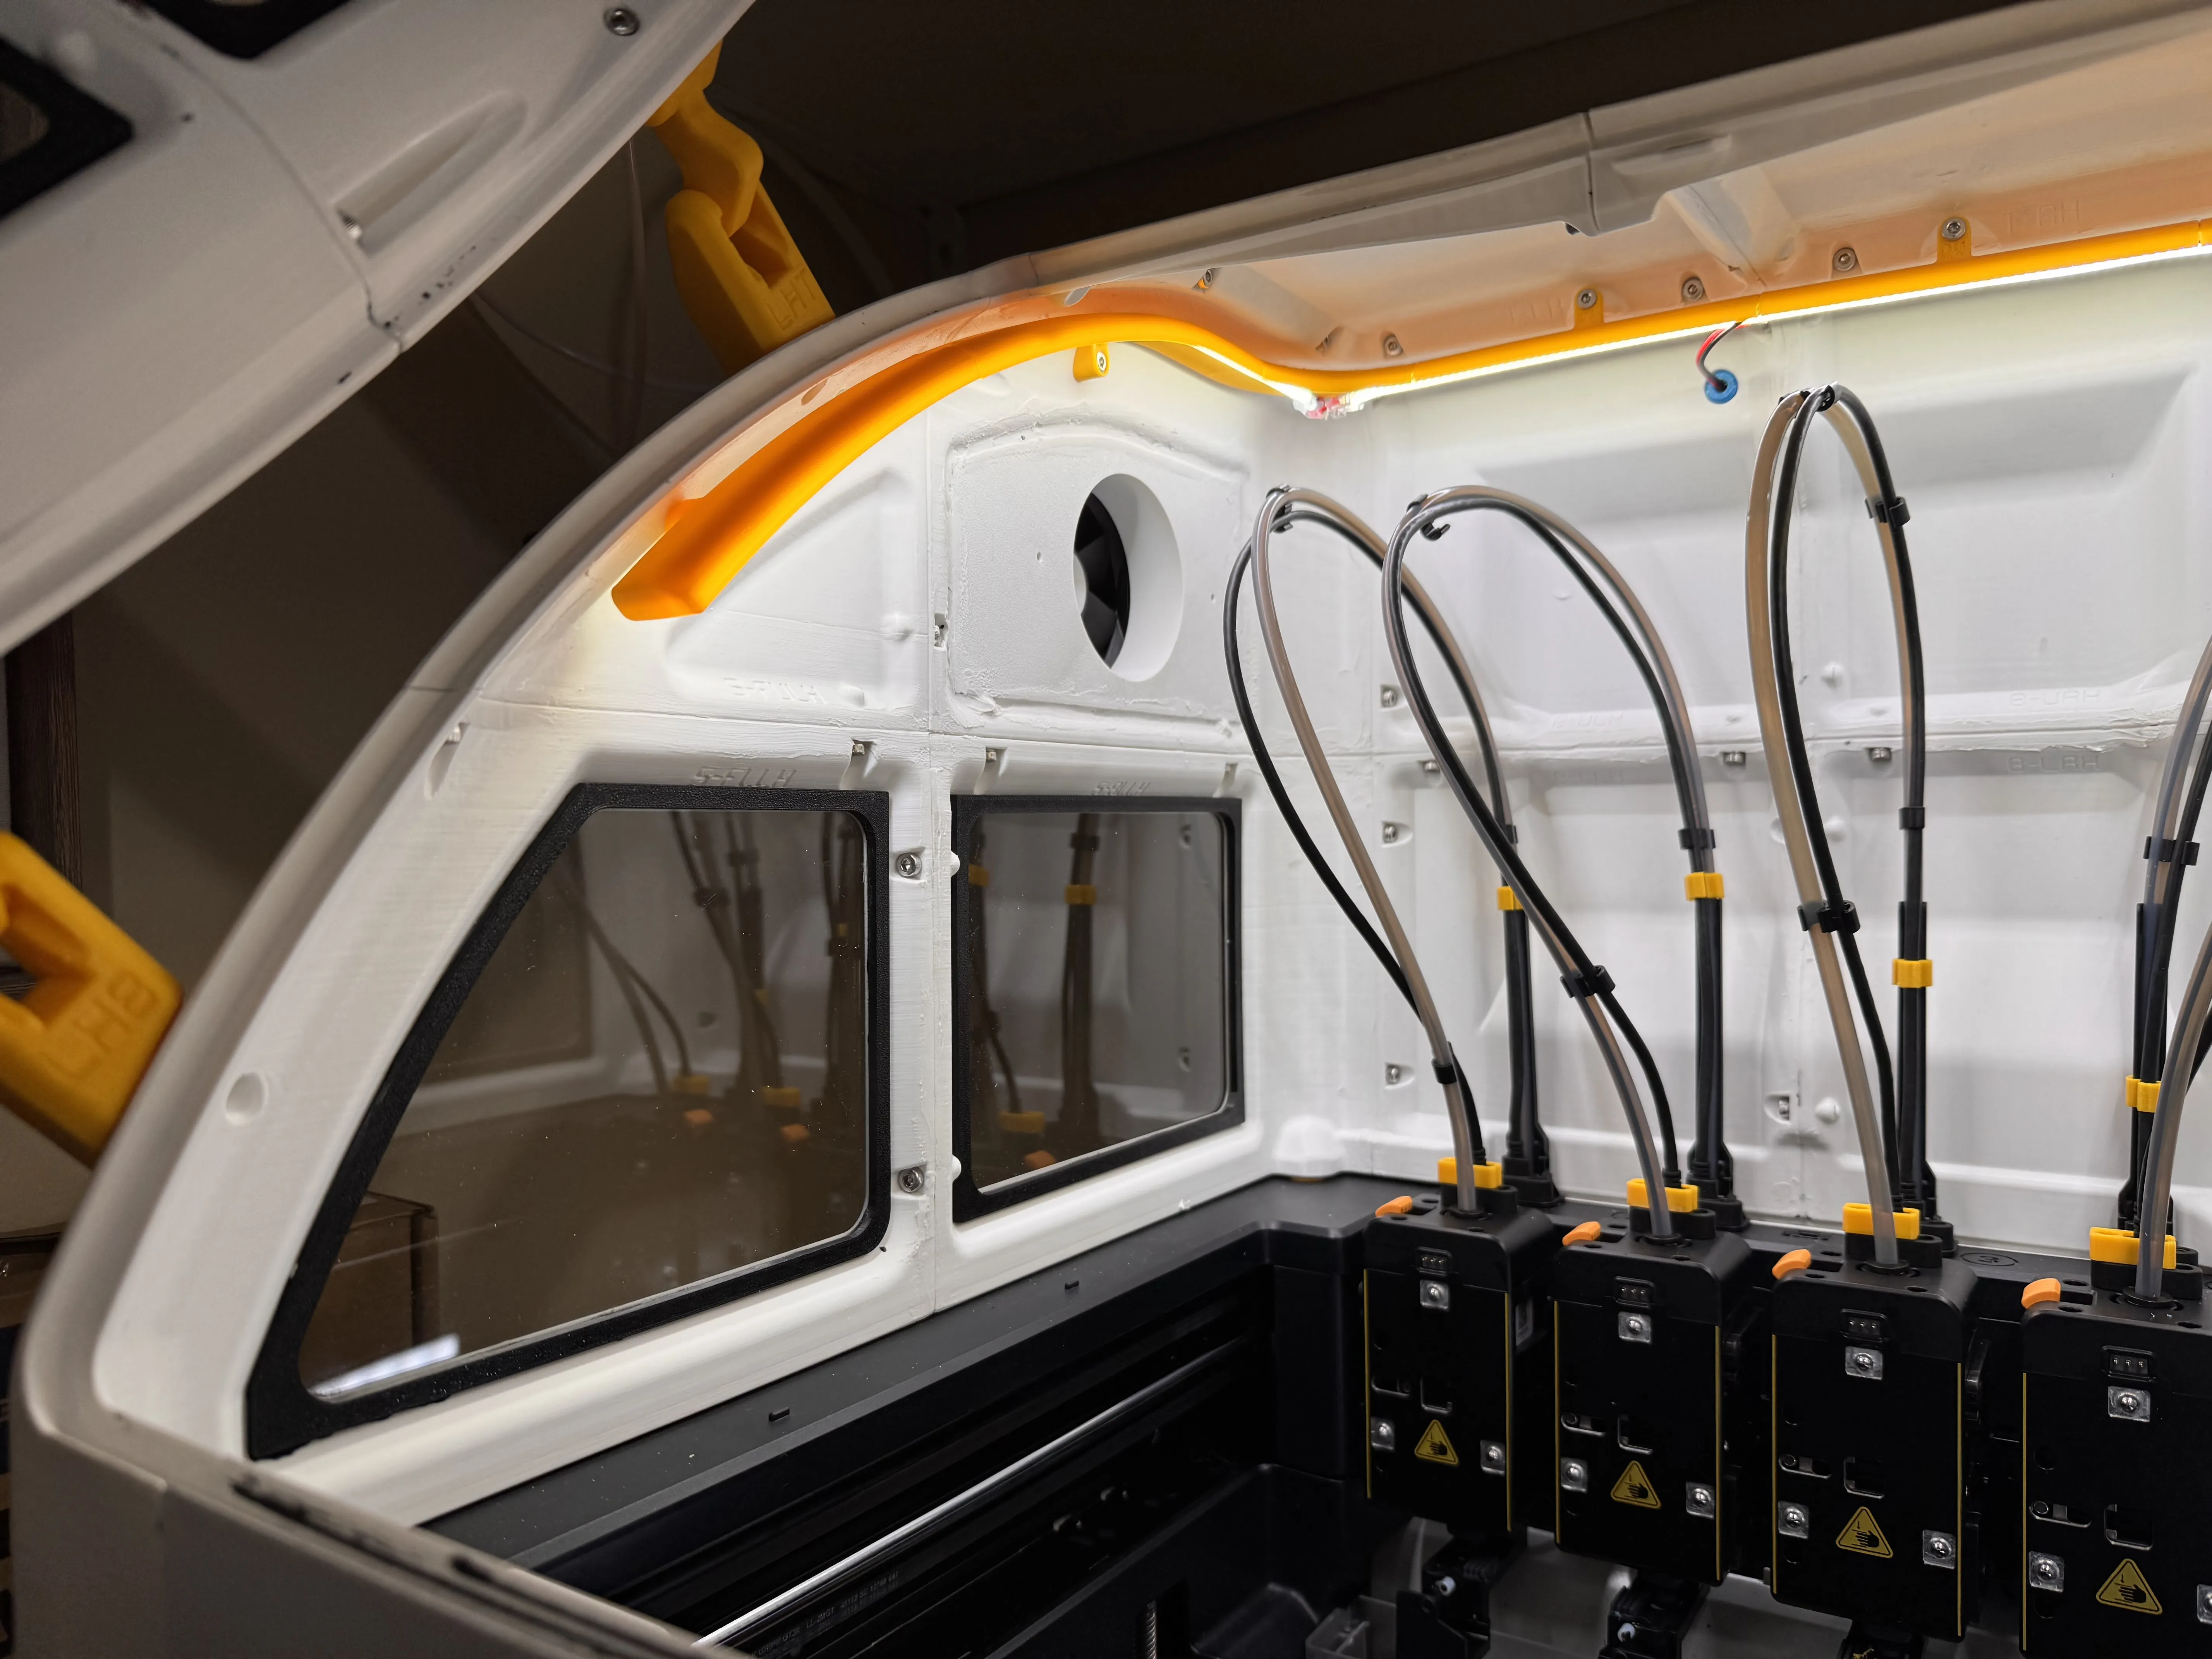
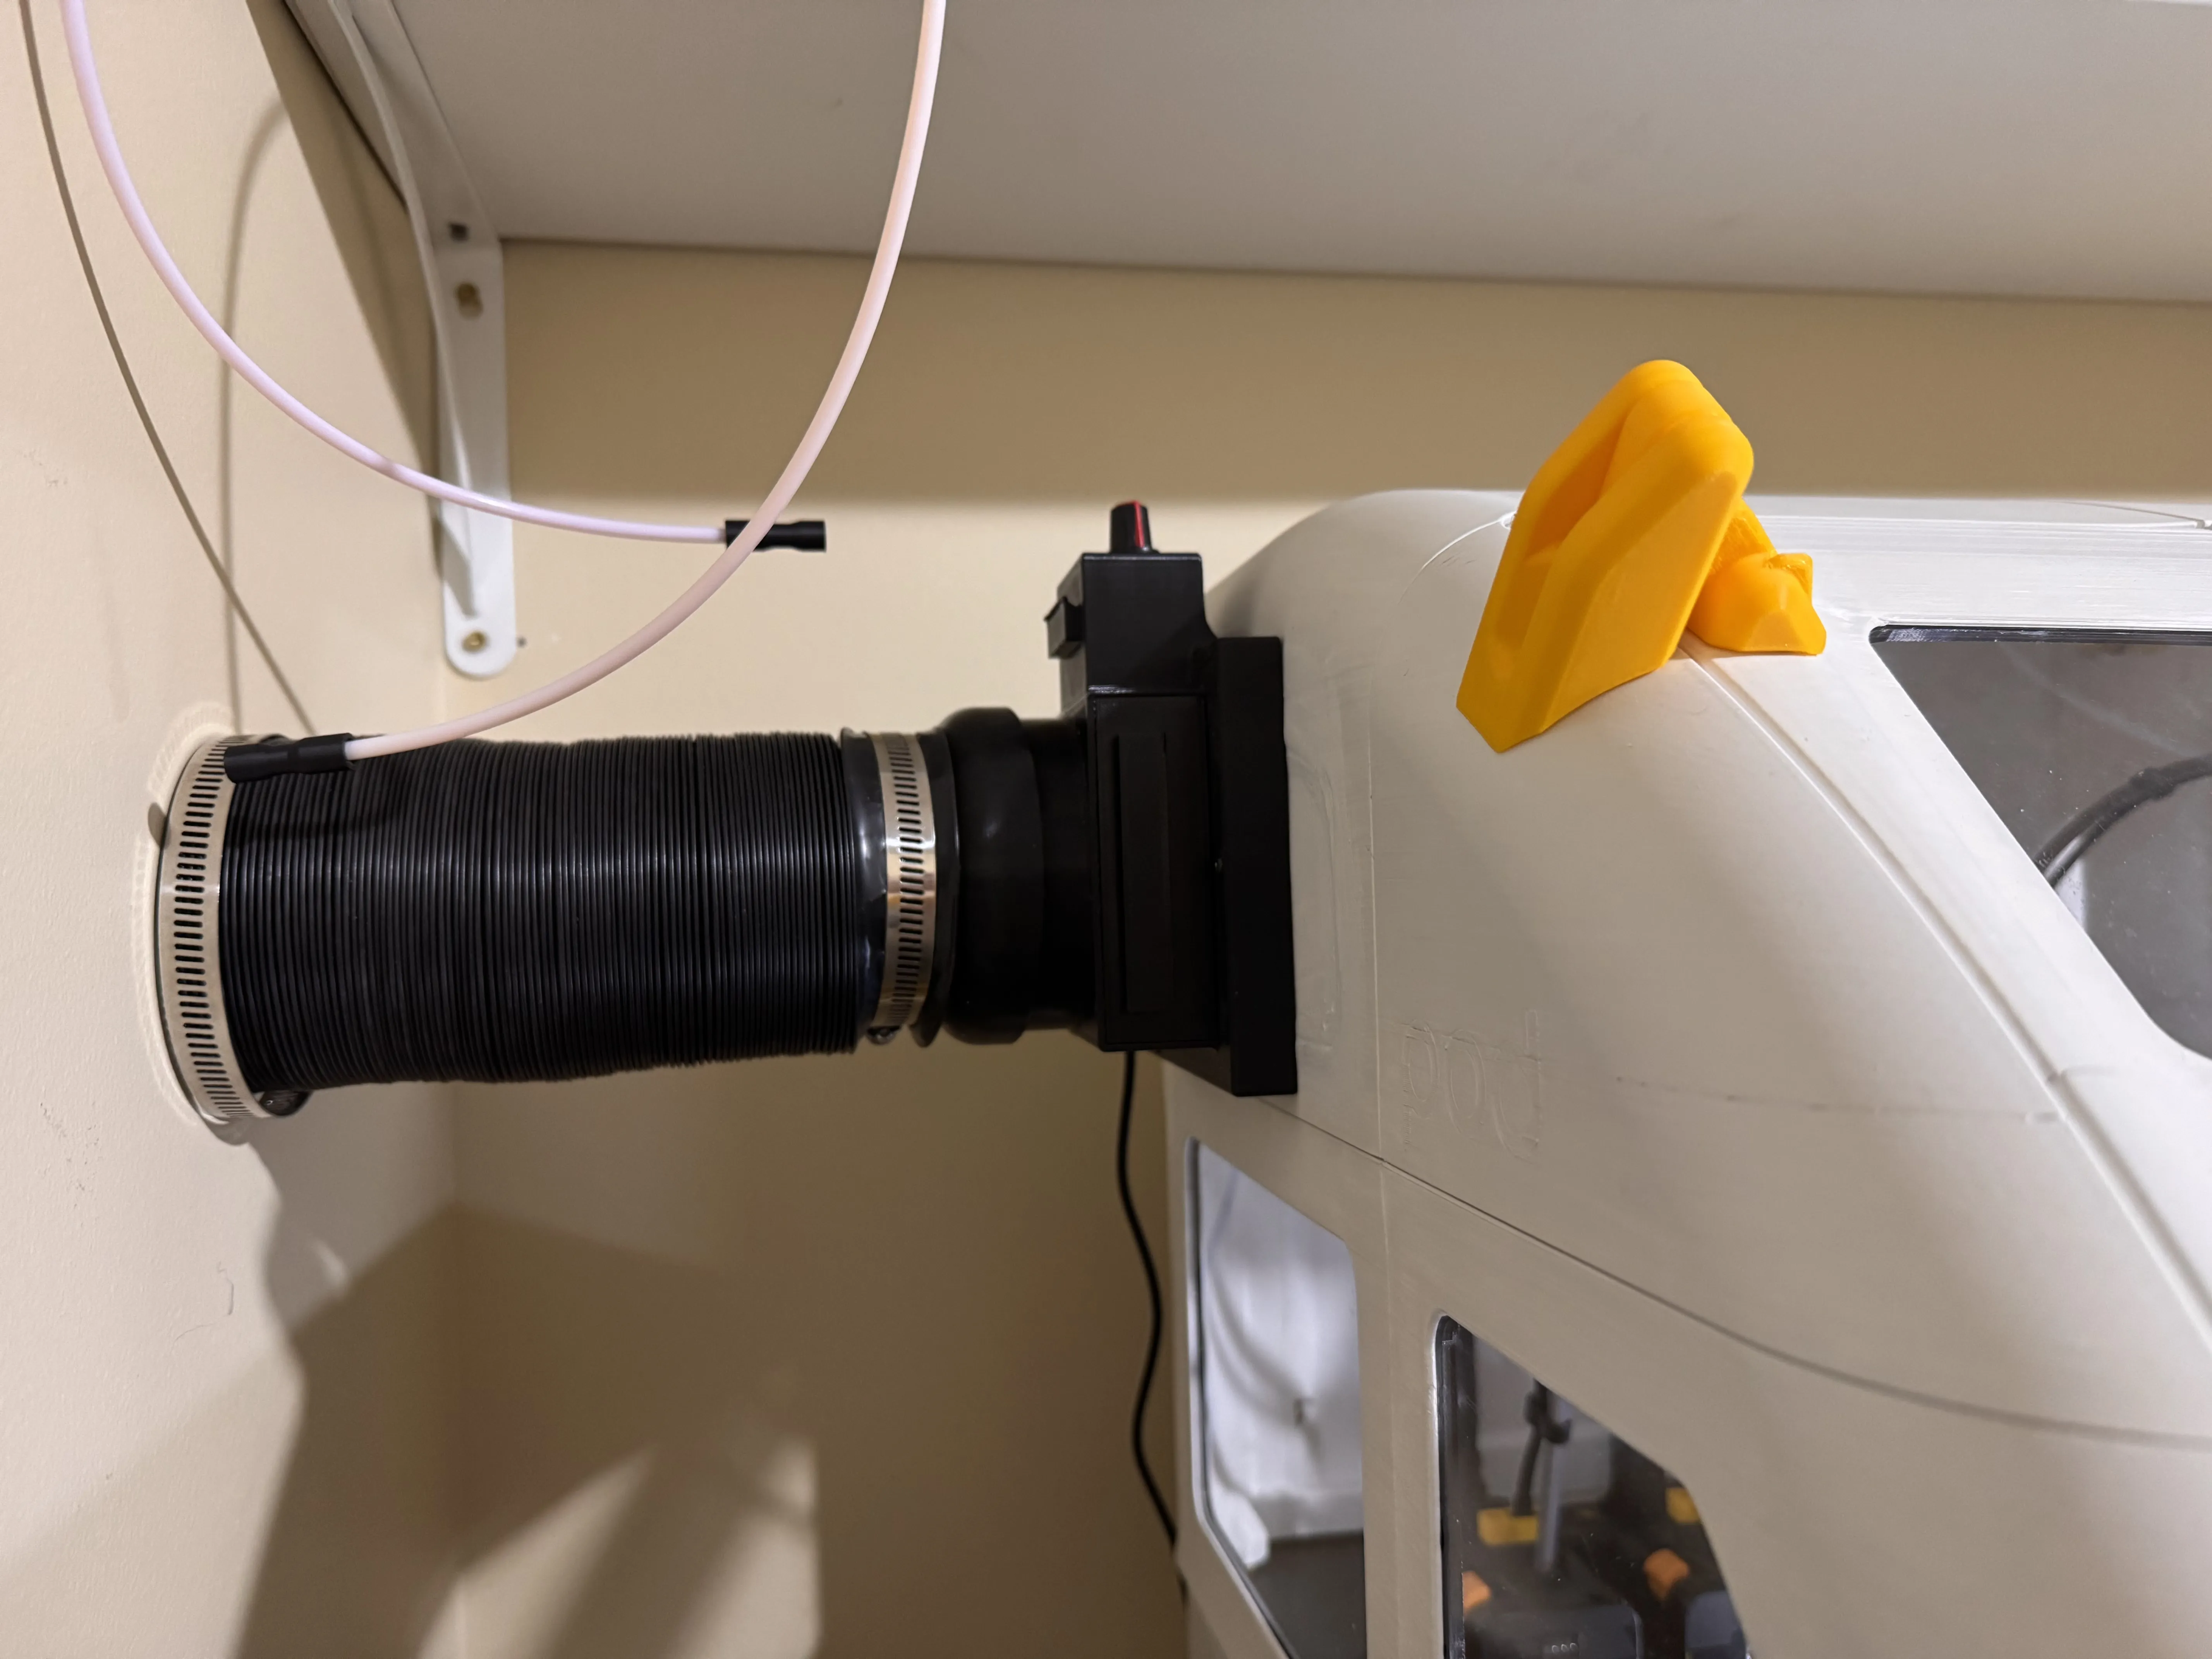
I turned one of the windows into my ventilation fan. you can download the “U1 ventilation -U1 profile” in the Download STL/CAD file menu. Use your remaining phone's glue to adhere it to the POD, use a lot of glue.
The fan itself is in a housing looks like this:
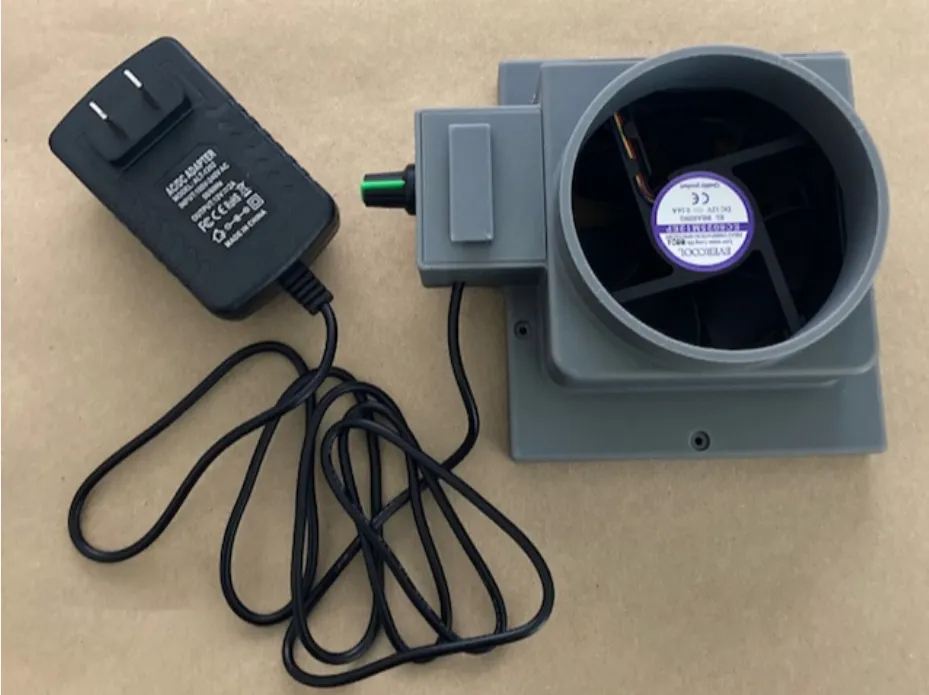
you can read more at https://makerworld.com/en/models/825955-exhaust-system-for-x1c#profileId-769558
Thank you for reading.
License



Comment & Rating (9)