
Floating Centercap (55mm Hub / 65mm Cap)
Print Profile(2)
Description

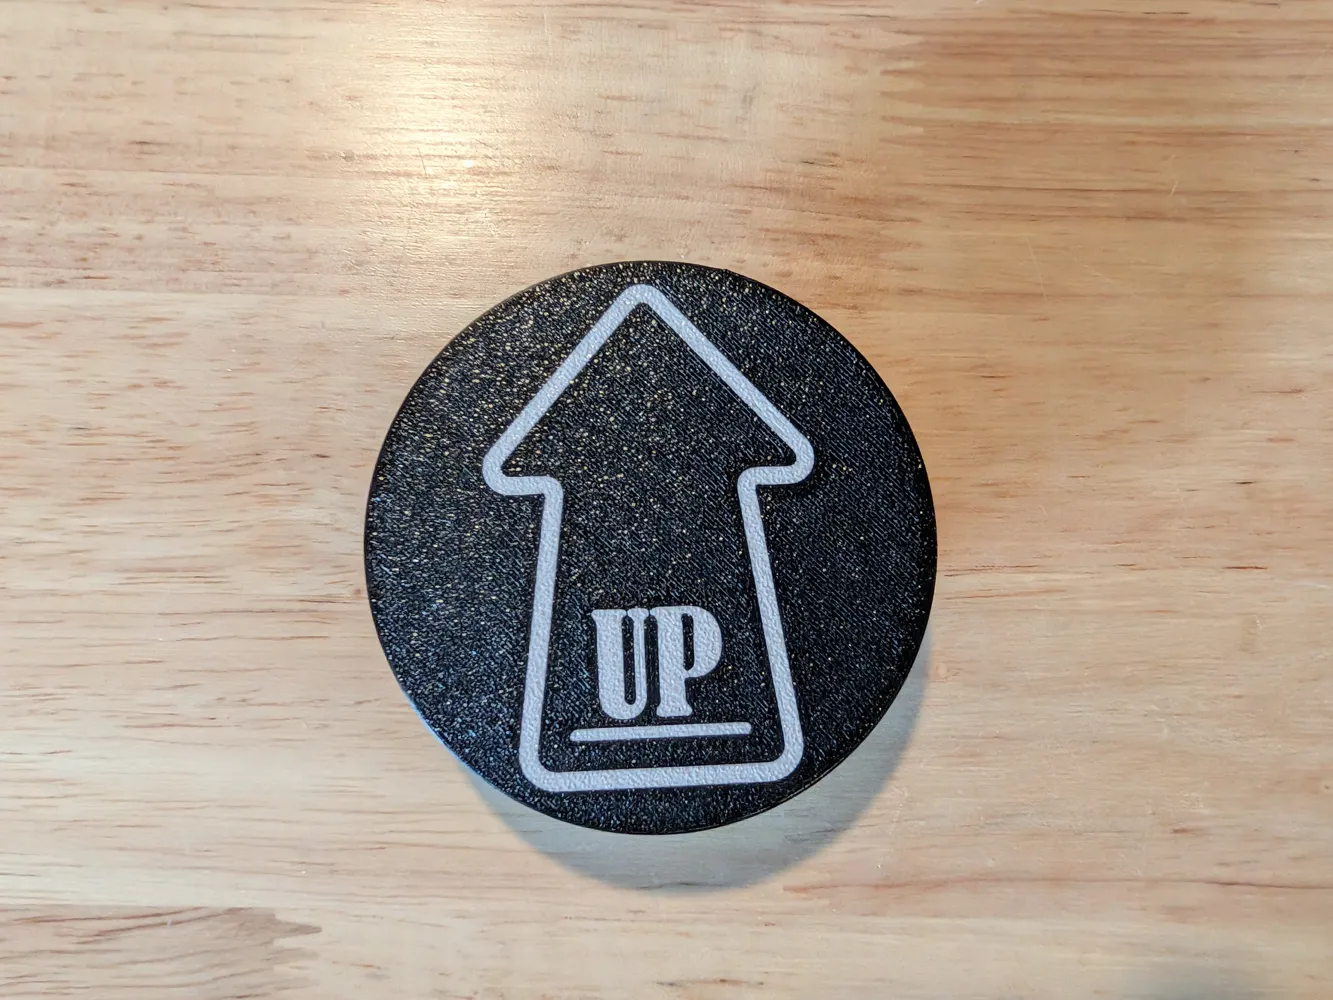
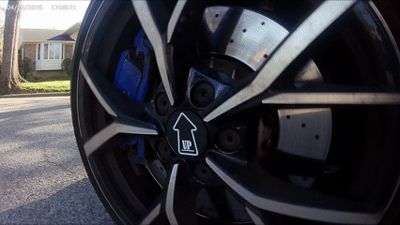
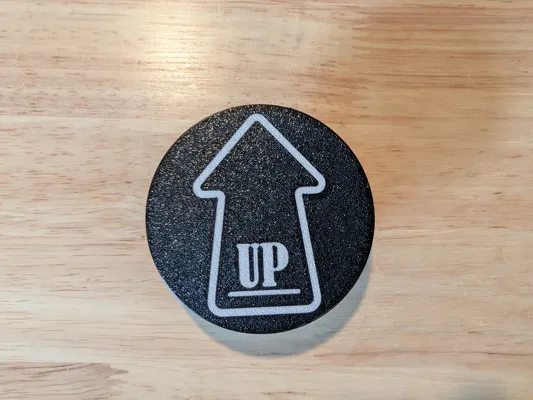
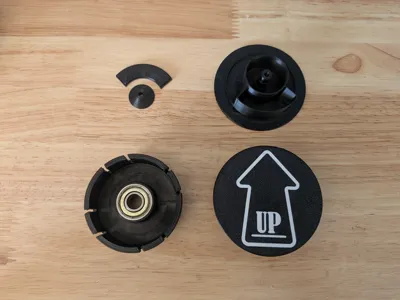
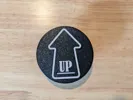
Designed specifically around my 2022 Golf R, these floating center caps are made to fit a 55mm hub with a 65mm outer cap.
Assembly is simple, and the project can be completed with common hobby materials. For best results, I recommend using 2mm–2.4mm lead balls as ballast to help the cap stay properly oriented while spinning. The heavier the ballast, the better the performance.
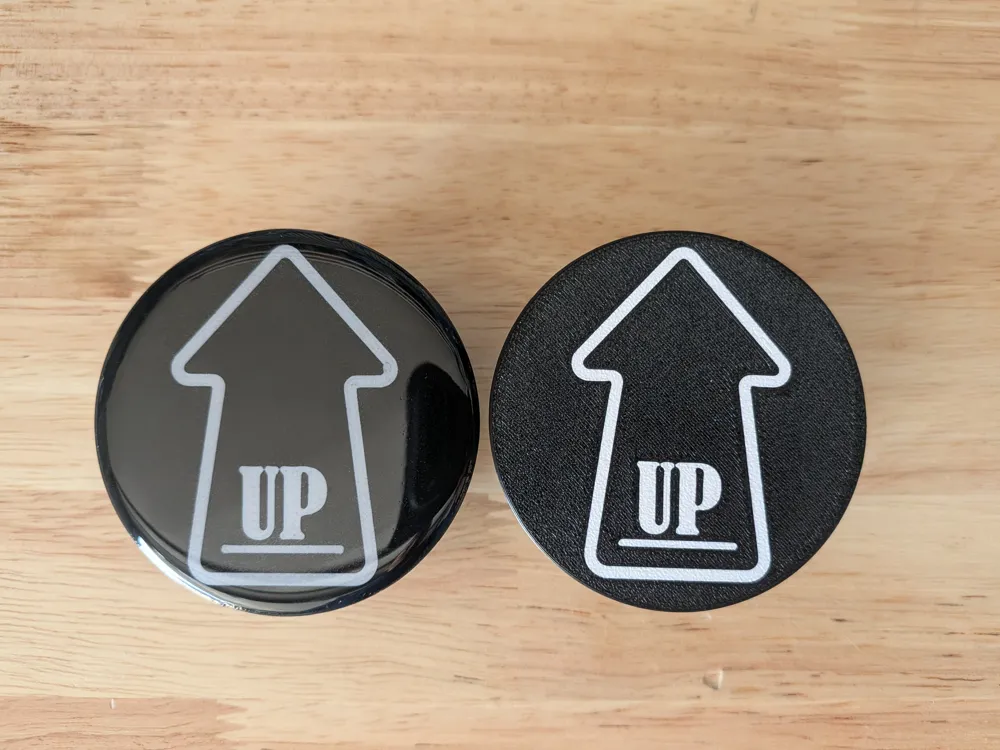
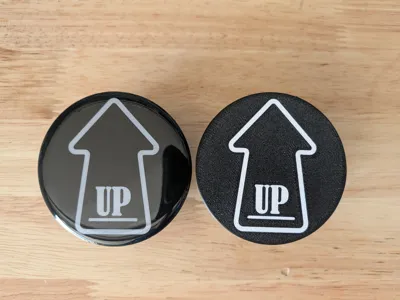
They look great right off the printer, but if you want a more premium OEM-style finish, adding an epoxy top coat really makes them stand out.
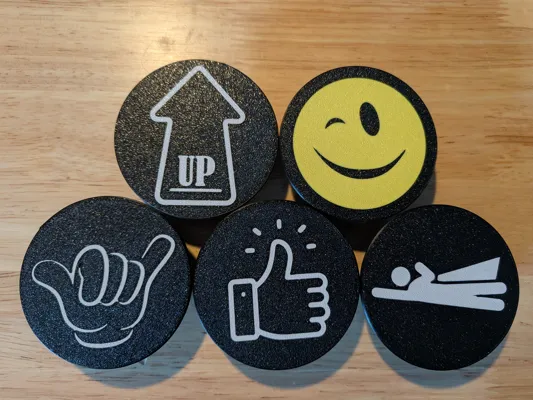
More Designs Available
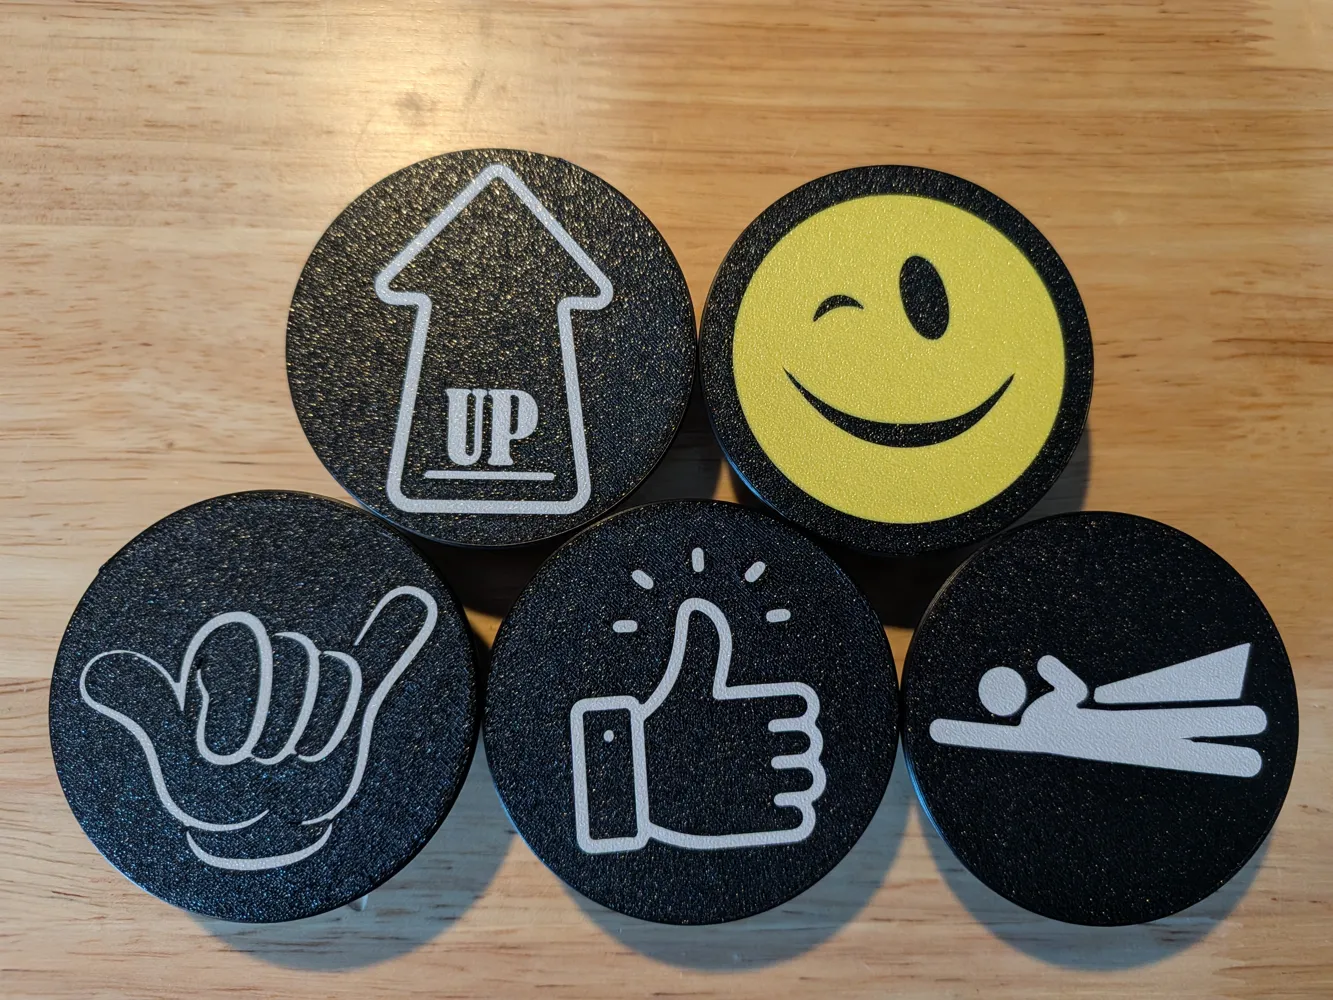
If you like this build, be sure to check out some of my other center cap designs:
More designs are always in the works, so feel free to follow for future releases and updates.
Assembly
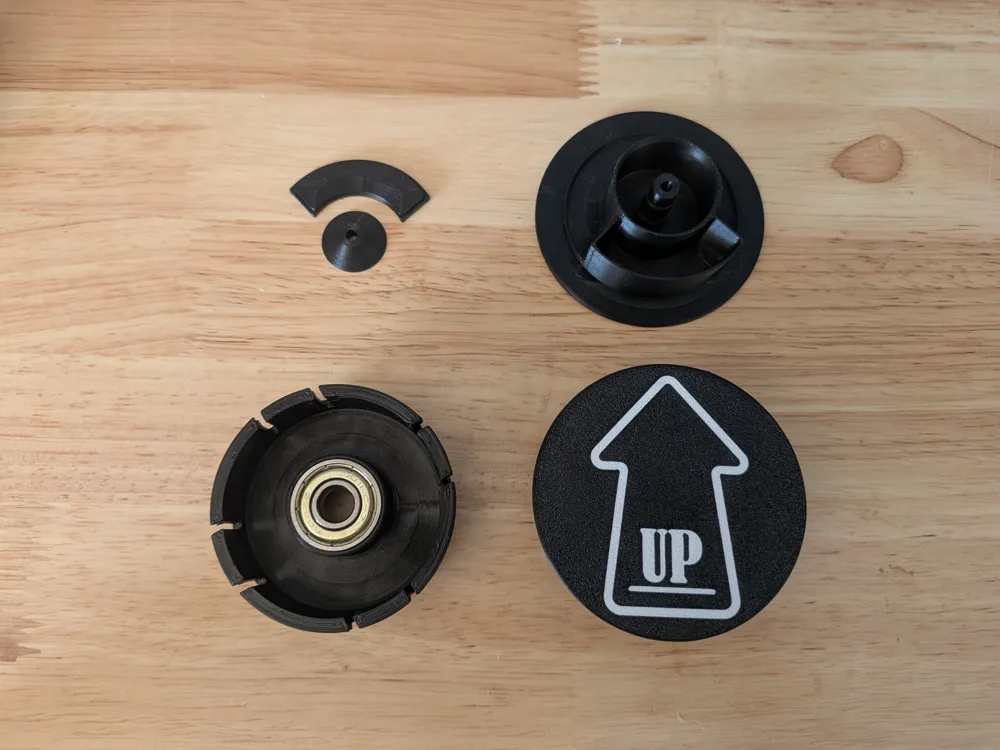
1. Install the Bearing
Press one 608ZZ bearing into each hub.
Sealed bearings are recommended.
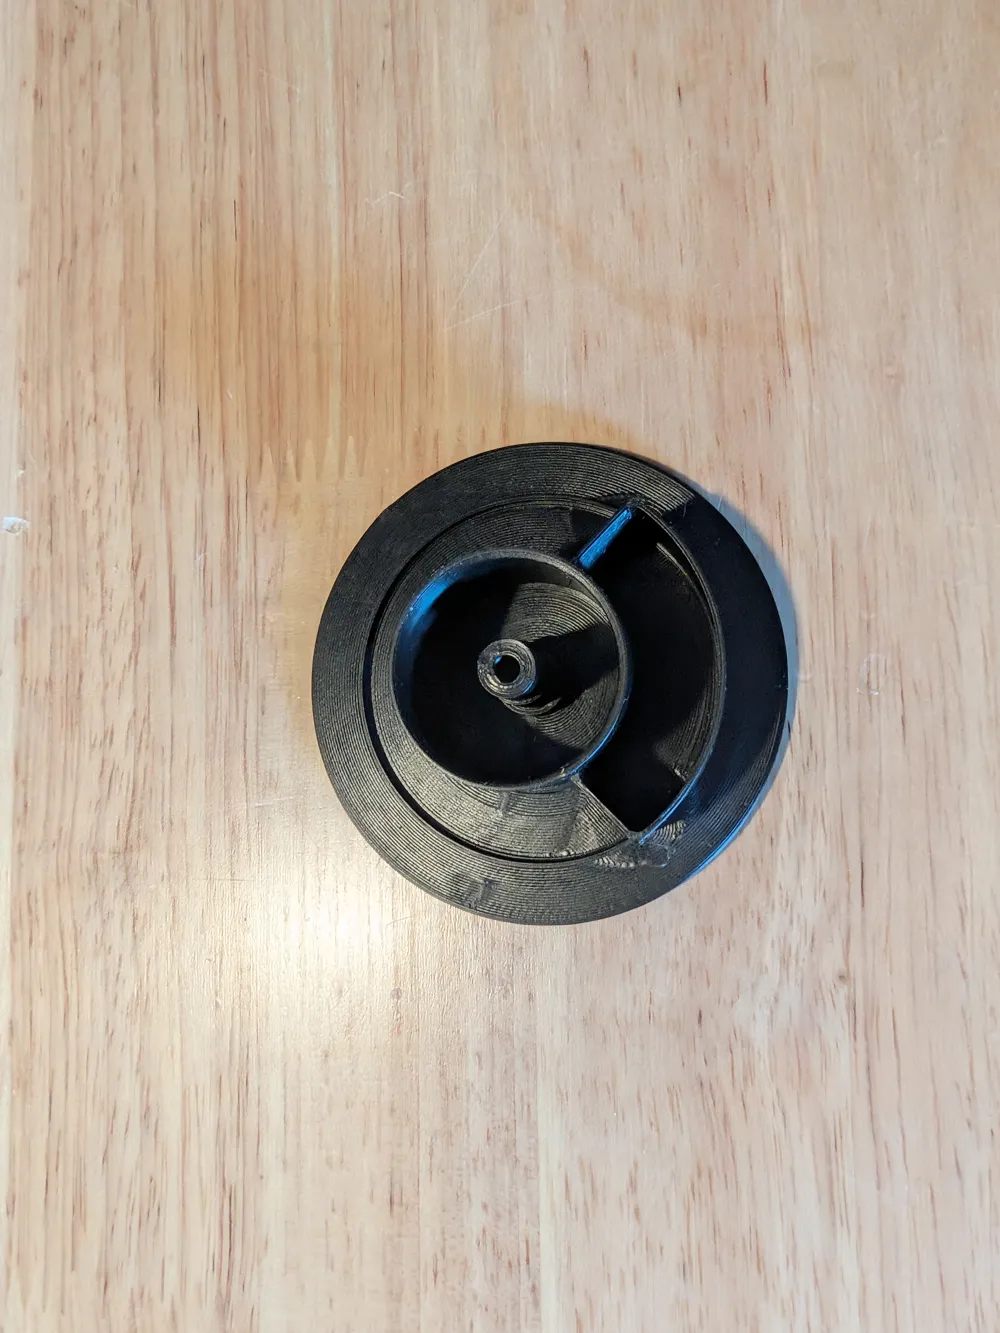
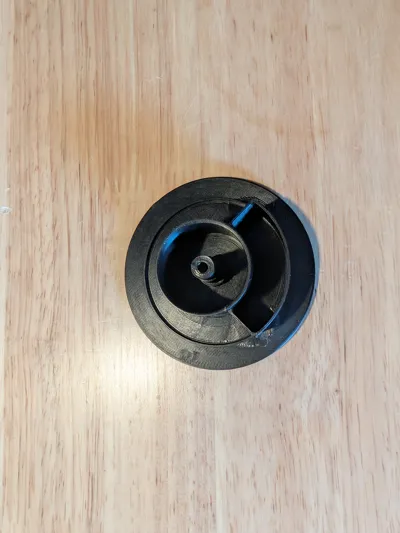
2. Add Ballast
Fill the ballast chamber with 2mm lead balls.
I was able to fit about 32g without issue.
3. Fill with Epoxy
Slowly add self-leveling epoxy into the ballast cavity.
Allow it to settle, then continue filling until the lead balls are fully covered, leaving enough room for the cover piece.
4. Install the Cover
Place the cover on top and clamp it down.
Wipe away any excess epoxy before it cures.
5. Let Cure
Allow the epoxy to fully cure before moving on.
Optional Premium Finish
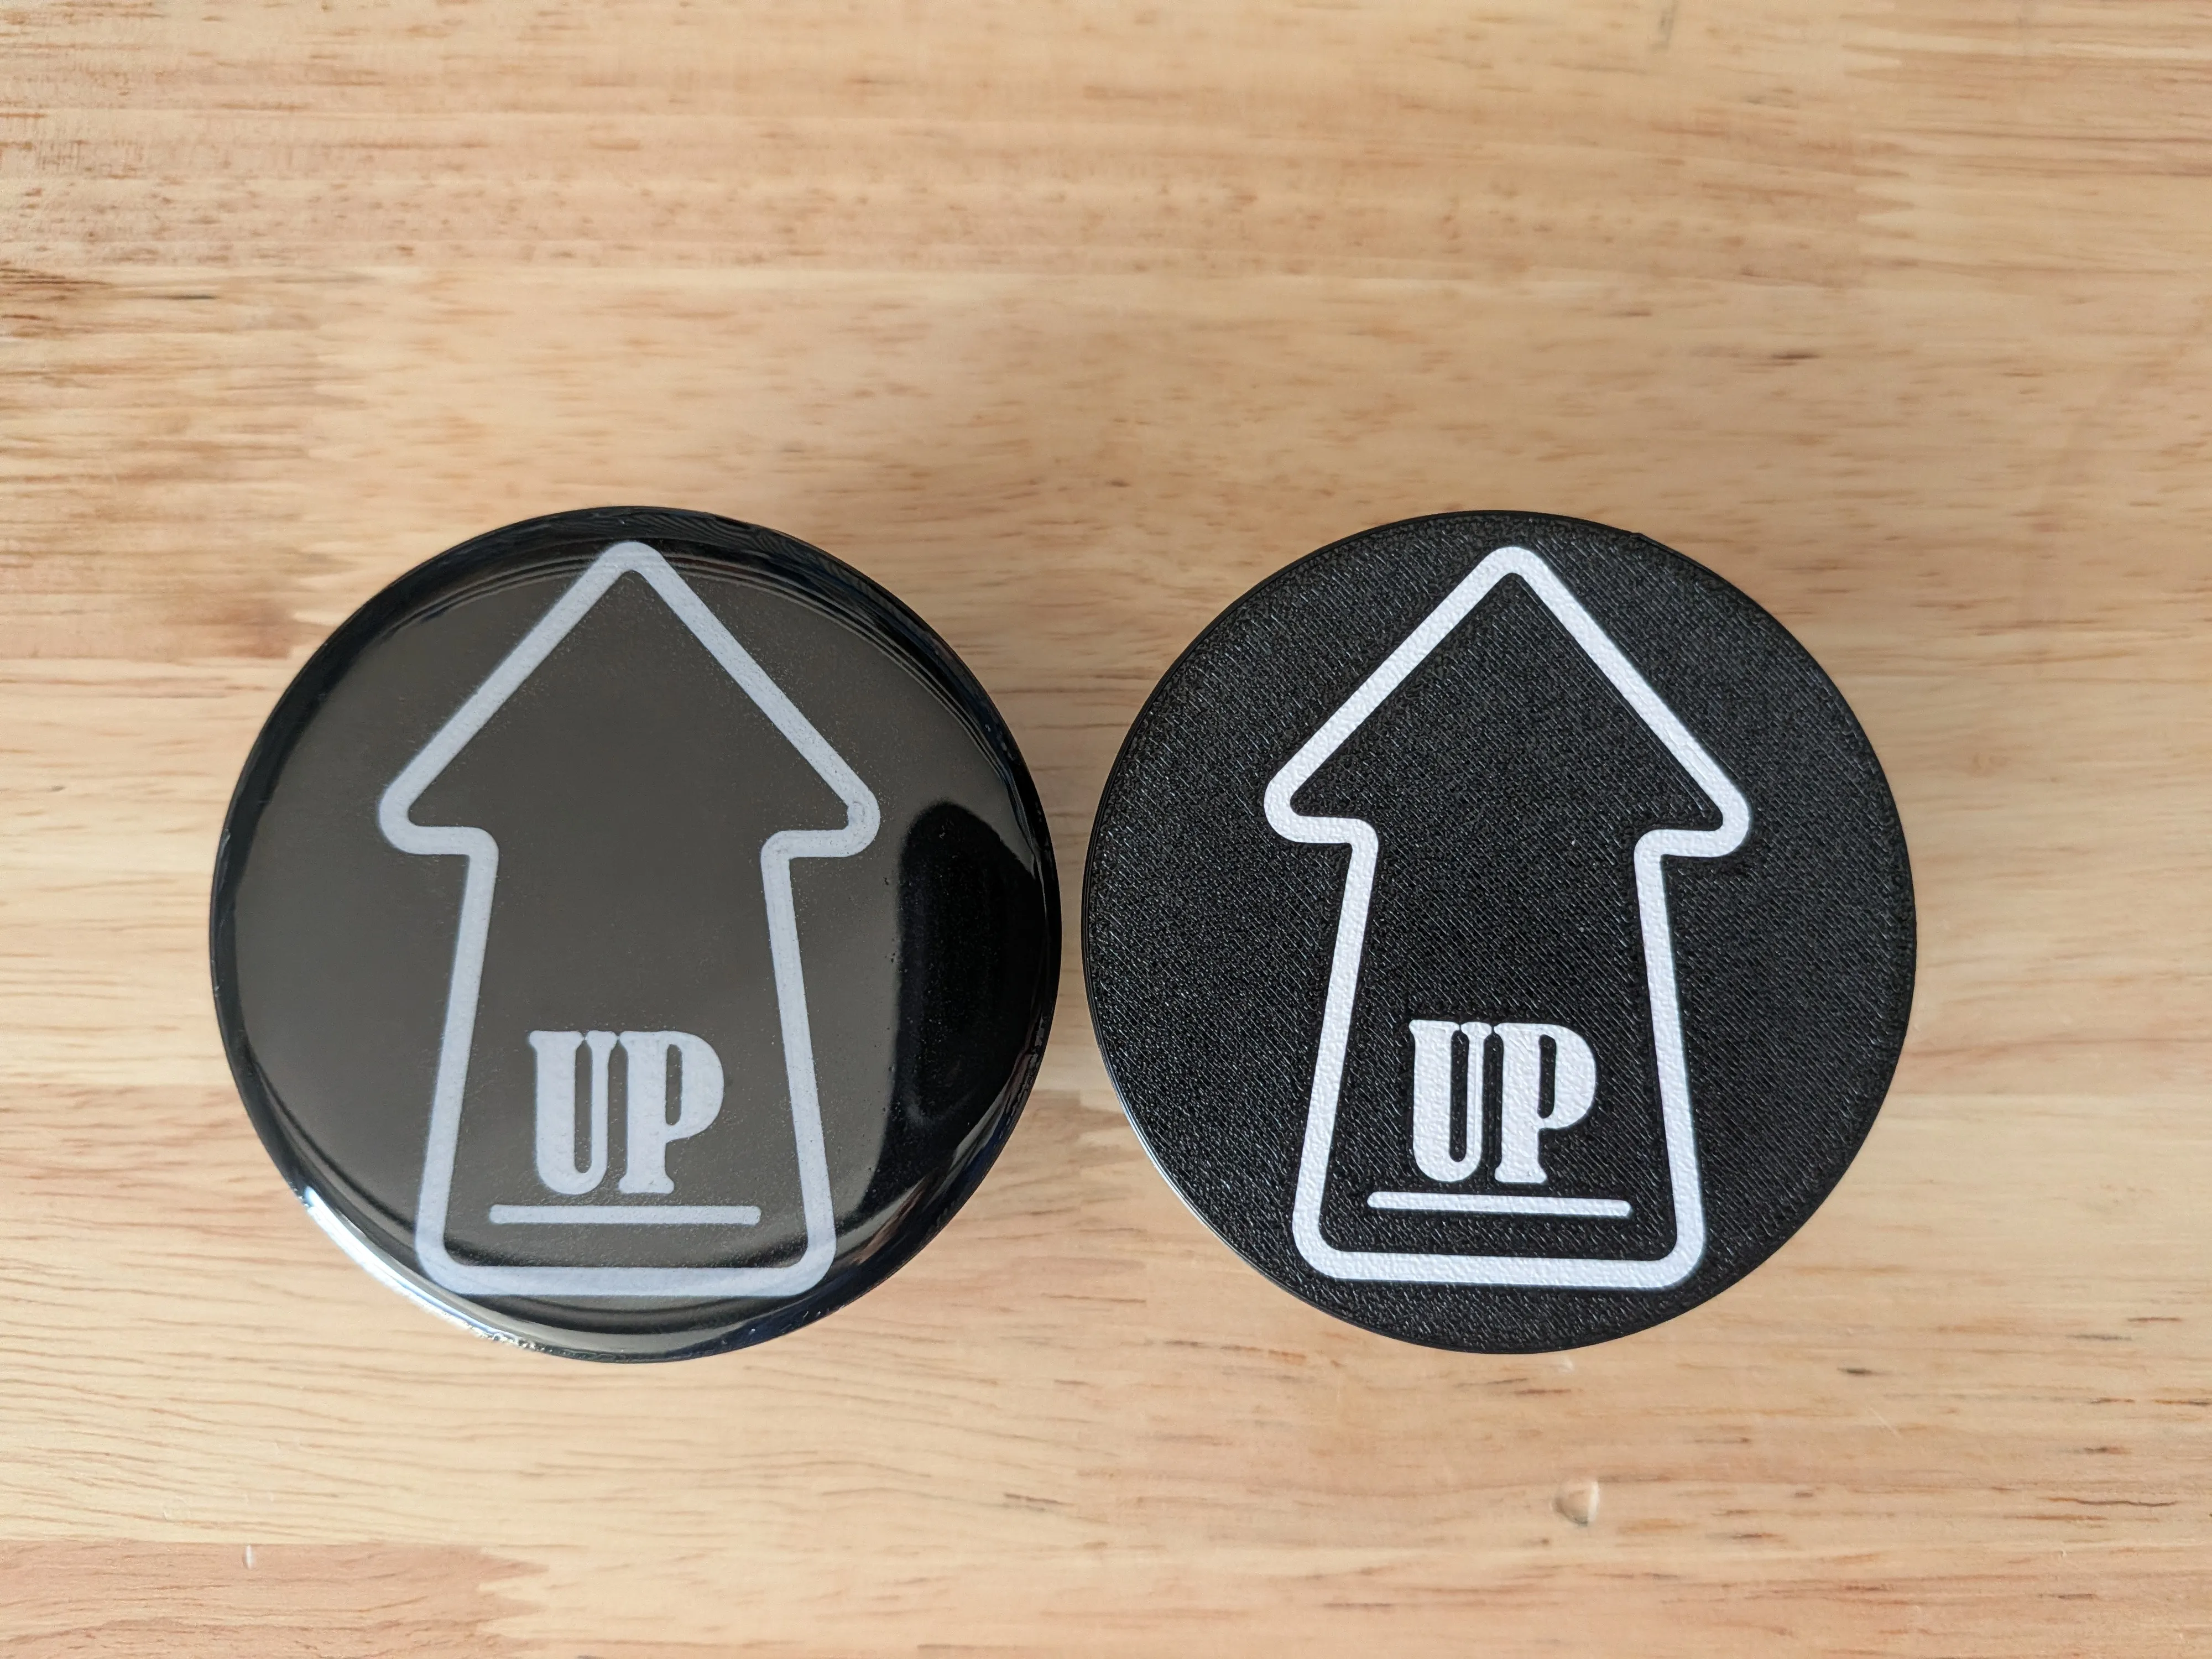
For a smooth, glossy, factory-style look:
- Place the cap face-up on a level surface
- Make sure the area is dust free
- Slowly pour a small amount of epoxy in the center
- Use a toothpick to guide it to the edges
- Remove bubbles with a quick pass from a lighter
Use very light heat — too much can thin the epoxy and cause it to run over the edge.
Let cure completely.
Final Assembly
- Install the cap into the hub
- Apply a small amount of CA glue to the lock
- Use a 10mm flat-bottom screw to secure the lock to the cap
- Install on the vehicle
Now enjoy the finished look and take them for a spin.
Materials Used (per cap)
- 608ZZ bearing
- 2mm lead balls (approx. 32g)
- Self-leveling epoxy
- CA glue
- 10mm flat-bottom screw
Notes
If you print one, I’d love to see your results and which design you chose.
ABS or PETG are recommended.
I was able to use these suction cups to remove the factory caps without removing the wheels. My caps we smooth/glossy so YMMV.
They can also e used to remove the printed caps with epoxy topcoat.
Boost Me (for free)
If you enjoyed this model please consider giving it a boost.
License

You shall not share, sub-license, sell, rent, host, transfer, or distribute in any way the digital or 3D printed versions of this object, nor any other derivative work of this object in its digital or physical format (including - but not limited to - remixes of this object, and hosting on other digital platforms). The objects may not be used without permission in any way whatsoever in which you charge money, or collect fees.


Comment & Rating (0)