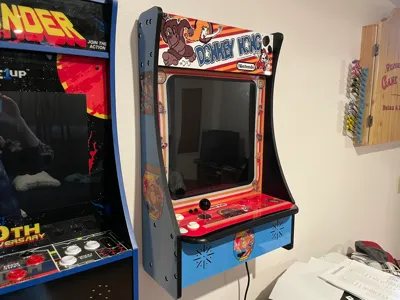
Retro Wall Mount Similar to Partycade. 60-1 Jamma


Print Profile(1)
Description
This are models to print your own wall mounted retro gaming system with a similar footprint of the Partycade.
I used the Jamma 60-1 board. I purchased the parts from DIY retro arcade. Fast service and good prices and great communication. Just mention what you are doing and they will make a bundle for you.
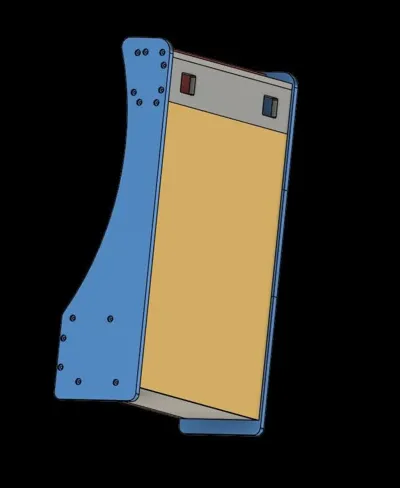
EMI Filter/switch
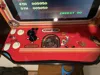
Three Red Buttons | 2 White Buttons | 2 Small Buttons For Test & Service
35cm "Shorty" 60 in 1 Jamma Harness for Sanwa 5 Pin
Genuine Sanwa JLF-TP-8YT 5 Pin Joystick
VGA Cable
60 in 1 Jamma Board
5.5 x 2.1mm Pigtail
US Power Cord
180 watt amp
5v/16a 12v/4a Switching power supply Grounded
(2) 4" Speakers
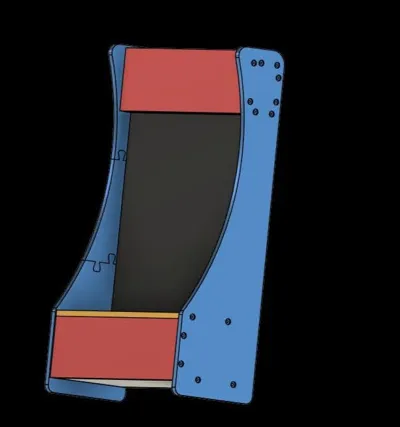
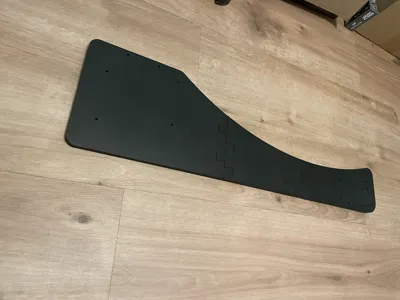
I printed these parts in an H2D and with size requirements the larger parts had to be made in sections.
I used Sunlu PLA 2.0+ less than 3 rolls total.
The threaded parts are modeled but are printed horizontal so they need a tap run through them to clean them up. Just chuck a tap in drill and run them in and back out. It finishes with a nice thread.
All the parts have modifiers to strengthen up the areas needed like the thread holes.
The back upper hanger board is printed much more solid for hanging strength.
I changed the control deck board to extend out a bit so it is comfortable. I have the classic non extended board there also.
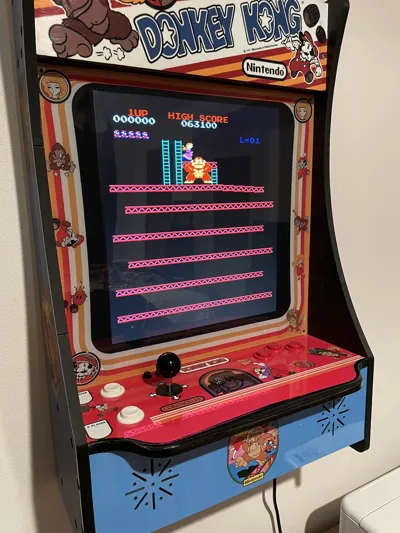
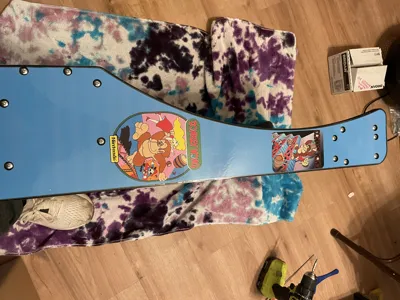
After the parts are pressed together, (small vise or small rubber mallet) and glued,(I used thin CA), I'd wet sand with a block to level the seams and then use spot putty (auto) across the seams and re wet sand for a perfect flat surface. I only did this on the areas that would have the graphics. The inside side walls I used vinyl self adhesive paper from oracal. Satin black.
I bought printable injet sticker paper and clear laminate from Cramazon and printed my own graphics. After the sticker paper was applied, I used the clear laminate over to protect the graphics.
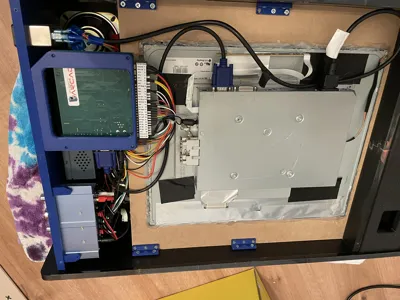
The lcd I used was a 19" 5:4 I picked up for 10 bucks from marketplace. Its easy to remove the outside plastic frame and just have the panel. Just be sure the panel will support VGA 4:3.
I used .25" press board for the lcd mount and just used gorilla hot glue to attach the panel to the monitor board. Very easy and secure.
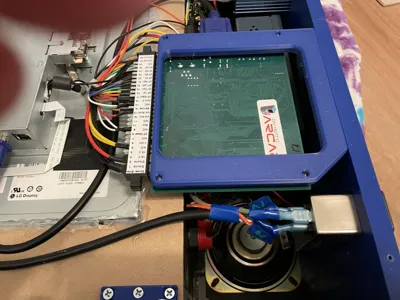
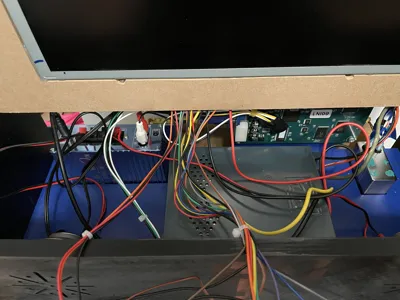
The monitor board locks into the top horizontal plate and then it has 4 side clamps. See the cross section pics. I wired up the jamma board and looked at the test screen before cutting out the board for the lcd panel. Choose the orientation that works best for display and then cut the board to accurately position the screen.
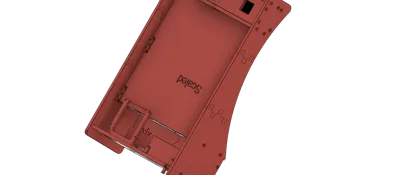
I used the power amp that DIY supplied with the larger power supply so I would have a ground. The bottom board is modeled to mount that power supply, switch and power amp. There is a bracket that mounts the jamma board to the bottom board. Also, I have a monitor board mount 1x that will clamp a standard monitor board to act as a strain relief.
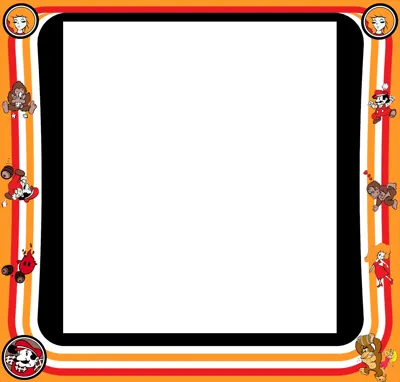
I used 1mm plexiglass for the screen and purchased a inside the glass window cling for the bezel graphics from a sign company.
The wall hanger hooks I used petg cf for strength.
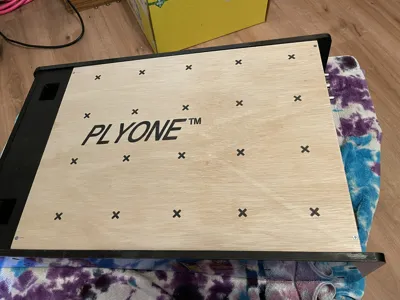
The backboard is just .2" underlayment.
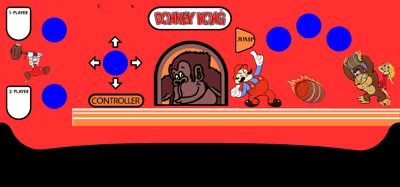
I included a couple pics of the graphics I used. For the sides, just go online and look for donkey kong arcade graphics. Pick your background color and paste what ever you want. I also used this site:
http://vectorlib.free.fr/DonkeyKong/
License
You shall not share, sub-license, sell, rent, host, transfer, or distribute in any way the digital or 3D printed versions of this object, nor any other derivative work of this object in its digital or physical format (including - but not limited to - remixes of this object, and hosting on other digital platforms). The objects may not be used without permission in any way whatsoever in which you charge money, or collect fees.
Comment & Rating (1)