
Silicone Airway Trainer Mold (Intubation Trainer)
Print Profile(1)
Bill of Materials
- Flocking x 1: Red
- Slic Pig Silicone Pigments x 1: (Red, White, Flesh)
- Stir Sticks x 2:
- Mixing Cups - 64 OZ x 2:
- Mold Release - Ease Release 200 x 1: Spray onto disassembled mold.
- EcoFlex 00-20 Platinum Cure Silicone x 1: 600g A and 600g B (1200g total)
Description
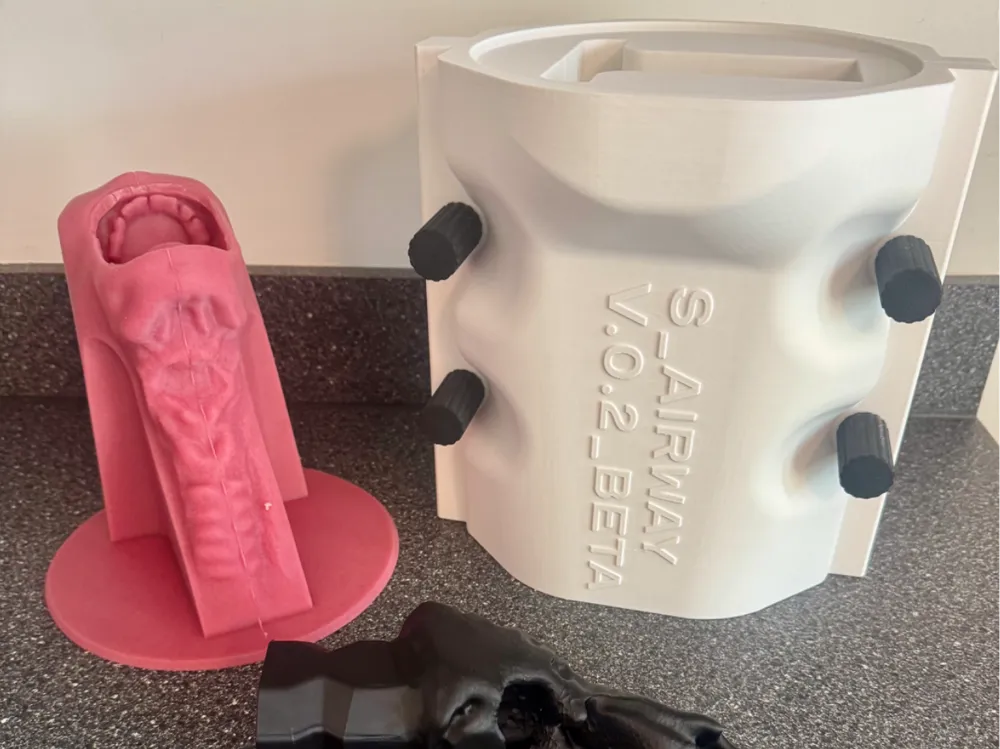
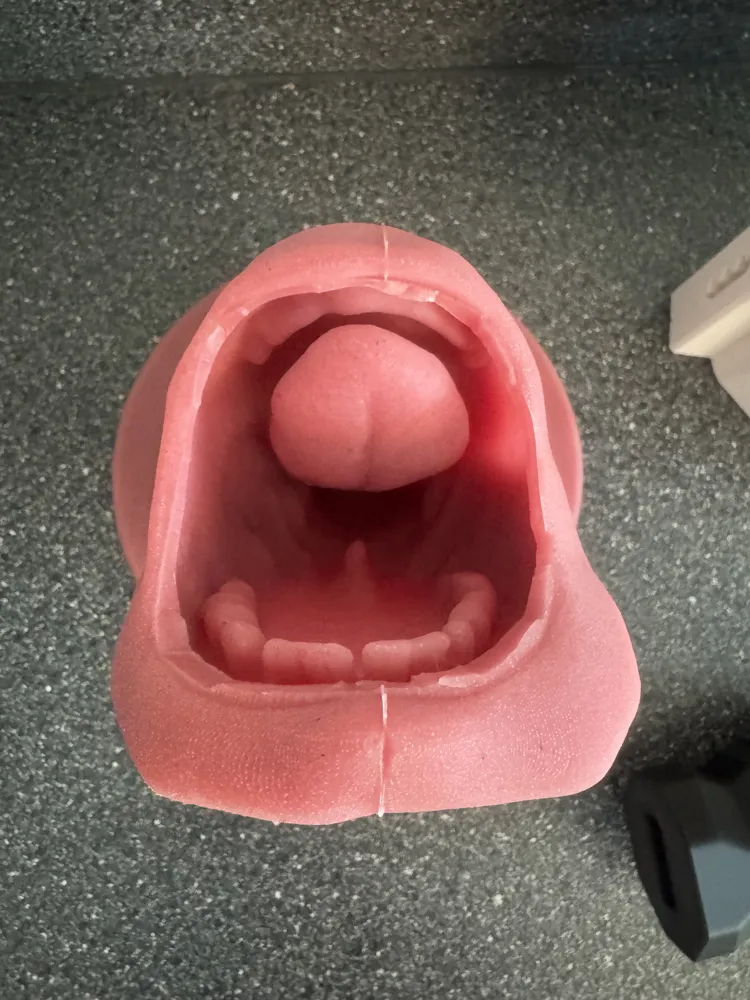
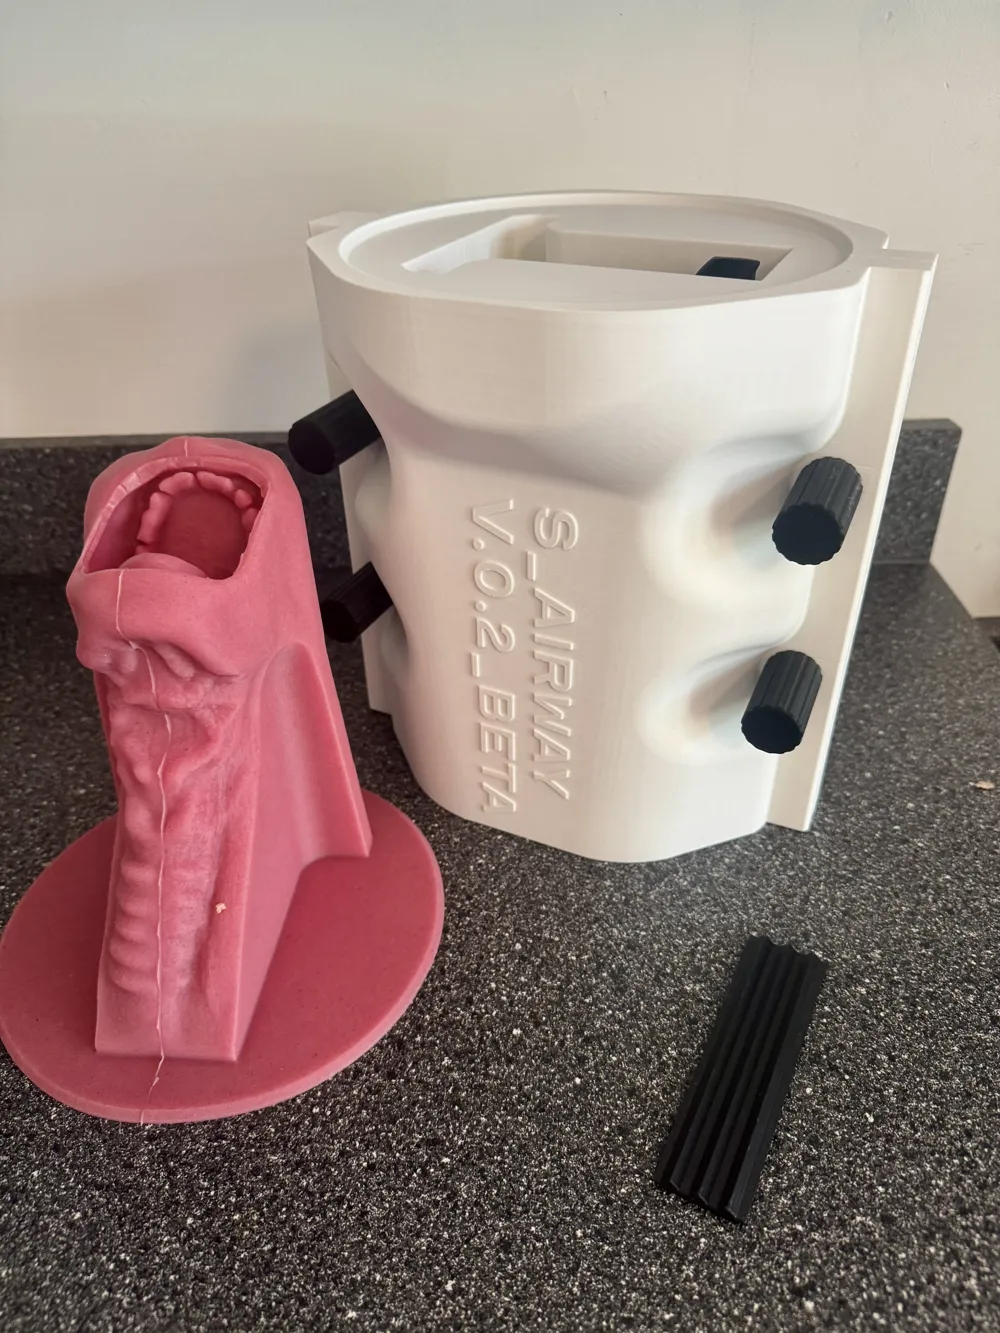
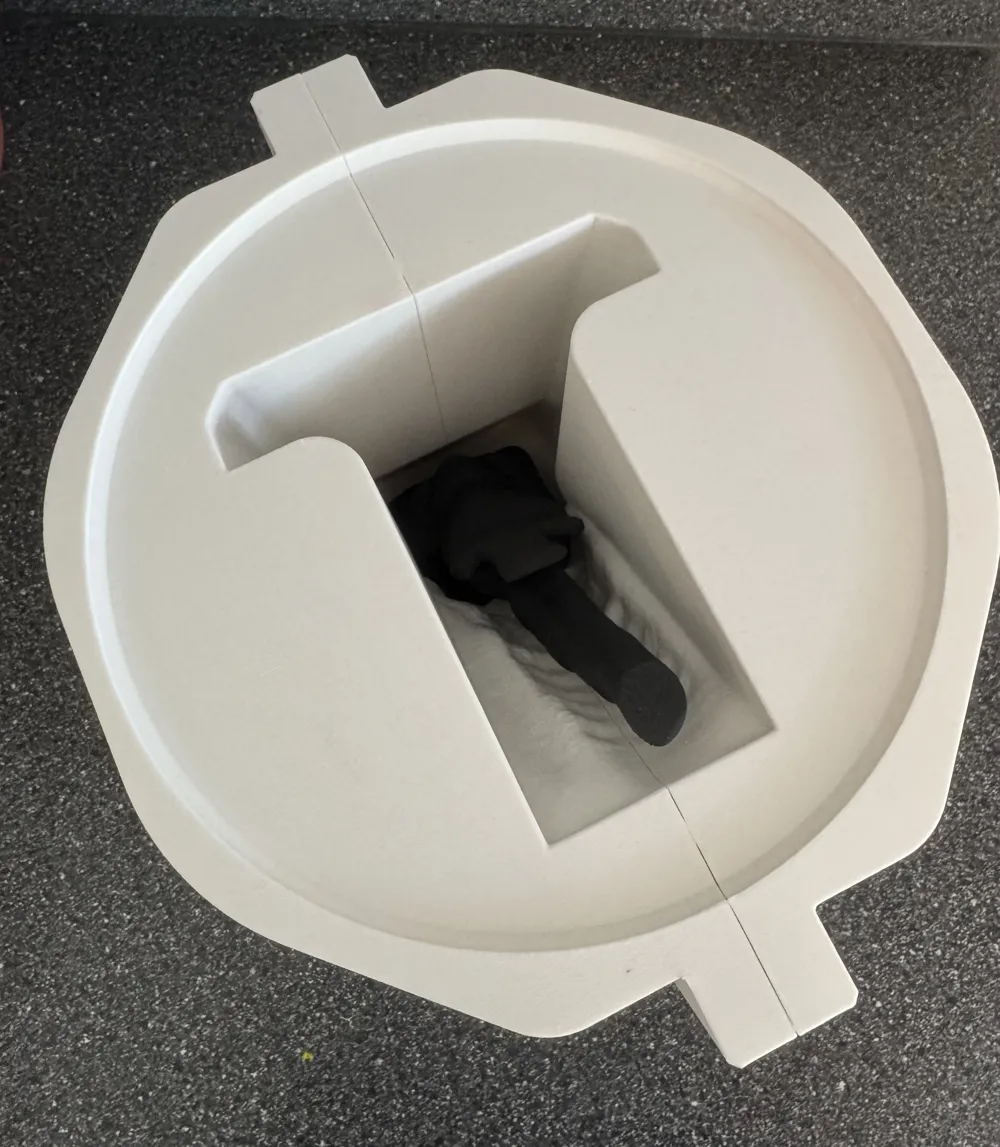
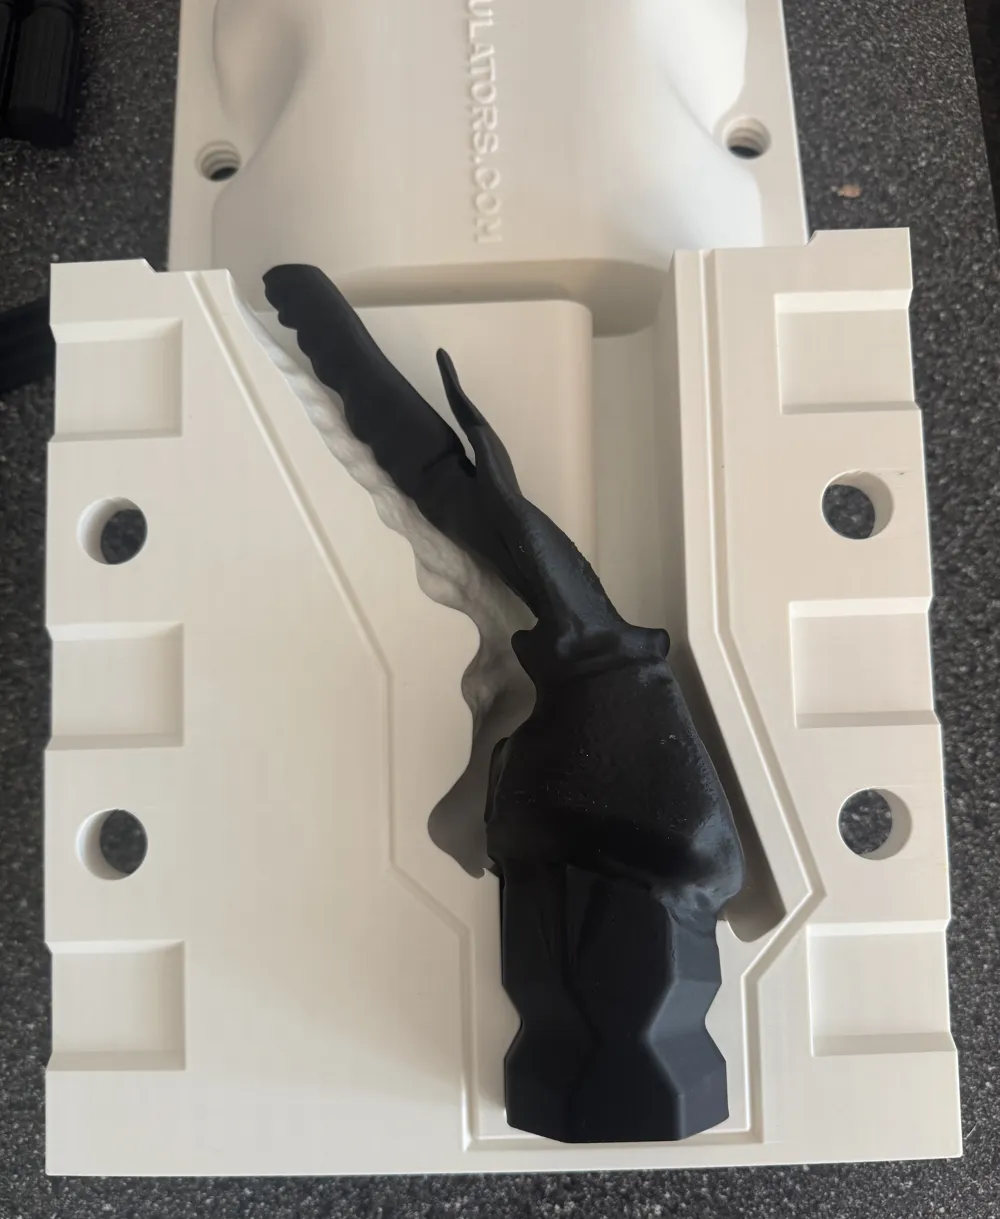
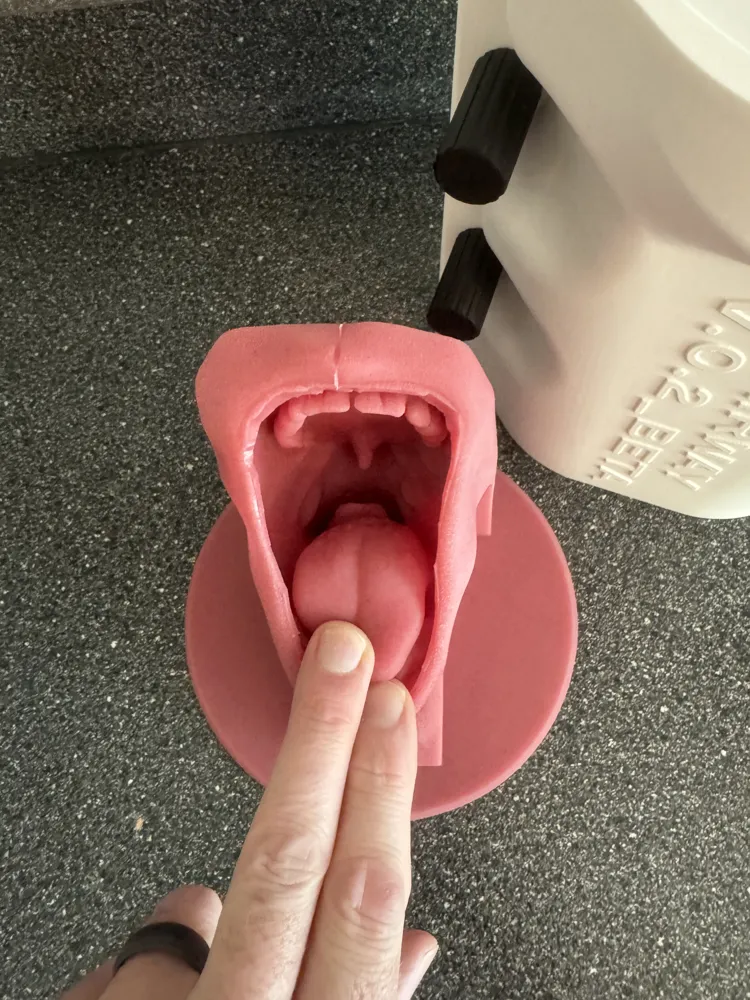
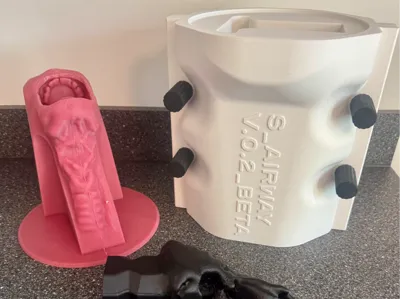
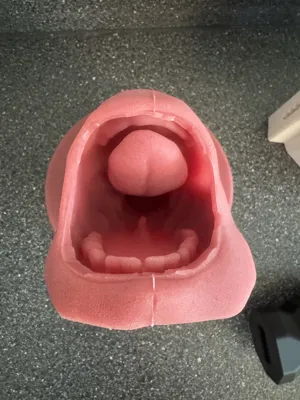
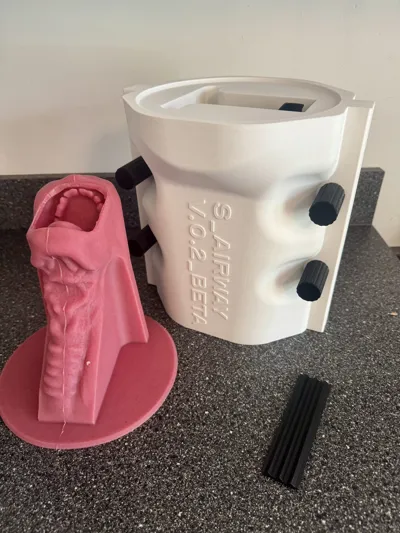
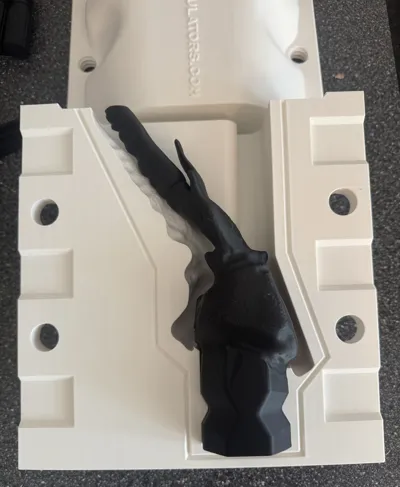
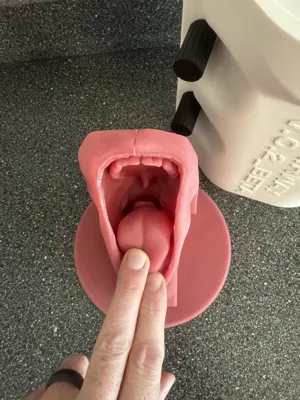
DIY silicone airway trainer mold for teaching intubation and airway anatomy. Designed for Bambu printers and optimized for easy casting using Ecoflex silicone.
This silicone mold is adapted from Decent Simulators and is designed to create a simple intubation trainer. It works well as a tabletop trainer for teaching airway anatomy and basic intubation skills.
This model is not a replacement for high-fidelity airway trainers, but it is extremely useful for increasing airway availability during group training sessions.
The original files are licensed under CC BY-SA (Creative Commons Attribution-ShareAlike). Please ensure proper attribution when remixing or redistributing.
👉 Original casting instructions and video:
https://www.decentsimulators.com/simple-intubation
Modifications in This Version
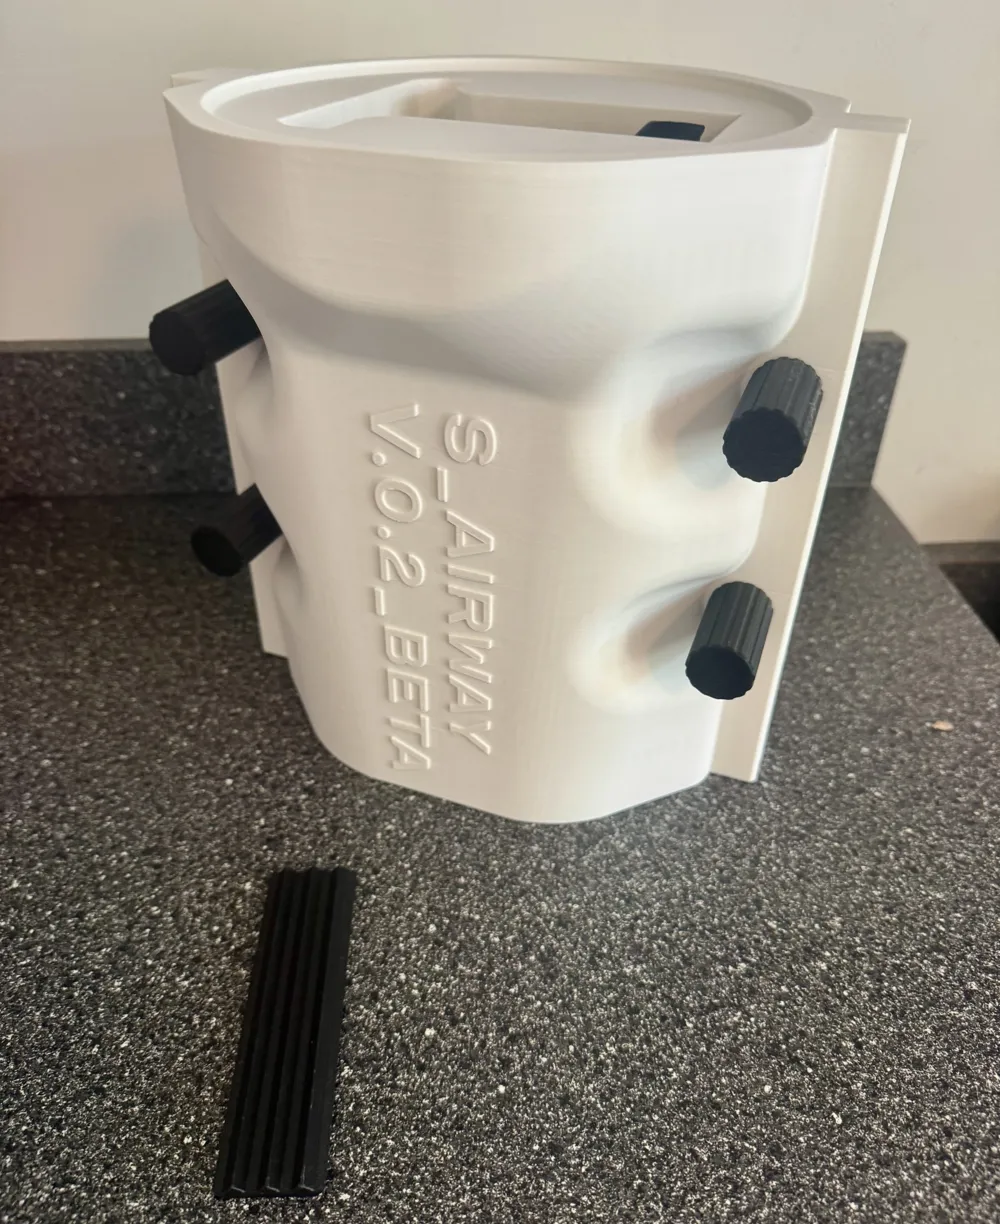
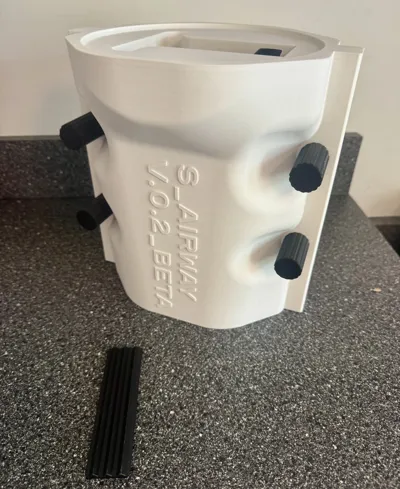
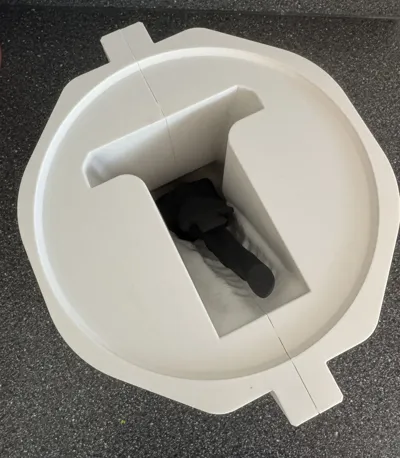
- Reinforced screws, pry points, and mold core for improved durability
- Slightly scaled to 93% to fit Bambu A1, X1, and P Series printers
- Scale back to 100% for larger format printers (e.g., H Series) if desired
Printing Recommendations (In this profile)
- Material: PLA or PETG (PETG preferred for durability)
- Walls: ≥3 perimeters
- Infill: 20% on A & B, 40% on core, 90% on screws/pry
- Ensure clean layer adhesion for mold sealing surfaces
Post-Processing & Casting Instructions
1. Prep
- Test fit all mold components and correct any fit issues
- Disassemble and apply mold release (e.g., Ease Release 200) to:
- Mold A
- Mold B
- Mold Core
- Pay close attention to grooves/recesses (high tear risk areas)
- Allow release agent to sit for ≥5 minutes
2. Mold Assembly
- Reassemble mold
- Tighten screws until seated — do not overtighten
3. Silicone Mixing
- Label two containers: Part A and Part B
- Tare your scale
- Material:
- Ecoflex 00-30 (firmer) or 00-20 (softer, more tissue-like)
- 600g Part A (Yellow Container)
- 600g Part B (Blue Container)
- Working time:
- ~30 min pot life at 73°F (shorter if warmer)
- Pour:
- 600g Part A
- 600g Part B
- Add Pigment:
- Add silicone pigments (red + flesh tones) to both parts
- Suggested ratios:
- 1:1 red:flesh
- OR 2:1:1 red:flesh:white
- Suggested:
- Add red flocking for improved realism
4. Pouring
- Combine Part A + B
- Mix thoroughly for 3 minutes, scraping sides and bottom of container
- Pour in a thin stream to reduce air bubbles
5. Cure
- Allow to cure 4–6 hours (longer if cooler)
- Do not pour below 65°F
6. Demolding
- Use pry tools to open mold
- Remove core by:
- Rolling silicone down
- Gently pulling core free
7. Finishing
- Trim excess silicone (flash) along seams and mouth opening
8. Optional Enhancements
- Pre-pour white silicone for teeth
- Paint vocal cords using tinted silicone
- Recommended: FAST, PsychoPaint, or SilPoxy + NOVOCS
Safety Notes
- Use gloves when handling silicone and pigments
- Work in a well-ventilated area
- Follow manufacturer safety guidelines for all materials
This remix is based on

License



Comment & Rating (9)