Search models, users, collections, and posts
Lamp holder/adapter
IP Report


Print Profile(1)
0.2mm layer, 6 walls, 20% infill
Designer
1.7 h
1 plate
Open in Bambu Studio
Boost
1
2
0
0
1
0
Released
Bill of Materials
Bambu Filaments
Select all

List other parts
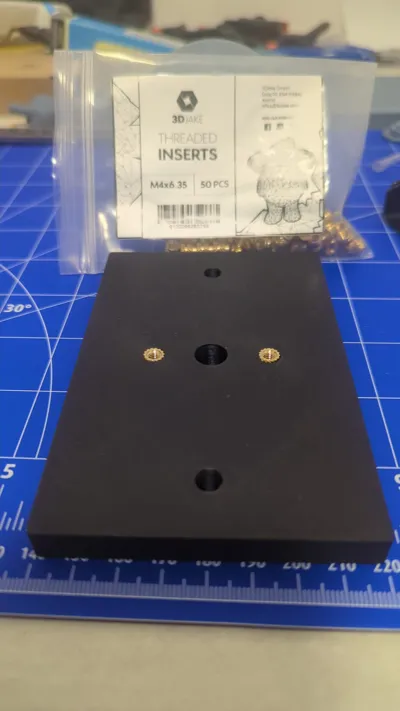
- Heat Inserts M4x6,35mm x 2:
Description
Content has been automatically translated.
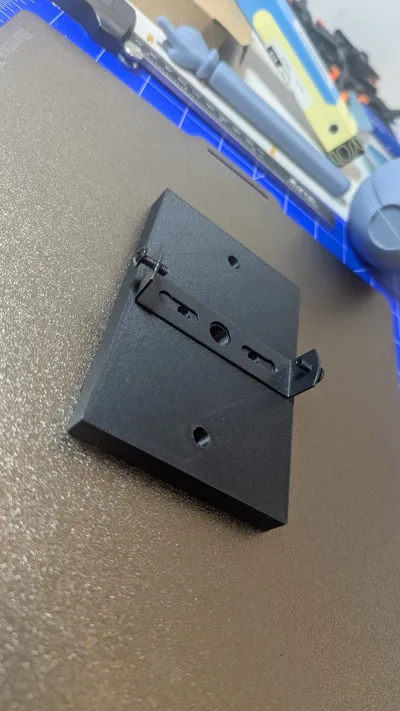
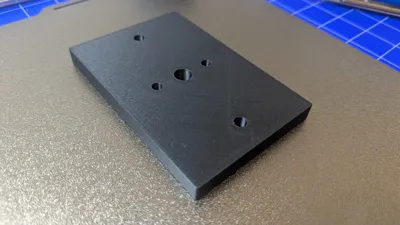
Stable Lamp Mounting Plate (Universal Adapter)
This mounting plate serves as a stable intermediate piece for lamp holders with rosettes. It was specifically designed to allow for secure ceiling mounting while offering professional cable routing and thread reception.
Features & Details
- Precise Cable Routing: The central hole is large enough for standard power cables (3x1.5mm²).
- Heat-Set Inserts: Optimized for two M4 x 6.35 mm heat-stakes to securely fasten the lamp rosette.
- Robust Construction: With a height of 10 mm, the plate offers maximum stability.
- Customizable: This is a basic design. The outer mounting holes currently serve as a drilling template and for fastening. A countersink for screw heads can be added individually.
Print Settings (Tested with PETG-CF)
The model was successfully printed with PETG-CF. Since this was an initial successful test run, the speeds can still be fine-tuned depending on the printer.
- Material: PETG-CF (recommended for stability and appearance)
- Walls: 4 (for maximum thread stability)
- Infill: 20% (Gyroid) (25-40% is recommended, but this is still a work in progress)
- Layer Height: 0.2 mm
- Support: Not required (Support-free Design)
Hardware Requirement:
- This model was optimized with PETG-CF.
- Important: For carbon filaments, a hardened steel nozzle is required.
- Users of the A1 and P1 series should ensure they have installed the corresponding hardware upgrade to avoid nozzle wear.
- Alternatively, the model can also be printed in regular PETG or ASA (the standard nozzle is sufficient for this).
Assembly Instructions
- Hold the plate against the ceiling as a template and mark the outer holes.
- After printing, carefully insert the two M4 heat-set inserts into the designated openings with a soldering iron.
- Route cables through the center and mount the plate to the ceiling.
- Secure the lamp rosette with M4 screws into the threads.
Important Note (Work in Progress)
This is a functional rough draft. The outer holes do not yet have a countersink for flush screw heads. Feedback is very welcome – I plan to further refine the model based on practical experience!
License
This user content is licensed under a
Creative Commons Attribution-Noncommercial-Share Alike
Comment & Rating (0)