Niewiadow n126e 1:24


Print Profile(2)
Bill of Materials


Description
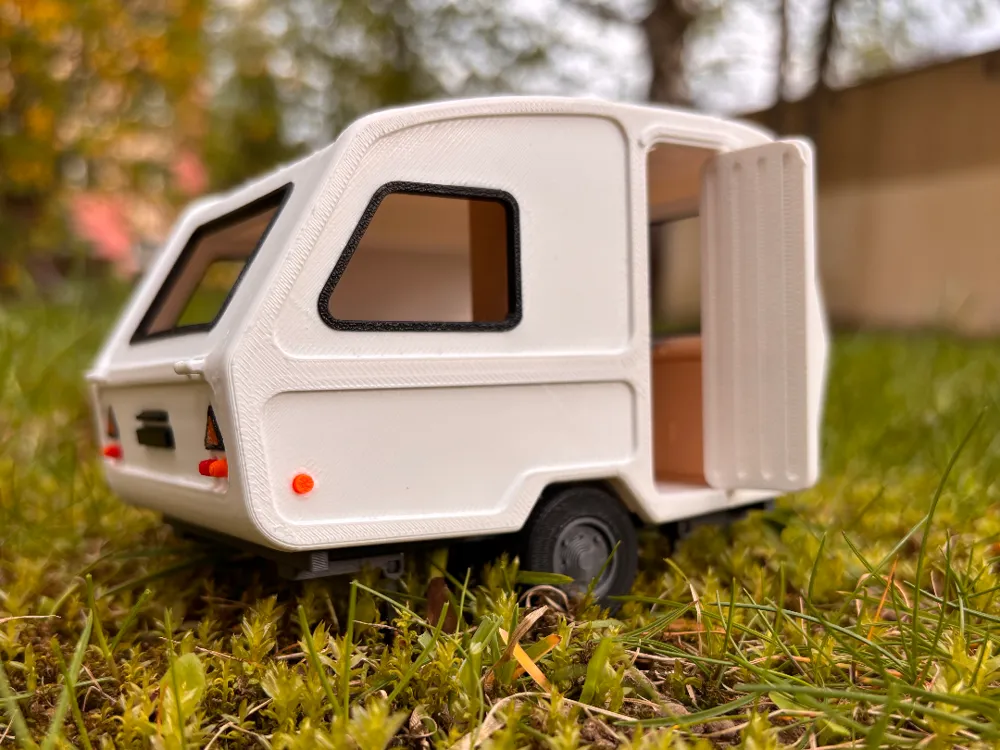
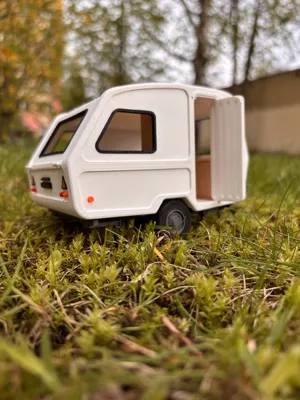
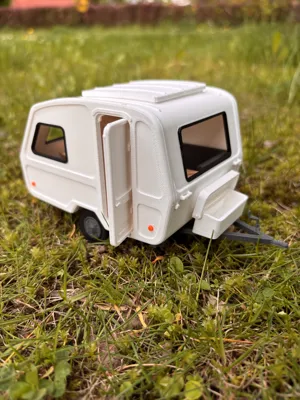
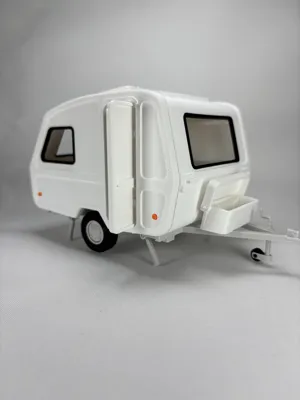
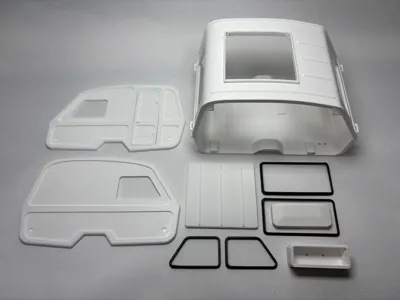
Niewiadow N126E Camper Trailer – Detailed 3D Model (Scale 1:24)
I created this model inspired by the iconic Niewiadów N126E camper trailer. I personally own and use one, and as a big fan of this style of travel, I wanted to have a small model that reminds me of all those trips and adventures.
Features:
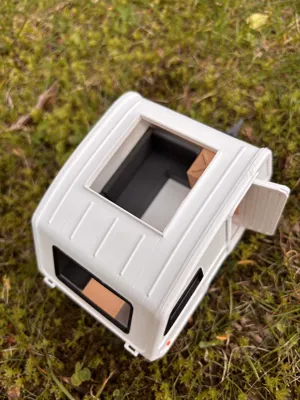
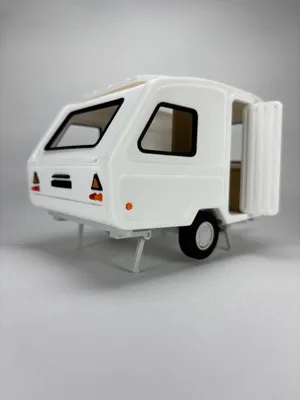
- Opening roof
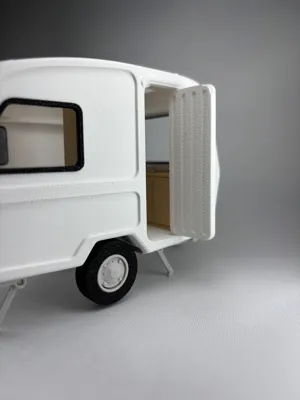
- Opening door
- Opening front storage box (cargo compartment)
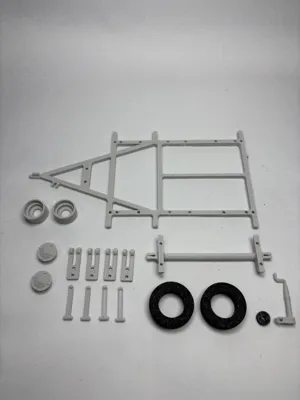
- Foldable support legs to stabilize the trailer
- Rotating wheels
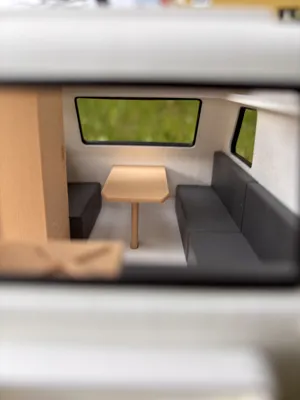
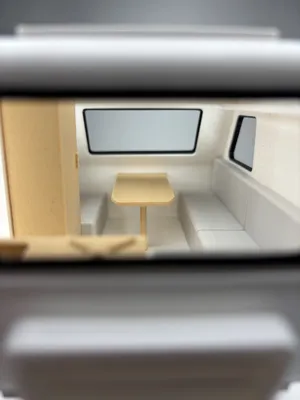
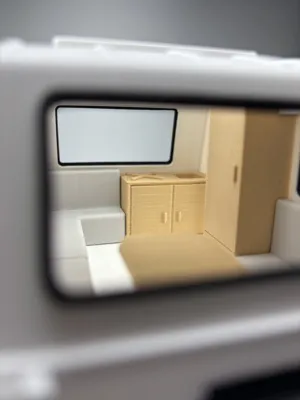
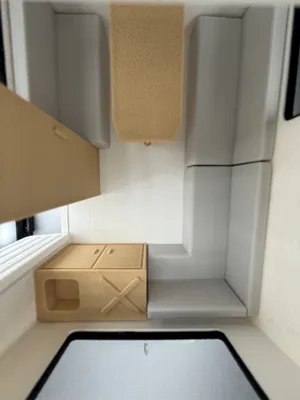
- Fully detailed interior with furniture
The model is made in 1:24 scale, making it a compact but detailed replica.
This is my first large project, so I kindly ask for your understanding if something doesn’t work perfectly. I truly appreciate all feedback and will do my best to improve the model over time.
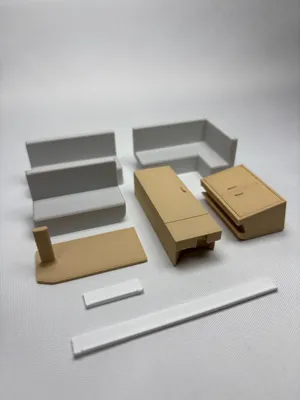
Please read the assembly instructions before putting the model together. Some joints are designed to use filament as hinges, while others may only serve to position parts before gluing them in place.
You may find that some holes are too tight after printing — in such cases, you might need to carefully widen them using a drill or another suitable method.
Also, please remove supports gently from delicate parts such as the drawbar or jockey wheel, as these include small elements that are still challenging to design differently at this stage.
I hope you enjoy this project as much as I enjoyed creating it!
Boost Me (for free)
If you like my project give me a boost
instructions for assembling the model
I added a video showing step by step how I assemble the trailer model
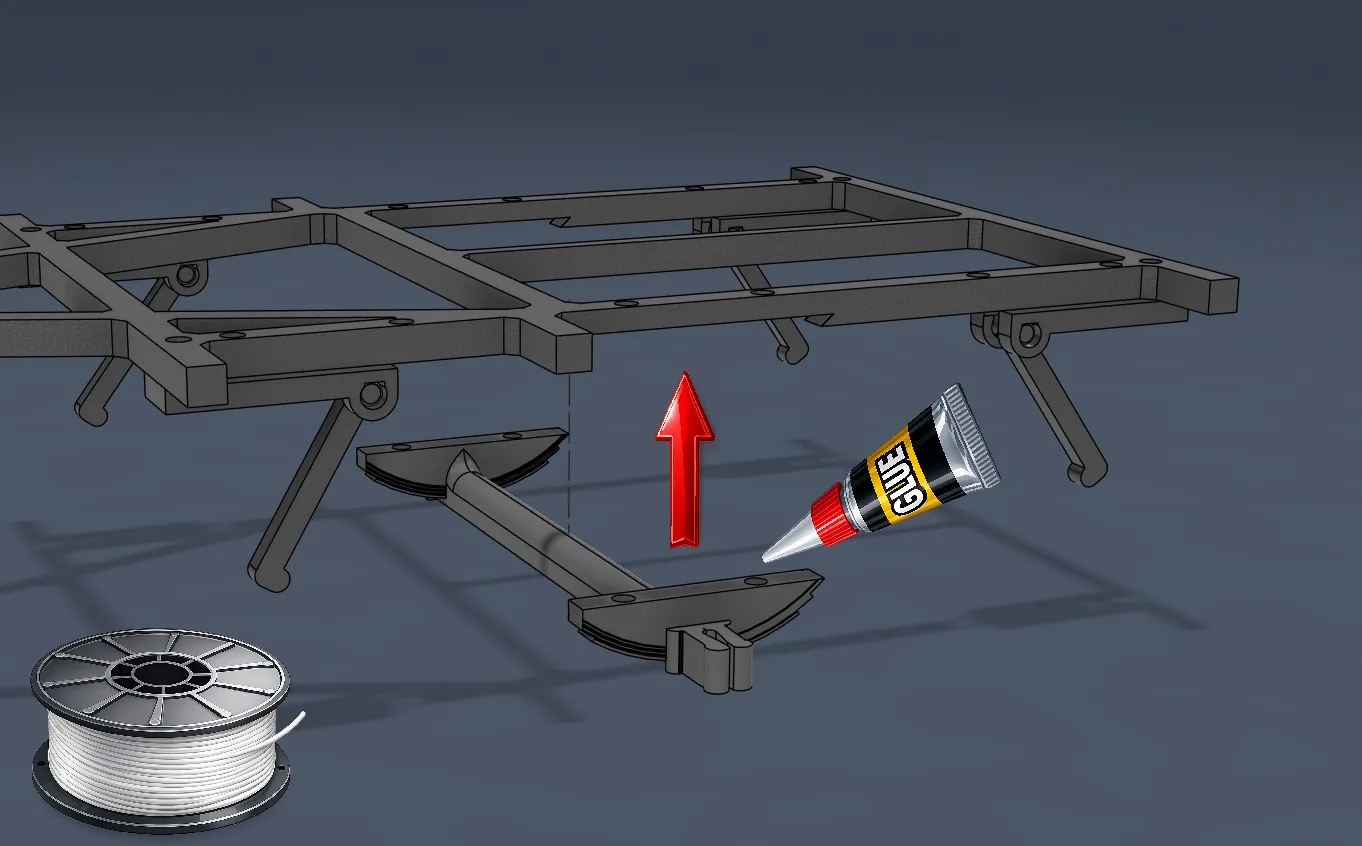
Using filament to connect parts is optional, but it helps to align the elements
1: gently insert the legs into the sockets at an angle, the socket will bend a little and the leg will snap into place

2: use a piece of filament to position the supports and glue them into the frame

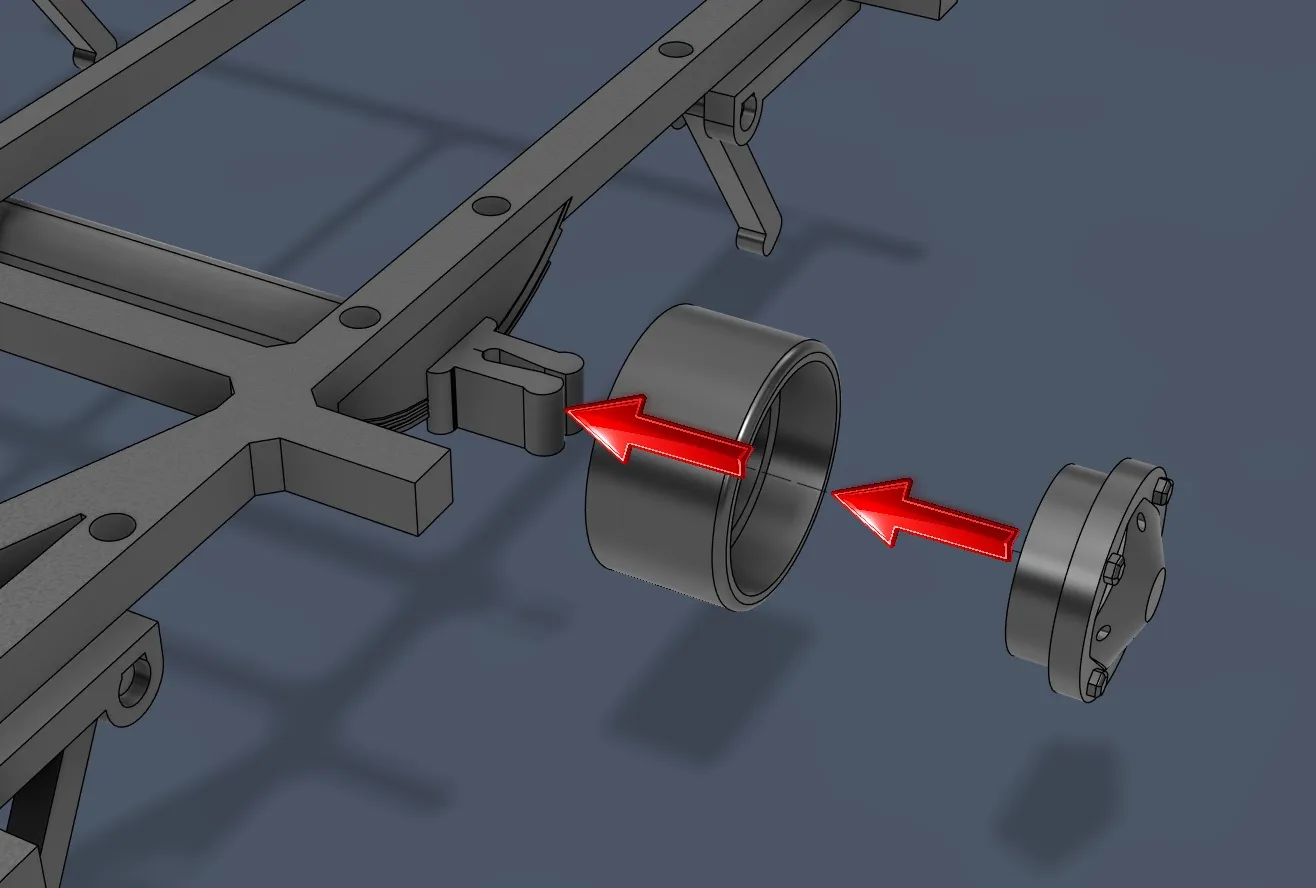
3: Insert the wheel and use filament to create an axle for the wheel. Glue only the sides of the filament so the wheel can rotate.


4: Place the jockey wheel at the front of the frame into the holder. Gently click it in or slide it in from top to bottom.

5: place the filament in the axis and glue it to the frame
6: first insert the rim and then snap the cap on, do the same on the other side
7: slide the tire on, if it's too loose, glue it

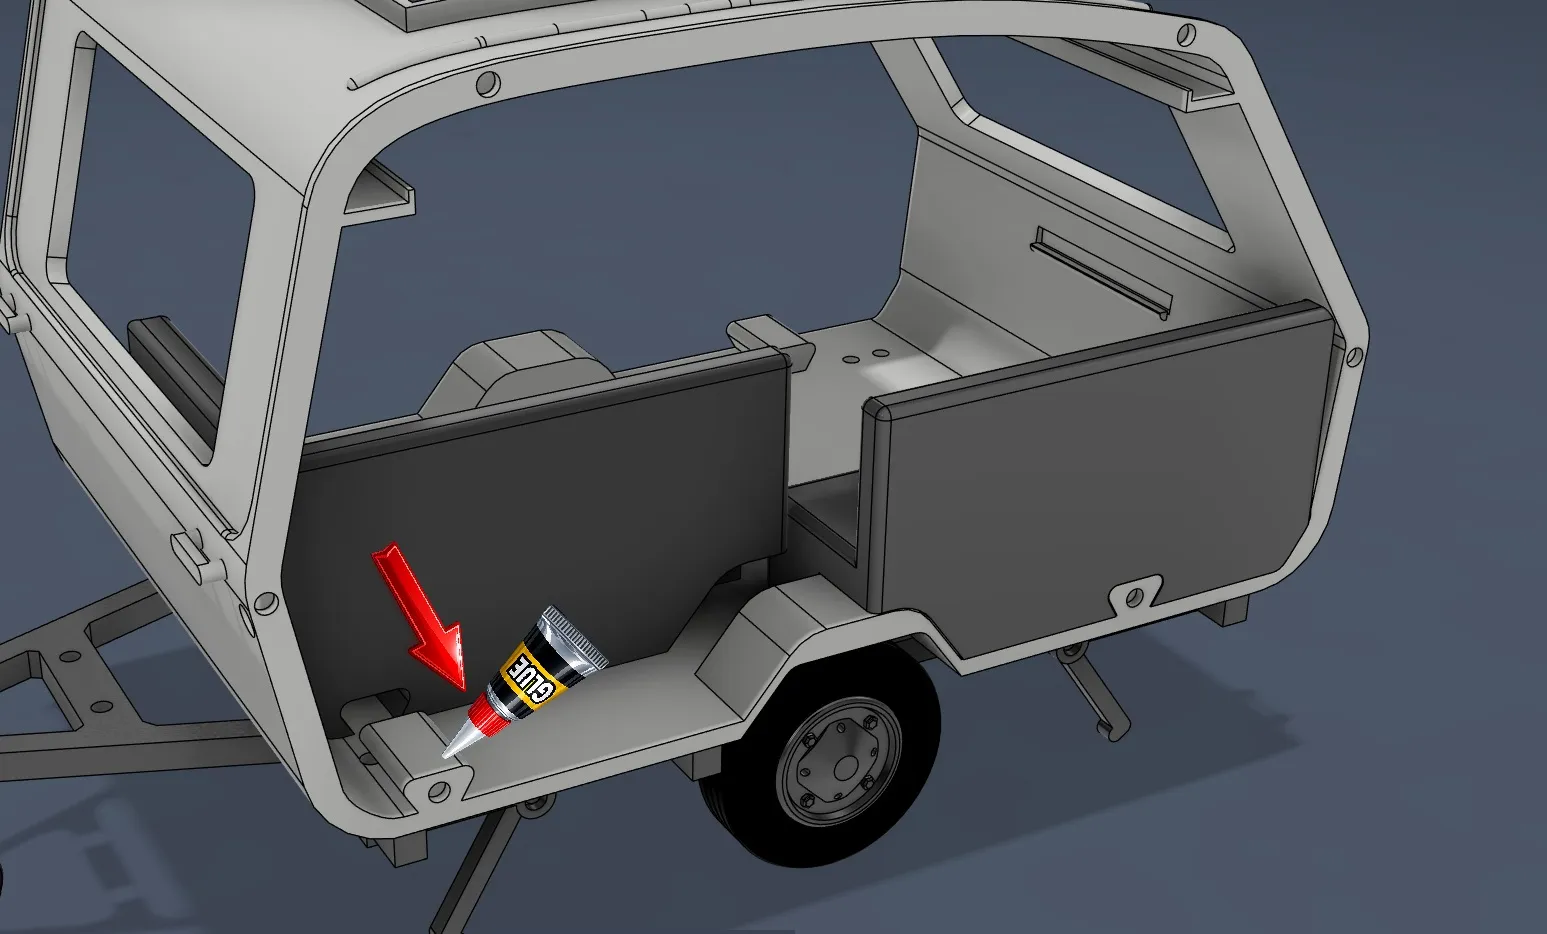
8: use the filament to position the trailer body and glue it to the frame

9: Slide the furniture from the inside of the trailer out into its place and glue it so it doesn't move


10: put the door in place and insert pieces of filament from the top and bottom to create a hinge


11: glue the shelf into place

12: use pieces of filament to position the side of the trailer and glue it to the body

13: repeat the same steps on the other side


14: insert the filament into the holes and glue the base of the case to the frame

15: insert one long piece of filament through the lid and base of the case to create a hinge

16: glue the lights into place and repeat the step on the other side

17: glue the lights into place, as well as the board light and the board


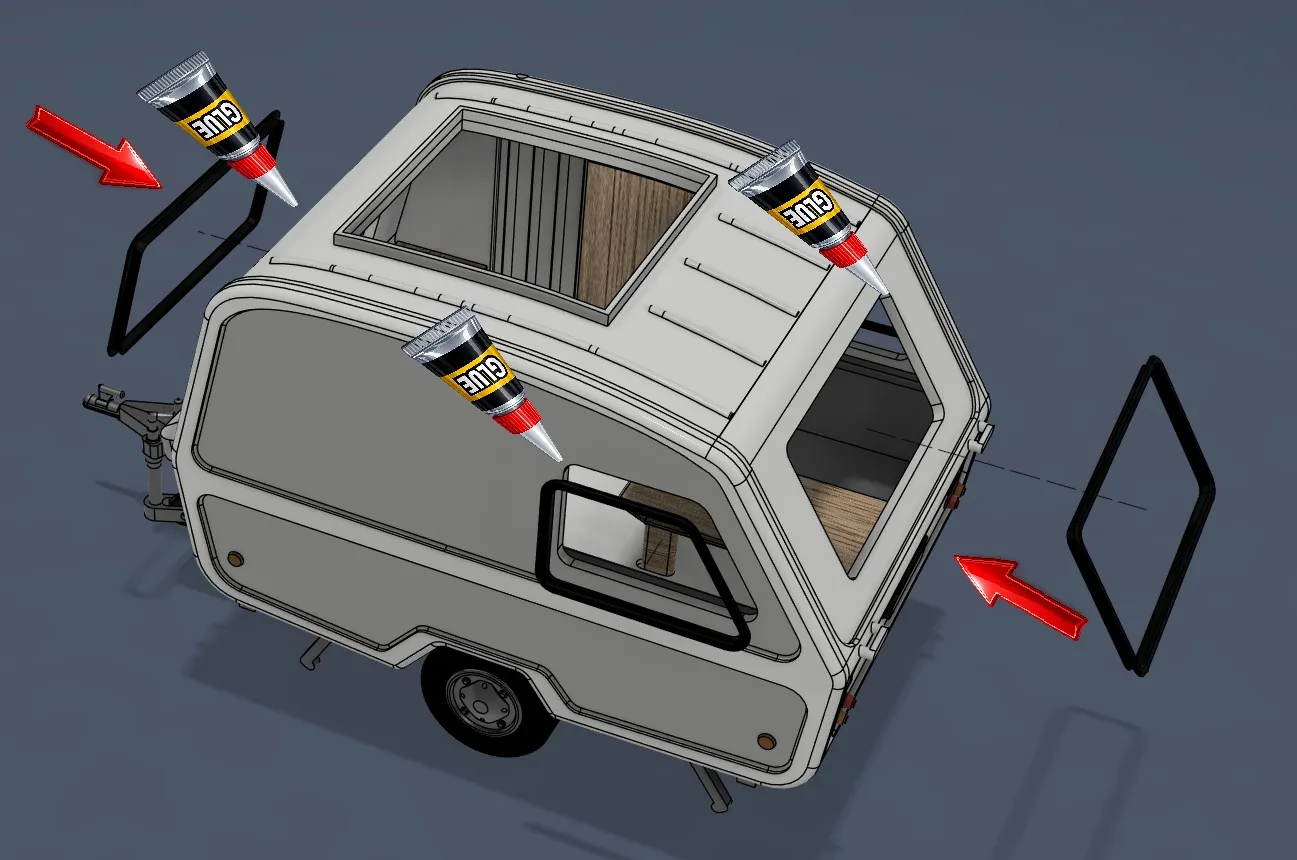
18: paste seals on the windows
19: put on a roof
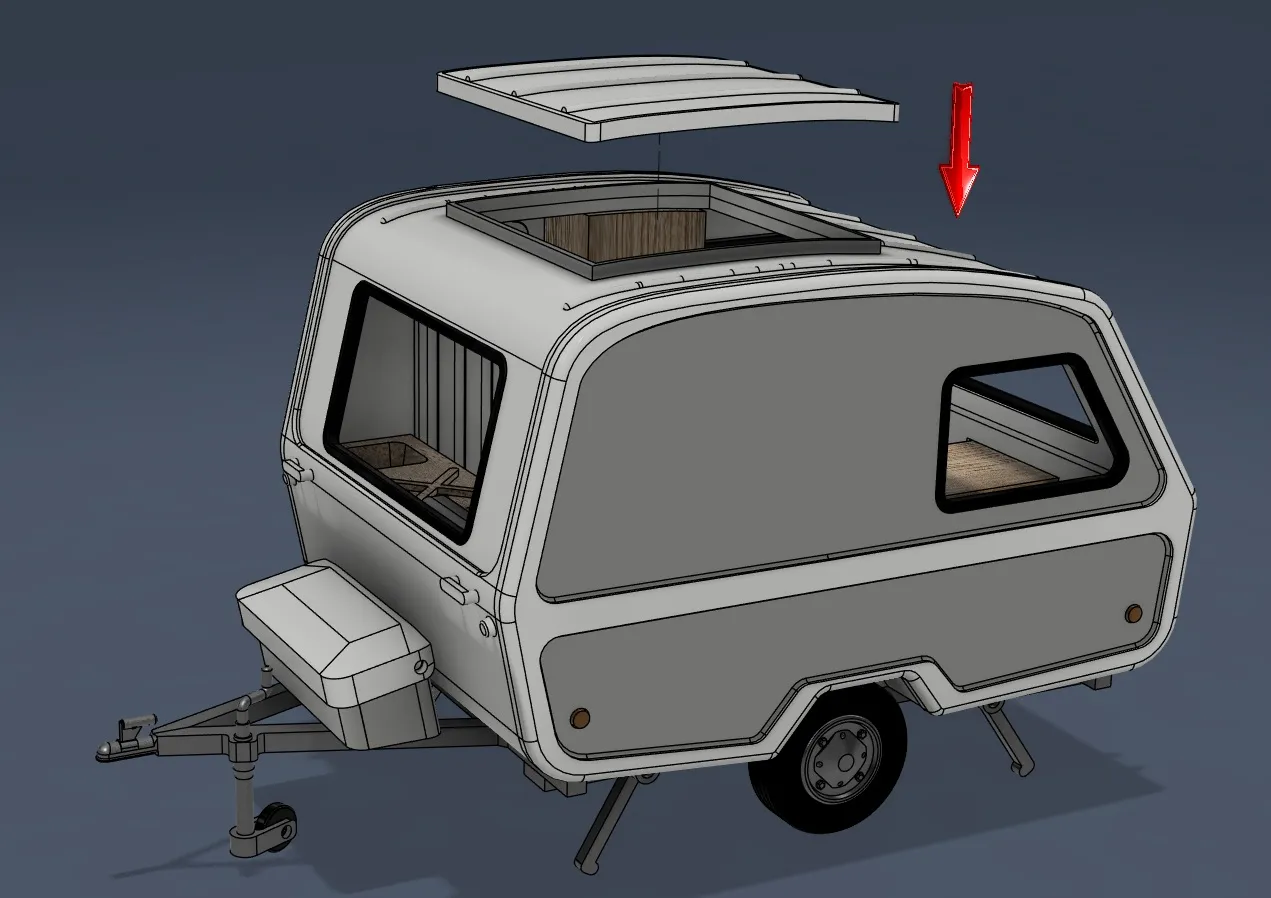
20: ready


License
You shall not share, sub-license, sell, rent, host, transfer, or distribute in any way the digital or 3D printed versions of this object, nor any other derivative work of this object in its digital or physical format (including - but not limited to - remixes of this object, and hosting on other digital platforms). The objects may not be used without permission in any way whatsoever in which you charge money, or collect fees.
Comment & Rating (9)