
Purge City
Print Profile(1)
Description
Updates
-June 11, 2026: Added additional steps for successful prints using Purge City, which can be found at the end of this description.
-May 14, 2026: Added tips and tricks section to Purge city description.
-May 13, 2026: Increased quality of output. Reduced glitch where thin strands form in open areas.
Filament Savings
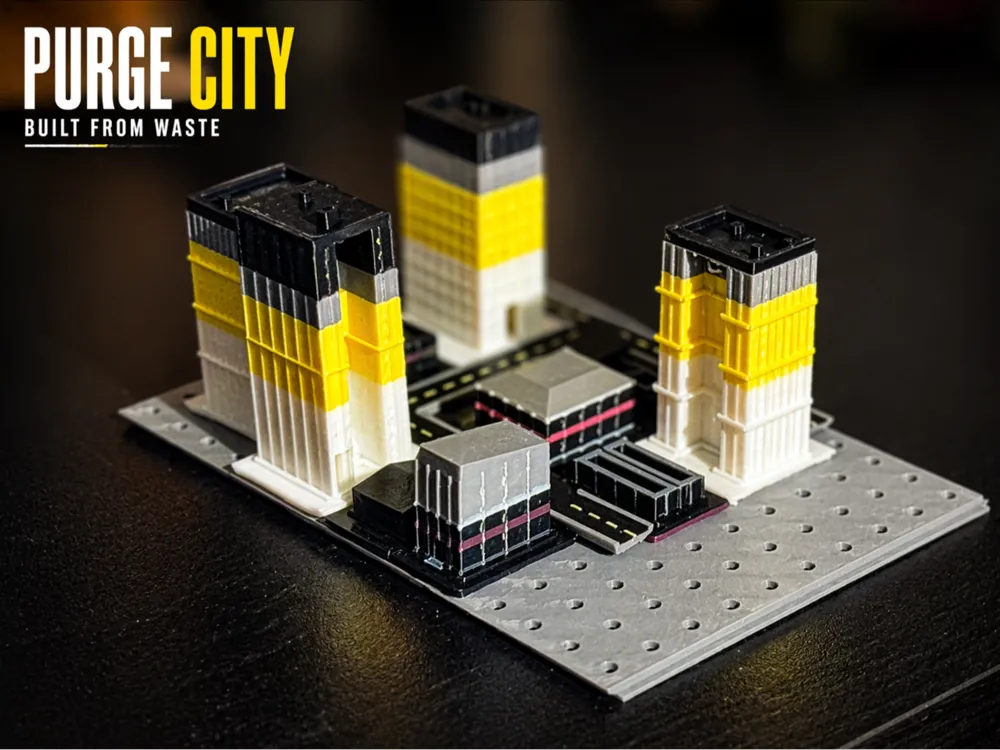
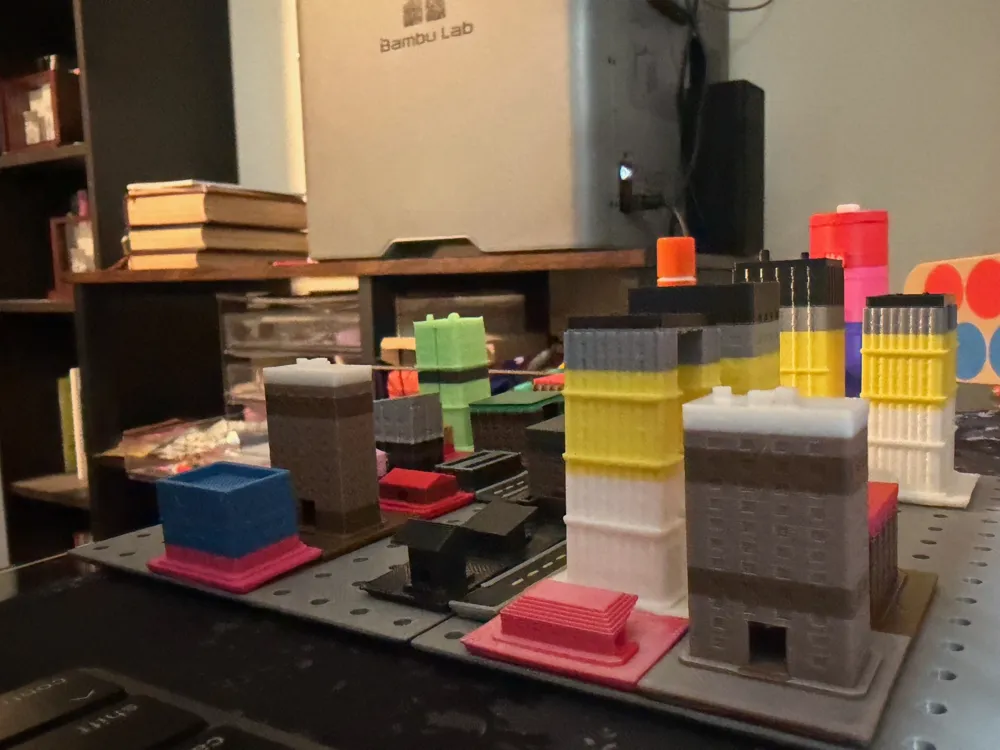
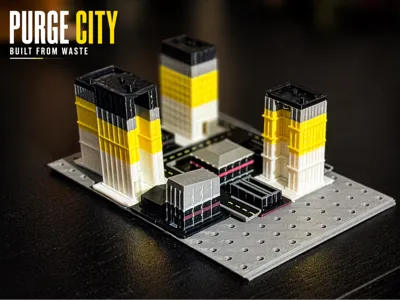
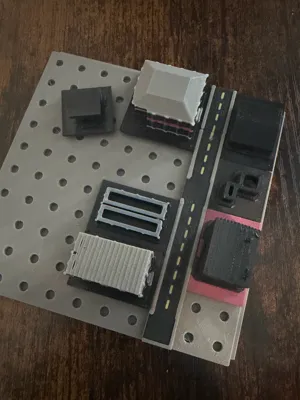
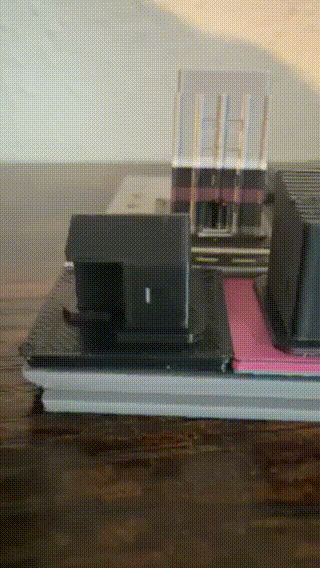
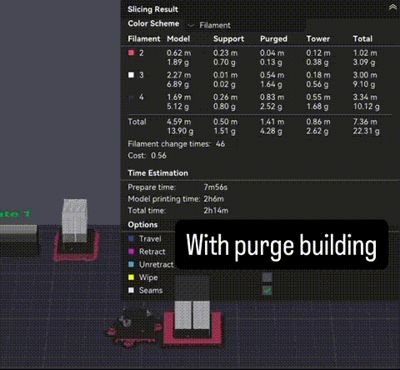
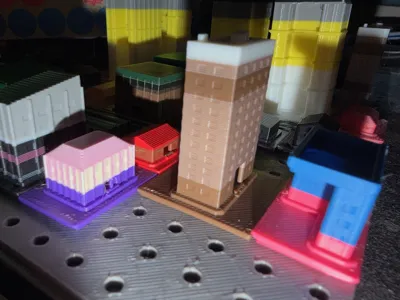
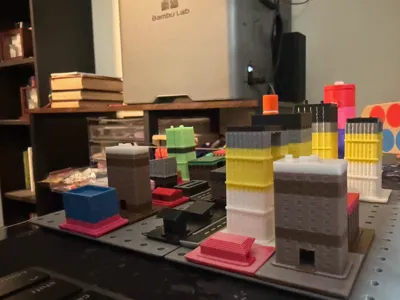
Purge City is simple: Add fun buildings to AMS prints to reduce your total filament usage. All savings come directly from what is normally purged (poop).
Welcome to Purge City.
A rough little town built one layer at a time on the wrong side of the prime tower. These buildings take in the drifters, rejects, and suspicious color transitions that would otherwise end up as wasted purge. It ain’t glamorous, but somebody’s gotta do it.
Every swap sends another troubled soul through town. Black fades to white, red skips bail, and somewhere in the distance a nozzle screams.
The prime tower keeps order. Purge City handles the mess.
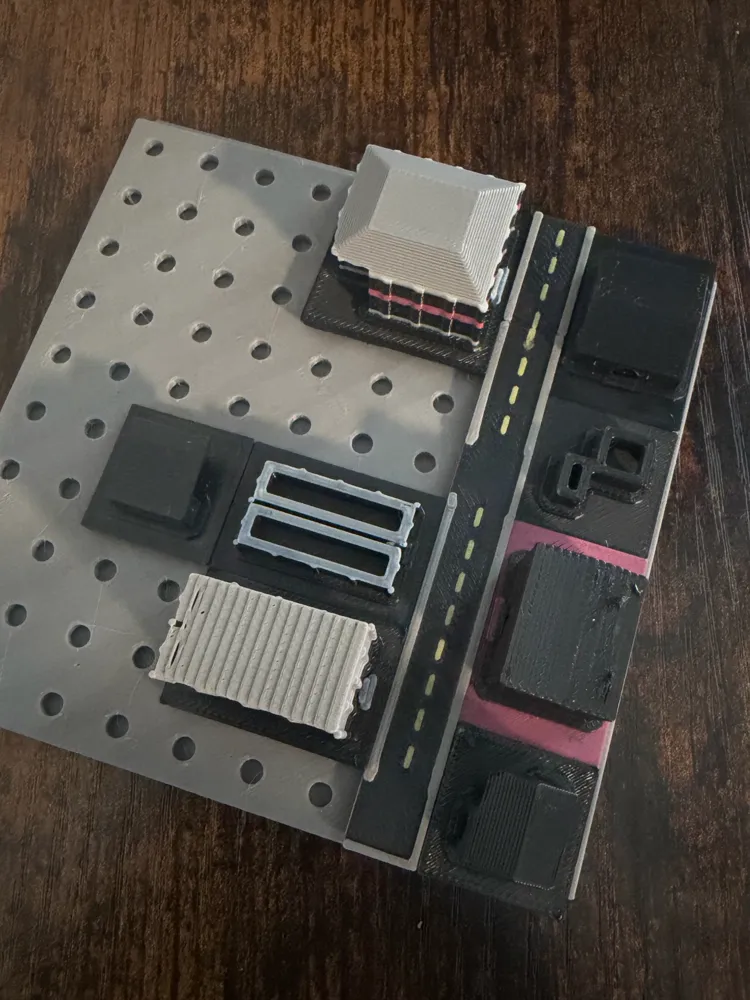
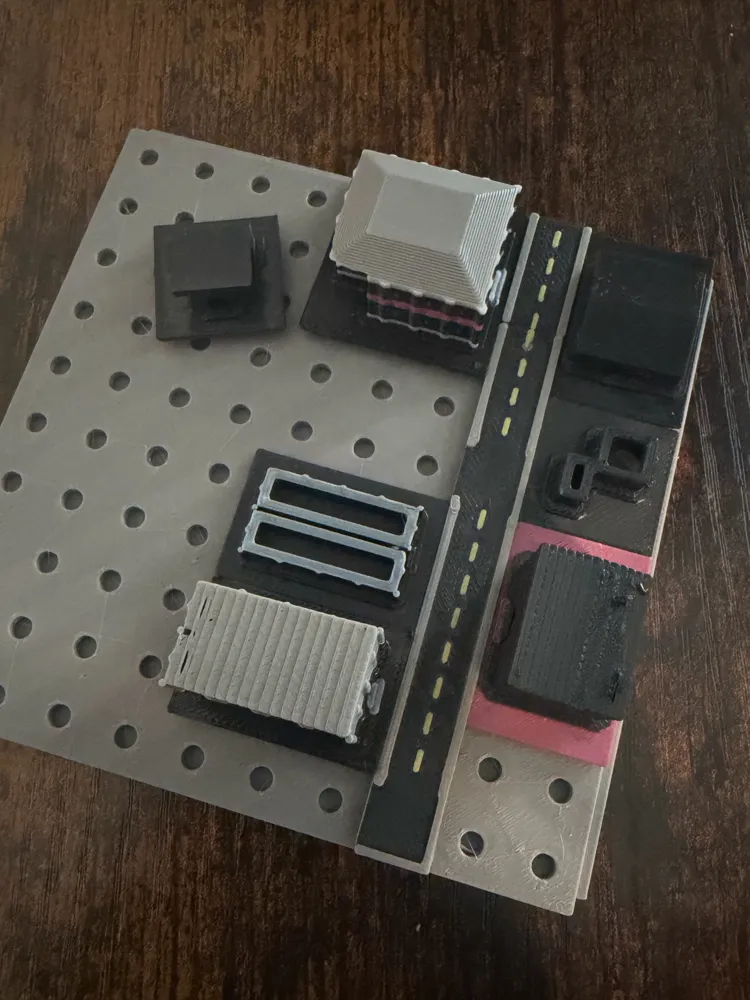

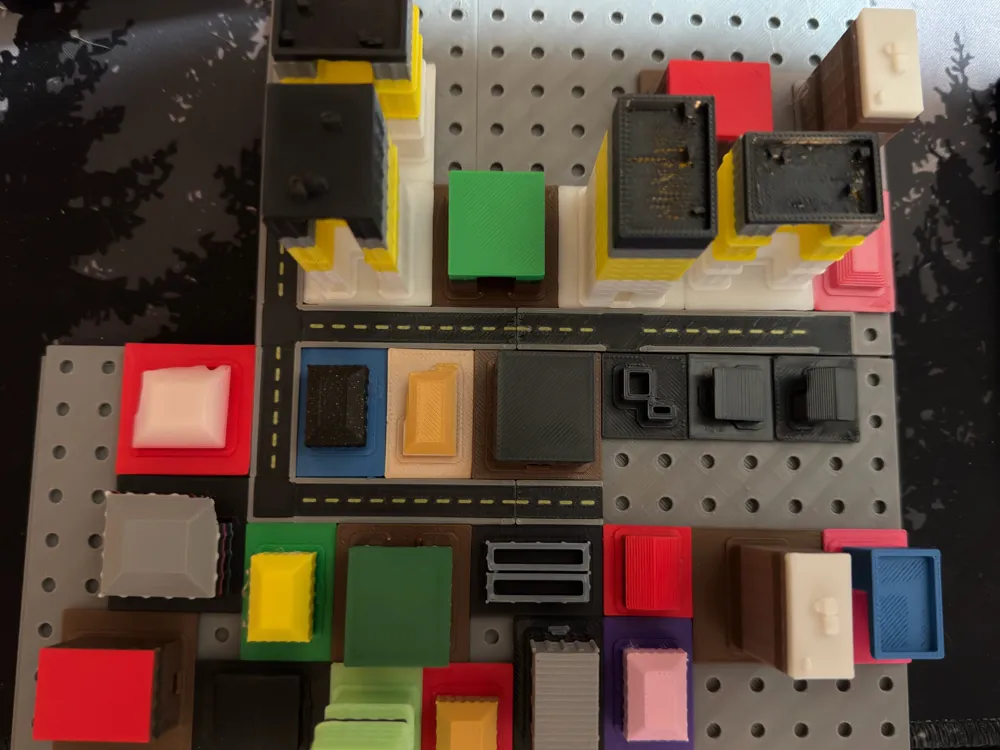
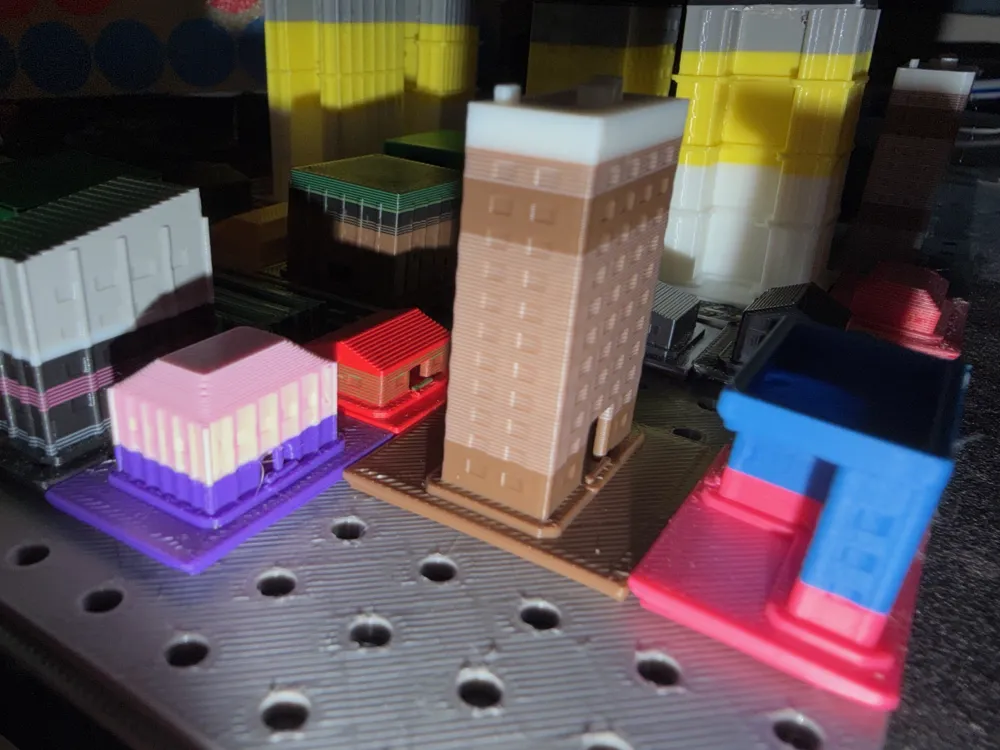
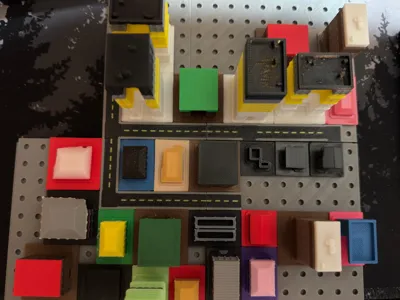
These city blocks are designed as fill objects that turn wasted purge into something with a skyline. Instead of dumping swap waste into a pile, it gets redirected into towers, rooftops, and questionable real estate. Less poop. Less wasted filament. More city.
Ugly? Sometimes. Efficient? Absolutely.
Population: inconsistent.
Zoning: questionable.
Filament saved: more than you'd think.
With the building generator, input the size of your building in the parametric builder, choose a seed, and generate!
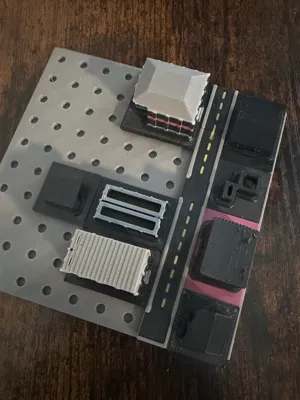
Full instructions coming soon. Recommended to start with the starter kit/profile to do a test print and learn how it works.
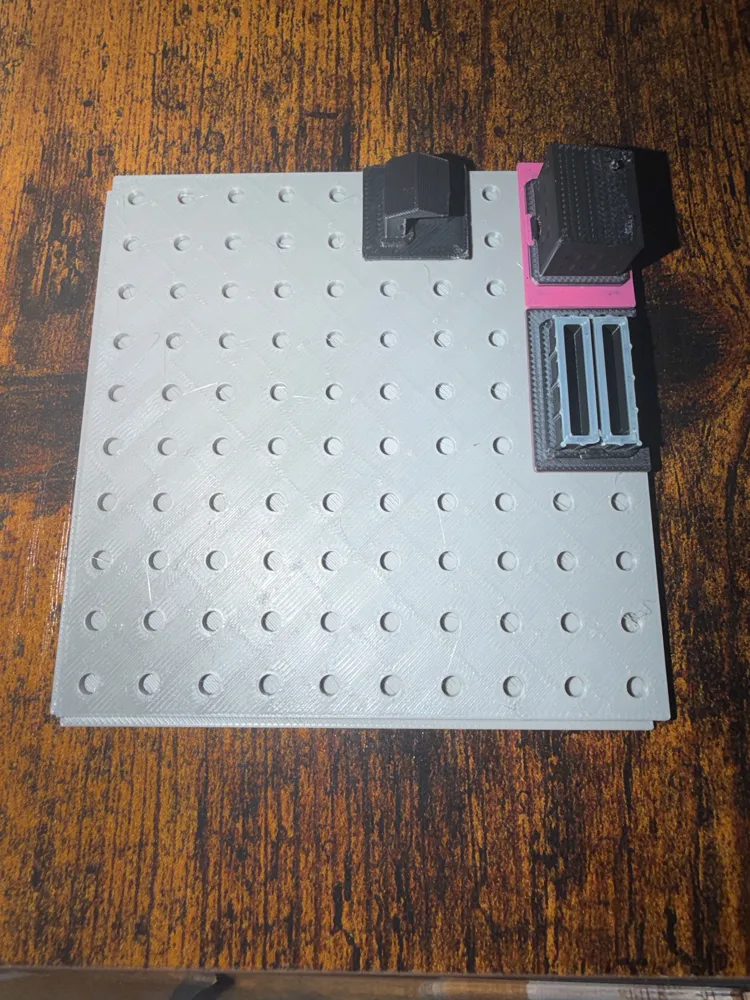
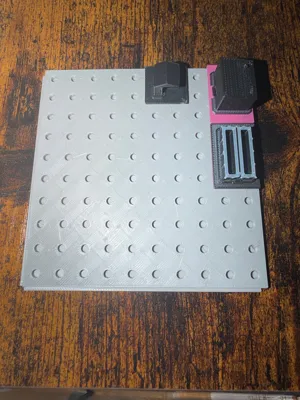
Get your own bases here: https://makerworld.com/en/models/2941134-purge-city-bases-v2
Boost Me (for free)
If Purge City has been helpful and fun for you, consider giving a free boost! It's one of the few ways that parametric models earn creators points.
Tips and tricks V1.5

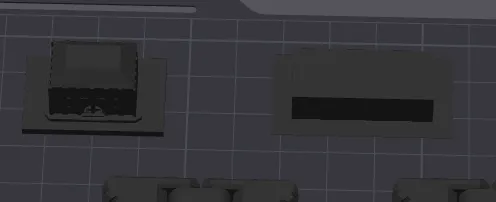
Placement is crucial. In these first two screenshots, you see two things that will help with ensuring the the print works as expected. You should place the building near the prime tower. You should also make sure that on each plate, that the purge building is placed before other objects.
The first is easy, the second can be more difficult if you do not understand how to re-order items (it is not intuitive in Bambu Studio). The simplest way is to add the prime tower before other objects. If you already added them, you can also create copies of the other objects, then delete the original. Each new object gets placed at the bottom of the order.
Prime Tower 
Plate order Adjust your purge volume. This is where you gain the most. Bambu suggests volumes of at least 90 and will give you a warning if you drop below. But that's the point here. Depending on the print, I have had success going as low as 20 - you will need to trial and error with certain prints.

Purge Volume 3. Additional Purge City buildings. If you are going from very dark to very light colors, you may find it valuable to add more than one building. Follow the same steps to ensure that the new building also works. This is especially true if the buildings you choose cover a smaller surface area (large overhangs, narrow buildings, etc).
4. Use gyroid (10%) infill or other non-linear infill options. Rectilinear, grid, etc. are not recommended as they may cause the purge building model to curl up around the base.5. Encourage proper print order. For this to work, you must print the Purge City building first at each layer. In Bambu Studio, you can achieve this by moving it to the top of the order of the plate. There are two ways to do this. The simplest is to add the Purge City building to the plate before other objects.
If you already have a model and you're adding the buildings after, follow this process:
- Select Global in the Process menu on the left side of Bambu Studio.
- Navigate to Others.
- Select the Print sequence drop-down.
- Select By object.
- Switch to Global in the Process menu.
- Your plate should appear just below that as line items - drag the Purge City building to the top of the plate order.
- Follow steps a-c, then change Print sequence back to By layer. Make sure you do not skip this step.

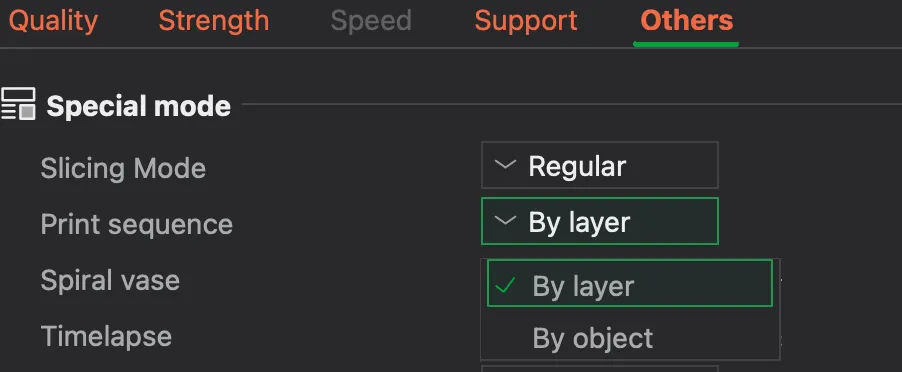
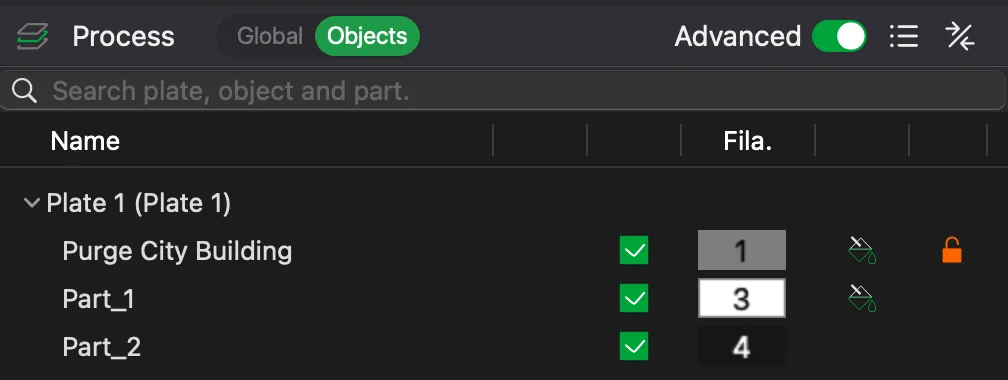
6. Using the parametric design. This is simple for Purge City.
Click the customize button
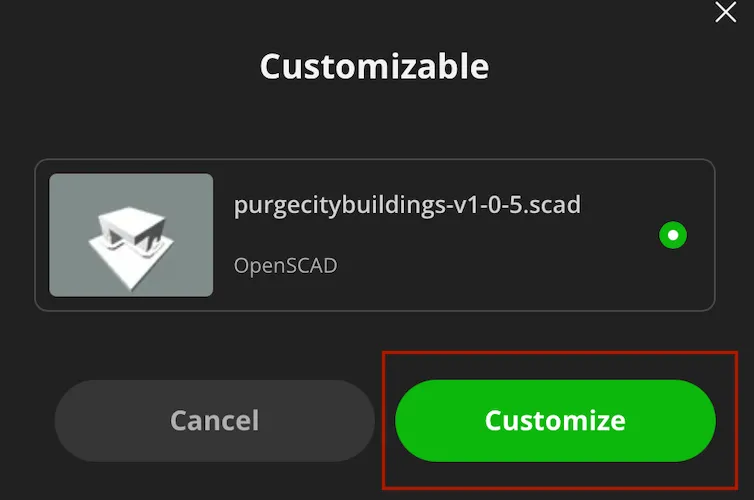
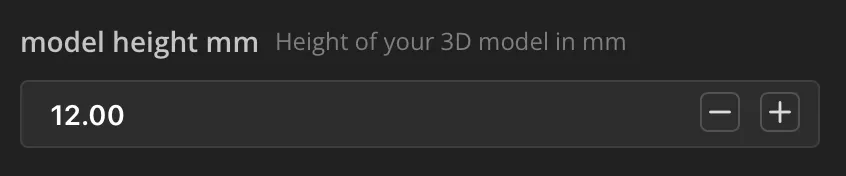
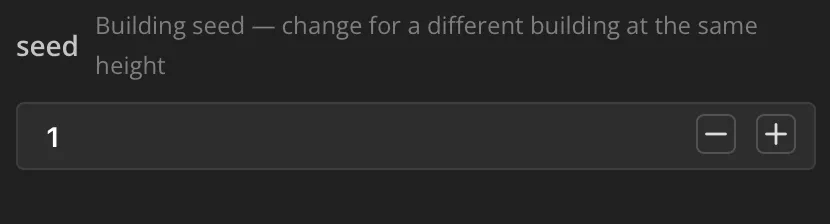

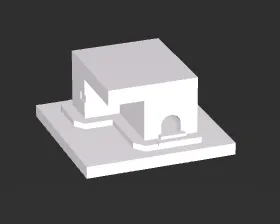
Finally, click download when you have a new building.
Hint: changing the seed and/or height will create a different, unique building.
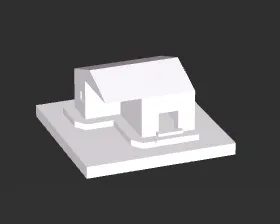
| 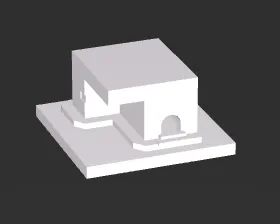 | 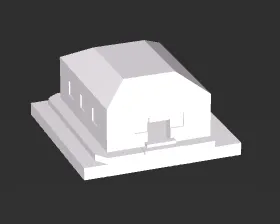 | 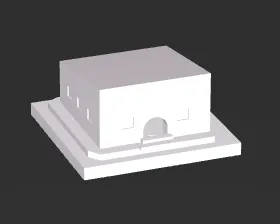 |
License

You shall not share, sub-license, sell, rent, host, transfer, or distribute in any way the digital or 3D printed versions of this object, nor any other derivative work of this object in its digital or physical format (including - but not limited to - remixes of this object, and hosting on other digital platforms). The objects may not be used without permission in any way whatsoever in which you charge money, or collect fees.


Comment & Rating (2)