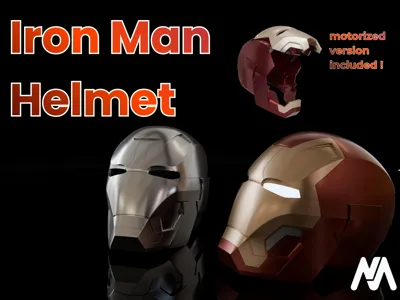
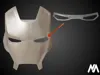
Motorized Iron Man Helmet


Print Profile(3)
Bill of Materials


- Batterypack x 1:
- Microcontroller for servos x 1: Used to control the movement of both servos (ESP32 or Arduino)
- 1171 17g MG servos x 2: can be purchased on sites like Amazon or Aliexpress
Description
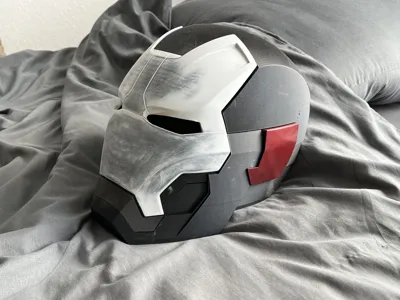
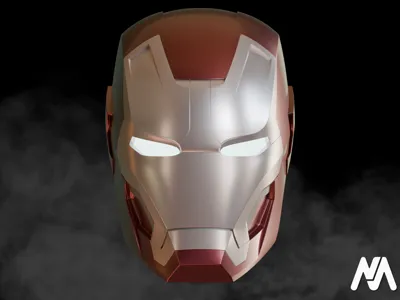
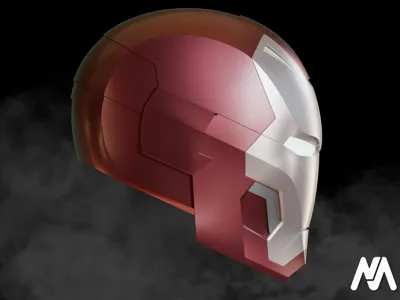
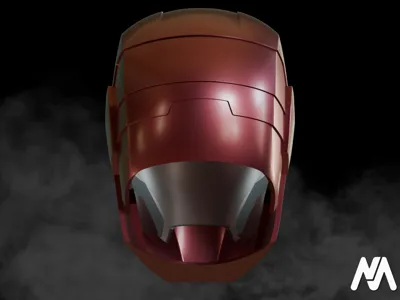
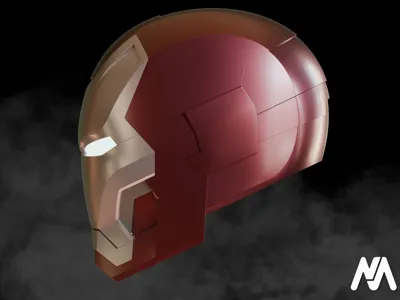
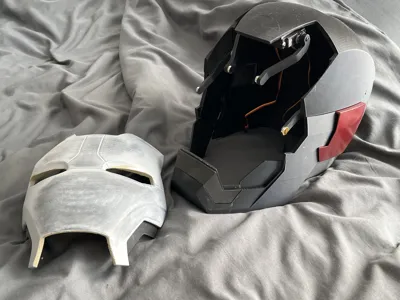
Bring the iconic Mark 42 armor from Iron Man 3 to life.
Whether you want a clean display piece or a fully functional motorized prop, this model covers both.
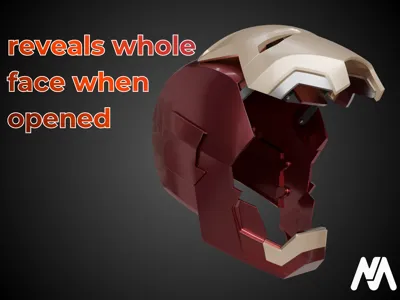
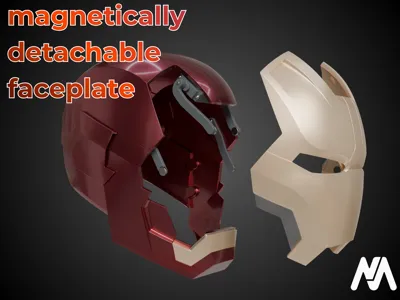
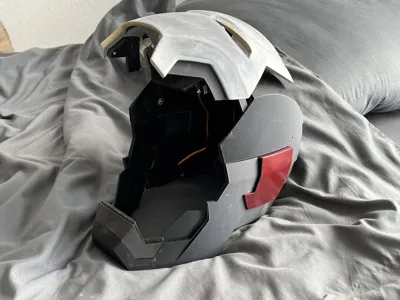
The standout feature is the innovative magnetic hinge system: instead of traditional mechanical pins, the faceplate uses circular magnets as pivot points. This allows for smooth articulation while giving you the ability to "hot-swap" or completely remove the faceplate in seconds.
NOTE: If you have any questions or need help with the assembly, feel free to drop a comment below!
Main Features
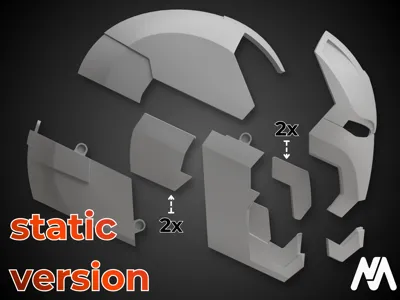
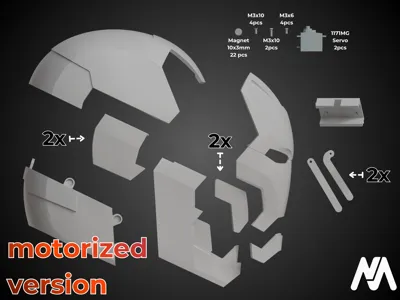
- Two Configurations: Files included for both a simple static display and a motorized version.
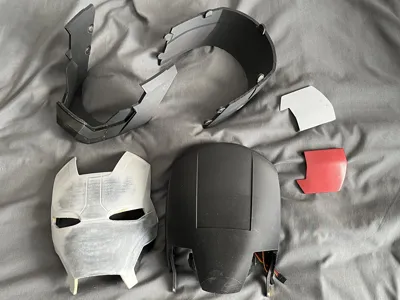
- Magnetic Quick-Release: The chin and back-head (neck) sections are held by magnets for easy donning and removal.
- Hybrid Hinge System: Use magnets as the main hinge axis for ultimate modularity.
- Screen Accurate: Proportions and panel lines inspired directly by the Mk 42 suit.
Hardware Requirements
1. Static Version
- Magnets: 14x 10x3mm N52 Neodymium magnets for the chin and back. (Amazon Link)
- Adhesive: superglue will do.
- Padding: Optional foam inserts for wearable comfort.
2. Motorized Version
- All items from the Static Version.
- Magnets: 8x 10x3mm Magnets for the Faceplate (22 in total Amazon Link)
- Servos: 2x 1171MG 17g Servos (Amazon Link) or 2x MG90S Servos (Amazon Link). I reccomend using the 1171MG Servos because they are stronger
- Controller: ESP32 C3 supermini (Amazon link)
- Power: Battery pack or a small LiPo battery. (Amazon Link) This battery can be plugged into the ESP32 board
- LEDs: White COB LED panels or 5mm LEDs for the eyes. (Amazon Link cheaper on Aliexpress)
Printing Recommendations
To achieve the best results and ensure the mechanical parts fit perfectly, follow these guidelines:
- Material: PETG or ASA is recommended for durability, especially for the hinge mechanisms. PLA+ works great for static display.
- Wall Loops: Minimum 3 loops for structural integrity.
- Infill: 15-20% (Gyroid recommended for strength-to-weight ratio).
- Support: Tree Supports (Auto) are highly effective here to keep the internal surfaces clean.
- Orientation: Print the faceplate vertically for the best surface finish on the front. The main bucket should be printed "top-up" with supports for the overhangs.
Assembly instructions - motorized version
- use the M3x10mm screws to screw in the passive hinges (the lower ones) with the magnet pockets facing outwards
- screw on the servo cage to the helmet using 4 M3x10mm flathead screws
- put the servos in the cage (cables facing to the back of the helmet) and screw them down with the M3x6mm screws
- rotate the left servo (viewed from the front) clockwise until it hits the endstop. Rotate it back about 5-10 degrees (for tolerance when closing)
- repeat the same on the other side - counterclockwise
now add the servo hinges. They should be parallel to the flat side of the servo (approximately the common closed position of the mask) and screw them down with the screws from the servo kit. Note: The hinges should be able to extend beyond the common closed position for tolerance. (Picture shows how far the hinges can extend down, this is at the maximum of the servo)

- add magnets to the servo hinges facing inwards (so the magnets are facing eachother). On the faceplate the magnets for the servo hinge are glued on the outer surfaces (not facing each other)
- add magnets to the passive hinges facing outwards (there should be pockets) and on the facplate facing inwards (there are also pockets)
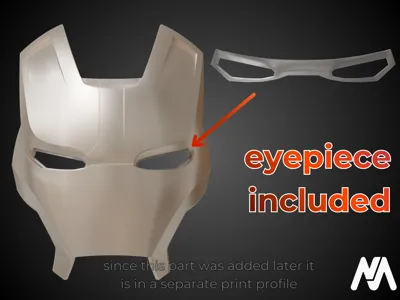
- glue the faceplate-detail piece to the faceplate and the lip piece to the chin.
- finally add the rest of the magnets to the chin back and helmet pieces.
Assembly Tips
- Magnet Polarity: Double-check the polarity of all magnets before gluing! It is helpful to mark one side with a felt-tip pen.
- Tolerance: If the magnet holes are too tight, use a soldering iron to gently heat the magnet and press it into the plastic for a perfect flush fit.
- Hinge Smoothness: Lightly sand the contact points of the hinges and the helmet/faceplate to ensure a smooth rotation. Also don't tighten the screws too much.
I’d love to see your builds! If you print this, please share your makes and photos below.
Documentation (1)
License
You shall not share, sub-license, sell, rent, host, transfer, or distribute in any way the digital or 3D printed versions of this object, nor any other derivative work of this object in its digital or physical format (including - but not limited to - remixes of this object, and hosting on other digital platforms). The objects may not be used without permission in any way whatsoever in which you charge money, or collect fees.
Comment & Rating (165)