Smart NFC/RFID Keychain – Hidden Tag Inside


Print Profile(1)

Description
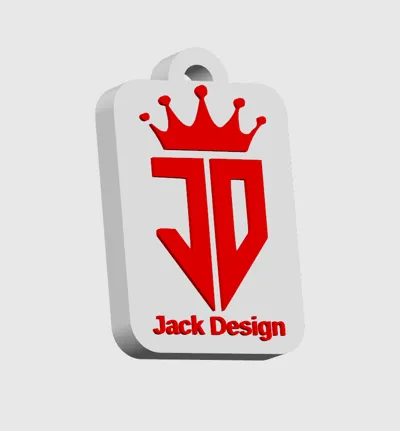
🔑 Custom NFC / RFID Keychain – Hidden Tag Inside
Turn any keychain into a smart NFC / RFID device 🔥
Fully customizable, fully parametric — and printed in one single piece.
No glue required for assembly. No visible seams. Just clean results.
⚡ HOW IT WORKS
This model uses a mid-print pause technique:
- The printer builds the keychain normally
- It pauses exactly when the internal cavity is ready
- You insert the NFC/RFID tag
- Printing resumes and seals it inside permanently
➡️ Final result: a solid keychain with a completely hidden smart tag inside
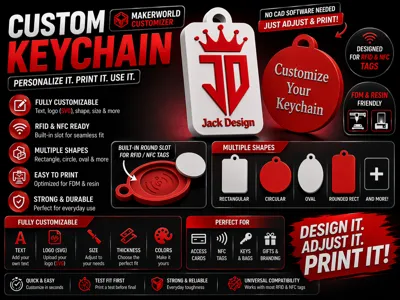
✨ FEATURES
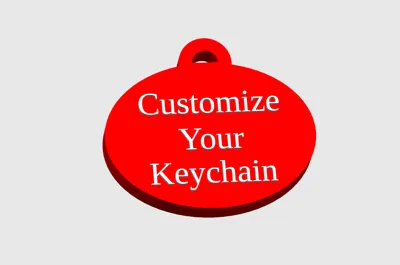
- Multiple shapes (rectangle, circle, oval, rounded)
- Built-in hidden NFC/RFID slot
- Supports round and rectangular tags
- Adjustable tolerances for perfect fit
- Add custom text (multi-line)
- Upload your logo (SVG) directly in MakerWorld
- Multi-color ready (perfect for AMS)
- Optimized for FDM & resin printing
🧠 NFC / RFID COMPATIBILITY
Works great with:
- NTAG213 / NTAG215 / NTAG216
- Mifare Classic
- Round NFC tags (25–30 mm)
- Thin NFC stickers
⏸️ HOW TO PAUSE PRINT (BAMBU STUDIO)
1. Find the pause height
Open the model in OpenSCAD and check the console output.
Example:
Pause Z = 3.5 mm
2. In Bambu Studio
- Import the model
- Switch to Preview mode
- Use the layer slider on the right
- Find the layer closest to the pause height
👉 IMPORTANT:
Always select the layer just BELOW the value
Example:
3.5 mm → use 3.4 mm (NOT 3.6 mm)
3. Add the pause
- Click the "+" icon on that layer
- Select "Pause at this layer"
4. During printing
When the printer pauses:
- Clean the cavity (remove any strings or blobs)
- Insert the NFC/RFID tag flat into the slot
- Make sure it fits properly and sits flush
💡 Optional (recommended):
Add a small drop of glue to keep the tag in place before resuming.
This helps prevent movement while the top layers are printed.
- Resume printing
The final layers will seal the tag inside permanently
⚠️ TIPS
- Tag too tight → increase tolerance (+0.1 mm)
- Tag loose → decrease tolerance
- Slow down top layers after pause for better finish
- Always test fit before final print
🖨️ PRINT SETTINGS
- Layer height: 0.2 mm
- Walls: 3+
- Infill: 30–50%
- Material: PETG recommended (more durable than PLA)
🎯 PERFECT FOR
- Smart keychains
- NFC business cards
- Home automation tags
- Gifts & branding
- Everyday carry
🚀 WHY THIS MODEL
✔ One-piece print
✔ Hidden NFC integration
✔ Clean professional result
✔ Fully customizable
✔ MakerWorld Customizer ready
Comment & Rating (0)