Skadis for P1S, P2S, X1C, X2D, or H2S, H2D, H2C


Print Profile(4)

Description
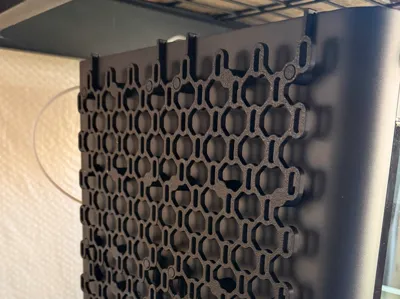
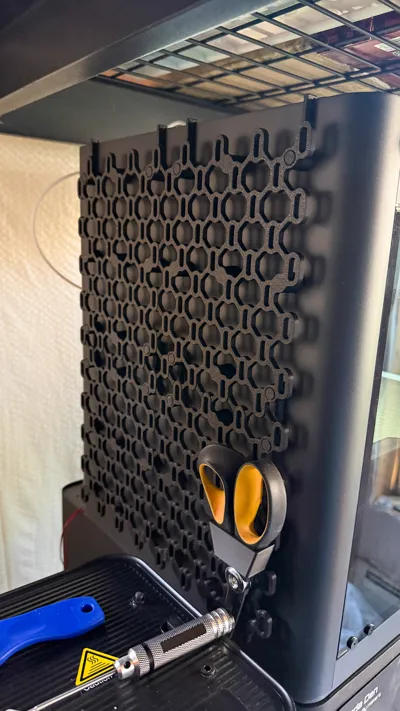
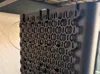
This is a lightweight infinite Skadis board. It can be hung from the side of your P1S sized printer, or it can be made larger to hang from an H2S sized printer, or it can be virtually any size and hung from drywall with #6 button head screws.
All Skadis holes can be used. No hardware is required, although the holes take #6 screws, if you wanted to bolt this to a wall. M3 screws and bolts will work as well, but they will have more wiggle room.
P1S, P2S, X1C, and X2D
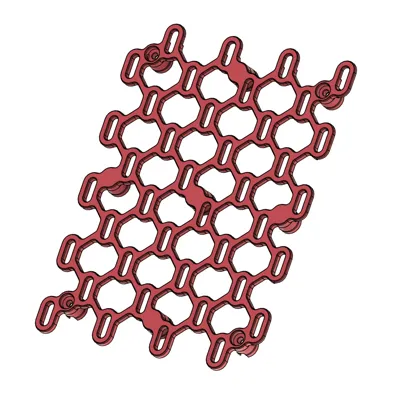
The basic version of the board consists of four board sections that click together to become a panel that fills the side of your printer. The boards have built in wall spacers (to keep enough clearance from the side of your printer. With the extension pieces it can be made much larger.
For the P1S sized version you need to print the following:
- 2 x Skadis TopLeft
- 2 x Skadis TopRight
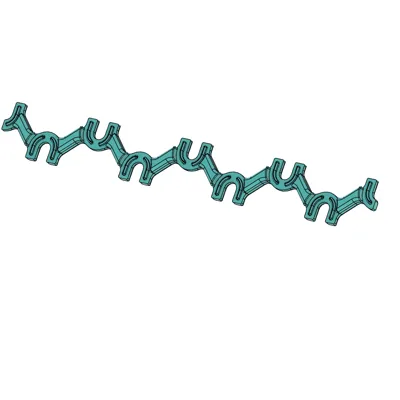
- 2 x Skadis Side Connector
- 1 x Long Top Connector
- 1 x Short Top Connector
- 4 x Strong Top Hanger 45
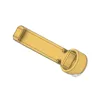
- 4 x Hanger
- 16 x Plug
- 12 x Pin
Or, if you use my Skadis Infinity Board for P1S profile, print plates 1 & 2 twice, and plate 3 once.
The Skadis Spacer is an optional print to help space Skadis boards, but you probably don't need it.
If you want to print a P1S-sized board for the side of your H2S, H2D, or H2C (a totally viable option!) do not forget to switch out the Top Hangers for H-Series Top Hangers, which are available in their own profile.
Assembly
- After printing, break out the supports from the holes in the Skadis boards. This is pretty easily done with a 1.5mm hex key, stick it in the hole and tilt it. There are 4 small supports on each board.
- Put the boards flat on their face. Top-left and bottom-right are the same board, and top-right and bottom left too. Look at the edge: 2 edges feature holes that have been sliced through the middle to be only half as thick. These edges should face the center.
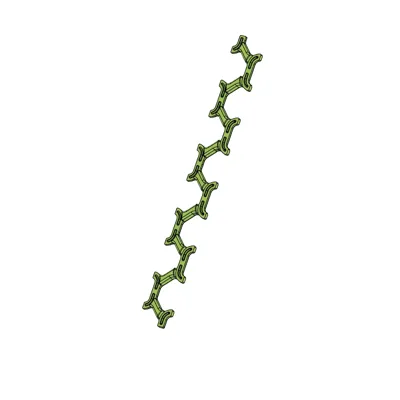
- Install the connectors between the boards, so that the lattice work becomes one “infinite” pattern. Make sure to firmly press together each connection. If you want to, you can use thin super glue on the connecting surfaces, but it is absolutely not necessary.
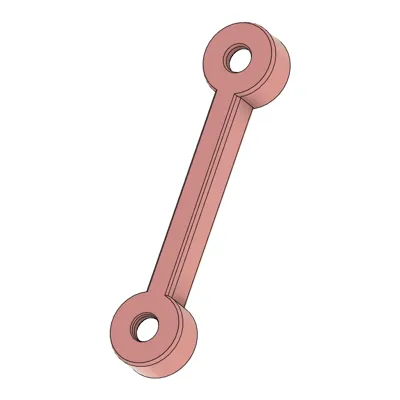
- Install the Hangers between the top and bottom half of the boards. The hollow side of the cups of the hangers faces out.
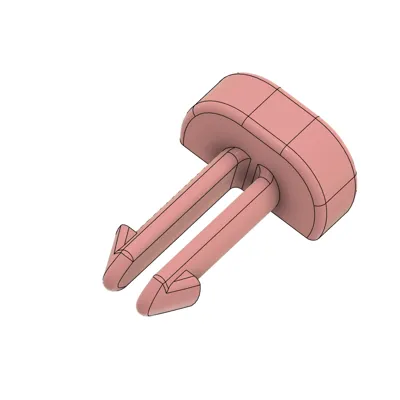
- Push a pin in the hole of a hanger, from the back side of the board to the front, all the way through until it clicks in place. Due to print orientation, these pins are quite strong, but you can replace the pins with #6 or M3 hardware if you want. Repeat this step for every hole in every hanger.
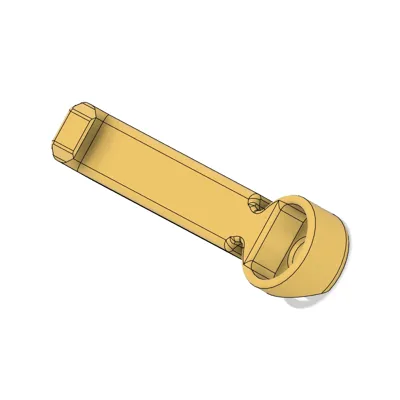
- Install the 4 strong top hangers along the top edge of the board. Again, the open side of the cup faces out, and the hooks on top should face up. Install pins on these too, just like you did with the hangers.
- Turn the Skadis board over and install a plug in every hole. Sometimes a plug doesn't want to go in all the way, as this was the supported side, and there may be some rough surfaces. If this happens, break off one of the tabs along the edge of the plug, then turn that edge towards where the plug didn't want to sink in. You should have no trouble having all the plugs sit perfectly flush.
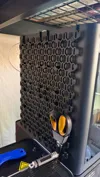
Your Skadis is now ready for use. You can hang it from the side of your printer. The top hooks on the board should sit between the glass on top of the printer and the edge. With each Skadis feature you hang from it, especially in the center cross, you will increase the strength of the connectors' connections and lock them in place.
H2S, H2D, and H2C
WARNING: I do not own an H-sized printer (yet), and I am going by sizes reported on the internet. If you print and test this, please leave a comment to let me know if your print fits properly on the side of your printer. If I need to make a shorter version of the Top Hanger I can certainly do that. After I get some feedback and know for a fact that this works well, I will remove this warning, so if you'd rather not be a guinea pig, please wait and check back in a couple of weeks.
For H2S sized printers, you will need to print a 3x3 board. You will need everything from the P1S sized version, except Top Hangers, plus:
- 2x Skadis Left
- 2x Skadis Top
- 1 x Skadis Center
- 5 x Skadis Side Connector
- 5 x Long Top Connector
- 6 x Strong Top Hanger 45 for H-Series from the seperate profile
- 8 x Hanger
- 20 x Plug
- 18 x Pin
Or, if you use my Skadis P1S Board Extensions profile, print plate 1 & 2 twice, and plate 3 once.
For assembly of the board follow the instructions for the P1S board.
Infinite Expansion
To expand in height, you will need to print:
- 2x Skadis Left
- 2 x Skadis Side Connector
- 2 x Long Top Connector
- 4 x Hanger
- 8 x Plug
- 8 x Pin
Or, if you use my Skadis P1S Board Extensions profile, print plate 1 twice.
To expand in width, you will need to print:
- 2x Skadis Top
- 2 x Skadis Side Connector
- 2 x Long Top Connector
- 2 x Strong Top Hanger 45
- 2 x Hanger
- 8 x Plug
- 6 x Pin
Or, if you use my Skadis P1S Board Extensions profile, print plate 2 twice.
To expand in both width and height, first print all elements from both the width and height expansions, then calculate how many center tiles you need with this formula: number of width expansions you use x number of height expansions you use
Then print that many of the following:
- 1 x Skadis Center
- 1 x Skadis Side Connector
- 1 x Long Top Connector
- 2 x Hanger
- 4 x Plug
- 4 x Pin
Or, if you use my Skadis P1S Board Extensions profile, print plate 3.
For assembly of the expansions follow the instructions for the P1S board.
Mounting to drywall
Determine how big you want the board to be and print all required pieces except:
- Don't print Top hangers
- Don't print Hangers*
- Don't print Pins
Instead, use #6 button head screws with drywall anchors as needed. Use 4 per board through the holes in the feet. Use Skadis Spacers to space the board sections correctly before installing the connectors.
* You can use hangers if you want to, but make sure to install connectors before hangers, or they get in the way. Since hangers have to be inserted before mounting a board to the wall, this will make your install order a little trickier.
If you want an easier to install solution, I have also created a simpler version of the Infinite Skadis Board that sacrifices a bit of looks in exchange for simplicity. It also has bigger sections, so you will need less prints.
Boost Me (for free)
If you like my designs, please support this model with a boost. EVERY boost really counts.
Alternately, if you are out of boosts or for any other reason, consider putting a few bucks in my tip jar. Boosts and tips are never expected, but always appreciated.
License
You shall not share, sub-license, sell, rent, host, transfer, or distribute in any way the digital or 3D printed versions of this object, nor any other derivative work of this object in its digital or physical format (including - but not limited to - remixes of this object, and hosting on other digital platforms). The objects may not be used without permission in any way whatsoever in which you charge money, or collect fees.
Comment & Rating (100)