Simple Can Opener Negative


Print Profile(1)

Description
💼 Commercial Use / Support
If you would like to sell my models commercially please subscribe to my Patreon @WV3Dstudio
If you don't sell commercially but would like to support me with a one time donation to my filament fund, buy me an ice cream!
🔹
For printing tips and suggested print settings, simply check out the pinned post(s) or join my Patreon as a free member to stay up-to-date.
🔹
🔨 Are supports required?
Yes: belt bag charms, full size soap holders
No: can openers, interchangeable covers
🔹
Info
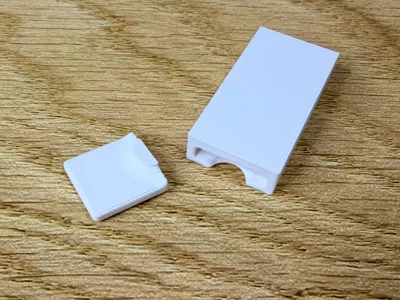
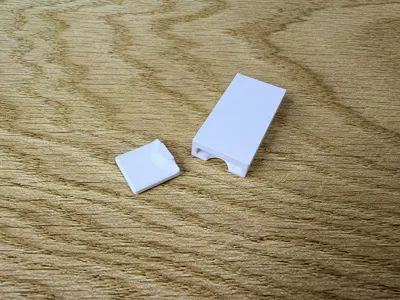
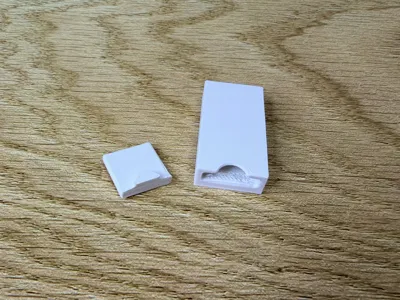
This negative is for creating your own simple can opener. Below are the instructions for using them in TInkercad if you are not familiar with the process.
Directions to Use in Tinkercad (for STL)
- Download the raw/STL file(s)
- In Tinkercad, go to Import File and navigate to where you saved the file and import it
- With the object selected, change it's type to a ‘hole’ instead of solid
- On the right drop down menu (where it probably says Basic Shapes) navigate to ‘Your Creations’
- Click Create Shape
- Give your shape a name/description/tags/etc as desired
- Leave it on allow editing (sometimes you may want to make the hole shorter)
- Save shape!
- Now, whenever you are designing something in Tinkercad, go to “Your Creations” and it will be there! You can also mouseover it and click the star in the top right of the box to add it to Your Favorites as well.
- To cut it from a shape you have already in tinkercad, bring it into your workplane, position it as desired, and union group it with whatever object from which you'd like to cut it out.
Directions to Use in Tinkercad (for 3MF)
- Download the 3mf file
- Right click on the shape and click “Export as one STL”
- In Tinkercad, go to Import File and navigate to where you saved the file and import it
- With the object selected, change it's type to a ‘hole’ instead of solid
- On the right drop down menu (where it probably says Basic Shapes) navigate to ‘Your Creations’
- Click Create Shape
- Give your shape a name/description/tags/etc as desired
- Leave it on allow editing (sometimes you may want to make the hole shorter)
- Save shape!
- Now, whenever you are designing something in Tinkercad, go to “Your Creations” and it will be there! You can also mouseover it and click the star in the top right of the box to add it to Your Favorites as well.
- To cut it from a shape you have already in tinkercad, bring it into your workplane, position it as desired, and union group it with whatever object from which you'd like to cut it out.
Please feel free to message me if you have questions.
🔹
🔗 Explore My Collections
🔄 Complete Interchangeable System
🧼 Misc. Soap Holder Collection
👥 Join the Community
Want to stay involved and help shape future designs?
Join my Facebook group: WV3D Studio
Boost Me (for free)
Boosts are GREATLY appreciated if you appreciate my models! Thank you VERY much!
License
You shall not share, sub-license, sell, rent, host, transfer, or distribute in any way the digital or 3D printed versions of this object, nor any other derivative work of this object in its digital or physical format (including - but not limited to - remixes of this object, and hosting on other digital platforms). The objects may not be used without permission in any way whatsoever in which you charge money, or collect fees.
Comment & Rating (38)