


Print Profile(2)


Bill of Materials


Description
Boost Me (for free)
Don’t let your token expire and go to waste. Use it!
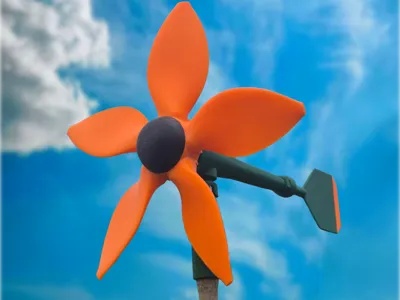
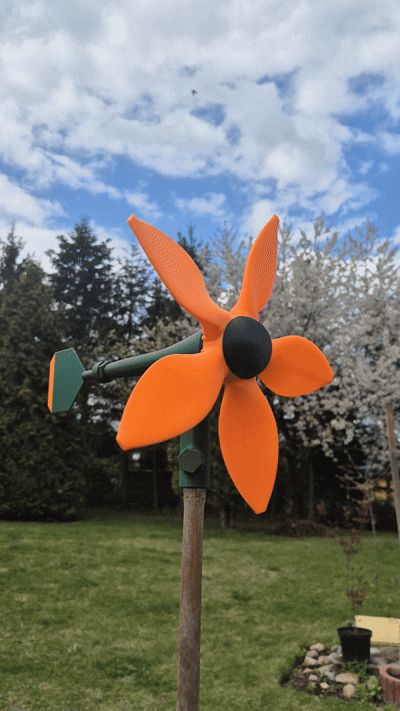
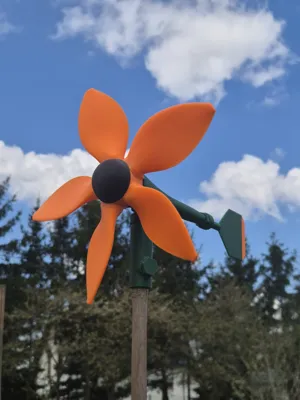
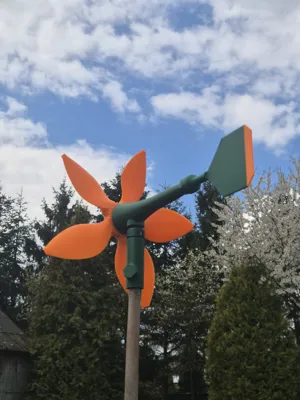
Flower windmill | Garden windmill
Bring your garden to life with this decorative flower-shaped wind spinner!
I've really been enjoying designing garden wind spinners lately. Plus, I saw a contest, so I just couldn't resist creating something new. This time, I decided to go with a flower shape. I only had orange filament on hand, but I'm currently waiting for a yellow one to arrive. Once I get it, I'll definitely print a yellow version too!
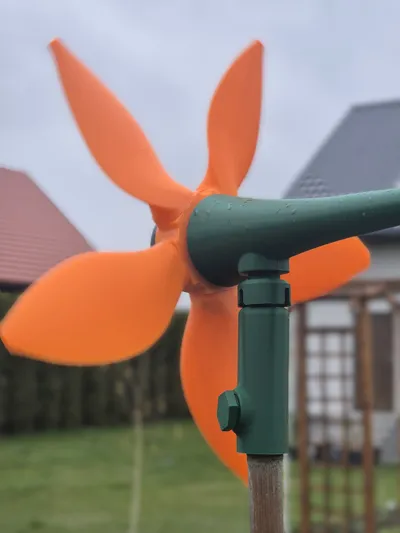
I decided to split some of the taller parts into smaller pieces that screw together. In my previous model, many people complained about tall parts detaching from the build plate near the end of the print, which was very frustrating. This new approach should make printing much easier and safer!
The only part that might be a bit tricky to print is the tail. However, I had absolutely no issues printing it on either my X2D or A1 mini.
To make this windmill, you will need:
- 2 x 608zz ball bearings
- Glue
The general assembly guide is down below. Basically, you just screw the parts together and push the ball bearings into their designated spots.

1.Glue connector to the rotor


2. Next, glue the blade to the connector. Repeat this process for all blades and connectors.


3. Press-fit the 608ZZ ball bearing here.

4. Screw the ball bearing joint into the main part.


5. Insert the ball bearing between these two parts.

6. For tail, screw nut first and then tail. Try to set tail vertical and tighten with nut

Check out my other projects!


License
You shall not share, sub-license, sell, rent, host, transfer, or distribute in any way the digital or 3D printed versions of this object, nor any other derivative work of this object in its digital or physical format (including - but not limited to - remixes of this object, and hosting on other digital platforms). The objects may not be used without permission in any way whatsoever in which you charge money, or collect fees.
Comment & Rating (212)