
【Super cute! Articulated Leopard Gecko & Crested Gecko】Rich surface details/No external supports/Separate parts/Suitable for hand-painting/Mixed joint structure v1.4
Print Profile(4)
Description
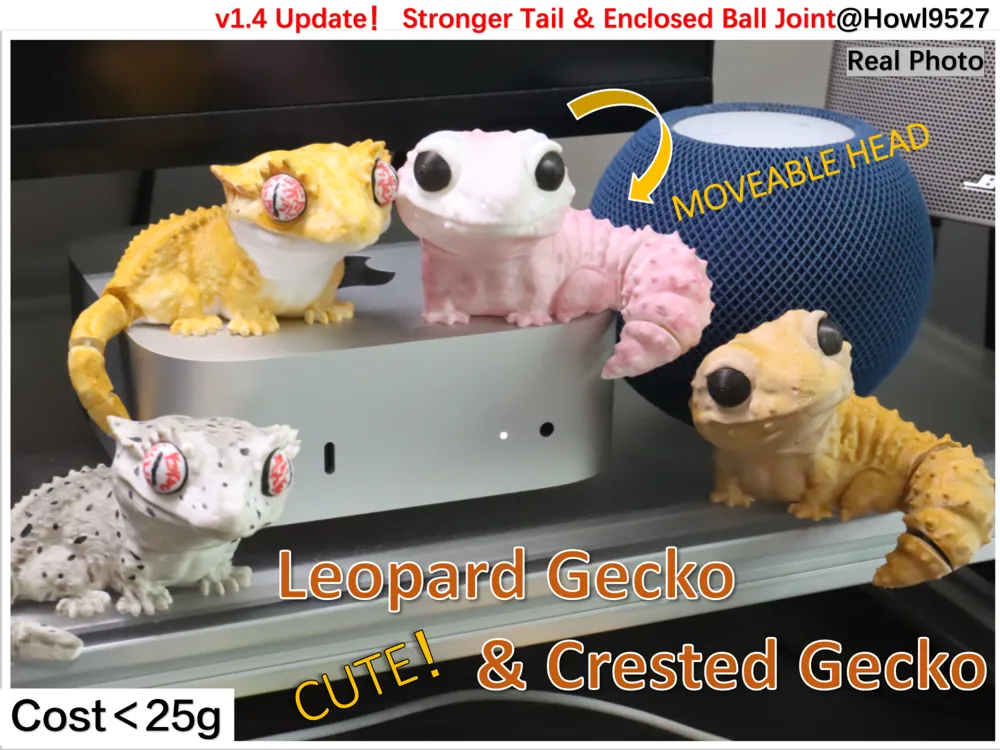
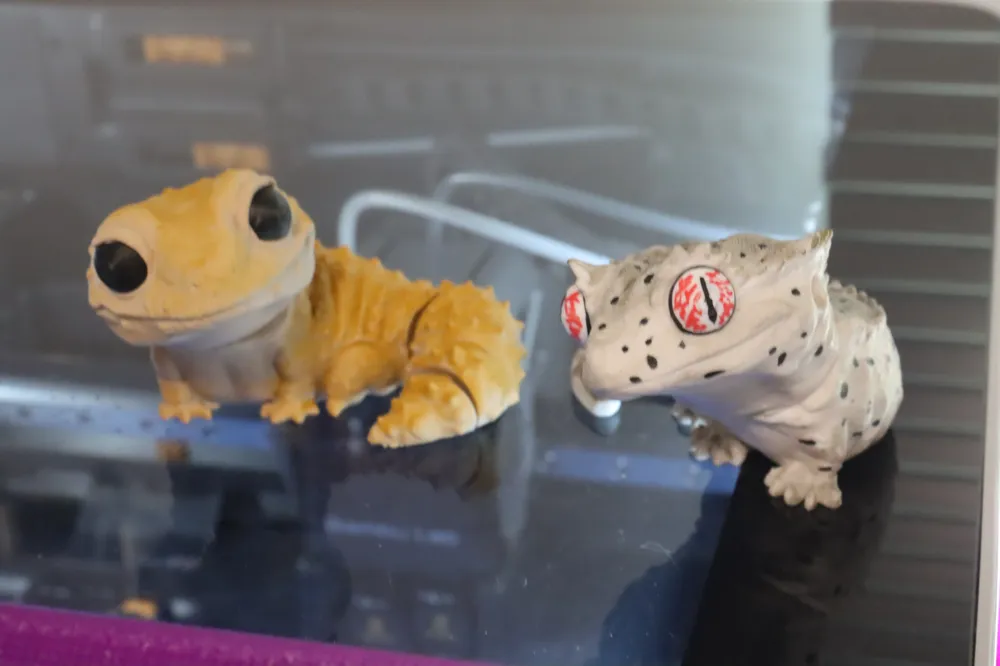
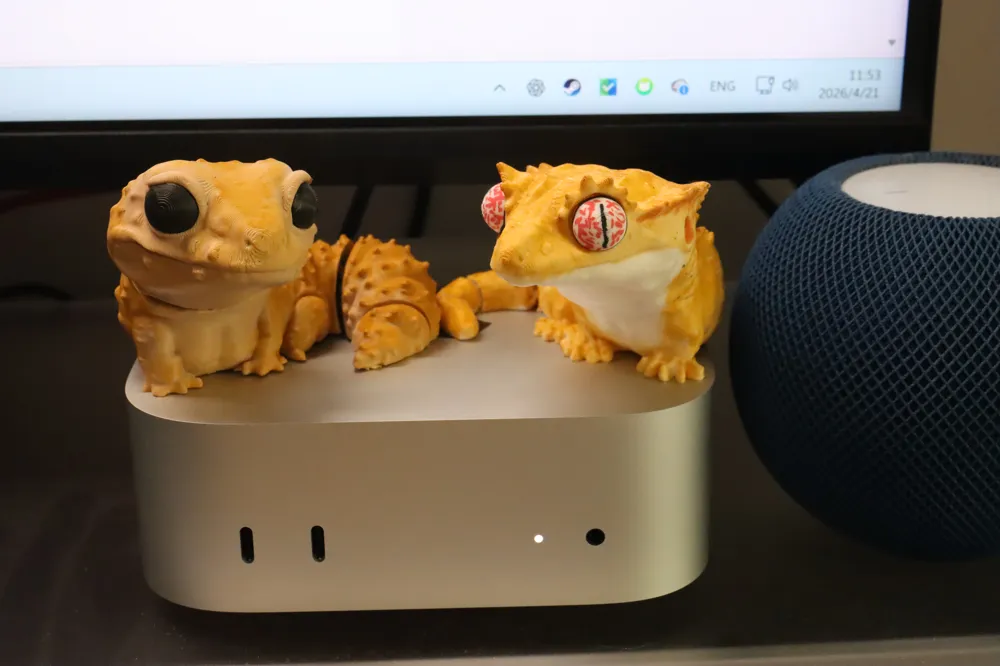
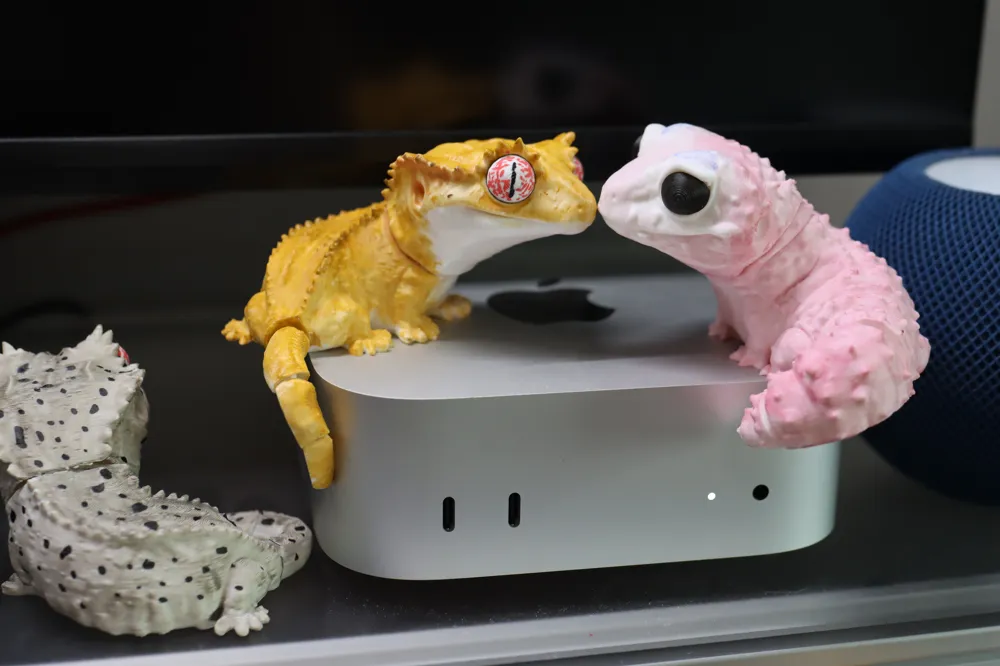
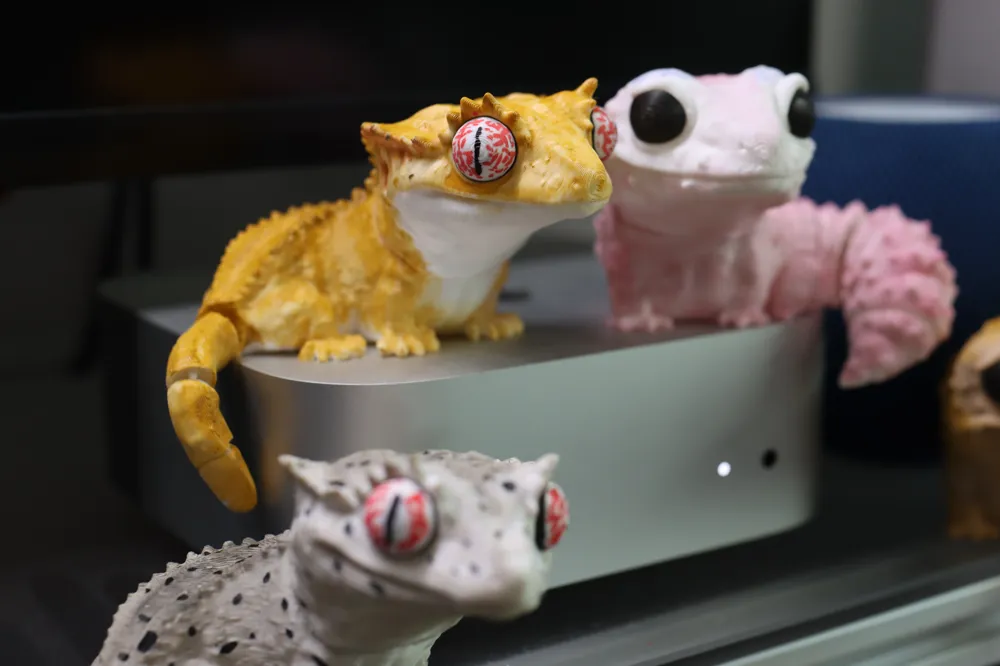
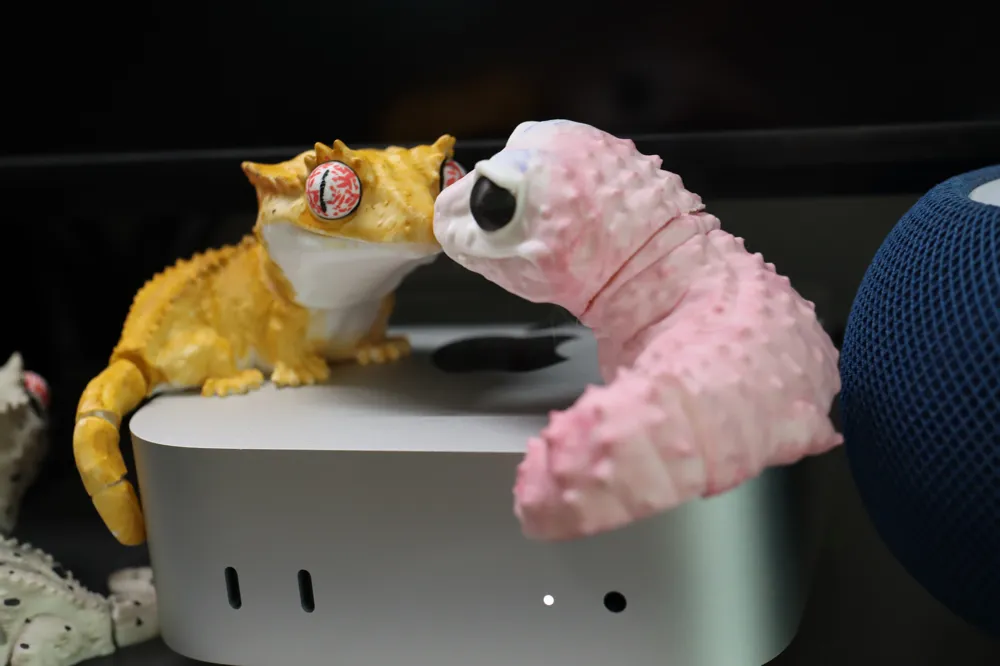
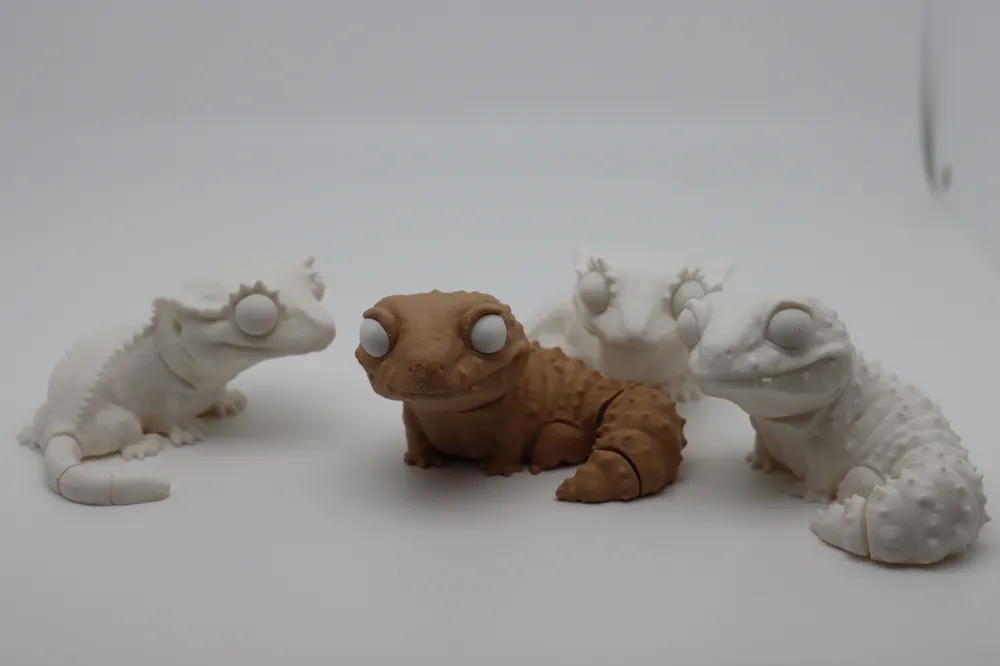
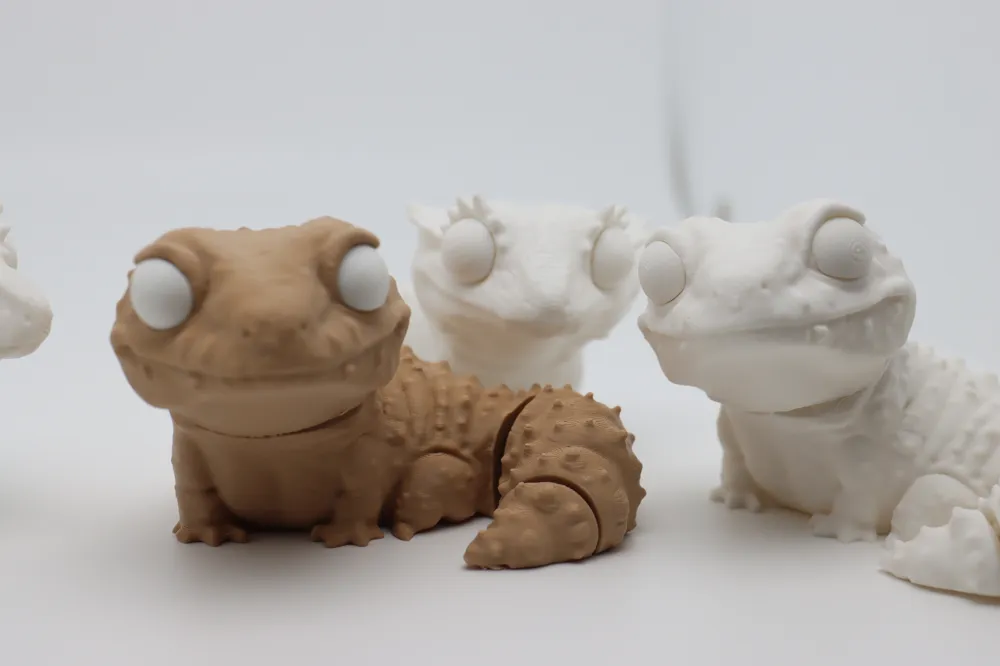
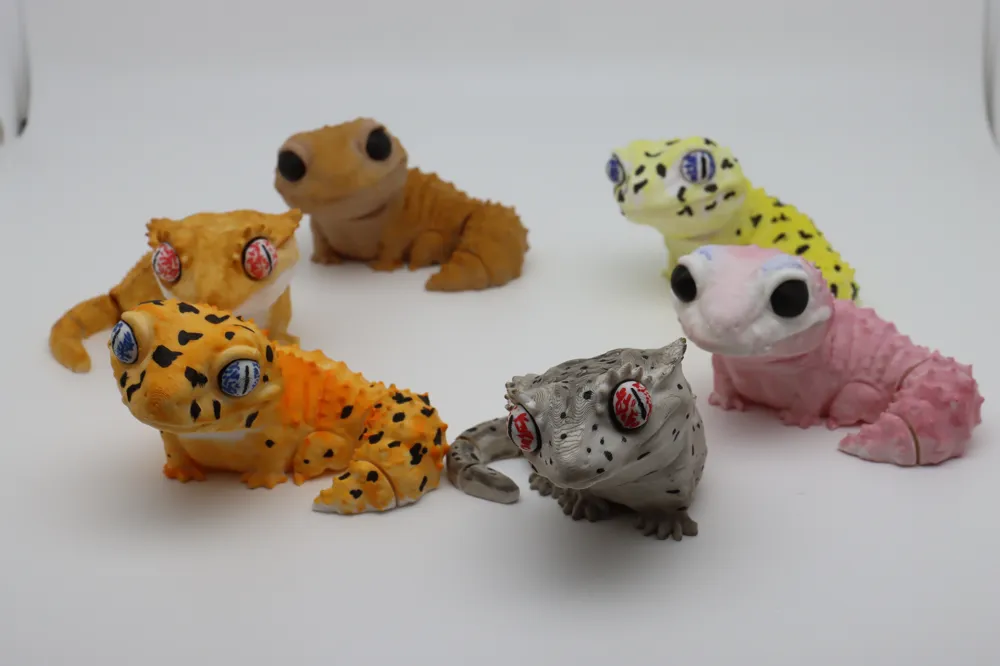
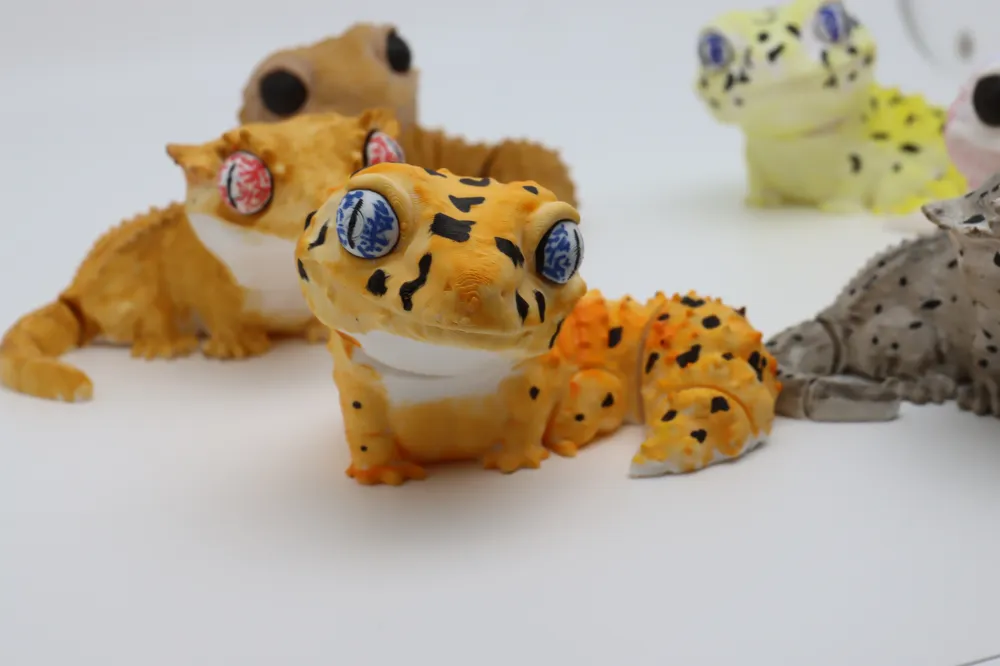
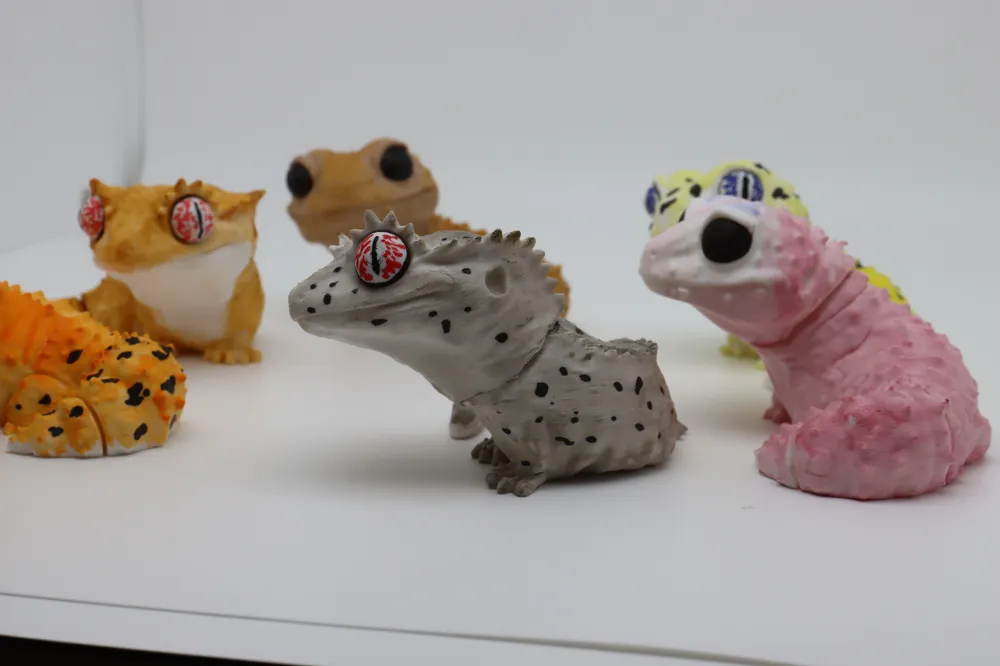
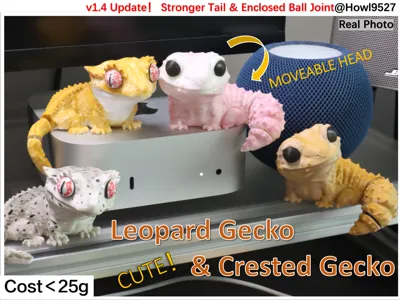
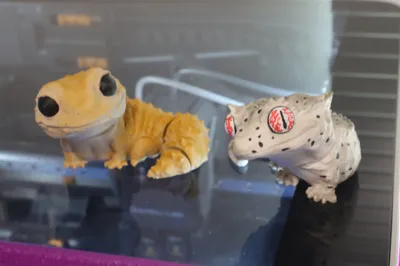
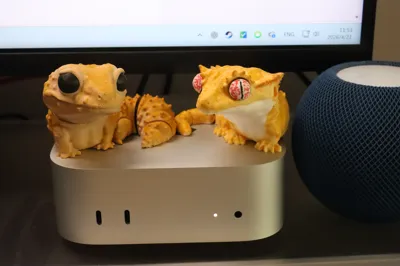
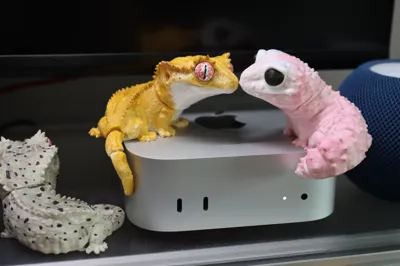
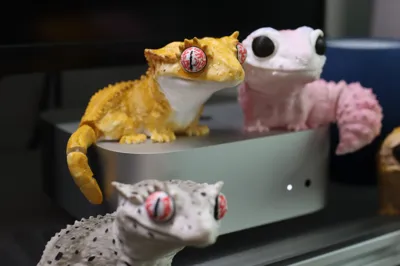
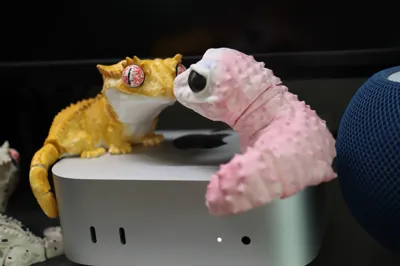
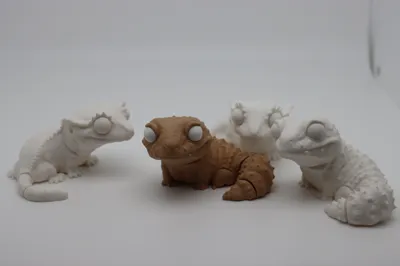
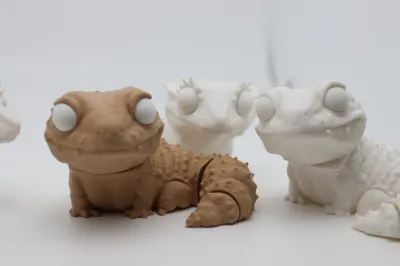
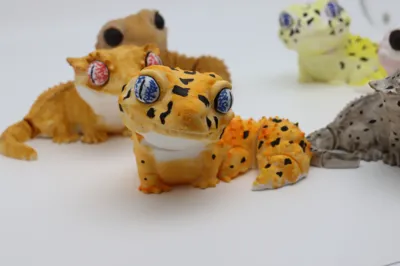
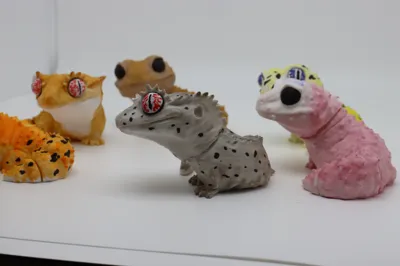
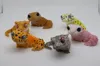
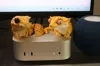
A Q-version realistic articulated model created based on Leopard Geckos and Crested Geckos, featuring an articulated structure with a nimble tail and a twistable head. Combined with delicate skin texture and exaggerated proportions, it presents a lively and heartwarming cute image.
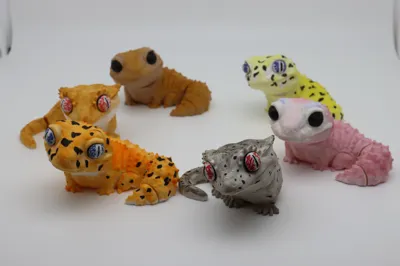
Choose your base filament color and pair it with personalized hand-painting to create your own super cute gecko desktop pet!
*This work is a 【Realistic Style - Articulated Leopard Gecko & Crested Gecko】's sister piece, inspired by BANDAI's Encyclopedia of Living Things series
*v1.4 updated on June 10, 2026
1. Changed from integrated spherical joints to original encapsulated embedded spherical joints, which are easier to print and ensure that they are difficult to detach even if the material becomes soft (installation instructions below).
2. The tail hinge has been thickened again, ensuring more than 4 walls even at the thinnest point, effectively increasing joint strength.
*v1.2 updated on May 11, 2026. While maintaining the appearance, the critical part of the tail hinge was enlarged by 1.6 times, effectively increasing joint strength.
*v1.1 updated on May 8, 2026. The head's spherical joint was modeled as a separate part for free adjustment (adjustment method below).
Stay tuned for our original IP series of cute animals also using encapsulated embedded spherical joints!Click here for Mainland China Click here for International
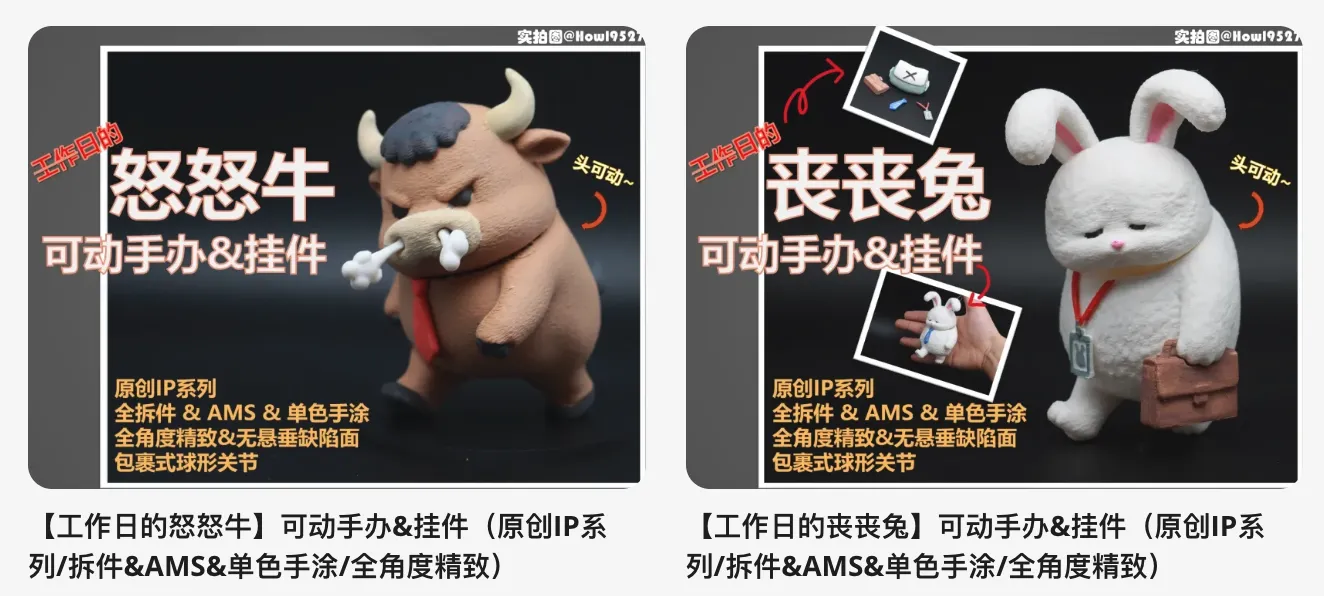
Welcome to check out the collection of works from this reptile contest!Click here for Mainland China Click here for International

Boost Me (for free)
Your likes, collections, comments, and follows are the greatest motivation for me to continue creating free models!
If the finished product surprises you, please don't hesitate to use a free boost coupon!
Printing & filament instructions (Printing settings have been tested and adjusted; please do not change unless necessary) (Updated on June 10, 2026)
- The body, head, and eyeballs are separate parts. The head is printed with the joint plane as the printing surface, while the rest of the parts have their printing surfaces modeled.
- The model uses less filament. "Lightning infill" (walls only) is used to improve printing efficiency and can be modified in the slicing software on your computer.
- Filament recommendations:
- Body & Head: The base color corresponding to the desired appearance. For hand-painting, white PLA Matte is recommended.
- Eyeballs: The corresponding base color. For hand-painting, white regular PLA is recommended.
Support removal & installation instructions (Updated on June 10, 2026)
- Removing supports is not difficult, but be aware that the tail is connected by a hinge. Please loosen the tail part with a scraper first, then bend the plate to remove the part.
- It is recommended to apply a small amount of fast-drying glue to the eyeballs after coloring and press them firmly into place.
- For the spherical joint wrapping part, after wrapping the joint, add a small amount of fast-drying glue and press it firmly into place.
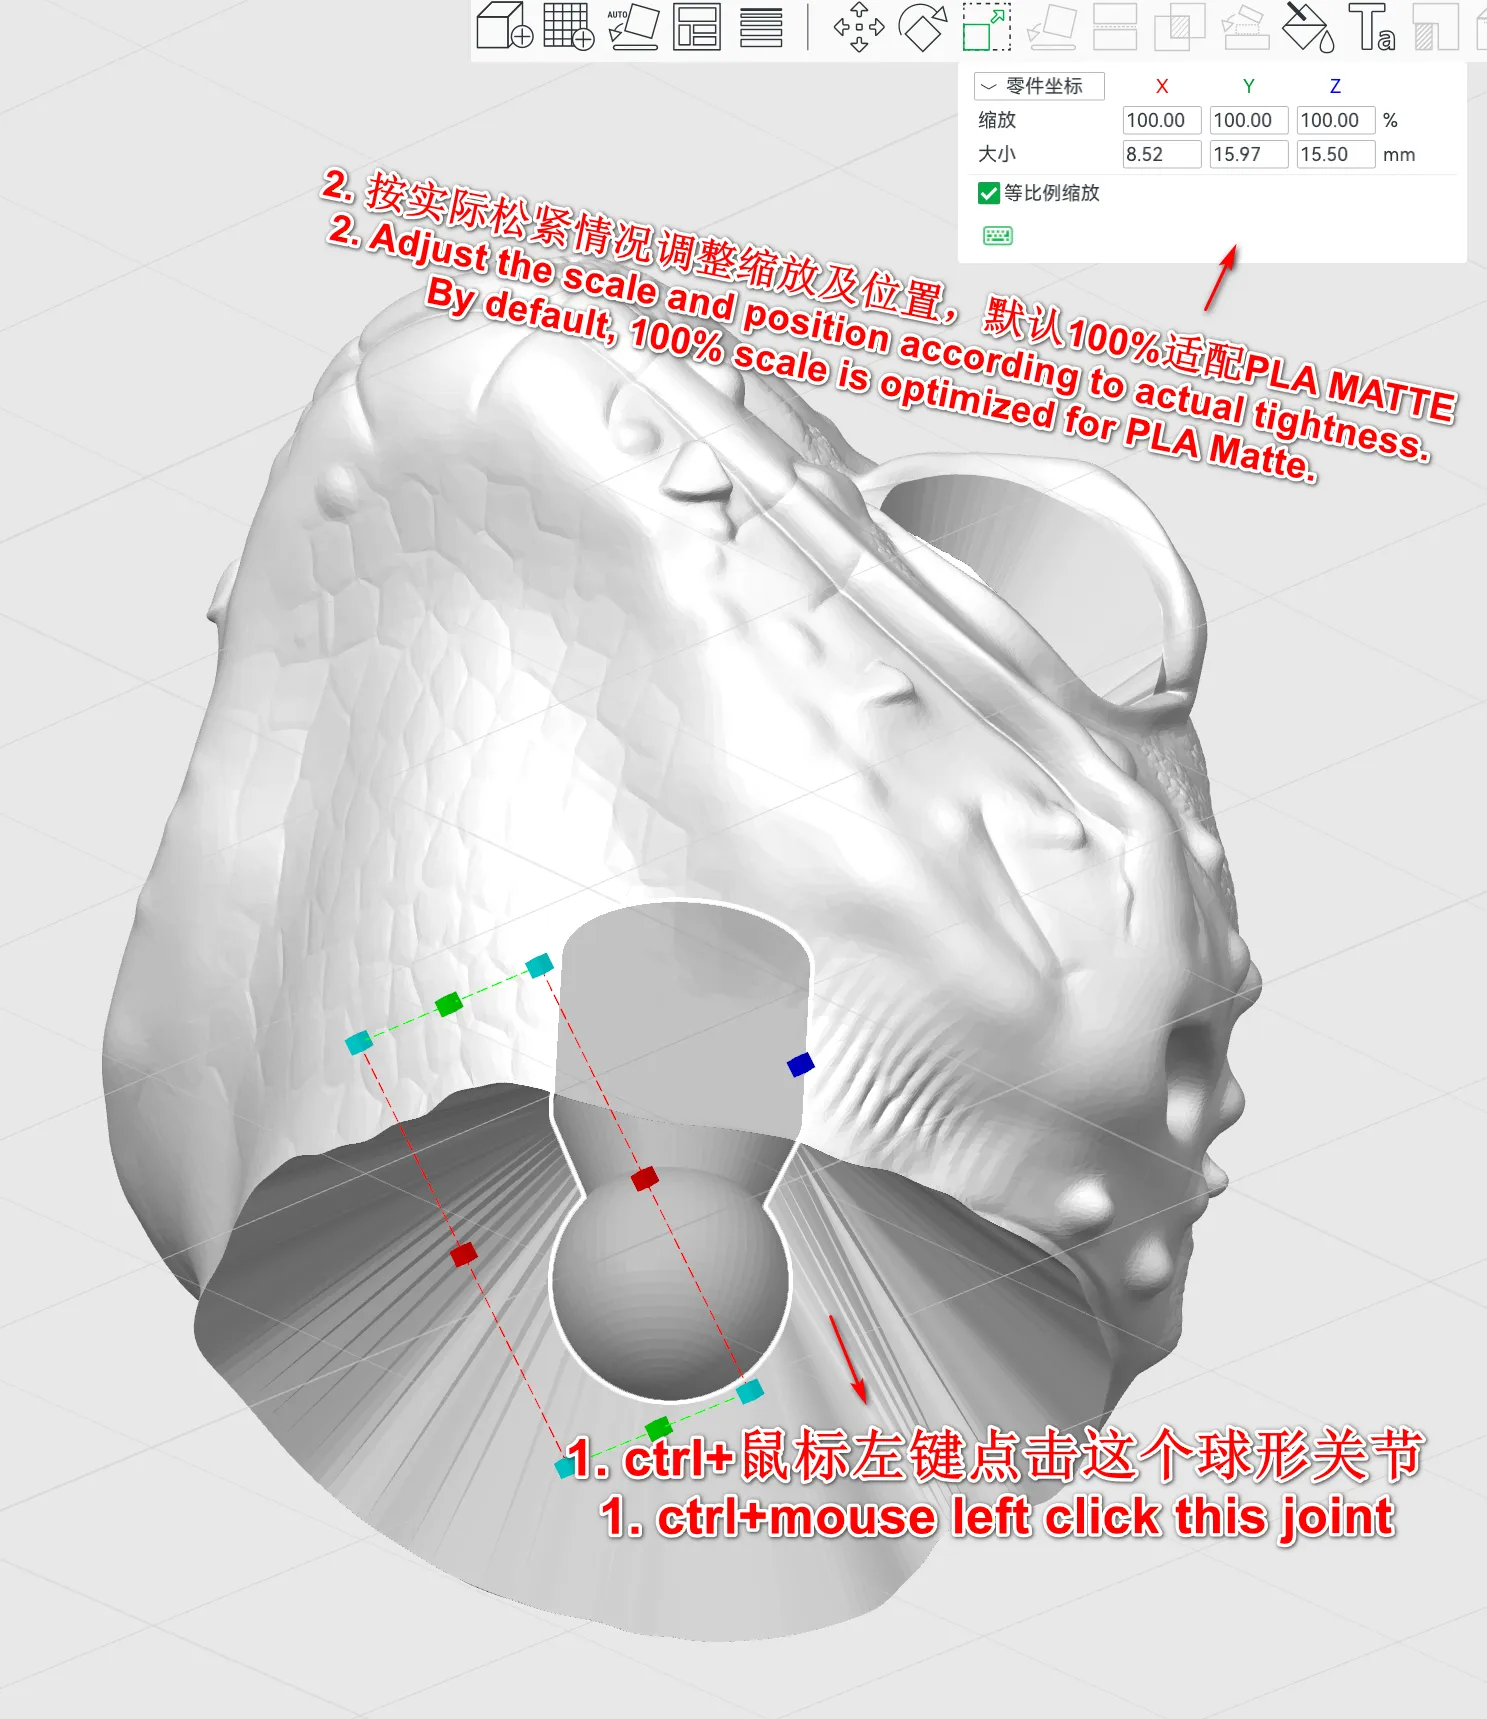
Joint tightness and position adjustment instructions 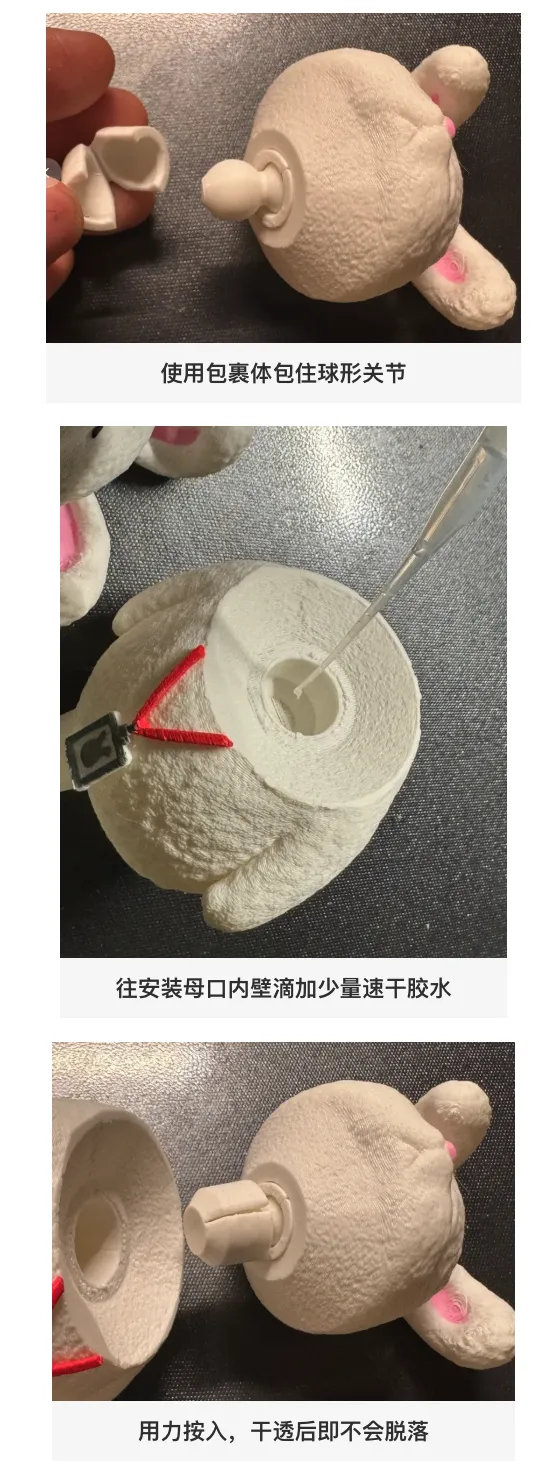
Encapsulated spherical joint installation instructions
Coloring instructions & suggestions
- Follow the rule of coloring from light to dark. For delicate areas (eyeballs), pay special attention to ink bleeding that may be caused by FDM layer lines (especially with dark pens), and use a dotting method for coloring. It is recommended to print extra eyeballs in case some are ruined.
- It is recommended to paint the body with acrylic paints. If acrylic pens lack gradients, you can blend the edges with a wet wipe.
- Acrylic paint application:
- Thin base coat: Add a small amount of water to acrylic paint, mix well, and then brush it onto the model surface. Repeat several times to blend beautiful colors.
- Thick coat: Apply acrylic paint directly to the model surface without adding water.
- Acrylic pen application:
For the leopard spots, use a black acrylic pen to dot. You can refer to the uploaded image or unleash your creativity.
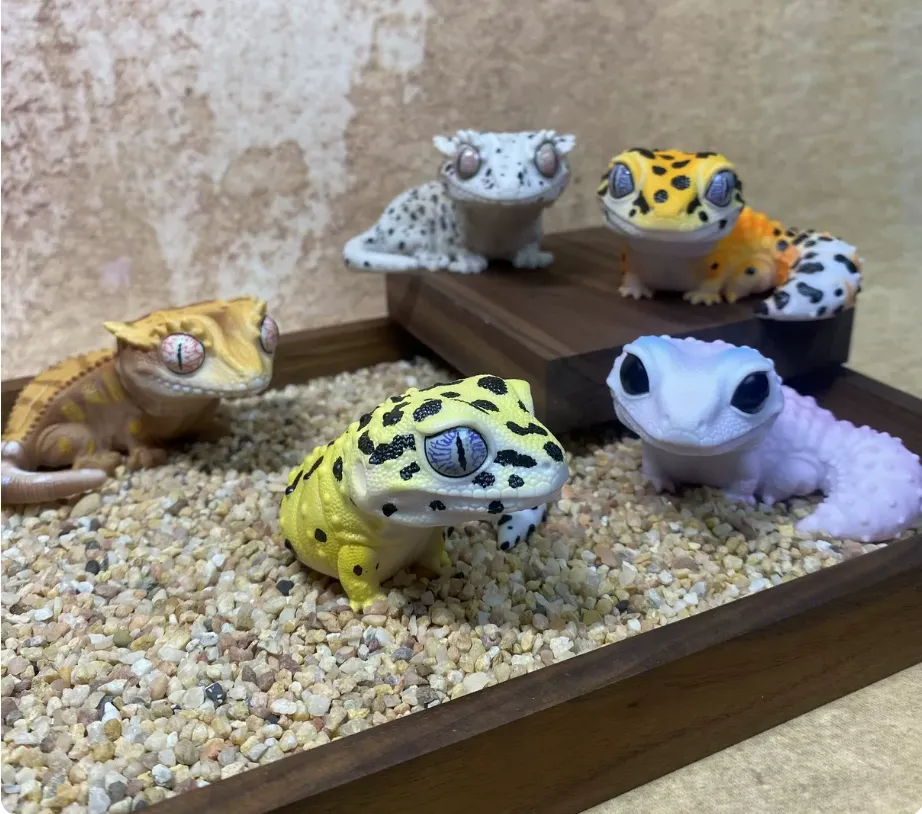
- Acrylic paint application:
Recommended similar works
Animals from the Harry Potter series Click here for Mainland China Click here for International

License

You shall not share, sub-license, sell, rent, host, transfer, or distribute in any way the digital or 3D printed versions of this object, nor any other derivative work of this object in its digital or physical format (including - but not limited to - remixes of this object, and hosting on other digital platforms). The objects may not be used without permission in any way whatsoever in which you charge money, or collect fees.


Comment & Rating (56)