
Print Profile(1)
Description
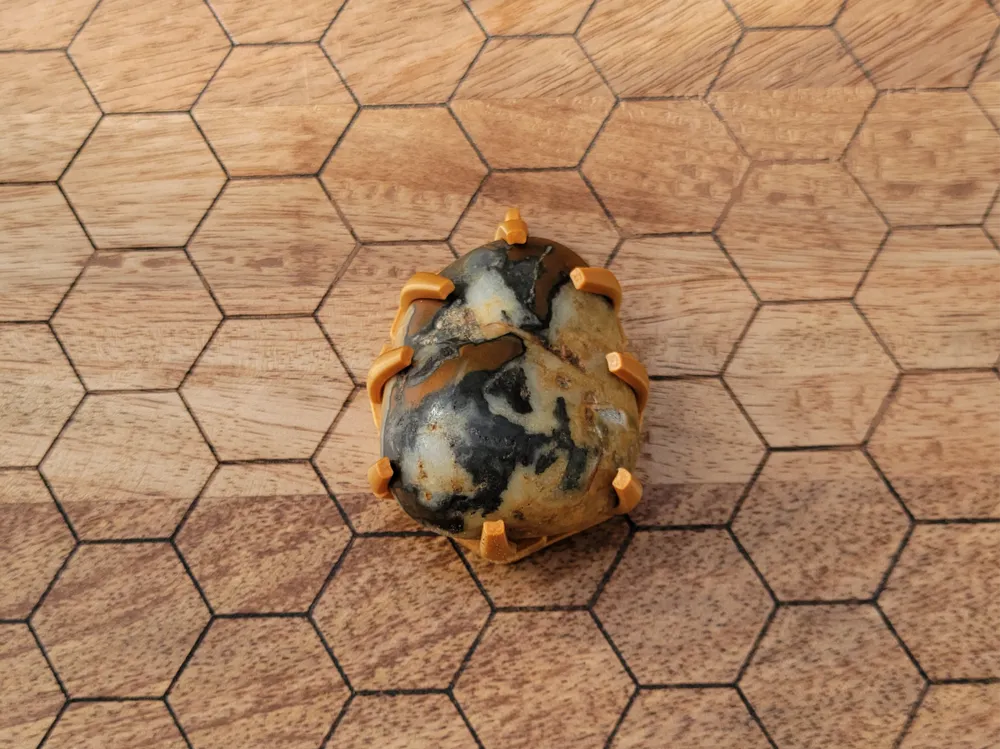
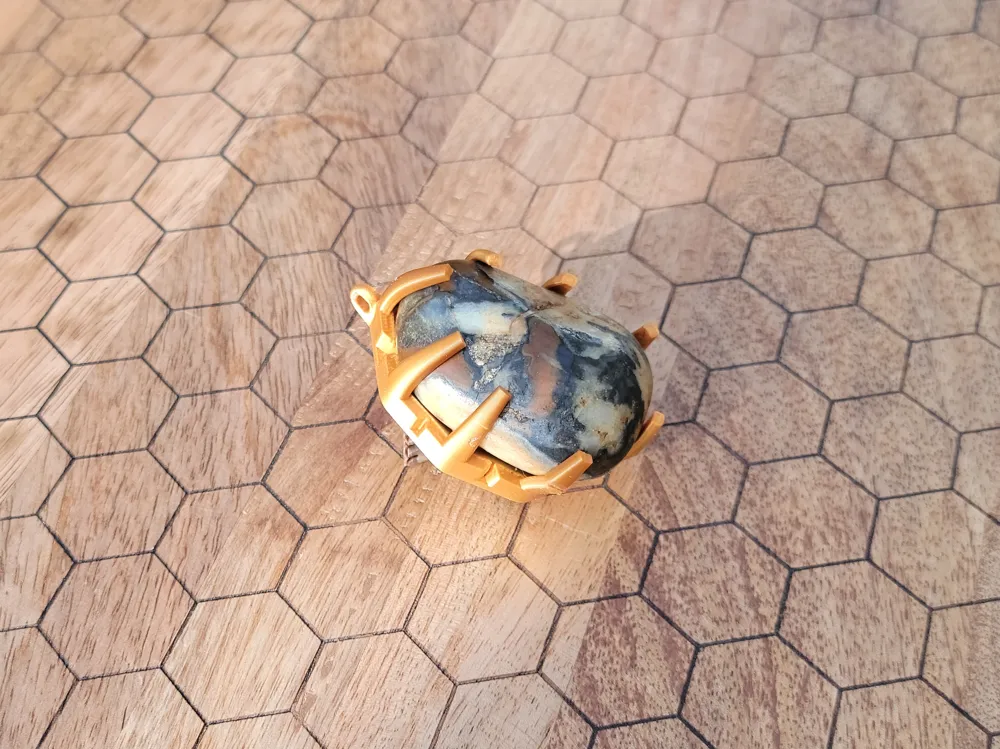
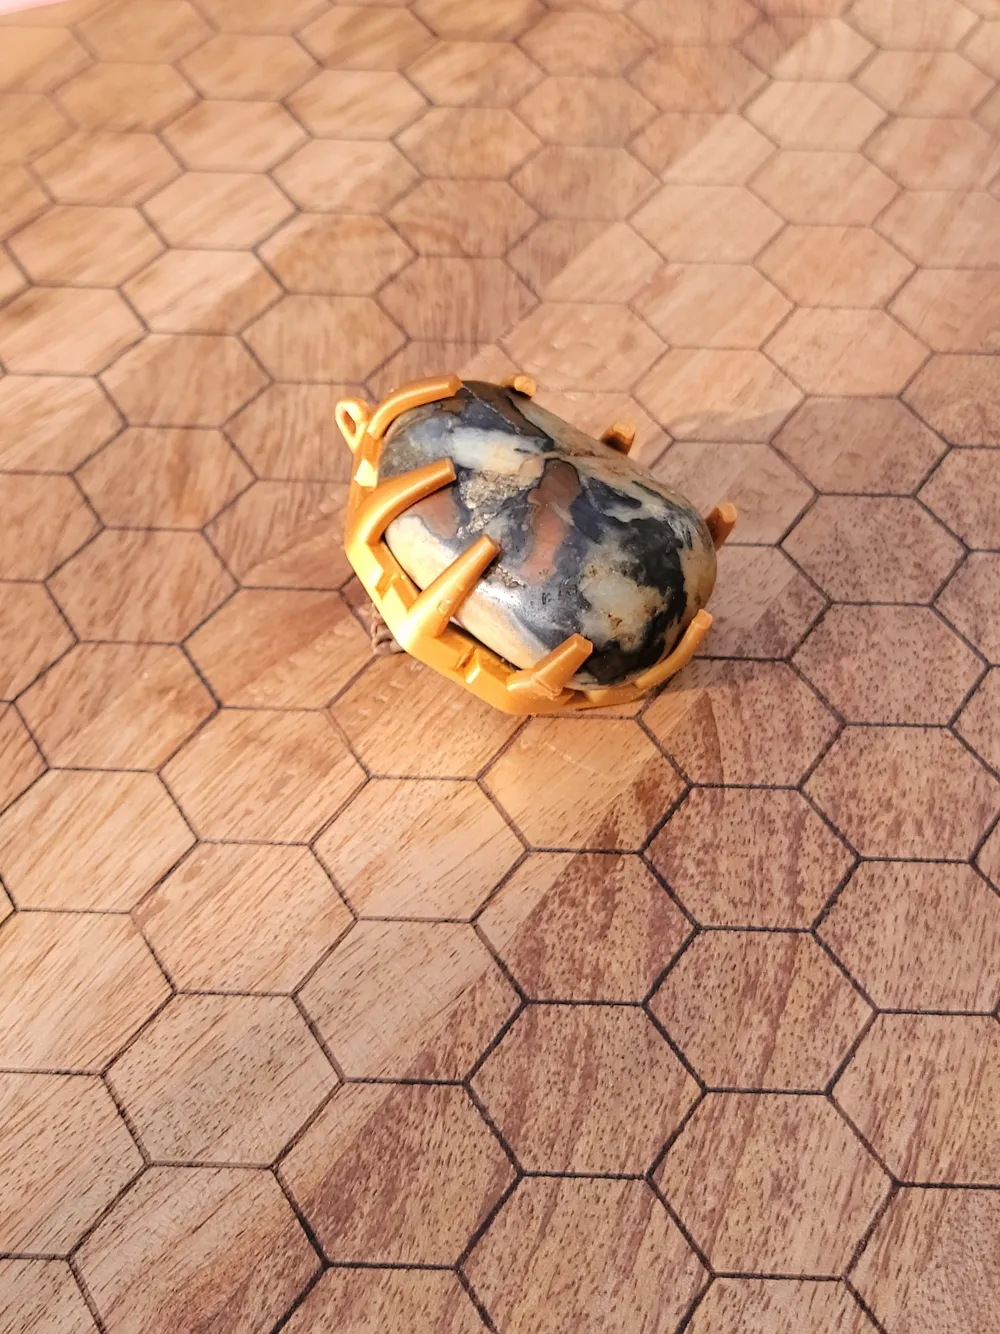
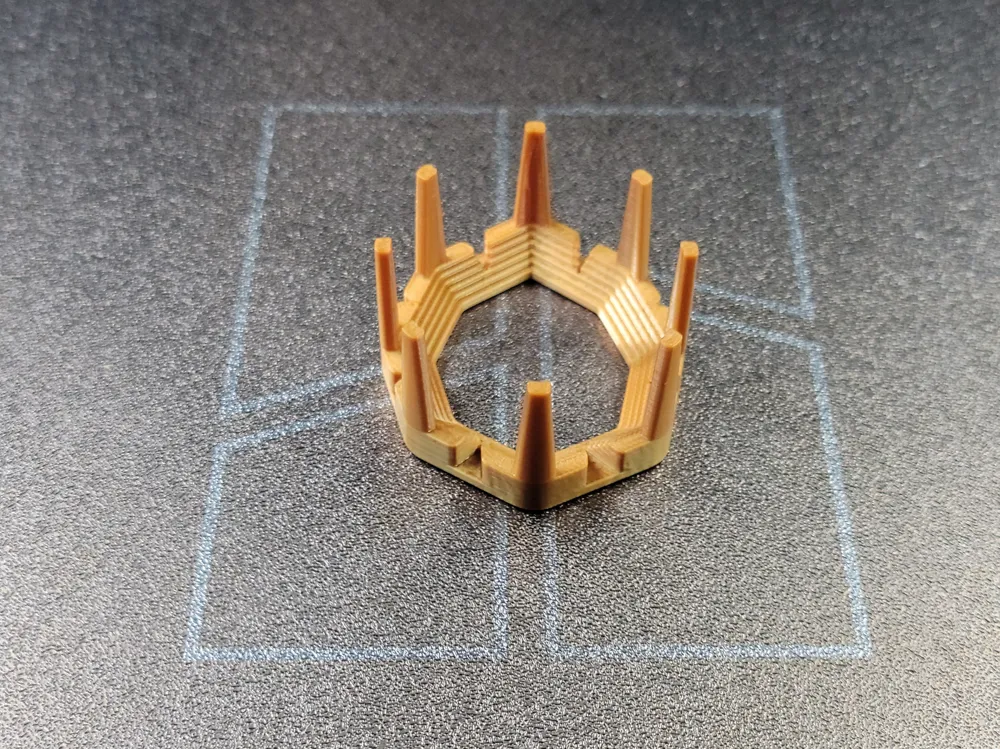
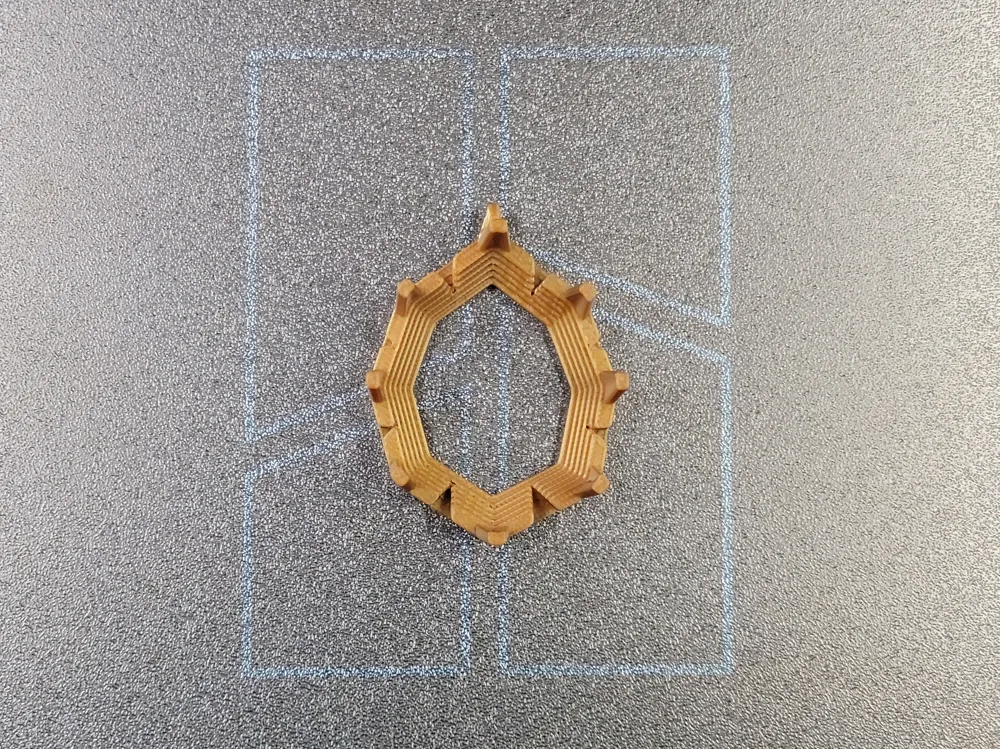
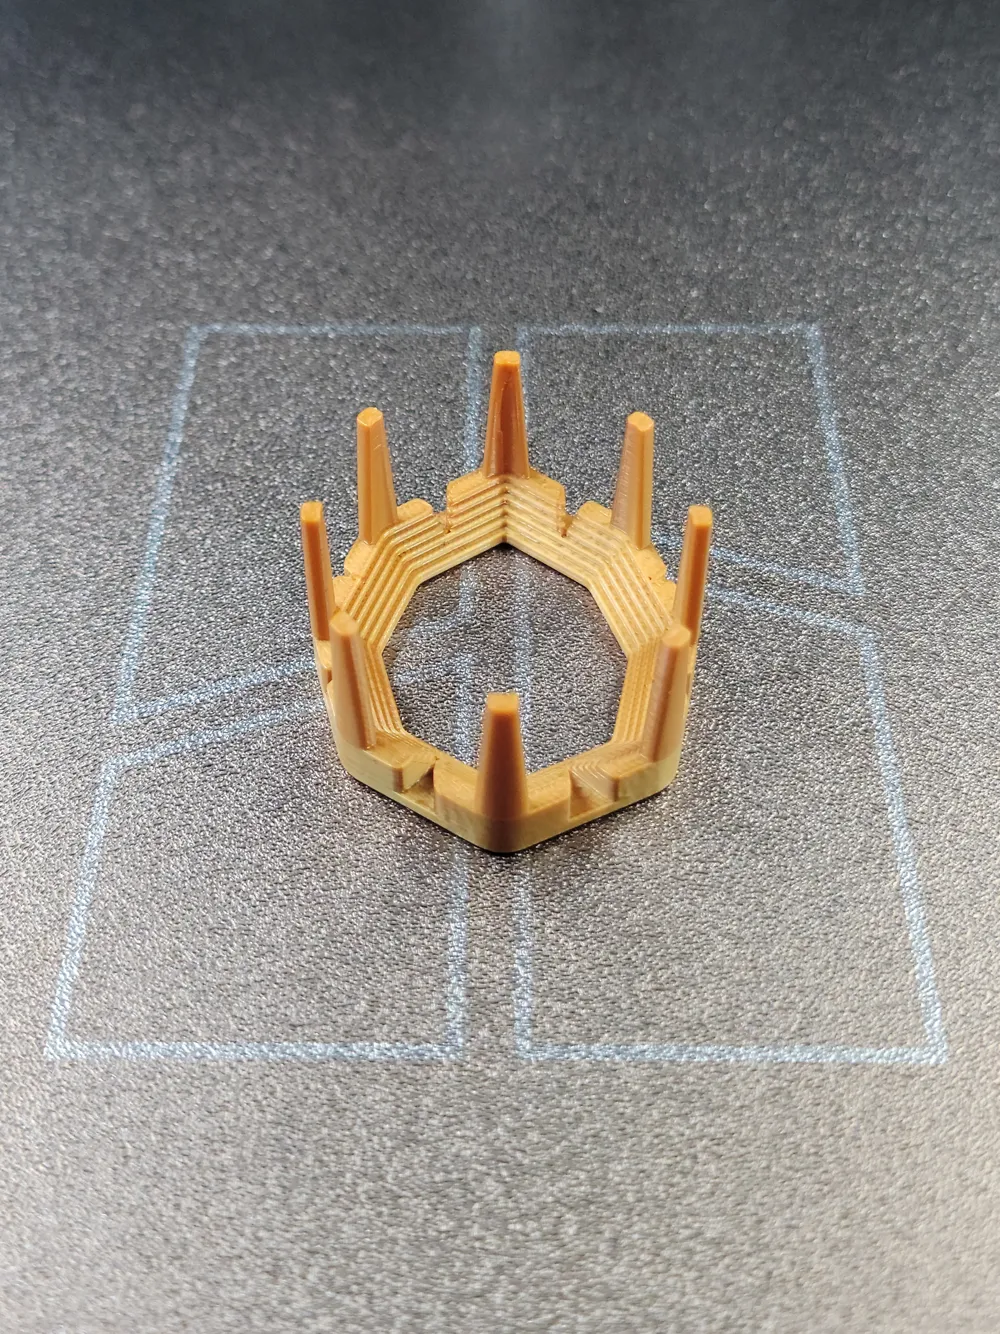
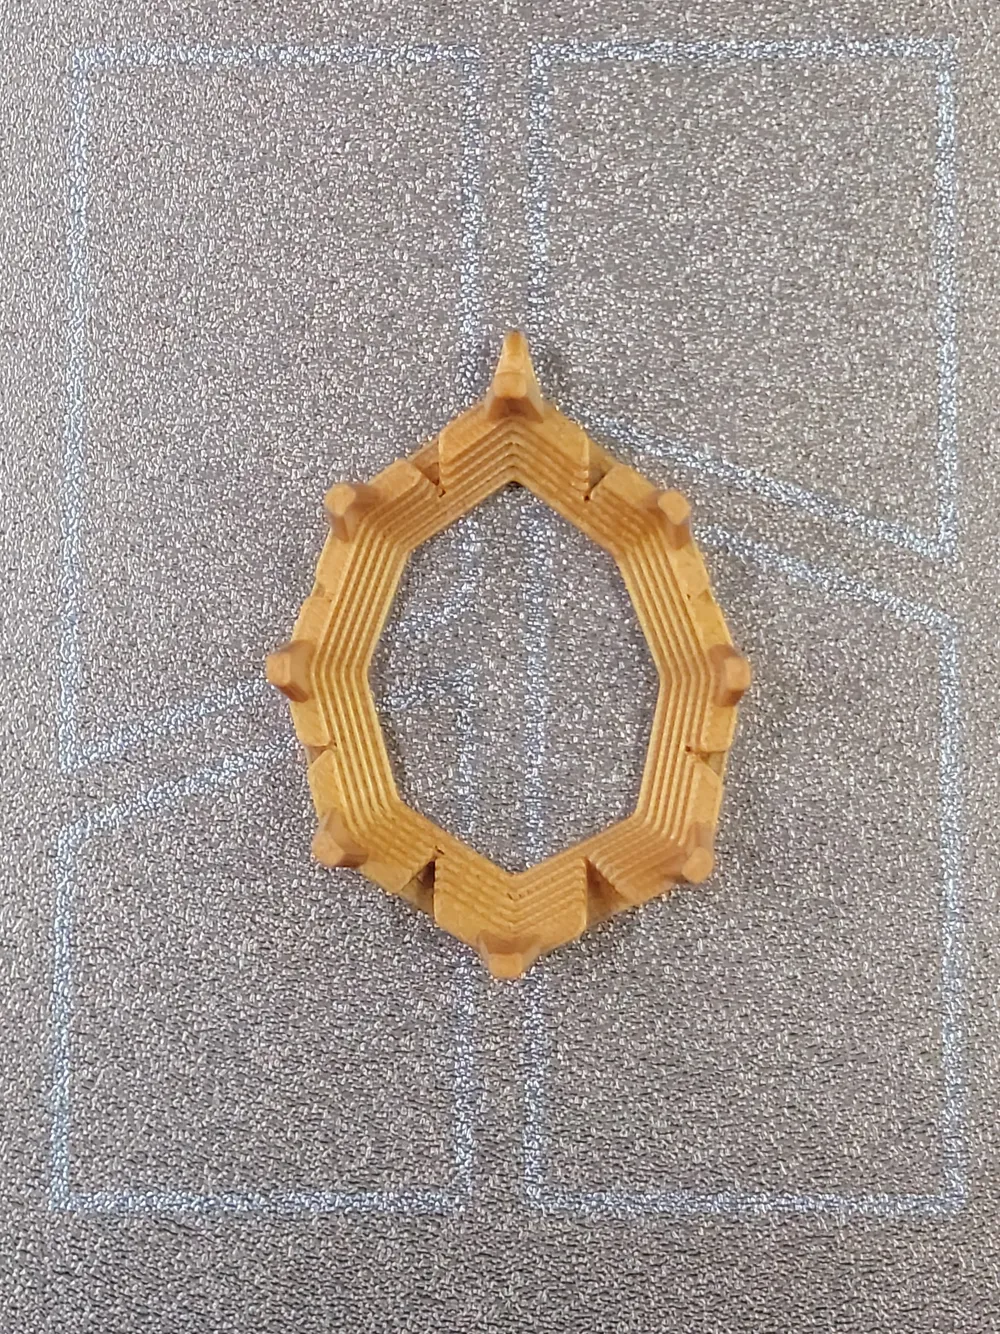
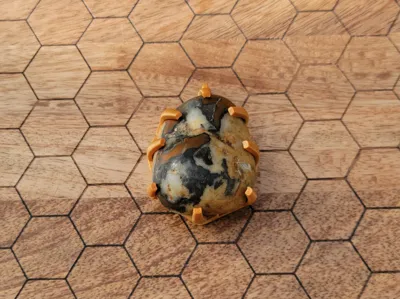
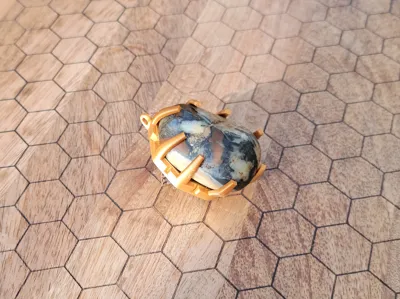
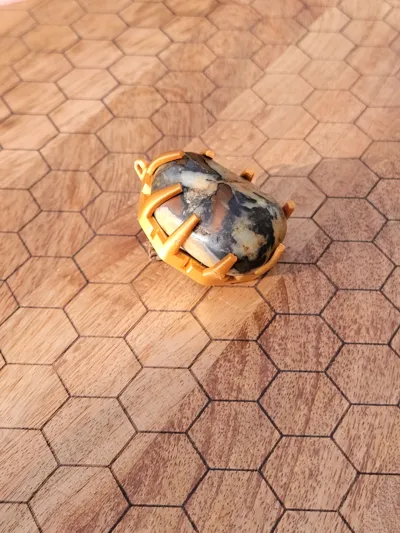
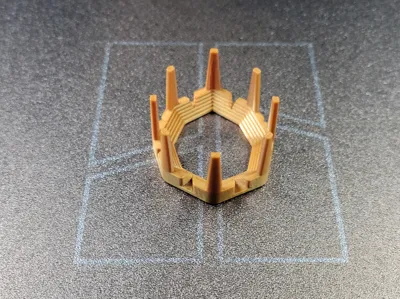
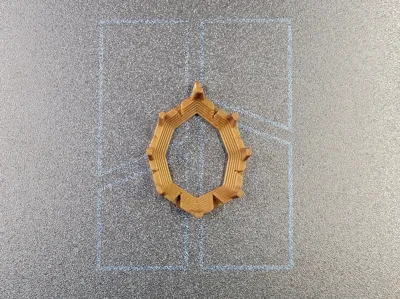
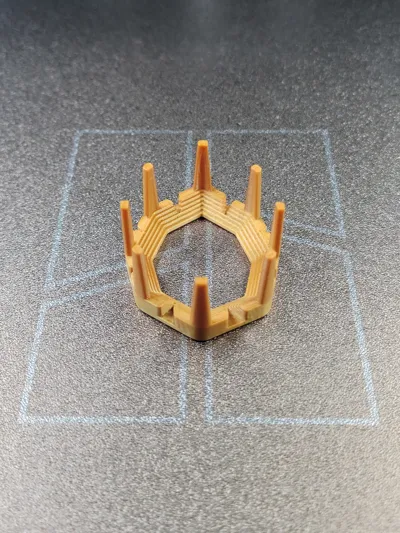
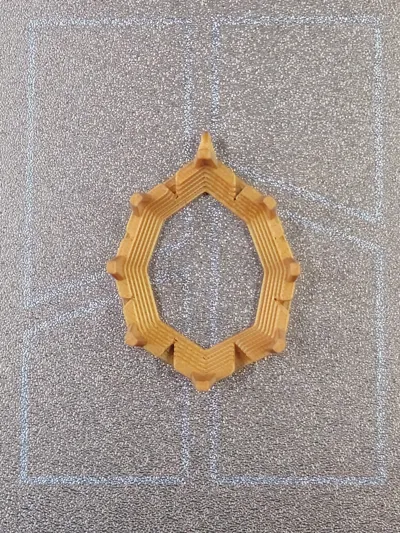
Welcome to the definitive guide on creating perfectly tailored stone settings! This parametric tool allows you to trace uniquely lopsided tumbled stones, sea glass, or crystals to generate a tailored 3D printed pendant or watchband mount.
Follow these steps carefully to ensure your final print fits your specific, irregular rock.
Step 1: Prepare Your Physical Reference (Now with Two Options!)
You must generate a high-quality, top-down visual reference of your stone's irregular contour on a plain background. Crucially, a standard ruler must be included for calibration. The Customizer only accepts .PNG files.
Option A: Direct Photo (Best for clear lighting/high contrast)
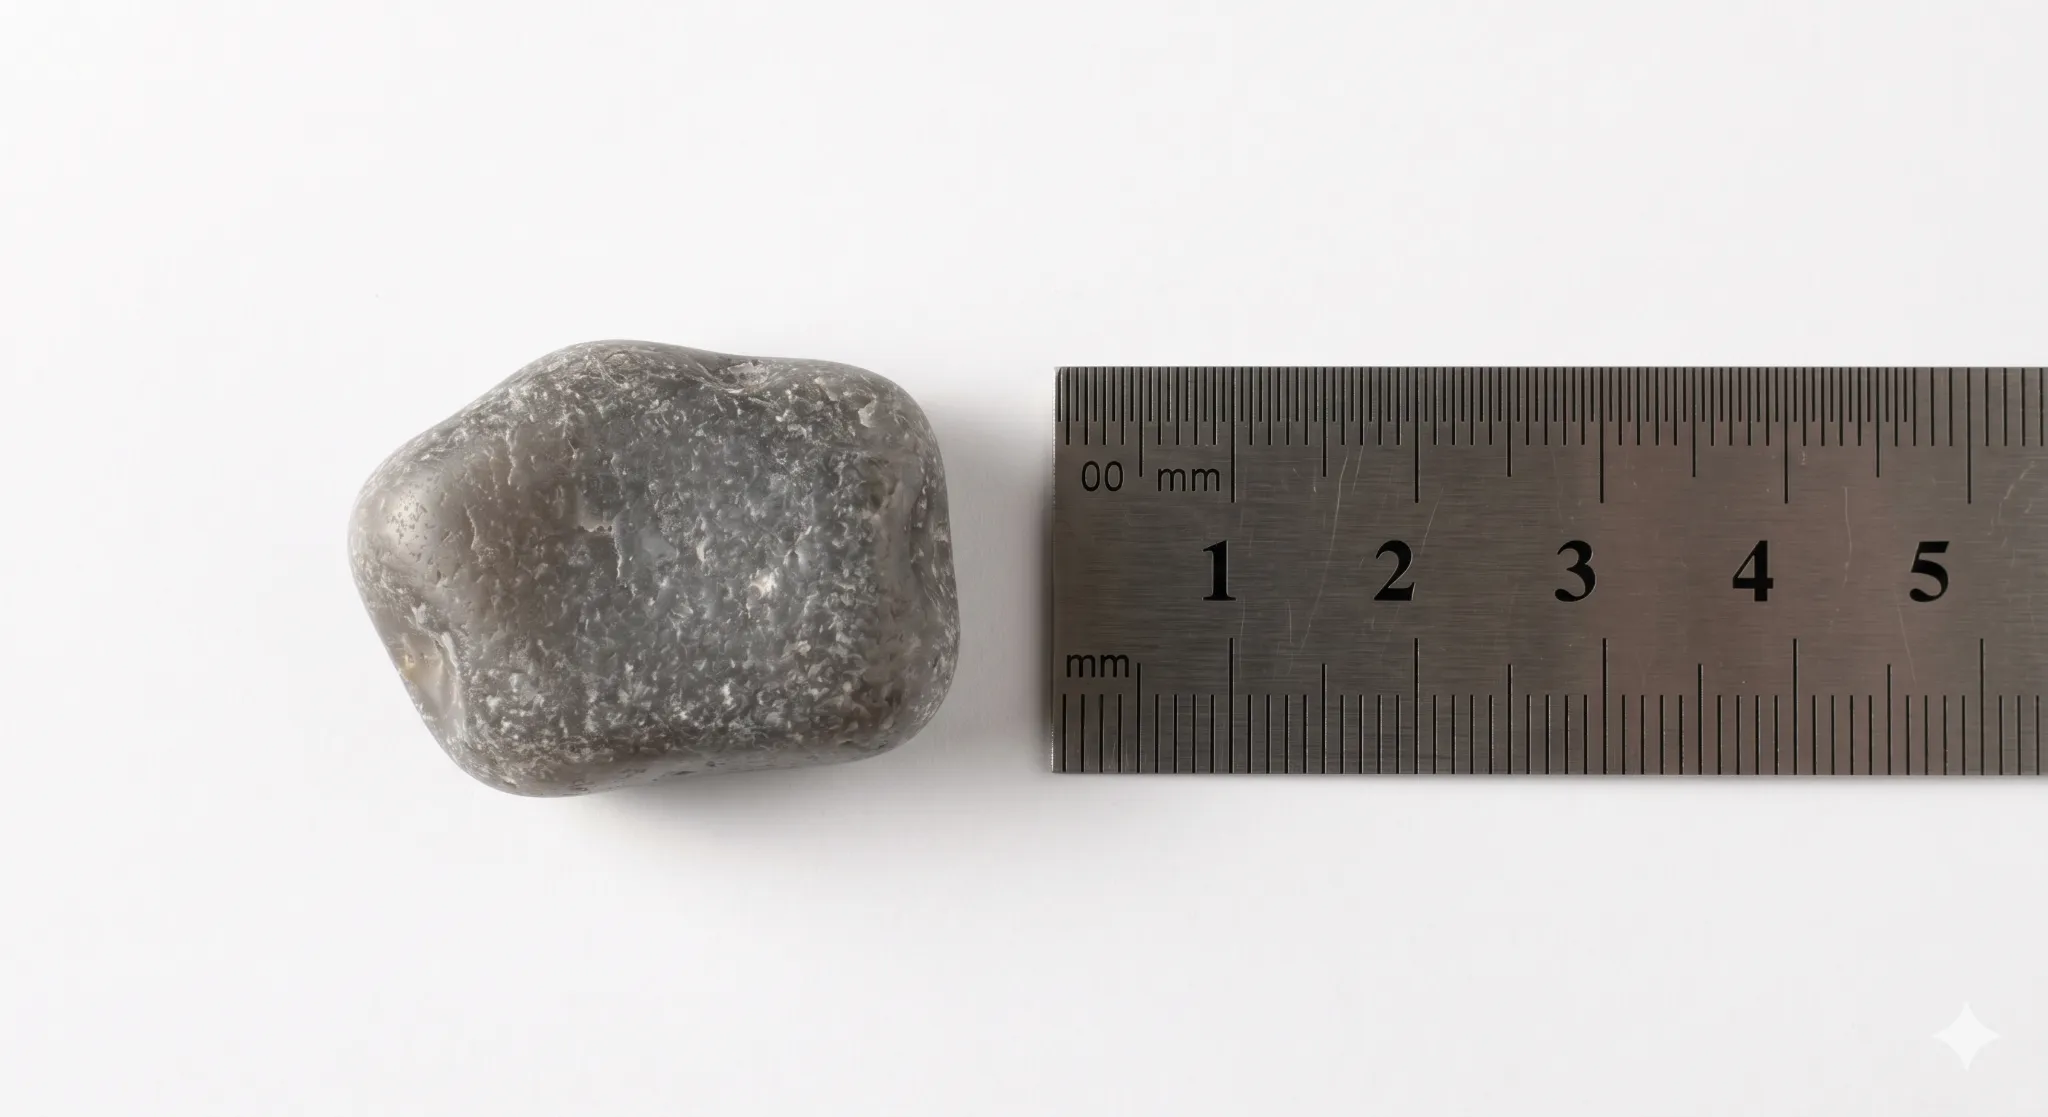
Simply place your clean stone next to a ruler (Visual 1) and take a top-down, brightly lit photo.
Visual 1:
Option B: Pencil Outline Trace (Use if the direct photo isn't clear enough)
If your stone is highly reflective (like polished hematite) or has complex patterns, a direct photo might confuse the tracing logic. Instead, use this reliable alternative:
Visual 2:
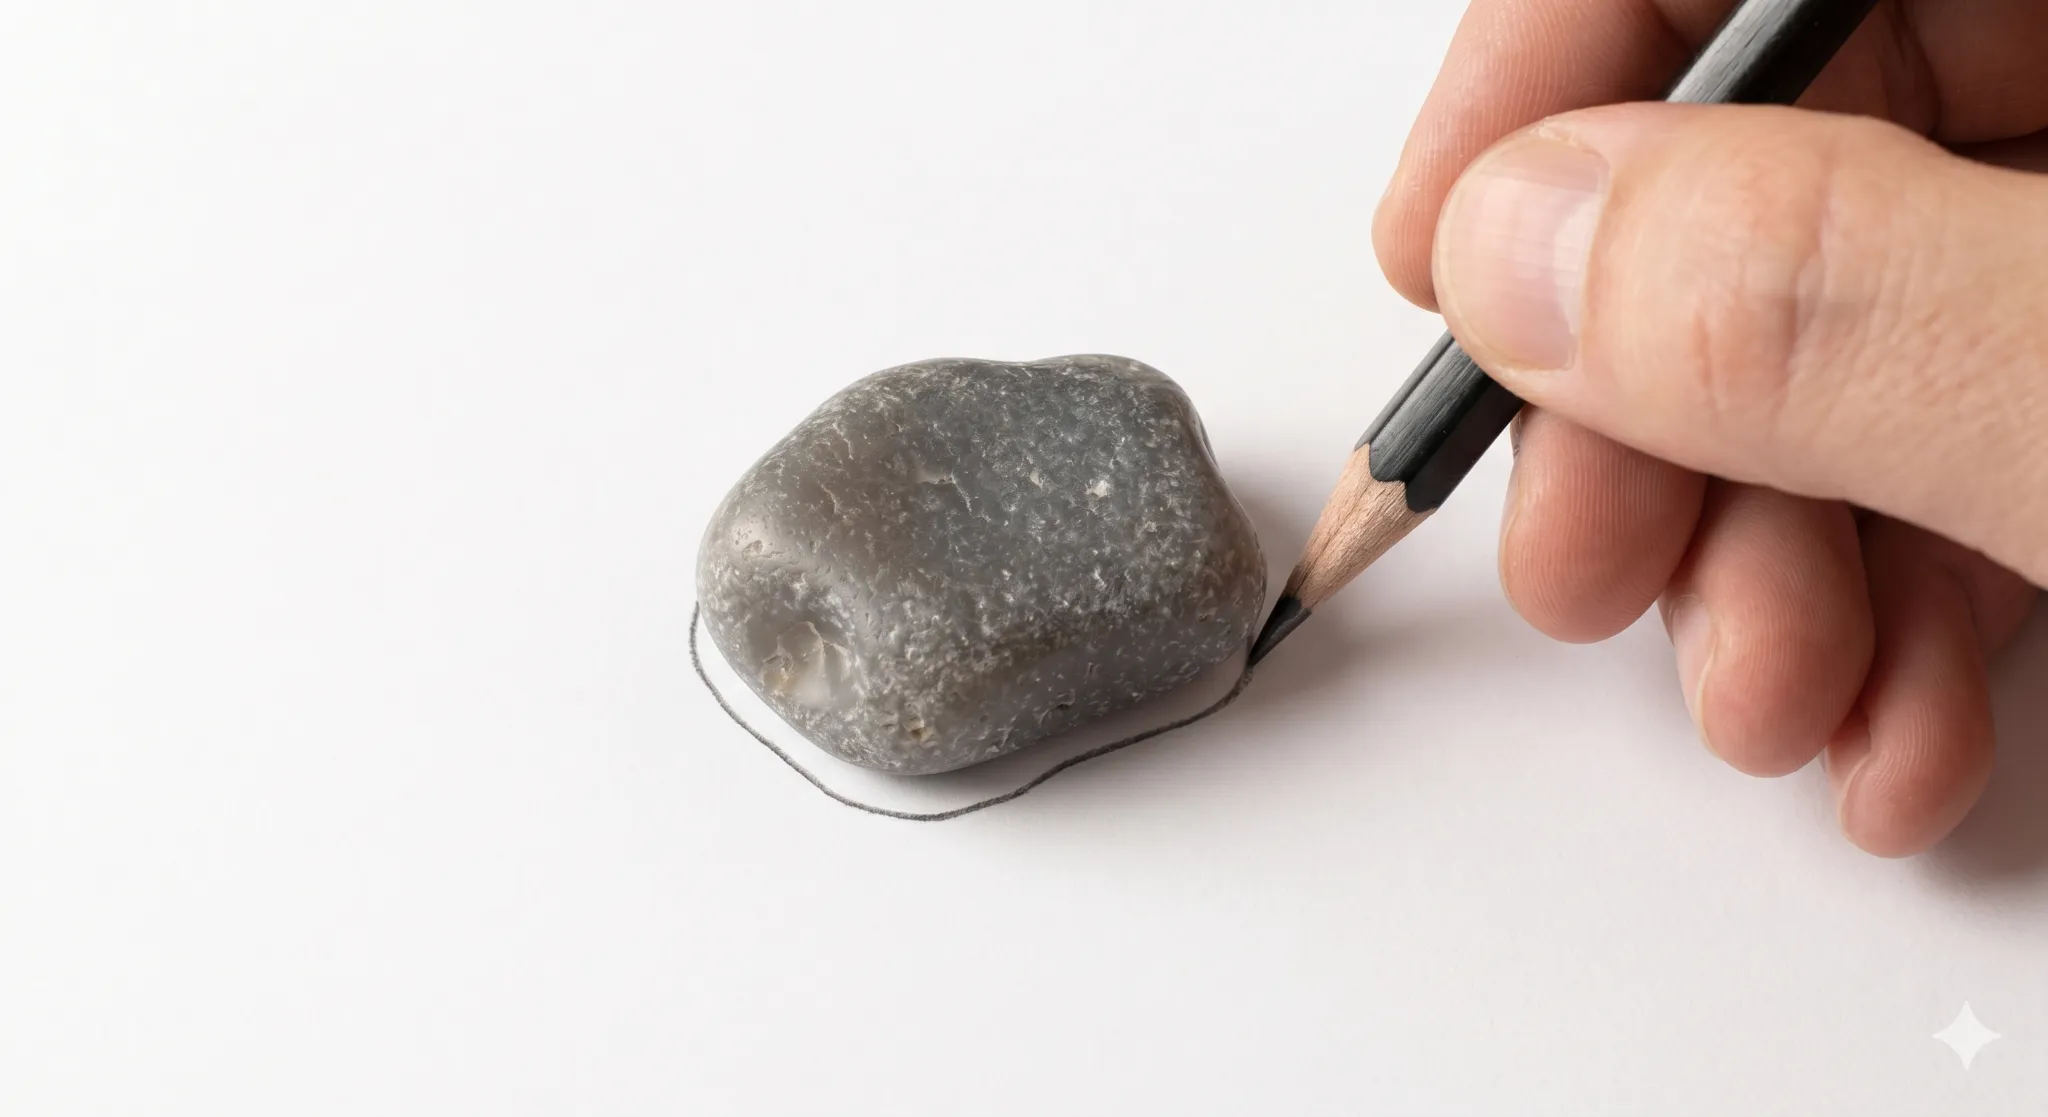
- Trace: Place your physical rock on plain white paper. Use a sharp pencil to physically trace its exact irregular contour onto the paper (Visual 2).
- Sketch: Carefully remove the rock from the paper, leaving only the dark graphite outline.
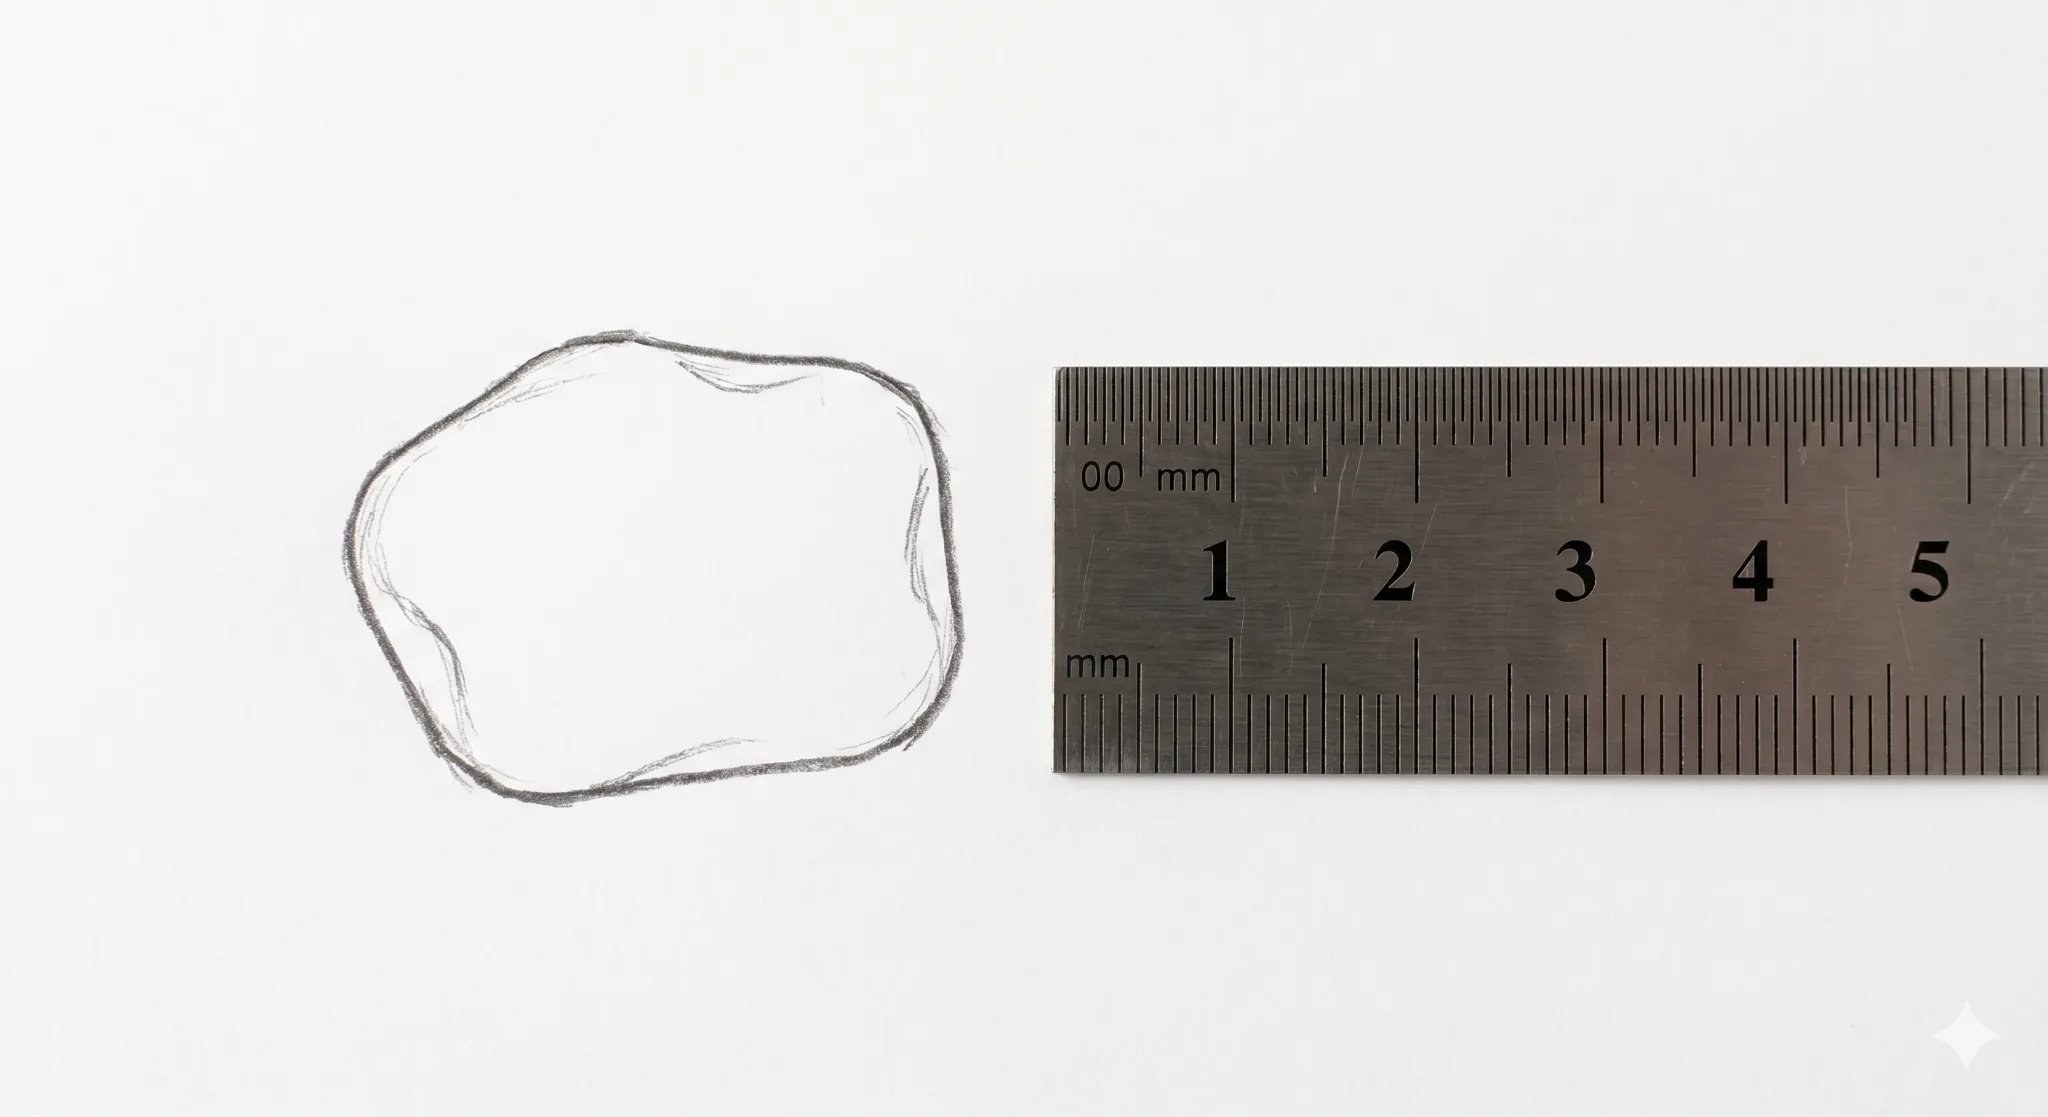
- Include Ruler: Place the same metric ruler next to the completed pencil sketch (Visual 3).
- Photograph: Take a top-down, clear photo of the sketch and the ruler together (Visual 3).
Visual 3:
Step 2: Upload and Orientation
Open the customizer and upload either your clean stone photo (Option A) OR your clear pencil outline (Option B) into the yourFileName slot. A flat, blue, semi-transparent footprint (the "blueprint") will appear on the build plate.
Visual 4:
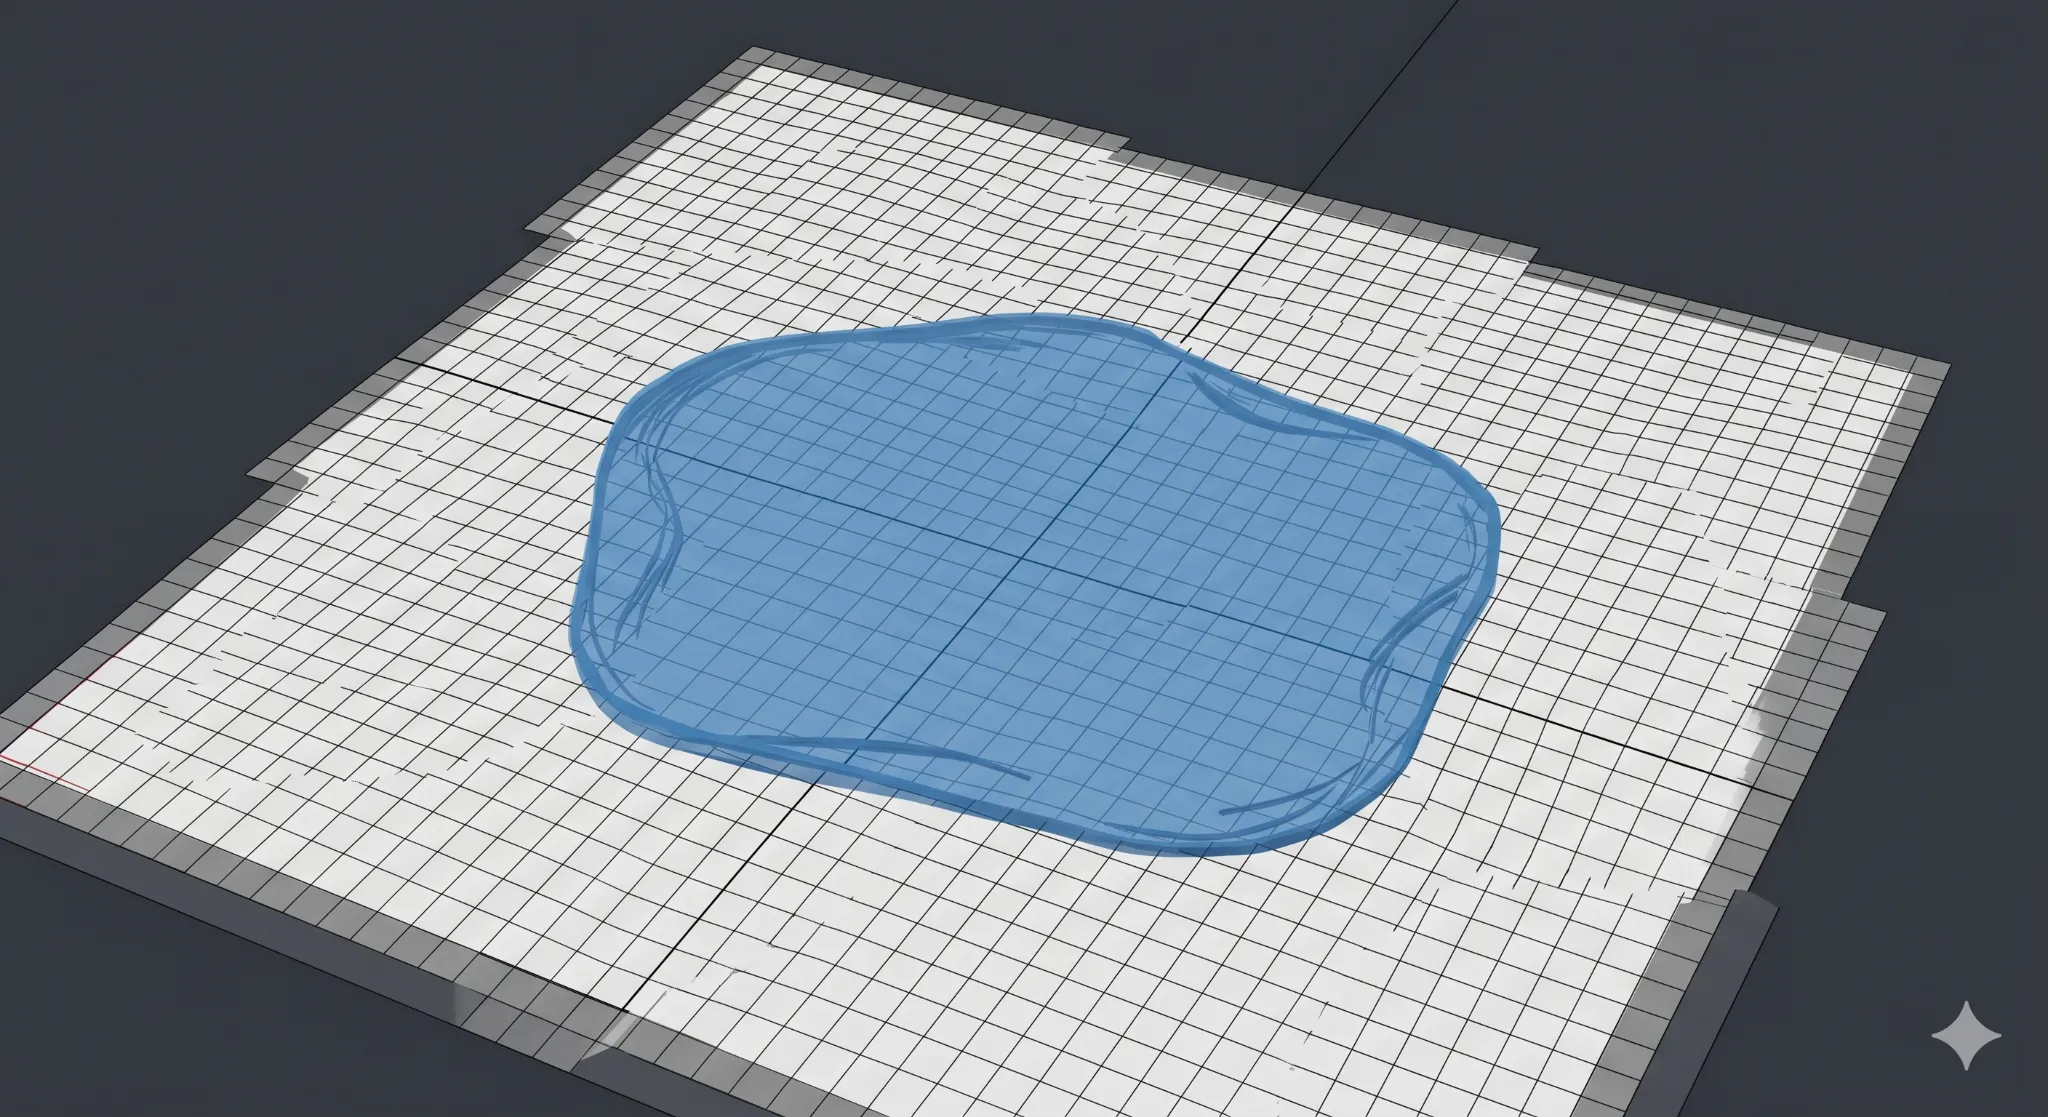
The Sideways Glitch (Important): Phone cameras often save photos sideways (EXIF bug). OpenSCAD ignores this data and loads the raw pixels, meaning your loaded blueprint (whether stone or outline) will likely appear rotated 90 degrees (pointing to 3 o'clock). In Visual 4, you can see the blueprint of the pencil outline has the same orientation glitch.
Step 3: Calibrate the Real-World Scale
This is the most critical step! We must ensure the blue blueprint image (or outline) is the same size as your actual physical stone.
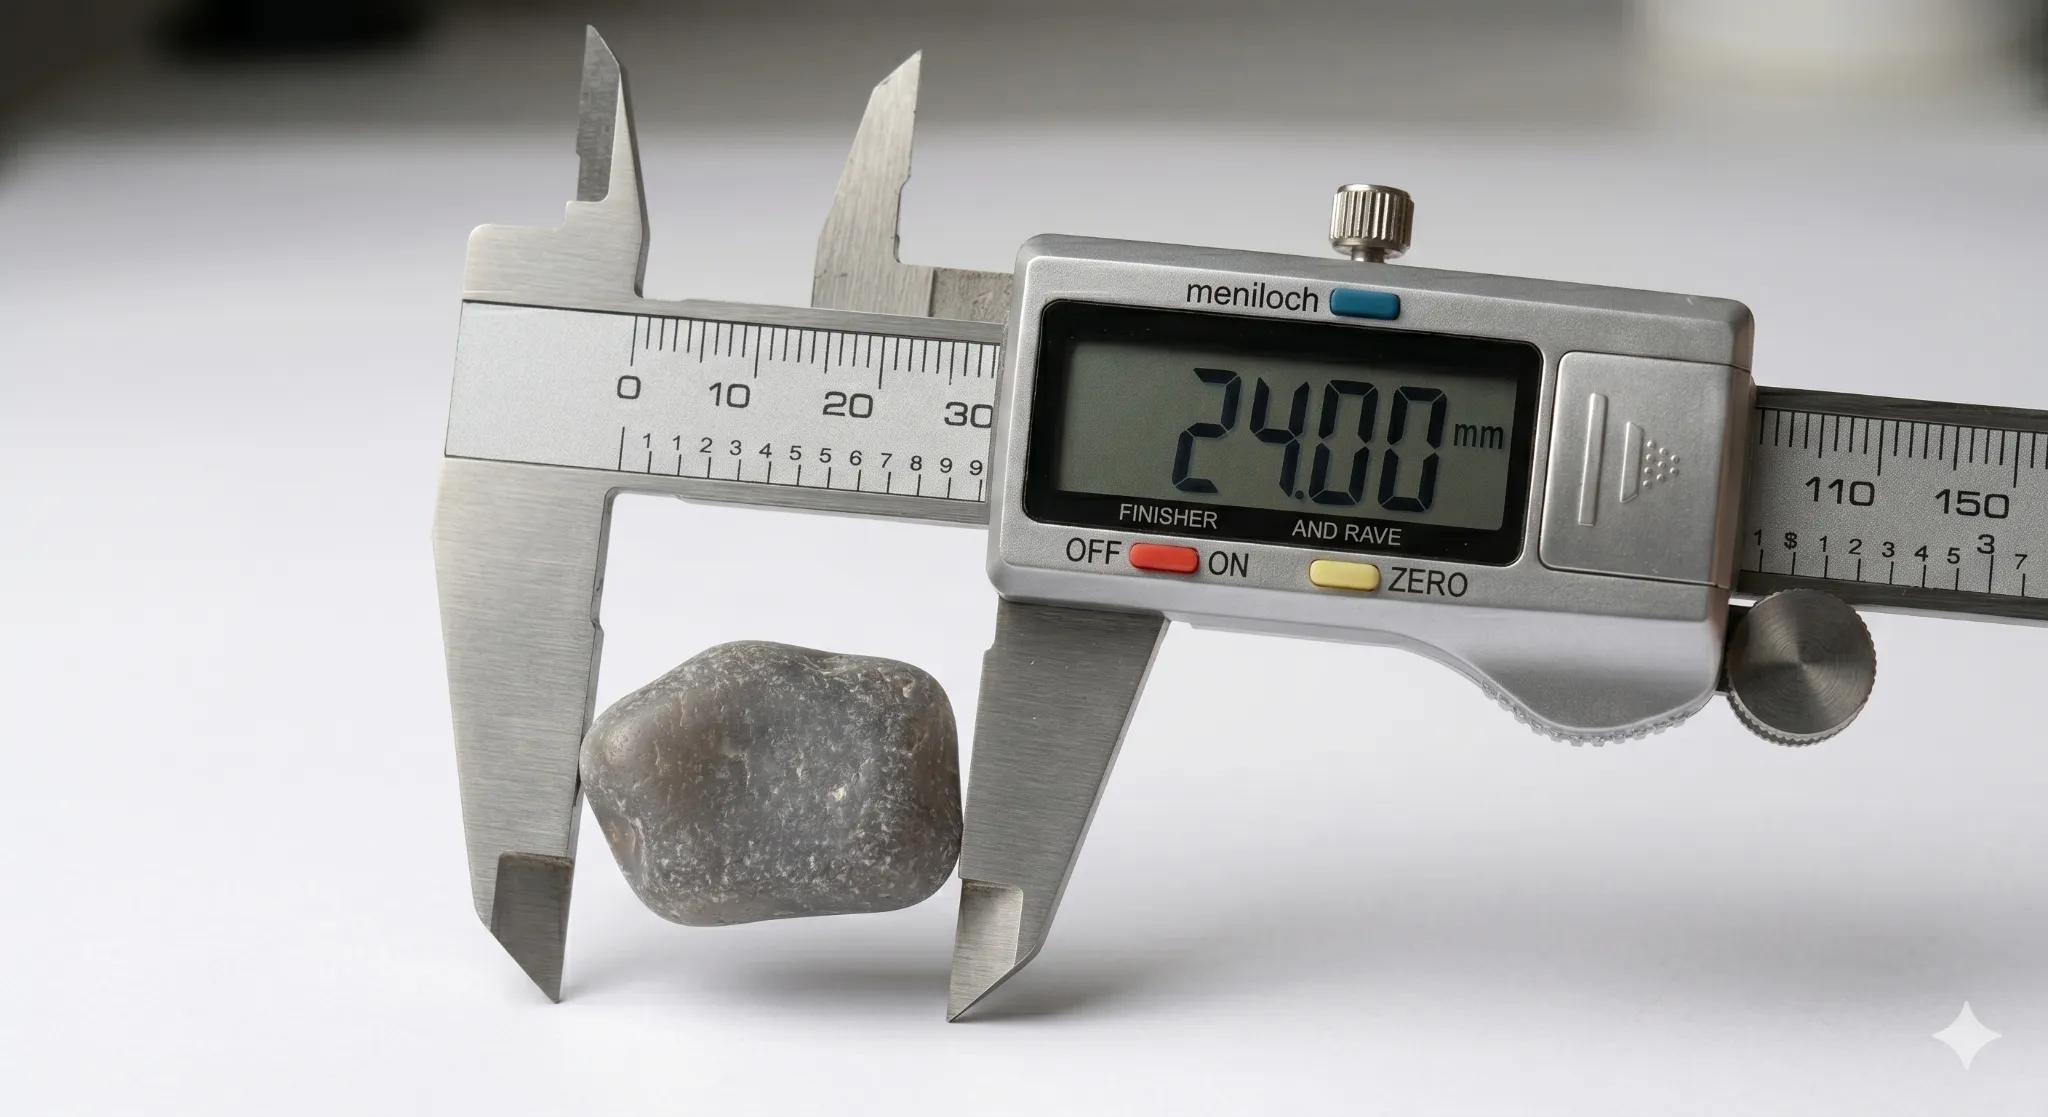
- Measure your real stone: Use digital calipers or a ruler to find the maximum horizontal width (the 9-to-3 axis) of your physical rock (Visual 5).
- Set the anchor sliders: In the customizer, set both the Radius_9_Oclock and Radius_3_Oclock sliders to exactly half of your full measurement (e.g., if full width is 24mm, set both to 12.0mm).
- Scale the image: Slowly adjust the Image_Scale slider until its left and right edges perfectly touch the newly generated 3D rim at 9 and 3 o'clock.
Visual 5: Measuring the real stone wide axis.
Your reference is now locked into perfect real-world scale!
Step 4: The Radial Compass Trace
This graphic (Visual 6) explains the concept. Your stone is uniquely lopsided. We use an 8-point radial compass (clock positions: 12, 1:30, 3, 4:30, 6, 7:30, 9, 10:30) to trace it.
Visual 6: Tracing schematic overlay.
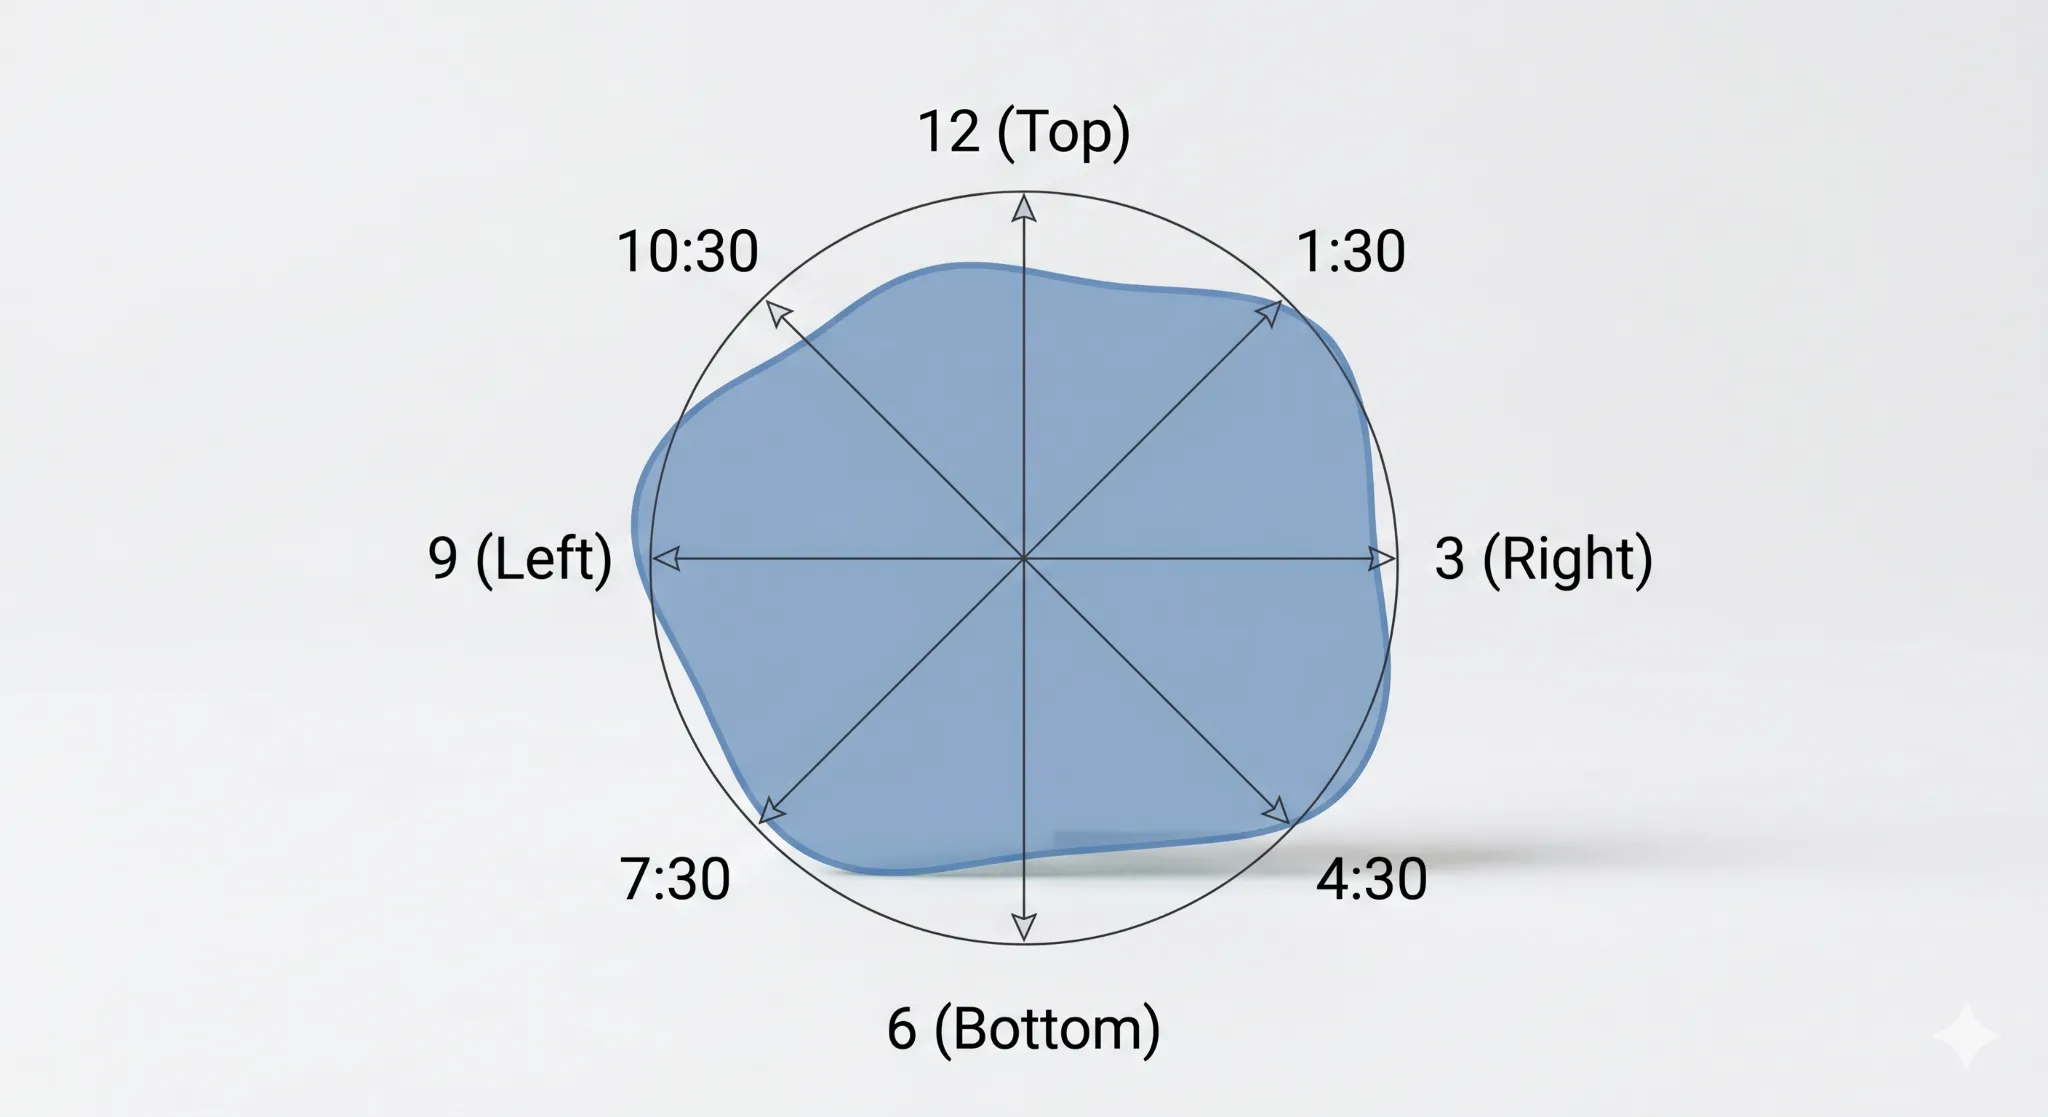
Your goal now is to look at the blue blueprint and adjust the remaining 6 Radius sliders one by one. Slide them in or out until the generated 3D rim perfectly hugs the unique, organic contour of your stone.
Step 5: Final Check and Thermoforming
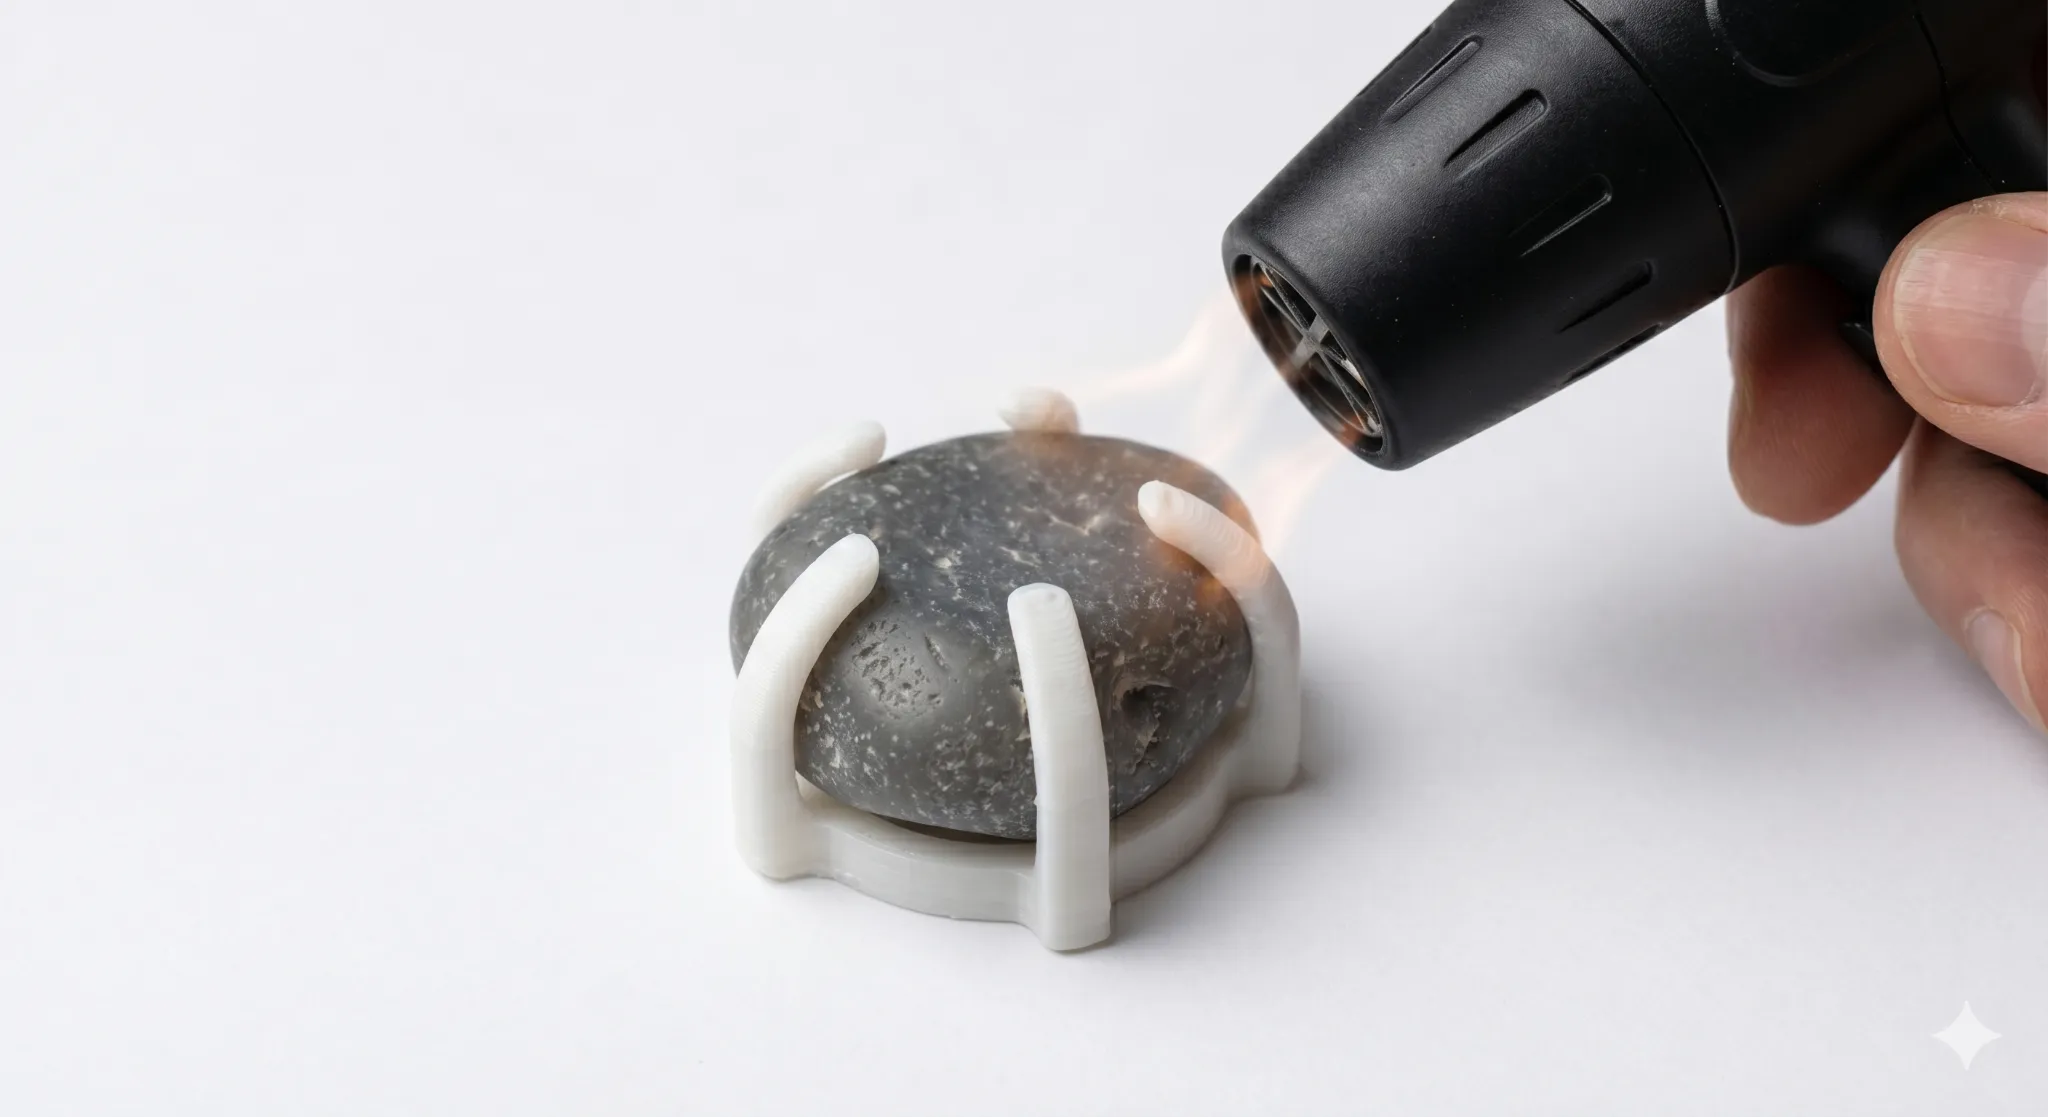
Once the tracing is complete, uncheck the Show_Image box to hide the reference, download the STL, and print! The finished setting will be slightly loose—this is intentional. PLA plastic can be easily thermoformed (softened with heat).
Put your stone into the printed setting. Heat the prongs for a few seconds with a hairdryer (Visual 7). They will become soft like clay. Gently fold them over the stone to clamp it perfectly and permanently in place!
Visual 7: Heating the final print.
Documentation (1)
License

You shall not share, sub-license, sell, rent, host, transfer, or distribute in any way the digital or 3D printed versions of this object, nor any other derivative work of this object in its digital or physical format (including - but not limited to - remixes of this object, and hosting on other digital platforms). The objects may not be used without permission in any way whatsoever in which you charge money, or collect fees.


Comment & Rating (0)