
A1 AMS Hub with 9 Ports - Updated
Print Profile(7)
Description
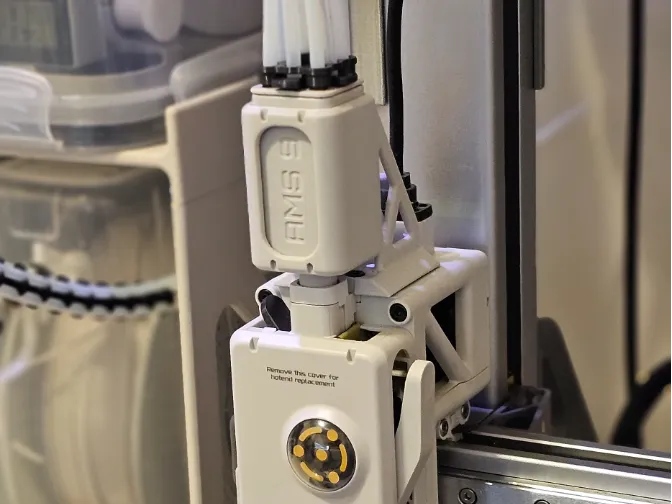
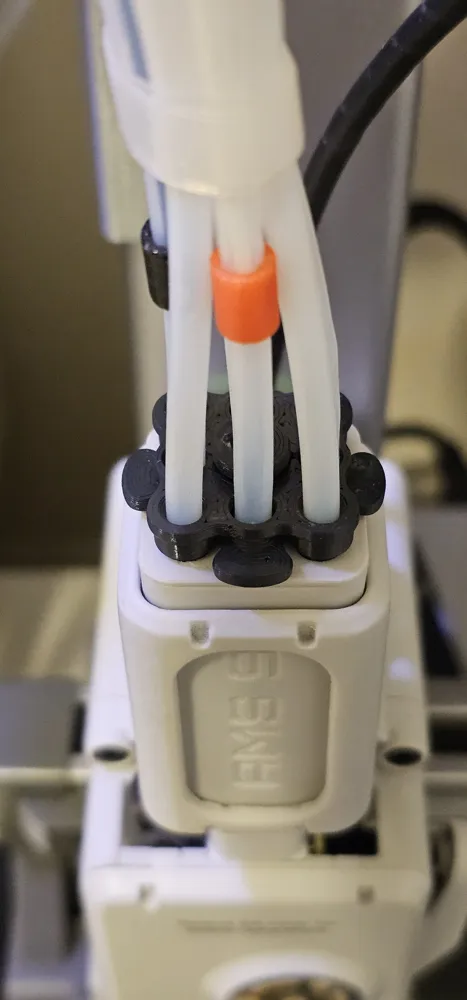
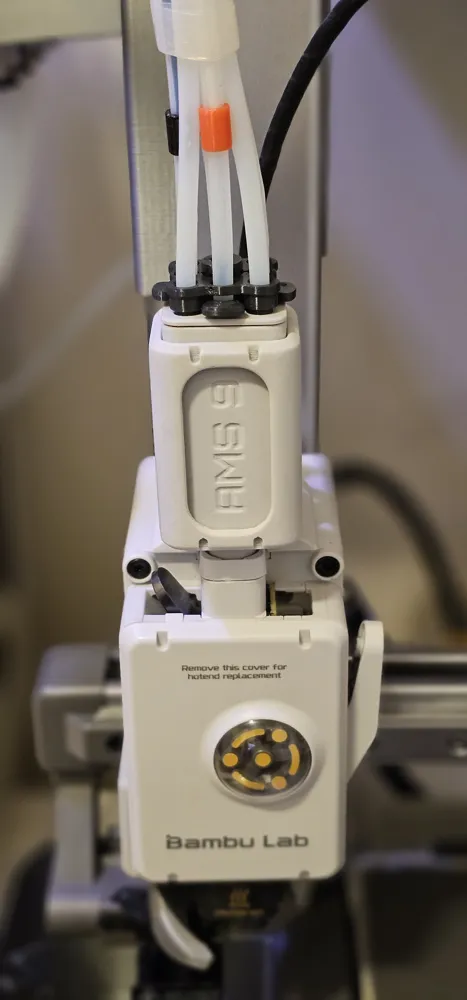
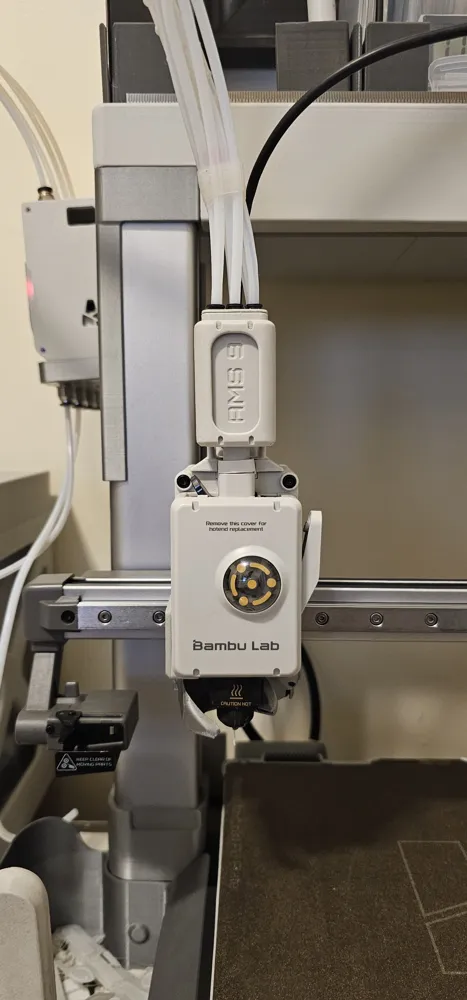
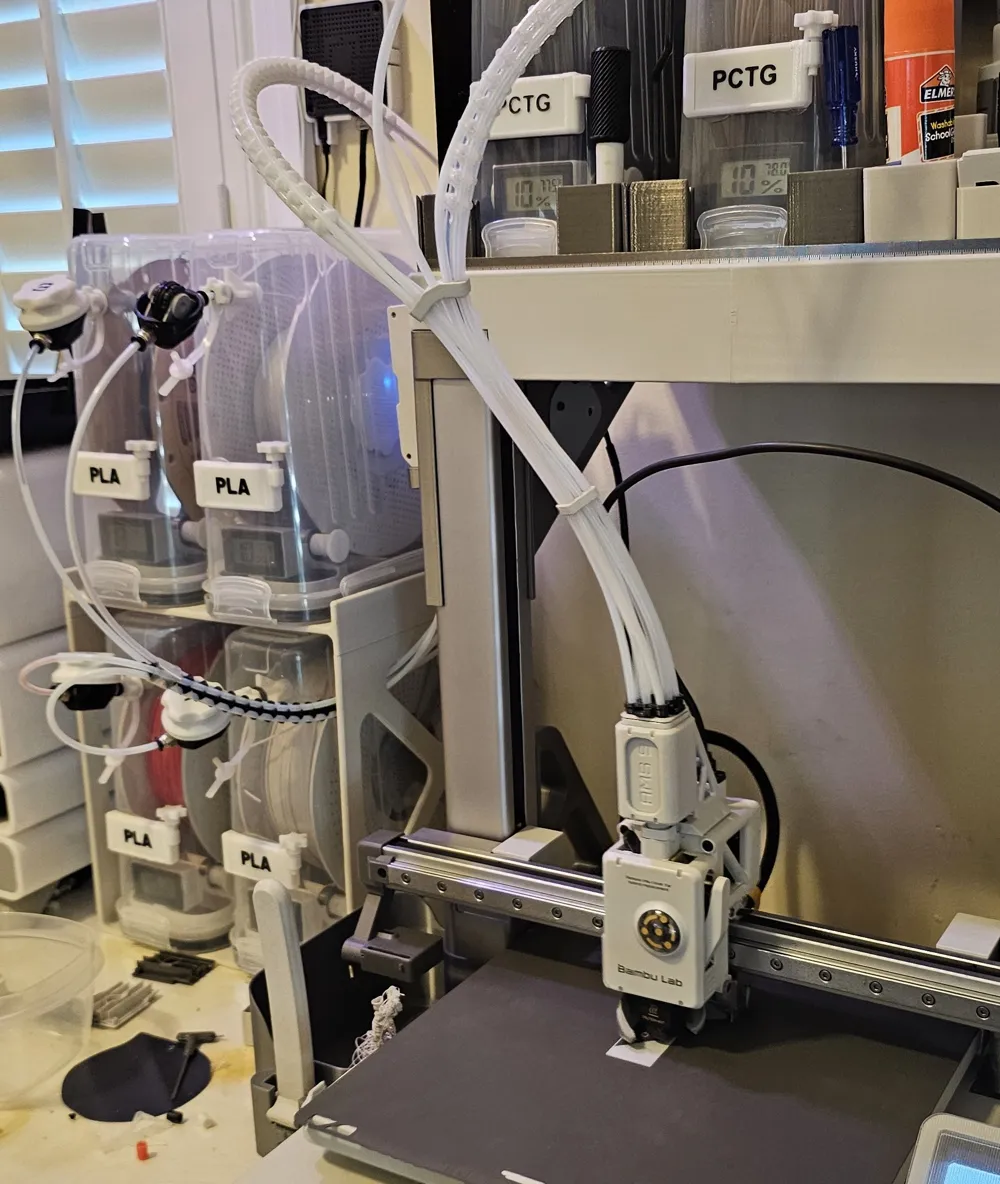
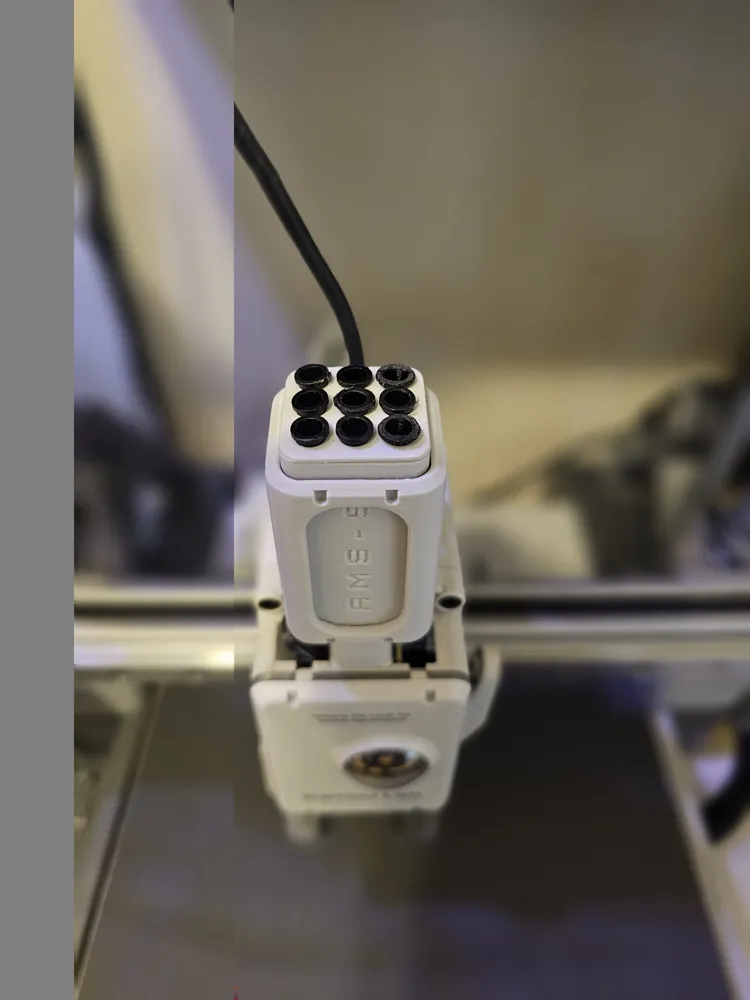
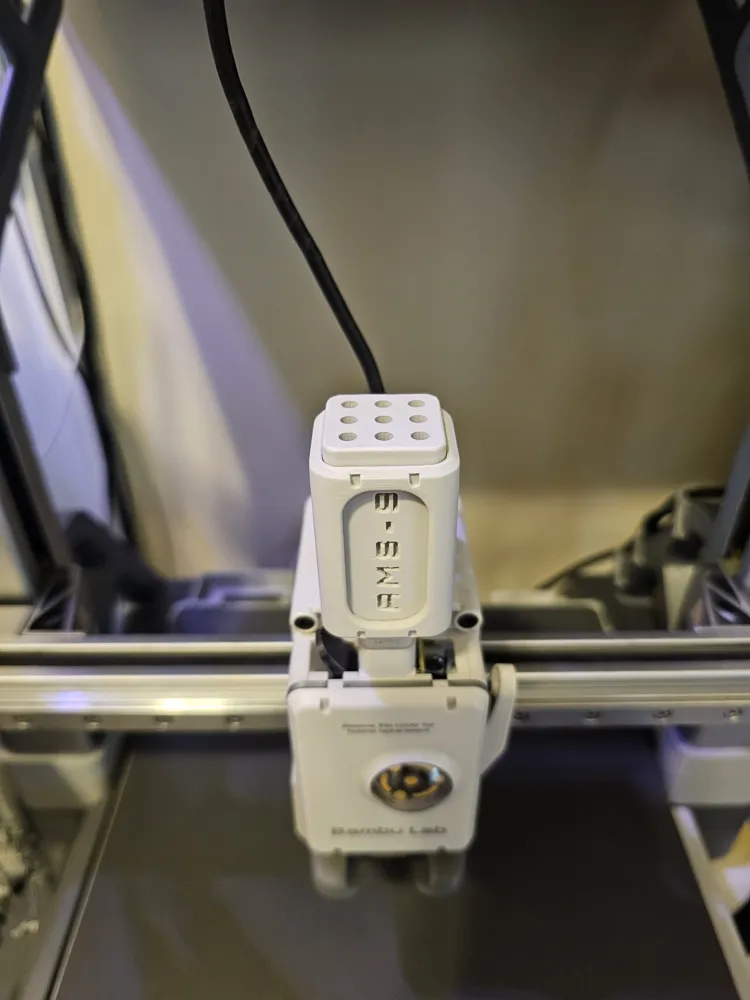
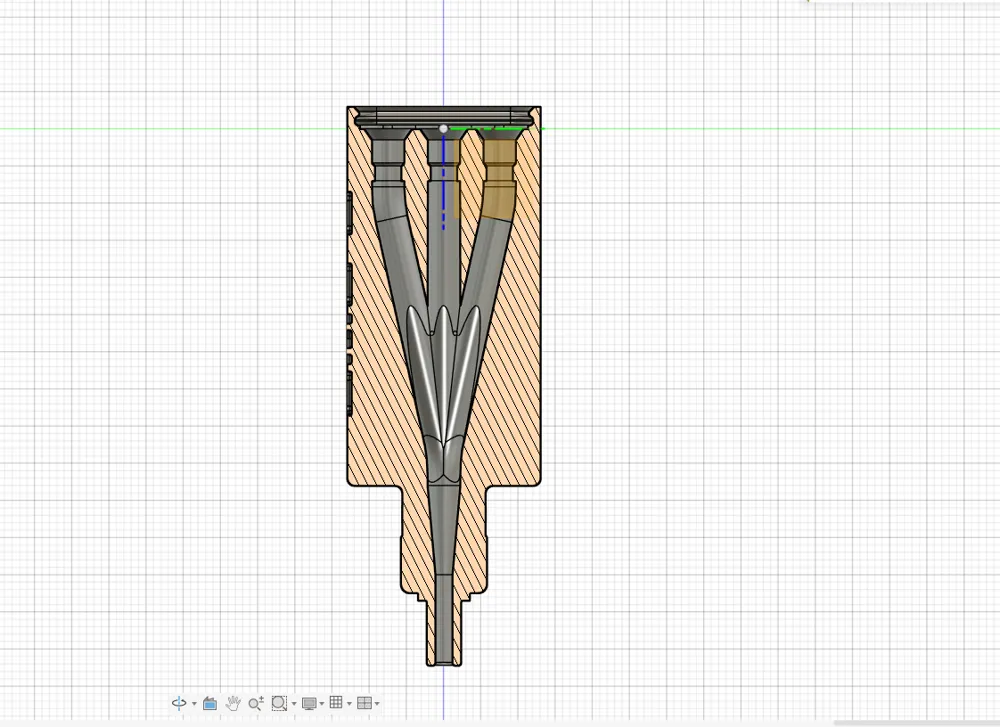
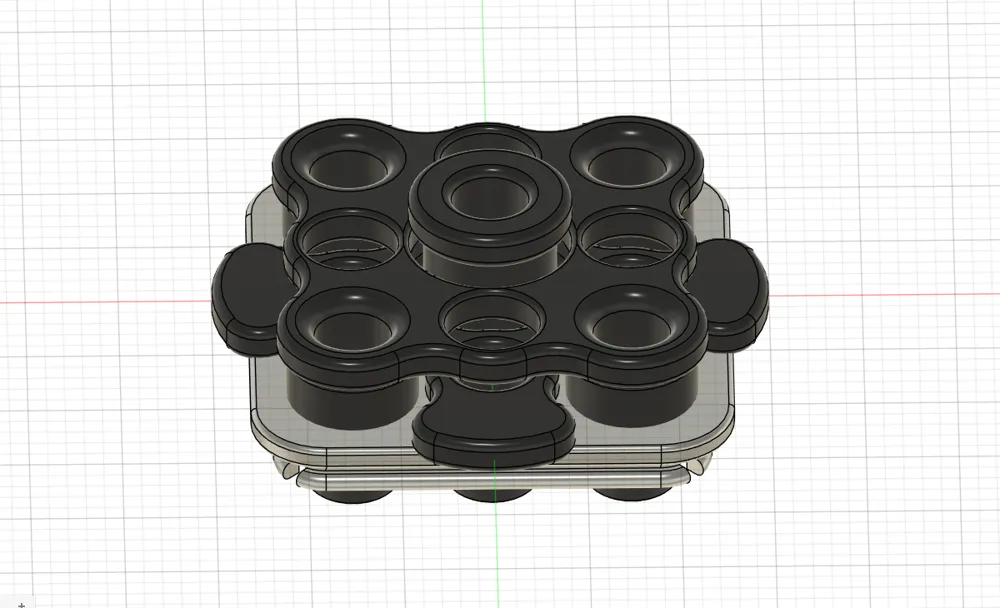
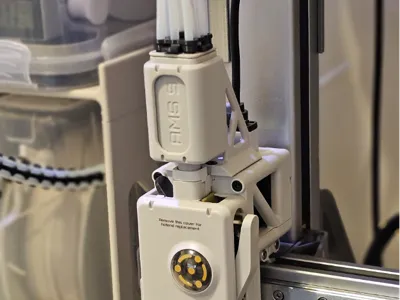
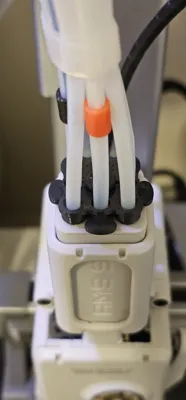
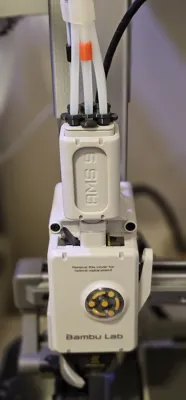
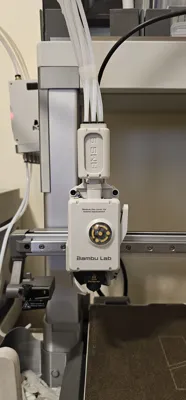
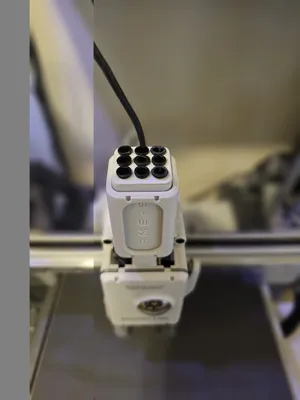
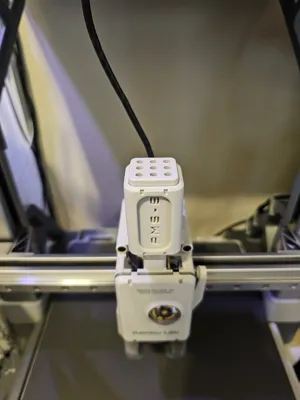
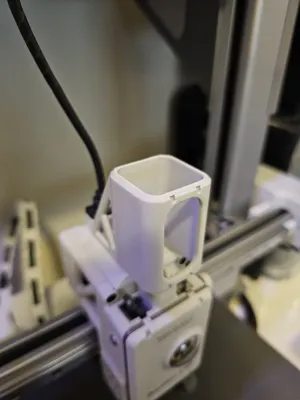
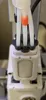
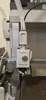
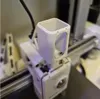
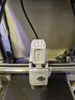
An AMS 9 port hub to replace the stock 4 port.
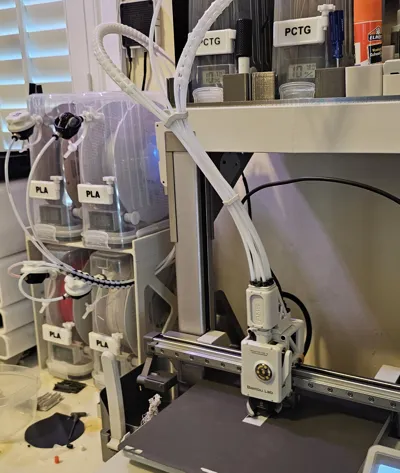
I'm adding a second BMCU AMS and wanted a hub with the capacity for both sets of AMS tubes and an additional tube for an external roll. I also wanted it to look close to OEM. This reduces the amount of retraction needed for filament changes.
It's important to note! This is a small parts print with tight tolerances. You need to be calibrated, (Temp, Flow Rate, PA, Retraction, Shrinkage, etc.) Or, you may have issue with the parts fitting correctly.
There are two versions:
The first uses locking rings and collets (similar to stock). This is the best version for use on the Toolhead.
- New Updated Version -
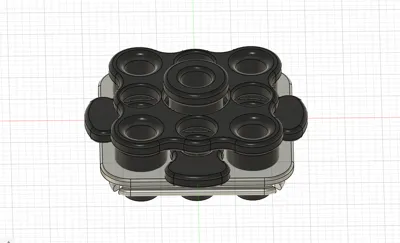
- Uses a printed collet assembly with locking rings from donor fittings. It makes removing the tubes for maintenance a bit easier. Instead of individual collets, it groups the tubes in fours. One for each BMCU. It must be printed with a material that has good layer adhesion. I used PCTG.
- The length the tubes can be inserted has been limited to prevent over insertion.
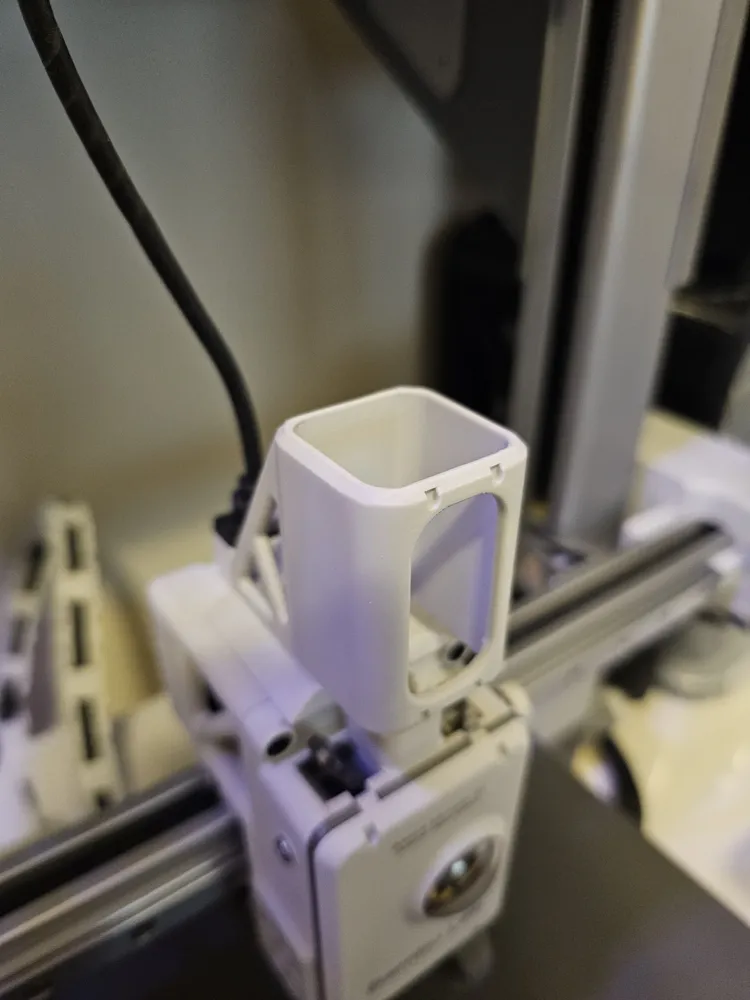
- Added strain relief to the hub and brace to reduce the strain of the PTFE tubes from dislodging the locking collar and pulling out the hub from the print head. Uses a M3x4mm button head screw.
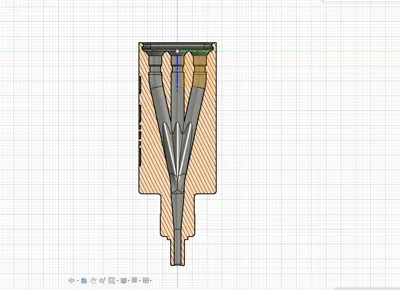
The hub also has improved internal geometry to guide the filament better.
- New Updated Version -
Original version - I used the 4 collets from the stock hub and printed the other five. Use a material with good layer adhesion for the collets The locking rings are a mixture of the four from the stock hub and five individual rings from disassembled donor fittings.
- The second accepts the PTFE tubes directly. It is less secure but does not need the extra parts as the version above.
All versions require the use of the stock magnet and the locking collar. Magnet orientation is important! If you get a filament error when trying to print, the magnet is installed incorrectly. remove and flip the magnet lengthwise.
Updated Version 4 Hub Cap Assembly-
- Start by inserting the “Middle_Collets” into the Hub Cap.
- Insert, the “Corner Collets” next.
Insert the “Center collet” last.
Once inserted the collets don't come out easy. It you insert them out of sequence or for some reason want to remove them and reuse the cap, your best option is to cut them up to remove them.
~OR~
Original cap version -
- Insert collets into each of the 9 ports.
Hub Assembly - skip to step 2 if using the tube version.
- Place a clip ring over each hole in the inside top of the hub and clip the completed Hub Cap assembly to the hub.
- Add the magnet from the original hub being careful to preserve the magnets orientation. Mark the end of one edge using magic marker or scoring with an exacto knife blade to help keep track of the magnets orientation before transferring it to the new part.
- Add the locking collar from the original hub.
- Mount the hub brace to the tool head using 2 – M3*10 course thread socket head screws to replace the two factory hub screws. IMPORTANT this changes the threading of those holes and you will not be able to use the original screws going forward.
- Insert the Hub into the brace. Screw in the M3x4 coarse thread screw if using the strain relief version.
- Insert your PTFE tubes.
- It would be a good idea to recalibrate motor noise and vibration.
Hope you might also find it useful. If you do, please consider giving it a boost. It would be greatly appreciated!
License

You shall not share, sub-license, sell, rent, host, transfer, or distribute in any way the digital or 3D printed versions of this object, nor any other derivative work of this object in its digital or physical format (including - but not limited to - remixes of this object, and hosting on other digital platforms). The objects may not be used without permission in any way whatsoever in which you charge money, or collect fees.


Comment & Rating (78)