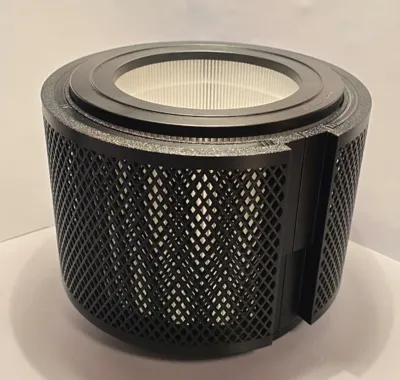
Philips AC0650/Series 600 active charcoal filter


Print Profile(1)
Bill of Materials

Description
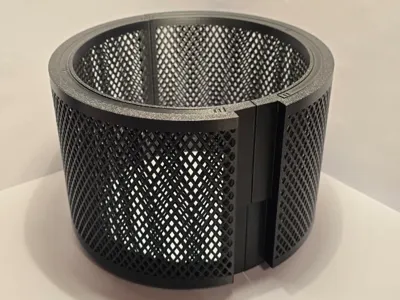
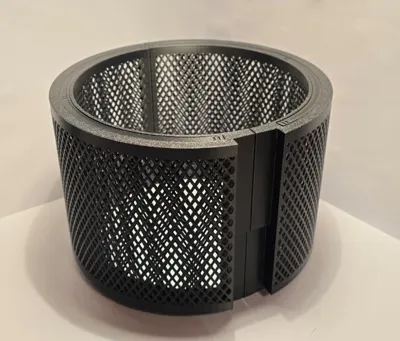
Philips Activated Charcoal Filter mesh
Have you ever wanted to get rid of all the nasty smells and airbound micro plastics without paying lots of money for “expensive” BentoBoxes (or just not wanting to modify the printer) that do change airflow?
Just buy one of the most reasonable and also otherwise usable air purifiers on the market with great power to cleaning value (https://www.amazon.de/dp/B0BX49FQF8?ref=ppx_yo2ov_dt_b_fed_asin_title&th=1).
The only issue: ABS, PLA, ASA, and so on still make your printer room smell like a toxic lab, but look no further…
Just get cheap, affordable, air purifier-grade activated charcoal (probably you will have leftover from your last BentoBox or housing air filter) and print this model (https://www.amazon.de/dp/B098ZXF4BK?th=1).
By the time the air purifier arrives, the print should be easily finished and set up for installation.
Assembly guide:
In case you got the Philips 600 Series and not just anything else with the same filter and housing size, it is the following:
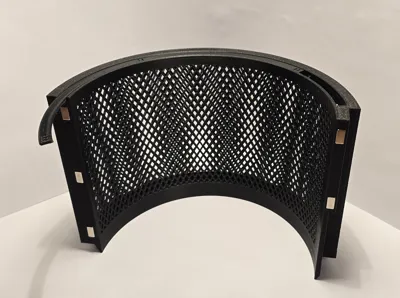
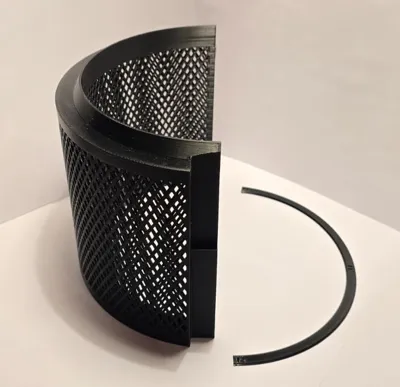
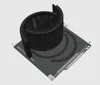
- Print the filter parts (if you use the .stl-files, you need to mirror each one)
- Glue in the magnets (they should hold well enough with pressfit during installation, so they do not fall out while installing)
- Ensure proper alignment, or the magnets will repel each other (one half should have all “north”, the other all “south”)
- Fill the filter with activated charcoal material
- Packing it with light hits to the underside (DO NOT hit the mesh directly)
- Slide on the cover (notches should be on the outside
- Optional: vacuum the charcoal dust off
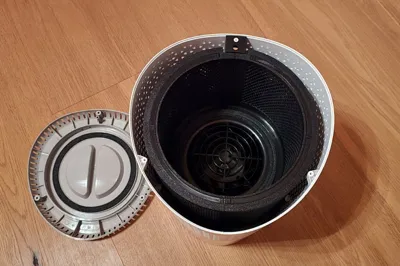
Installation (Philips 600 Series):
- Unplug the air purifier
- Turn the device upside down
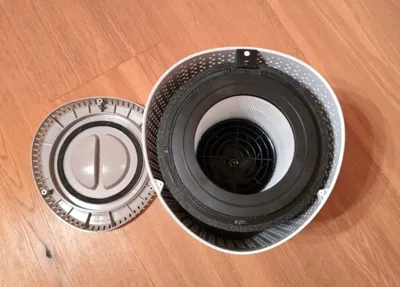
- Take out the HEPA filter
- Use a Philips head screwdriver to unscrew the 3 screws (counterclockwise)
- Insert the printed, filled activated charcoal filter
- Ensure proper fit with the HEPA filter installed
- Screw the bottom back on (these are plastic screws, try to find their old thread way to ensure less wear on the plastic)
- Add the bottom cover if it has been taken off
- Turn the device back to the correct orientation and ensure airflow is sufficient
- If the airflow is insufficient, pack the filter less densely
Why this model and not maybe others similar that could fit?
It just works well (even on the lowest setting, there should still be airflow) and does not dust up your entire room with charcoal dust when being used.
The airflow is from the coal through the HEPA filter. In case you bump your air purifier, the HEPA filter will catch every single particle.
Don't worry about your filter; it can usually be cleaned with a vacuum if it has gotten very dusty.
The model is very easy and reliable to print (took me a while to get the dimensions right… all tests printed super well and fast); if not, we can figure out the issues and get it working.
License
You shall not share, sub-license, sell, rent, host, transfer, or distribute in any way the digital or 3D printed versions of this object, nor any other derivative work of this object in its digital or physical format (including - but not limited to - remixes of this object, and hosting on other digital platforms). The objects may not be used without permission in any way whatsoever in which you charge money, or collect fees.
Comment & Rating (0)