
RAZE NANO – Sanding Block System for Model Making
Print Profile(9)


Description
Boost Me (for free)
If you like the model or it helped you with your project, please leave a boost! It helps us continue to invest time in high-quality designs and optimizations. Happy printing! 🛠️
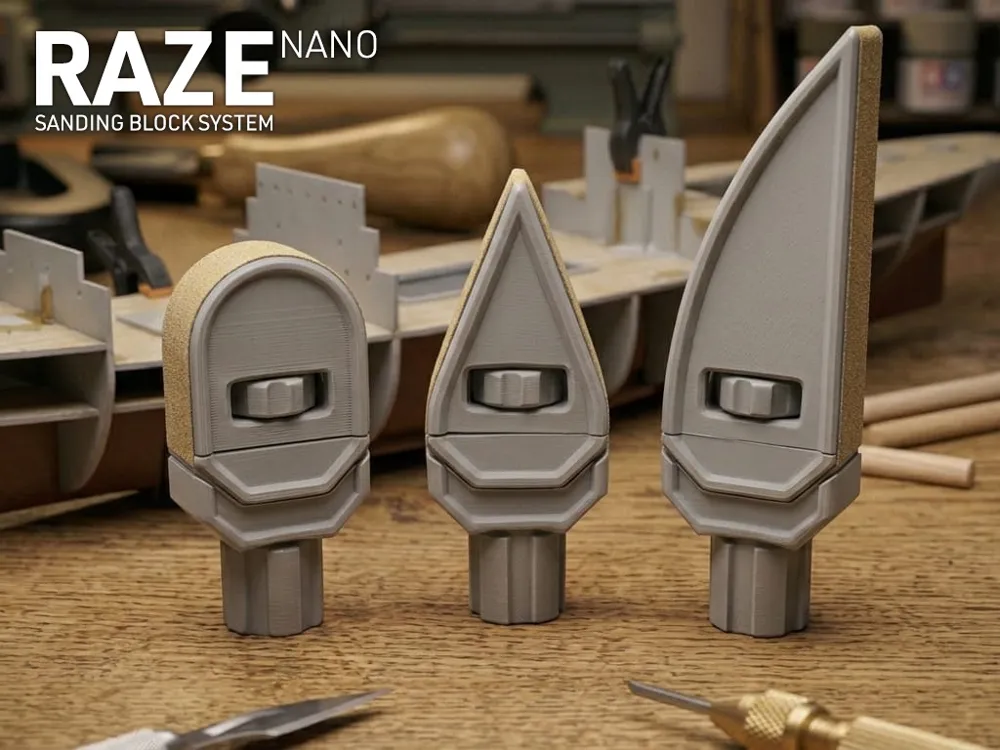
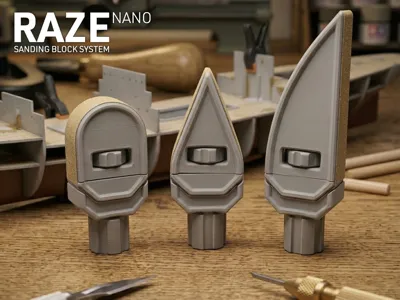
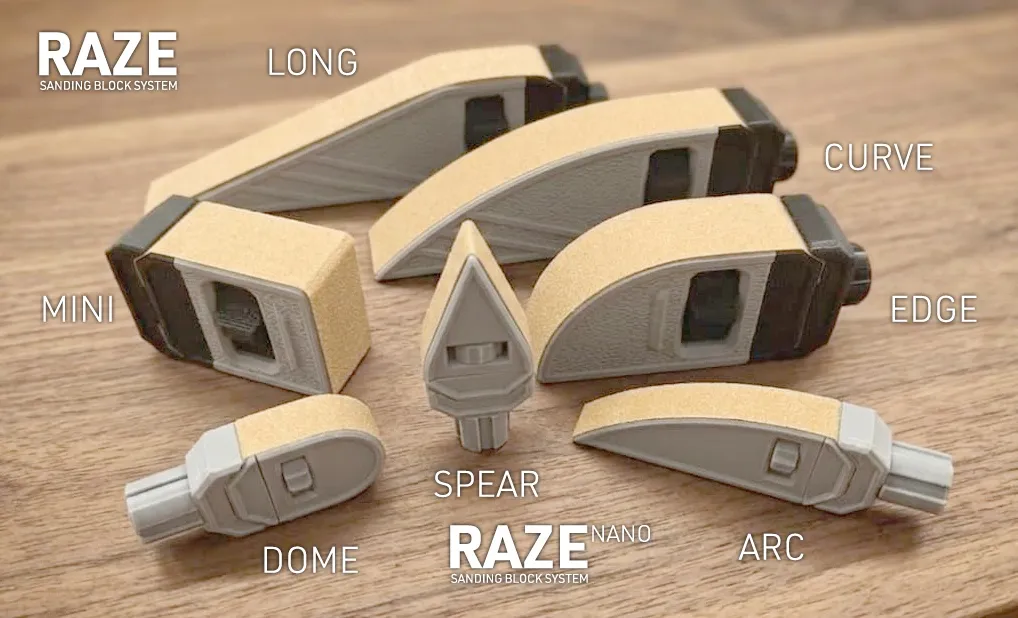
Anyone involved in model making or post-processing extremely fine 3D prints knows the problem: commercially available sanding blocks are simply too bulky. People resort to using fingers or improvised sticks where the sandpaper constantly slips. That's exactly why we developed the RAZE Nano Series. It's the consistent evolution of the RAZE System – just much smaller for maximum precision in hard-to-reach places
----------
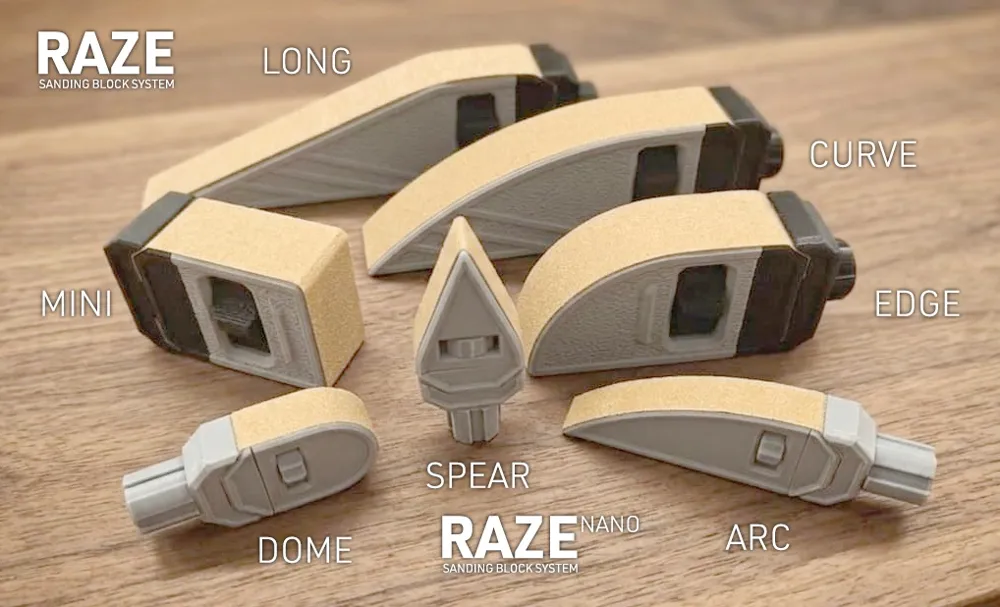
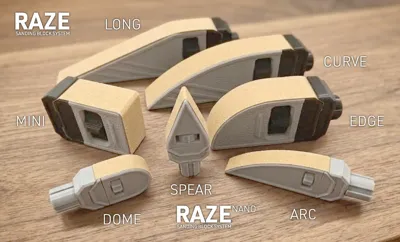
The RAZE series consists of two parts
>>> CLICK HERE FOR THE RAZE SERIES (MINI, EDGE, CURVE, LONG) <<<
You can also use this URL:
https://makerworld.com/en/models/2676016-raze-sanding-block-system-with-tensioning-mechanis
----------
Important note on material and print settings
We have also optimized the Nano series for Bambu Lab PLA in black and gray (black is most suitable). Since we are working in a range of 1/10 millimeters here, dimensional accuracy is crucial. Our advice from experience: Save yourself colorful experiments. Bright colors (especially blue) tend to have different shrinkage behavior, which immediately leads to jamming with the fine threads
It's best to stick to gray or black and briefly break in the threads before assembly. Initially, the threads will be quite tight - feel free to carefully use pliers to help with breaking them in. If the threads are still too tight, you can simply select the clamping jaw or the tensioning wheel in Bambu Studio and set the X-Y hole compensation to 0.1 mm or 0.15 mm under Objects -> Quality -> Precision. When slicing, pay close attention to the layer height:
| Parts with threads: | Must be printed with a maximum layer height of 0.12 mm (as also stored in my profiles). Higher layers destroy the precision of the thread flanks |
| Parts without threads: | Here, 0.16 mm is sufficient for an optimal finish |
Full control in the smallest space
The special feature of RAZE is the specially designed clamping mechanism, which we also use here in the Nano series. The system is designed for 12.5 mm wide fabric sanding belt (half of a standard belt). The belt is firmly clamped on the back. You then tighten the belt using the integrated tensioning wheel. The result: an absolutely play-free fit that gives you direct feedback during the finest adjustments
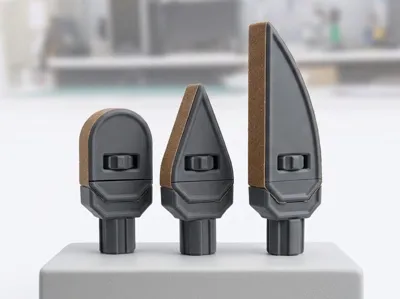
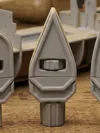
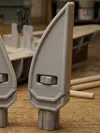
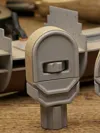
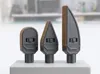
The Nano series consists of three models
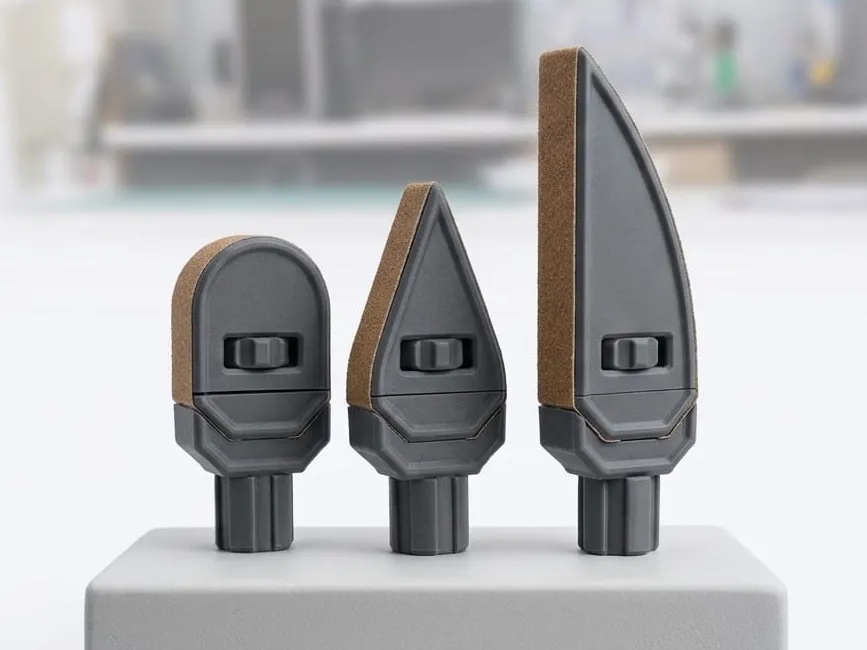
While the Nano Spear acts as a precise spearhead for extremely tight angles and corners, the Nano Arc with its gentle curve allows for the processing of organic contours and radii. The trio is complemented by the Nano Dome, whose semi-circular shape is ideally designed for pronounced curves and depressions. As usual, print profiles are available with or without Fuzzy Skin
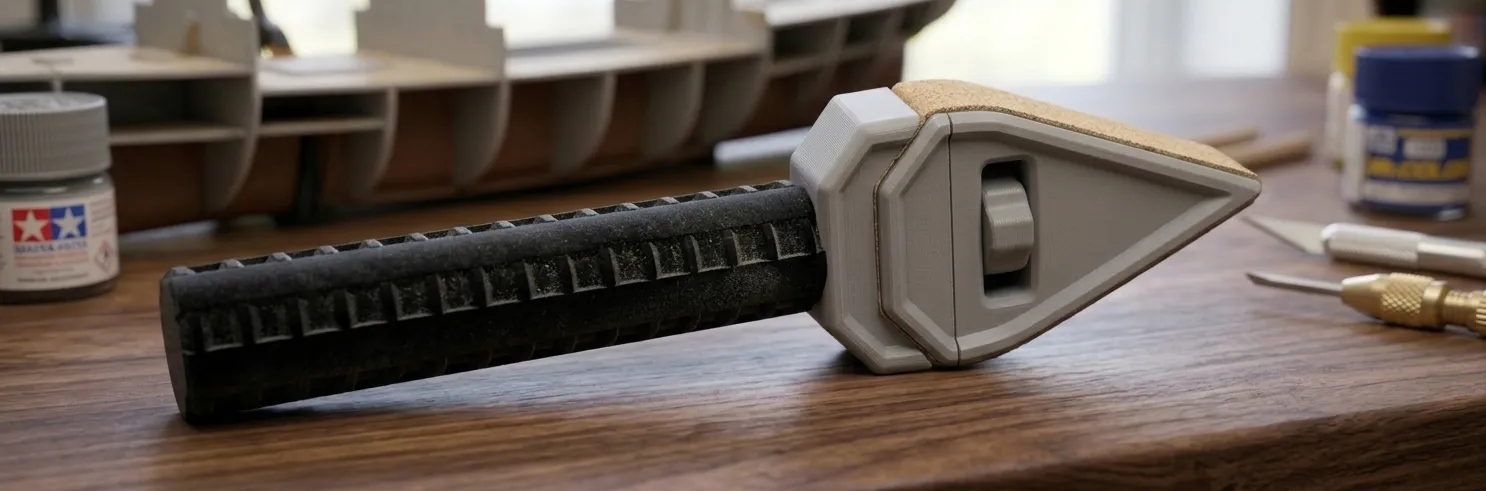
UPDATE 24.04.2026: A user asked for the possibility of a handle for better handling. So we designed a handle that works really well. You can find this as a new separate print profile "AddOn Pen Grip". In this print profile, we use an adaptive layer height to print the thread cleanly - please keep this in mind if you want to print the Pen Grip yourself with different settings without our profile. If you have further ideas, please feel free to write them in the comments
Optimal sanding belt lengths (for 12.5 mm width)
So you don't have to experiment, we have measured the optimal lengths for you:
MODEL | SANDING BELT LENGTH |
RAZE NANO SPEAR | 116 x 12,5 mm |
RAZE NANO ARC | 166 x 12,5 mm |
RAZE NANO DOME | 106 x 12,5 mm |
Assembly Instructions
Before final assembly:

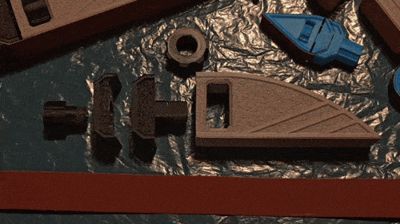
Screw all threaded parts in dry several times and then loosen them again to "break in" the threads

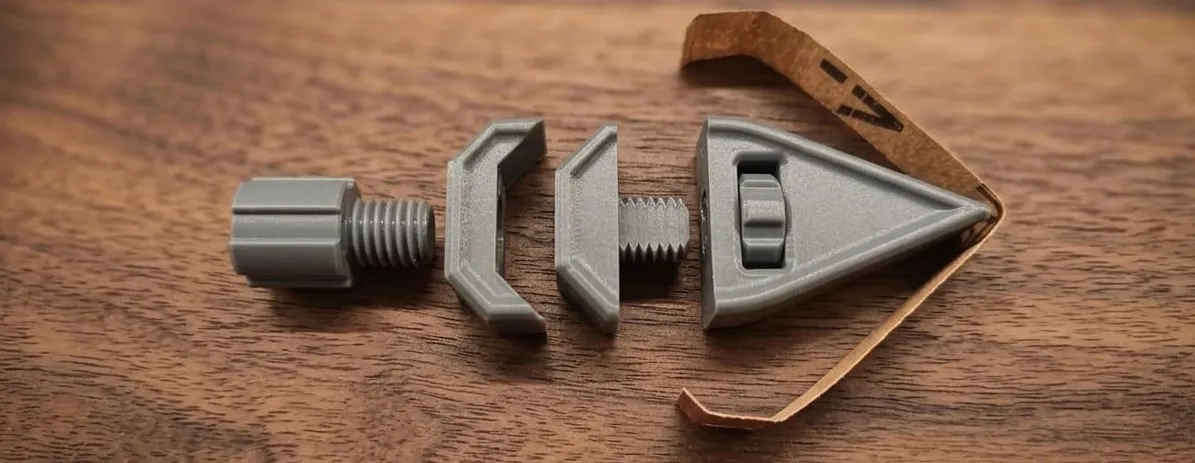
First, the tensioning wheel is placed centrally into the sanding block's receptacle. Then, the clamping jaw (part with the cut thread) is inserted into the rear part of the sanding block and rotated downwards with the tensioning wheel. Once the mechanism is in place, the sanding belt is wrapped around the outside of the sanding block. For fixation, the back piece is placed onto the clamping jaw (and the sanding belt), the hand knob is guided through the bore, and firmly screwed into the internal thread of the clamping jaw. To tension the belt, you now turn the clamping jaw out with the tensioning wheel until everything is tight
👍 Free support: A like and a place in your collection show us that the CAD hours were worth it. ☺️
License

You shall not share, sub-license, sell, rent, host, transfer, or distribute in any way the digital or 3D printed versions of this object, nor any other derivative work of this object in its digital or physical format (including - but not limited to - remixes of this object, and hosting on other digital platforms). The objects may not be used without permission in any way whatsoever in which you charge money, or collect fees.


Comment & Rating (158)