Zombicide Tile Edge System V2 - Reworked & Fixes


Print Profile(1)


Description
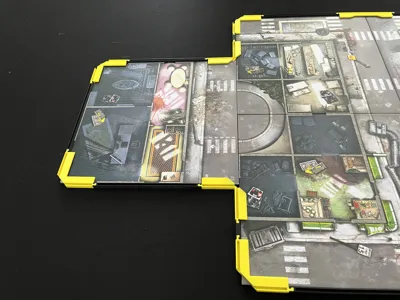
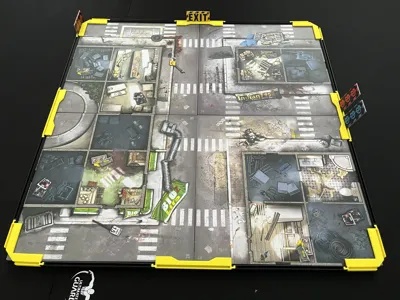
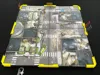
Tile Edge System designed for Zombicide, to stop the tiles from sliding apart etc.
Works with any board game that has 250 x 250 mm tiles with a recommended max tile height of 2.7 mm (there is a 3mm space in the design).
Update (2026/05/08):
- Changed length of the special Straight for train tracks to 6mm shorter due to feedback from user.
- The length is now based on a tile size of 250mm x 84 mm.
The Undead or Alive update (2026/04/25):
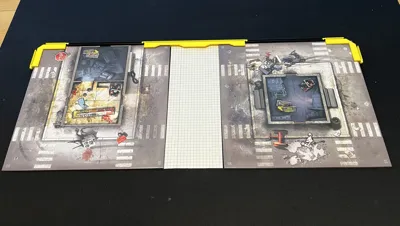
@jonogo asked if I could add support for the train track tiles in Undead or Alive... Well, of course!
- Added .stl and print plate with two new straight-piece for the train tiles in Undead or Alive.
- I don't own Undead or Alive so:
- I have based the measurements on data from a friendly user, thank you @jonogo (Tiles should be 250mm x 90mm for the new straight to match)
- I have based my choices on the missions from the Undead or Alive rule book.
- See image with simulated tile, you can find it in the model pictures.
- I have no way of testing. PLEASE let me know If you have any issues!
New in V2:
- Increased the space for tiles to avoid tiles being damaged (pinched) when assembling the set.
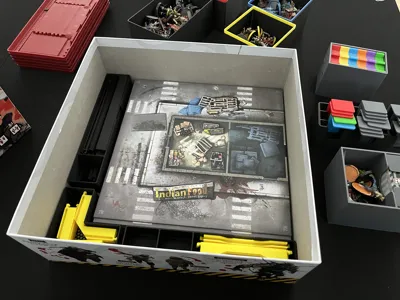
- Added in-box storage (inserts). The boxes are slightly higher than the stack of tiles, which is on purpose to ensure space for the parts.
- Removed the need for clips to reduce complexity of assembly and use. The new system should be solid enough for plenty of uses.
Designed for:
- Comfort of play
- No more tiles that gets displaced or shifted during moving of zombie hordes.
- Spawn markers and Exit markers are easily seen by players.
- Low cost
- Fast print
- Durability
Print instructions:
- Print the parts you need.
- Keep supports on for the inverted corner pieces.
- Add brims if you are not confident in your build plate.
- KEEP BRIMS on the Undead or Alive straights (StraightTrainTracks)
Usage Instructions:
The system has been designed for easy use if you follow these guides.
- Assembly: When assembling your tiles, put on the Corners and the Straights first, then add Connectors afterwards.
- Disassembly: When disassembling, remove the Connectors first.
My Retro Arcade DisplayPixel collection:
The cutest little 3D versions of classic arcade sprites. Comes with a beautiful frame.
My board game accessory collections:
Follow me for more!
You are welcome to help me by buying me a coffee, but it is not expected.
Design by Dan Høegh, 2025-2026
(unless otherwise stated in the above text)
Boost Me (for free)
It takes a lot of resources to prototype and test-print. The occasional boost helps a lot!
Membership
Print and sell my models. Get a commercial license. Only applies to my exclusive models!
License
You shall not share, sub-license, sell, rent, host, transfer, or distribute in any way the digital or 3D printed versions of this object, nor any other derivative work of this object in its digital or physical format (including - but not limited to - remixes of this object, and hosting on other digital platforms). The objects may not be used without permission in any way whatsoever in which you charge money, or collect fees.
Comment & Rating (31)