
Split Bin XXL for Snapmaker U1
Print Profile(1)
Description
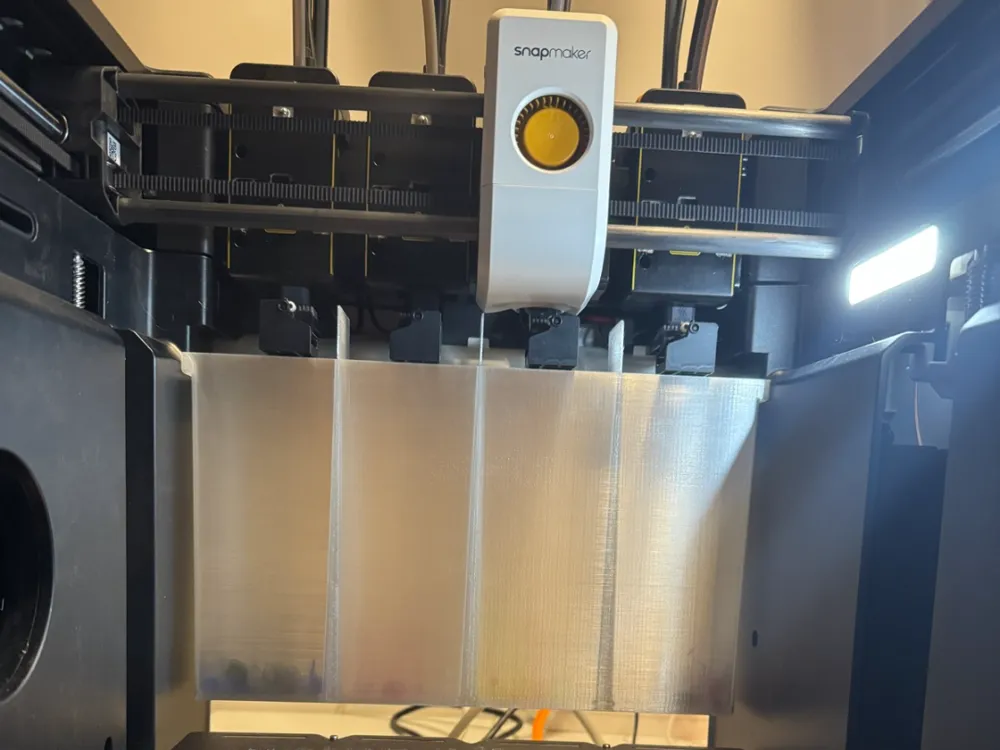
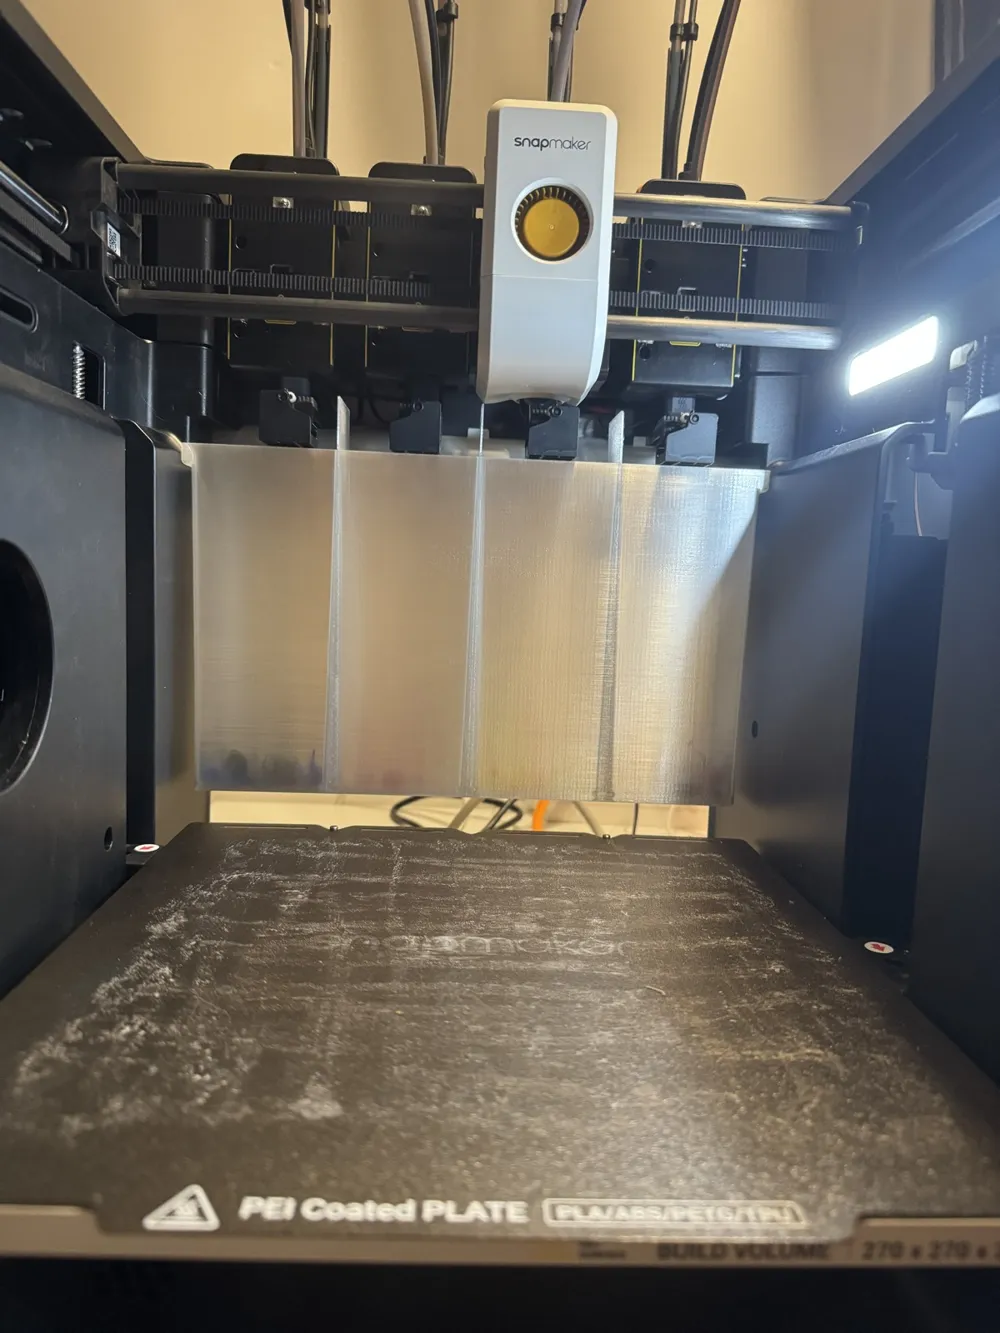
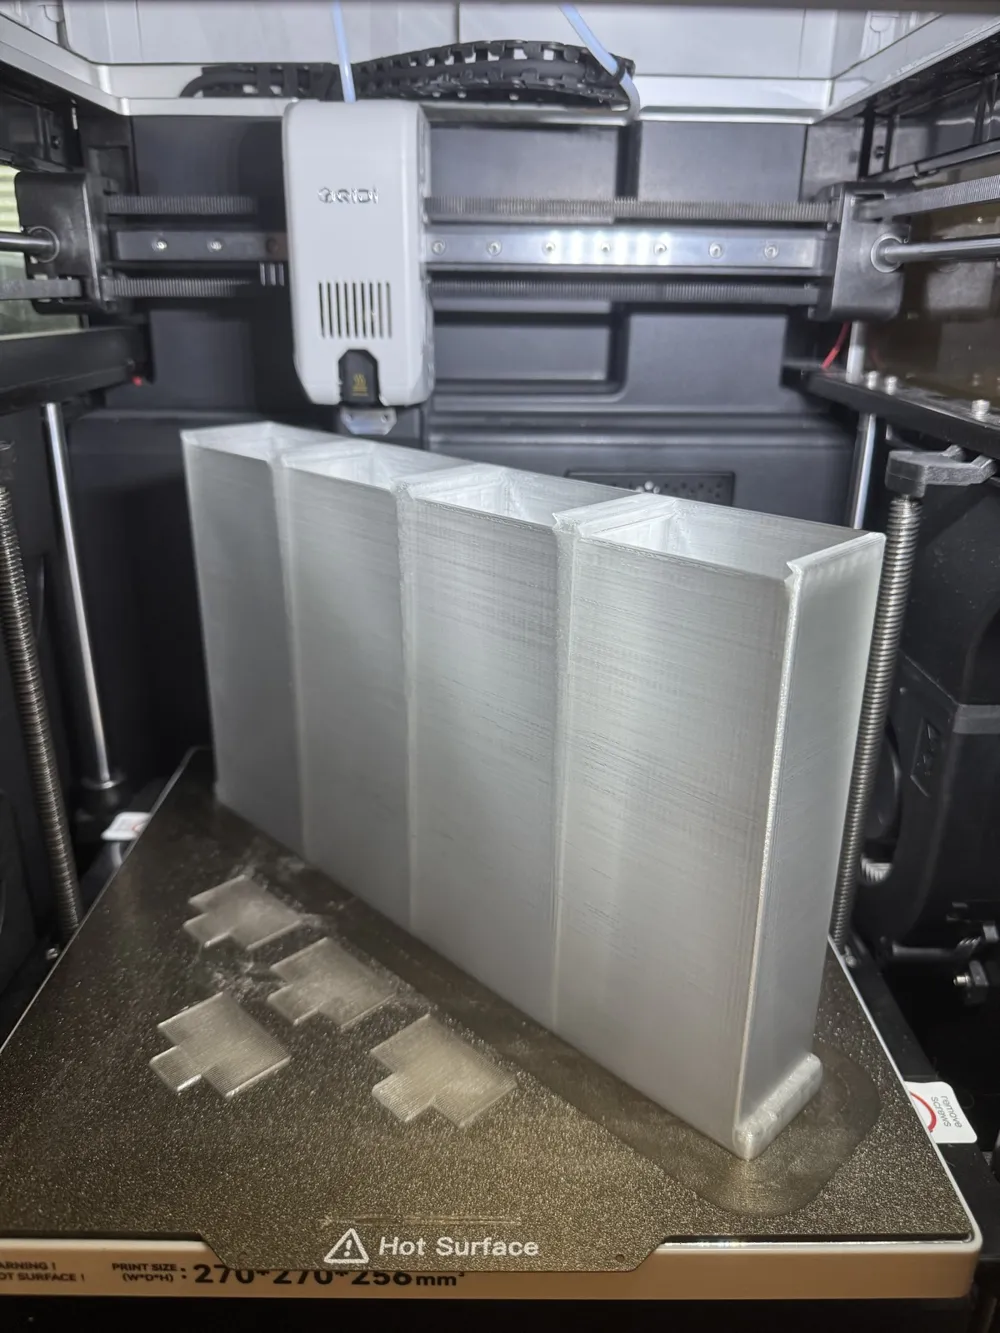
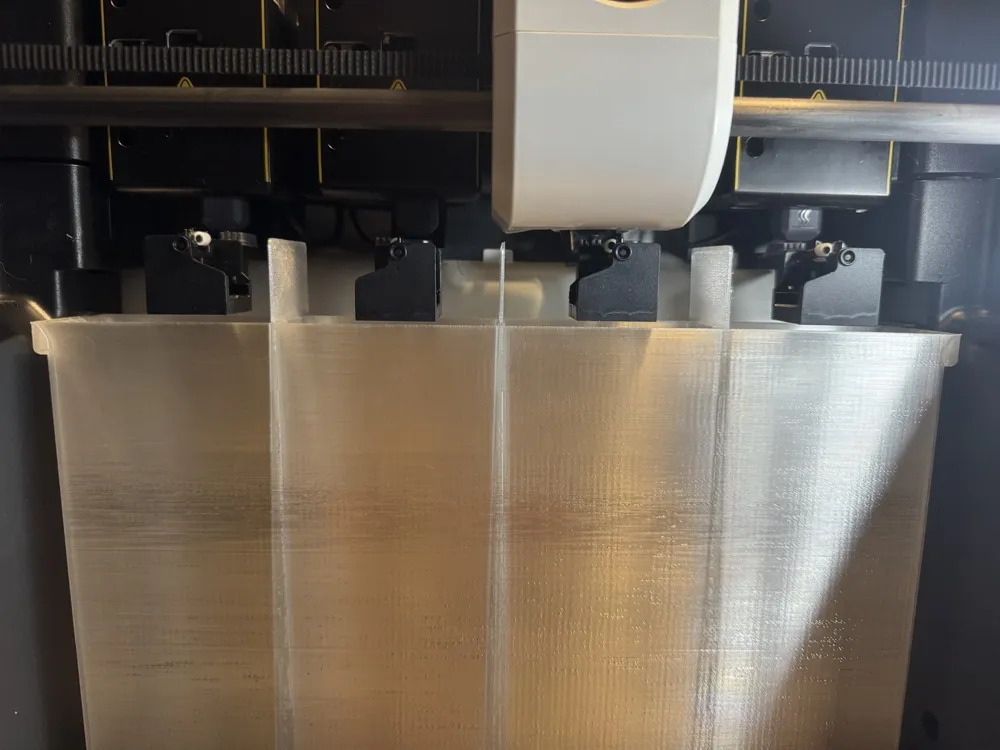
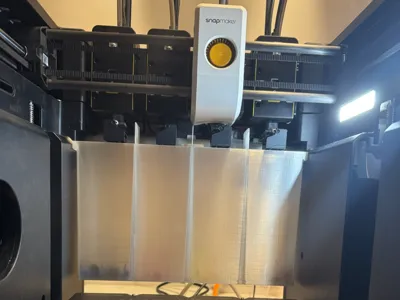
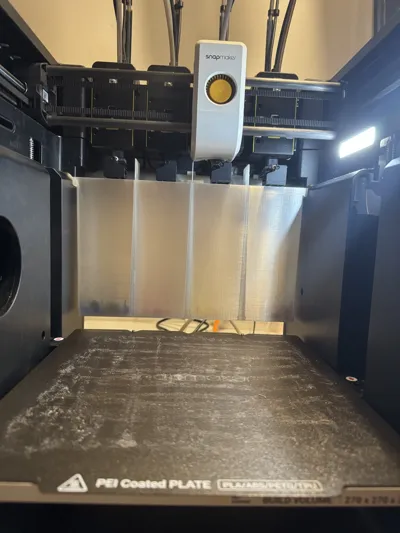
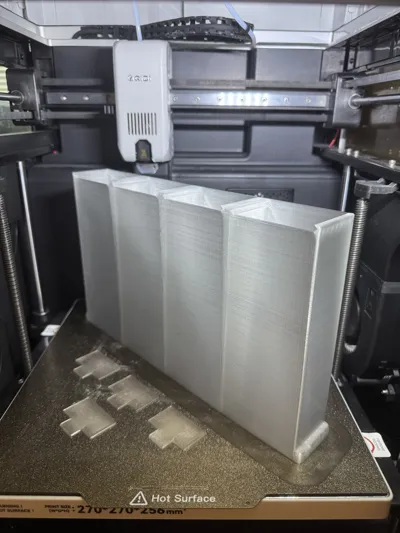
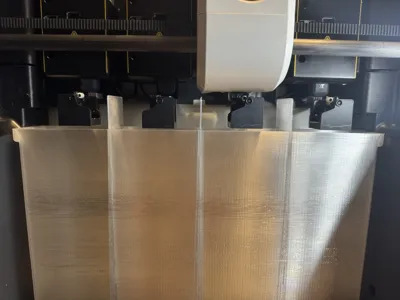
My take on an upgraded purge bin for the Snapmaker U1.
- I had a few simple requirements, which existing solutions didn't have.
Each toolhead should purge to separate sections/bins. - Purge bin should removable without having to raise or lower the bed from its default position.
I looked at the Snapmaker U1 Poop Bin and tried the Snapmaker U1 Purge Sorter, but found some things that didn't (see inspiration).
The height of the bin is so that it can be removed without having to lower the bed more than what its default lowered position is.
The bottom was initially so it could be printed without supports, but it have the happy side effect of being able to open/empty each section/bin without having to turn it upside down, spilling everything from all sections/bins.
Changes
2026-04-20 @ 16:07
- Released
Inspiration
Snapmaker U1 Purge Sorter (Printables | MakerWorld)
I like the overall design. I even liked the idea of being able to remove the baskets without having to remove the hopper, but ...
I found it hard to position the baskets or the basket base, since the locking grooves didn't really "match up". I could probably have this work better by fiddling with some print settings, but I could see a situation where vibrations would end up shuffling the basket below the print bed, potentially causing failed tall prints.
Also, when the bed was at its default lowered position, the baskets would have to be accessed by picking them up from behind the bed, as there isn't enough/much room to drag them out from below the bed.
The distance between the hopper and the baskets were a bit too large, which would occassionally cause filament purge to drop outside the designated basket.
I'm not certain if the bumpers are even needed. Sure, I have seen that filament occasionally hangs on the nozzle wiper, and it could potentially be slung into the neighbour basket. However, the tiny insert that connects the bumper to the hopper was simply too flimsy, and the bumper would fall off if I looked at it wrong.
I'm sure 3DGeekTech would remedy these findings, but I took the opportunity to get more experience/routine in my FreeCAD endeavours.
License



Comment & Rating (2)