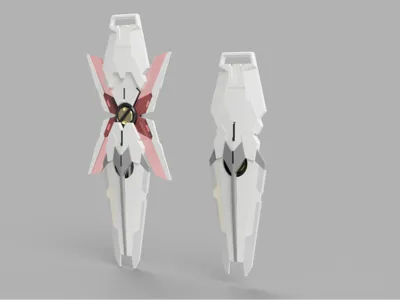
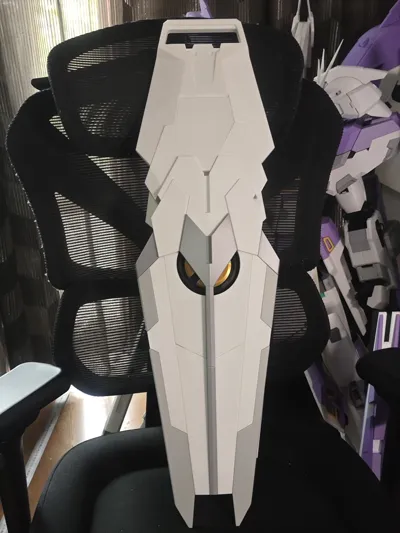
Life-size Unicorn Gundam hand-held shield


Print Profile(1)

Description
Boost Me (for free)
Assembly documentation will be added later. Glue and a small amount of M3 M4 nuts are needed for fastening. Due to structural limitations and variability, the shield's strength is relatively fragile
Assembly notes:
1. A few steps require super glue for reinforcement. Please test assemble before gluing to avoid incorrect part assembly.
2. The connector plates are arranged close to the parts needed, pay attention to identifying and distinguishing them during assembly.
3. Wires smaller than 1mm are needed AWG26 is suitable.
4. Additional materials:
super glue,
wire,
M4x12,
M3x16 ,
M3 x14 x2 ,
M3 x6 ,
M3 x 12 x2,
M3 x 8 x 2
Step 1: Shield core part.

Step 2: Use connector plates to secure

Step 3: Requires super glue for fastening

Step 4

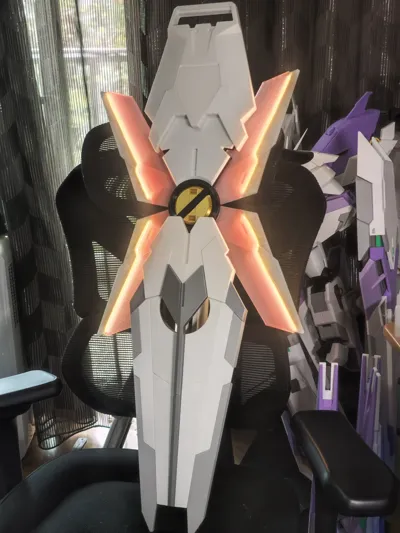
Wing assembly steps (Note: for the illuminated version, light strips need to be deployed first. Wiring tutorial is after the assembly tutorial)
Step 1: Note that there are 2 types of white wings, they are not interchangeable. The 4 red translucent wings are universal (The joint between the white and black wing parts needs super glue reinforcement, the pin strength is not enough for stable support)

Step 2. Wing assembly, pay attention to the assembly steps indicated by the green arrows. The side with the green arrows needs to be protruding. This is the wing's rotation limiter (The joint between the white and black wing parts needs super glue reinforcement, the pin strength is not enough for stable support)

Combine the 2 wings, the central rotating shaft needs to be secured to the part with super glue (If wiring is needed, wire first then glue)

Wing wiring tutorial (Wiring is relatively complex. Requires careful understanding and attempt)
Wiring Step 1: The wire and light strip are secured in the slot, passing through the wire channel, and crossing the disc gap


Wiring Step 2: Pass both wings and wires through the disc gap from Step 1 to achieve the effect shown
1

2 - The wire passes through the side groove of the central axis

3. Arrange the wires, passing through the wire exit hole at the top of the central axis

(After completion, the central axis needs to be super glued to the shield core from the first step (green arrow, be careful not to let glue overflow which would prevent the wings from rotating. Only glue the central axis))

Back effect shown

Wiring steps completed
---
Divider line
---
Shield backplate assembly steps


The red arrow uses M4X12 to fix the backplate and the wing's central axis.

Bottom shield assembly steps


This step requires super glue for fastening.


M3x16 secures the connection between the shield and the shield backplate.

Final part: Shield handle

Besides screw fastening, it is recommended to reinforce the handle part with super glue

Fix the handle to the shield backplate with screws. Adjust the distance then secure with screws.

License
You shall not share, sub-license, sell, rent, host, transfer, or distribute in any way the digital or 3D printed versions of this object, nor any other derivative work of this object in its digital or physical format (including - but not limited to - remixes of this object, and hosting on other digital platforms). The objects may not be used without permission in any way whatsoever in which you charge money, or collect fees.
Comment & Rating (4)