Filament Dryer & Dry Box for the AMS Lid


Print Profile(4)


Bill of Materials


Description
Membership
Love my models? Support future creations, or unlock a commercial licence and turn eligible prints into sales.

Boost Me (for free)
Support this design with a Free Boost! Your feedback and boosts help me prioritize future updates for this model.

Update 29 May 2026:
✨ 1 New Add-On !!!
- For those who only have one PolyDryer/SnapDryer and need a temporary solution while acquiring a second dryer, I created this dummy/placeholder PolyDryer upon users request. link
Update 14 May 2026:
✨ 2 New Add-Ons !!!
🔒 AirLocks: Keep your dryer completely sealed when not mounted on the dryers (installed from the outside), or add extra airtightness when mounted (install from the inside). link
💧 Desiccant Boxes: Push humidity levels even lower — and keep them there for longer. link
================================================
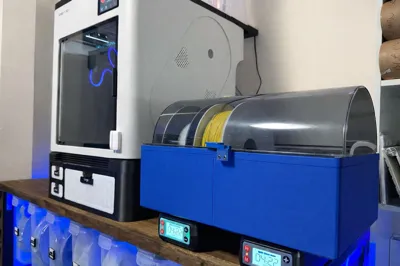
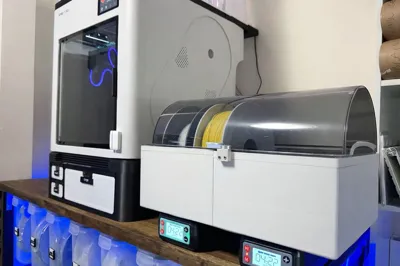
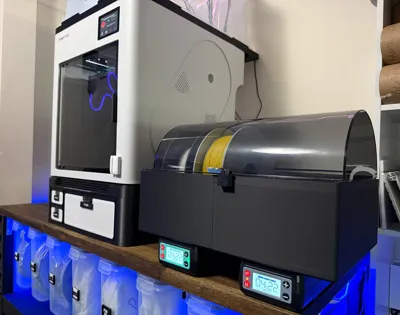
🔥 The Wayne Filament Dryer/Dry Box
Allow me to introduce you to the Wayne Dryer Box.
What? The Wayne Dryer Box?
Yes — my dryer box is called Wayne.
Wayne is a kind soul. When I reached out to the community asking if anyone had a spare Bambu Lab AMS Gen 1 top lid to help accelerate testing and development of this project, Wayne replied without hesitation and said: “I have not one, but two for you.”
He asked for absolutely nothing in return. People like him are rare.
So, kudos to Wayne. This one is for him.
💡 Why This Project Exists
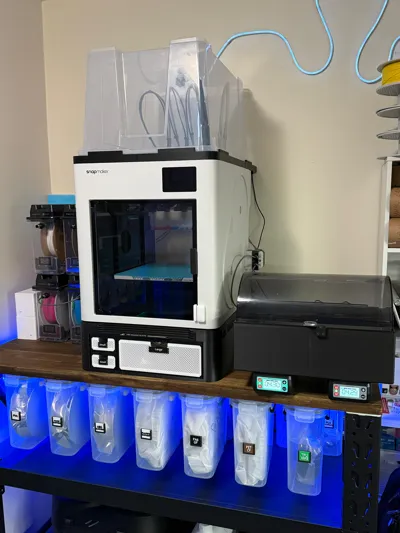
I recently updated my AMS (original) with the SUNLU AMS heater and had the lid sitting around. Also recently got the Snapmaker U1 and the Polymaker PolyDryers, or as Snapmaker branded them, the SnapDryers.
Coming from the Bambu ecosystem, I was used to excellent drying solutions such as:
- AMS 2 Pro
- AMS HT
- SUNLU dryers
- Creality dryers
All of them worked very well in my experience.
To my disappointment, the Polymaker/SnapDryers did not seem to work well for me:
- The containers were extremely hard to operate
- The desiccant would go dark within hours
- The drying function felt very slow
- I would not see the hygrometer reading go down
- The desiccant often would not return to orange as expected
I learned that the process required too much babysitting: remove the desiccant, turn the unit on, open the valve, wait hours, reverse the process, store it, and every time you reopen the box, humidity gets back in.
I was honestly very frustrated. These products are popular and certainly not cheap, so I decided to create my own drying solution.
My goal was to repurpose the PolyDryers I already had, together with a Bambu Lab AMS Gen 1 lid. Many of you may already be in the same situation: you bought the SUNLU AMS heater and ended up with a spare AMS lid. That was exactly my case.
So, without more story, here is the result.
✨ Features
- Holds 4 spools
- Keeps them sealed and protected from humidity
- Leverages the Polymaker PolyDryers / SnapDryers as the heat source
- ⚠️⚠️Yes, if you don’t have the Polymaker Dryers, you can still use this just as a dry box. Just print 4 bottom covers (AirLocks) and mount them underneath instead of the dryers Available here: link ⚠️⚠️
- No need to remove the dryers after the cycle ends - You can use the AirLocks as per above (from the inside of the box) for better results.
- In my tests, the Wayne Box remained sealed with low humidity readings
- Uses the Bambu AMS Gen 1 lid, making it easy to open, close, and keep airtight
- Observed temperatures with the 2 dryers ON running in parallel with the same settings:
Power Level | Temperature |
| ▅ | 40 - 43 °C |
| ▅ ▅ | 45 - 48 °C |
| ▅ ▅ ▅ | 51 - 54 °C |
📦 Bill of Materials (BOM)
- 16 × 693ZZ ball bearings: link
- 1 × Bambu AMS Gen 1 top lid: link
- 2 × Polymaker PolyDryers or SnapDryers: link
- TPU filament
- PETG filament
- ABS optional for critical parts such as spool support shafts
- Clear Gorilla Grip adhesive, E6000, or similar strong gel adhesive: link
- 4 × PC4-M10 PTFE fittings: link
- 4 × M3×16 socket head screws for the top lid hinges (2 each): link
- 1 × M3×20 socket head screw for the lid lock: link
- 2 × M3×18 hex socket head screws for the lid lock mount: link
- 7 × M3 nuts: link
- 9 if using the hygrometer
- 16 × 3×12 mm dowel pins (not to be confused with Dowel Tension Roll Pins): link
- 1 × Mini square hygrometer thermometer (optional): link
🖨️ Printing Profiles
Because of the complexity of this project, I had to split it into 4 printing profiles, each with specific materials and settings. Please use them as provided for the best results, as I conducted extensive testing to reach these parameters.
Print all profiles:
1. PETG Wayne Dryer Box
This is the main box. It includes 3 plates, one of which is optional if you want to implement SnapTouch (more on that below).
PLA may print well initially, but in my testing it eventually deformed over time.
2. ABS Spool Support Shafts
As the name suggests, I recommend ABS, although PETG may also work.
3. TPU Spool Support Covers and Gaskets
Print these in TPU.
4. PETG Desiccant / Hygrometer / Others
These can be comfortably printed in PETG.
The hygrometer is optional.
🧩 Assembly Instructions
1. Assemble the 2 Wayne Dryer Box Halves
Print:
- 1 left part (from the 2 available options)
- 1 right part
These join together using a cantilever snap-fit / tongue-and-groove system. They are intentionally not too stiff and should slide together gently.
Before joining:
- Apply adhesive to both sides
- On the left part, apply adhesive over the male edge
- On the right part, apply adhesive inside the female channel
- Make sure the adhesive is distributed evenly
Once joined:
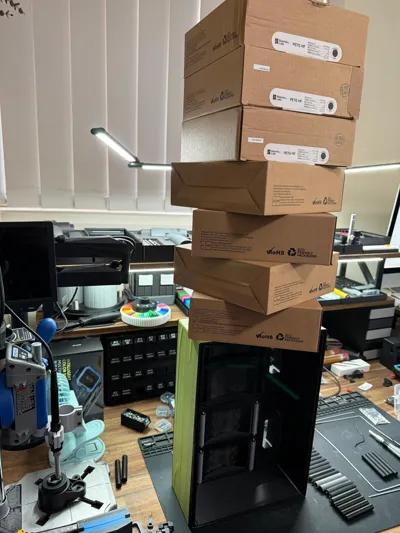
- Use thick masking tape or large ratcheting clamps to hold the box together
- I used masking tape and placed the box vertically
- Then I added 7–10 kg of filament on top as weight
Let it cure according to your adhesive instructions. For Gorilla adhesive, this was 24 hours.
⚠️ This step is critical for airtightness. If leakage is later detected, you may optionally apply silicone sealant around the joints. I did not need to do this.

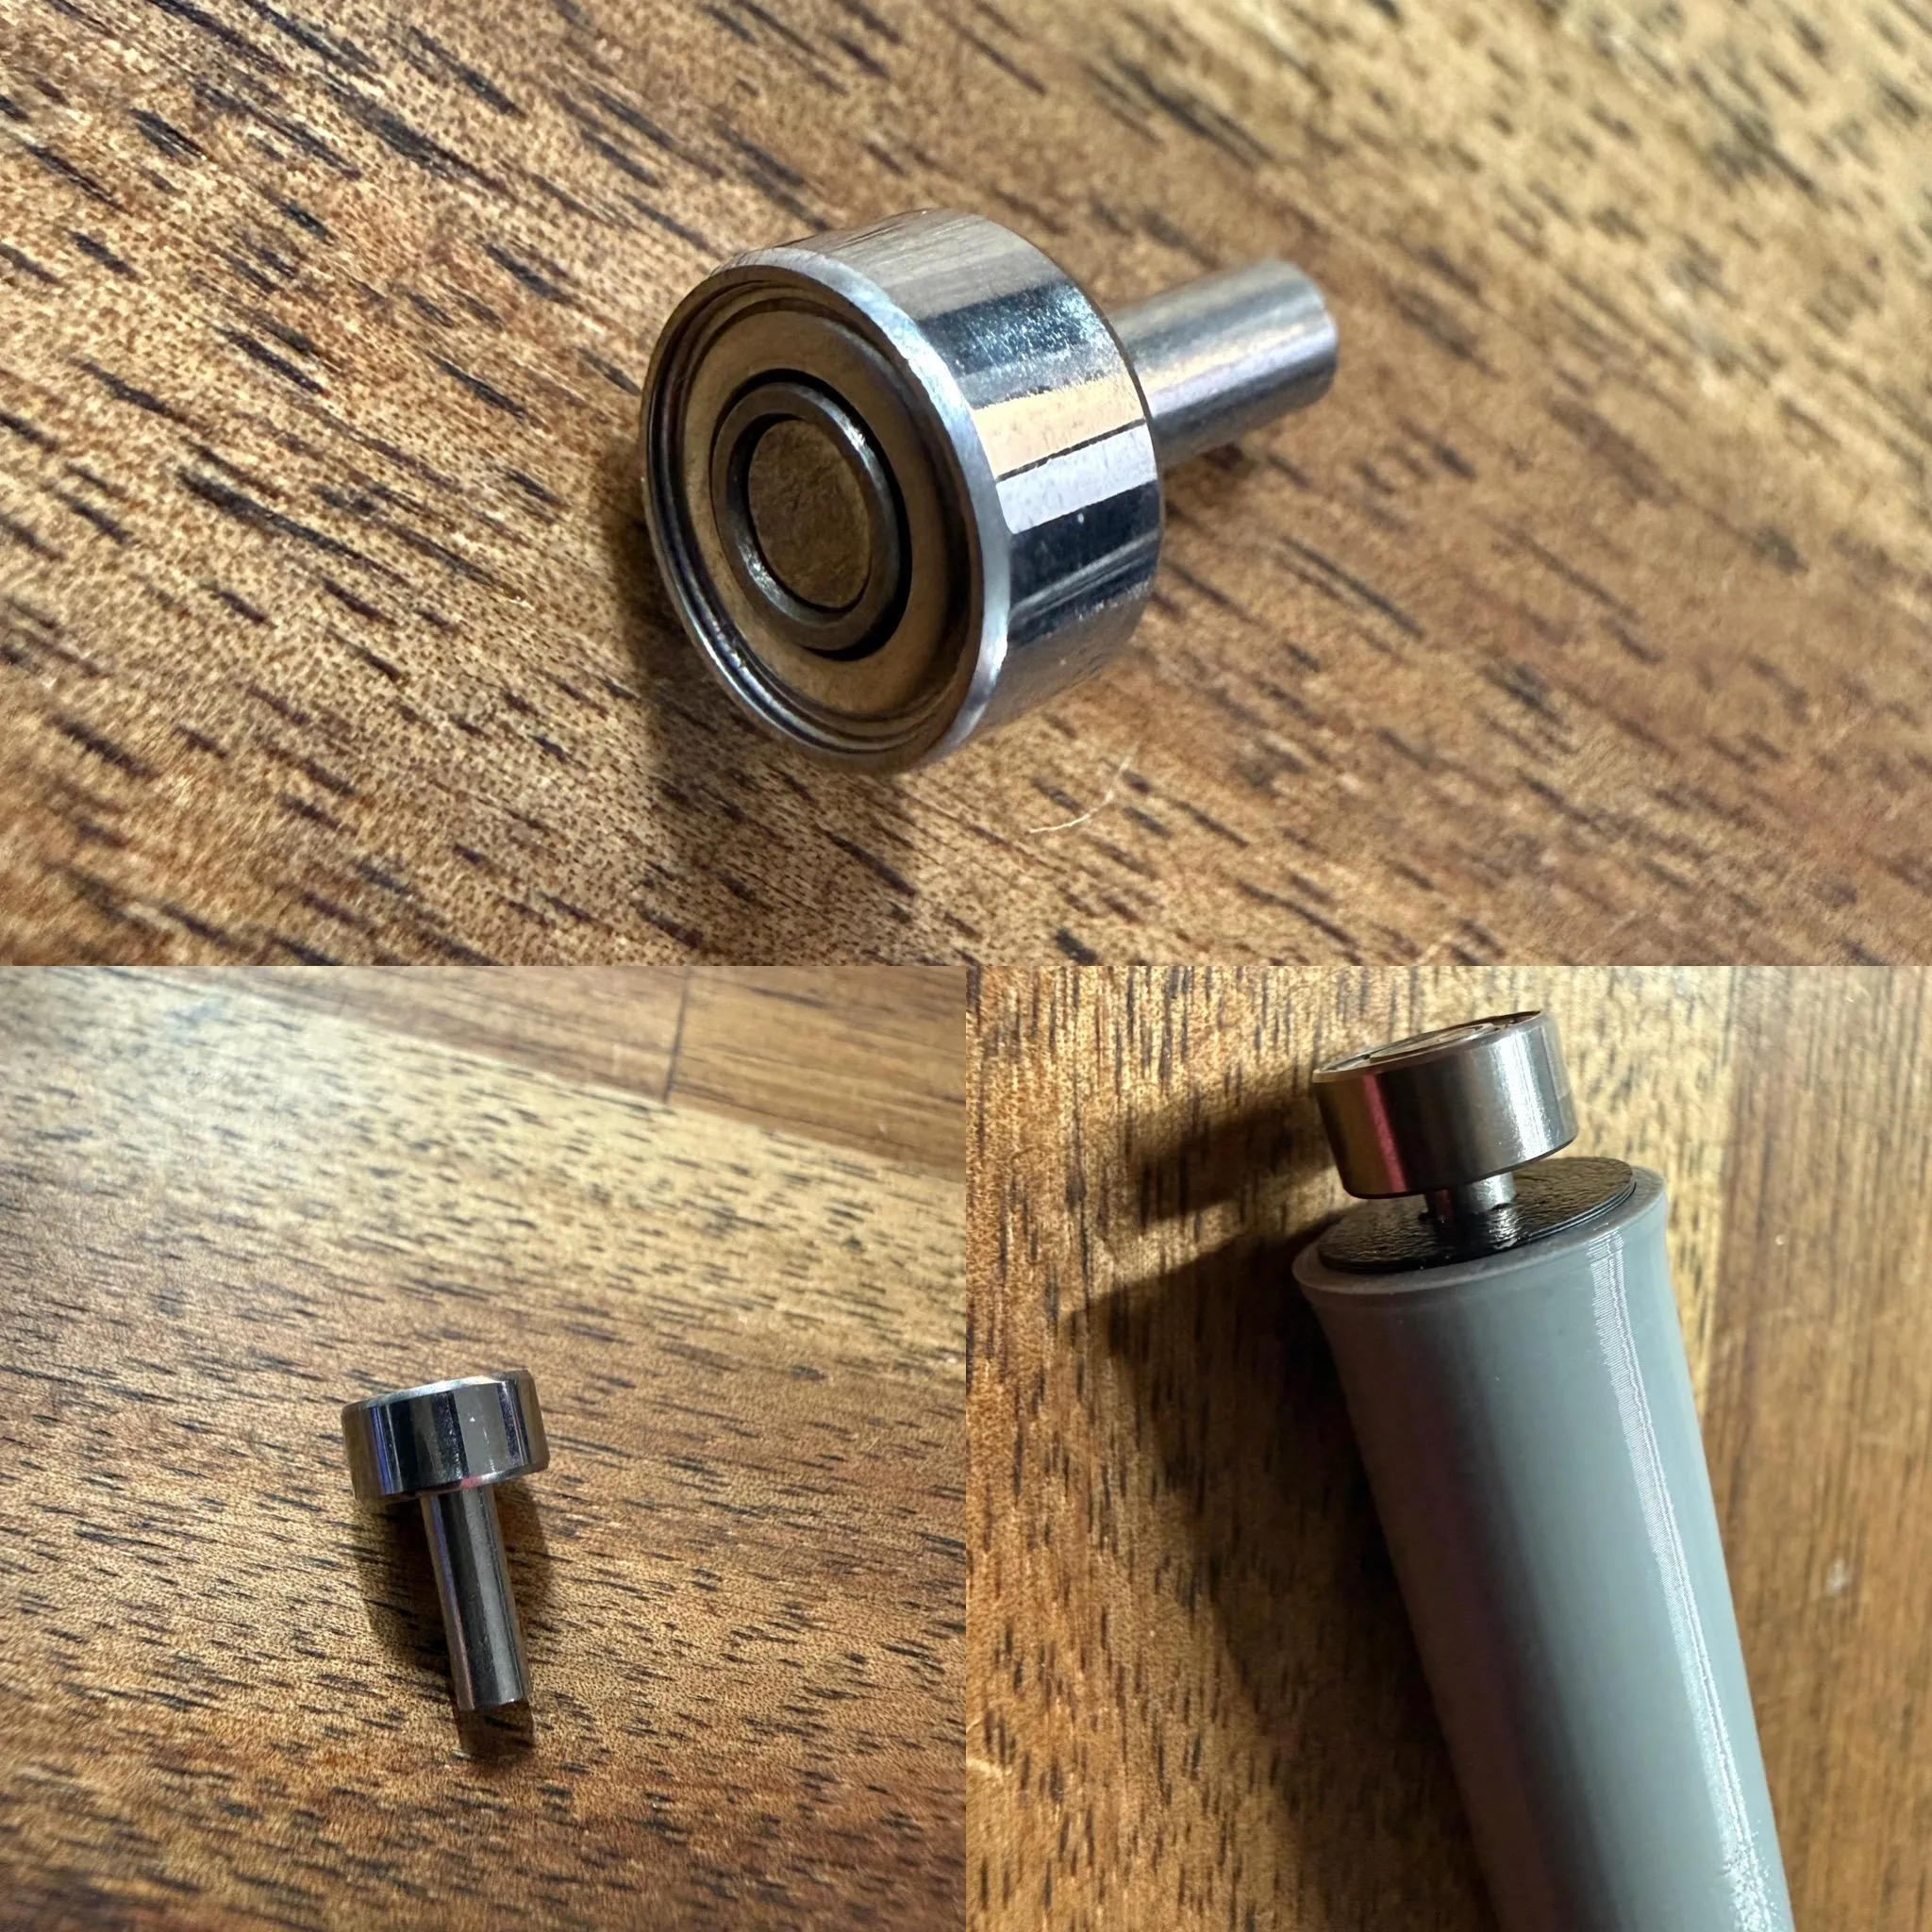
2. Assemble the 8 Spool Support Shafts
For each shaft:
- Slip on one of the TPU roller covers
- Each shaft requires:
- 2 × 693ZZ bearings
- 2 × 3×12 mm dowel pins
Steps:
- Insert a dowel pin into each bearing, leaving it flush
- Once you have two bearing sets ready
- Insert one set into each end of the shaft
- They should go in approximately 6–7 mm
Once the adhesive on the box is fully cured, proceed to final assembly.
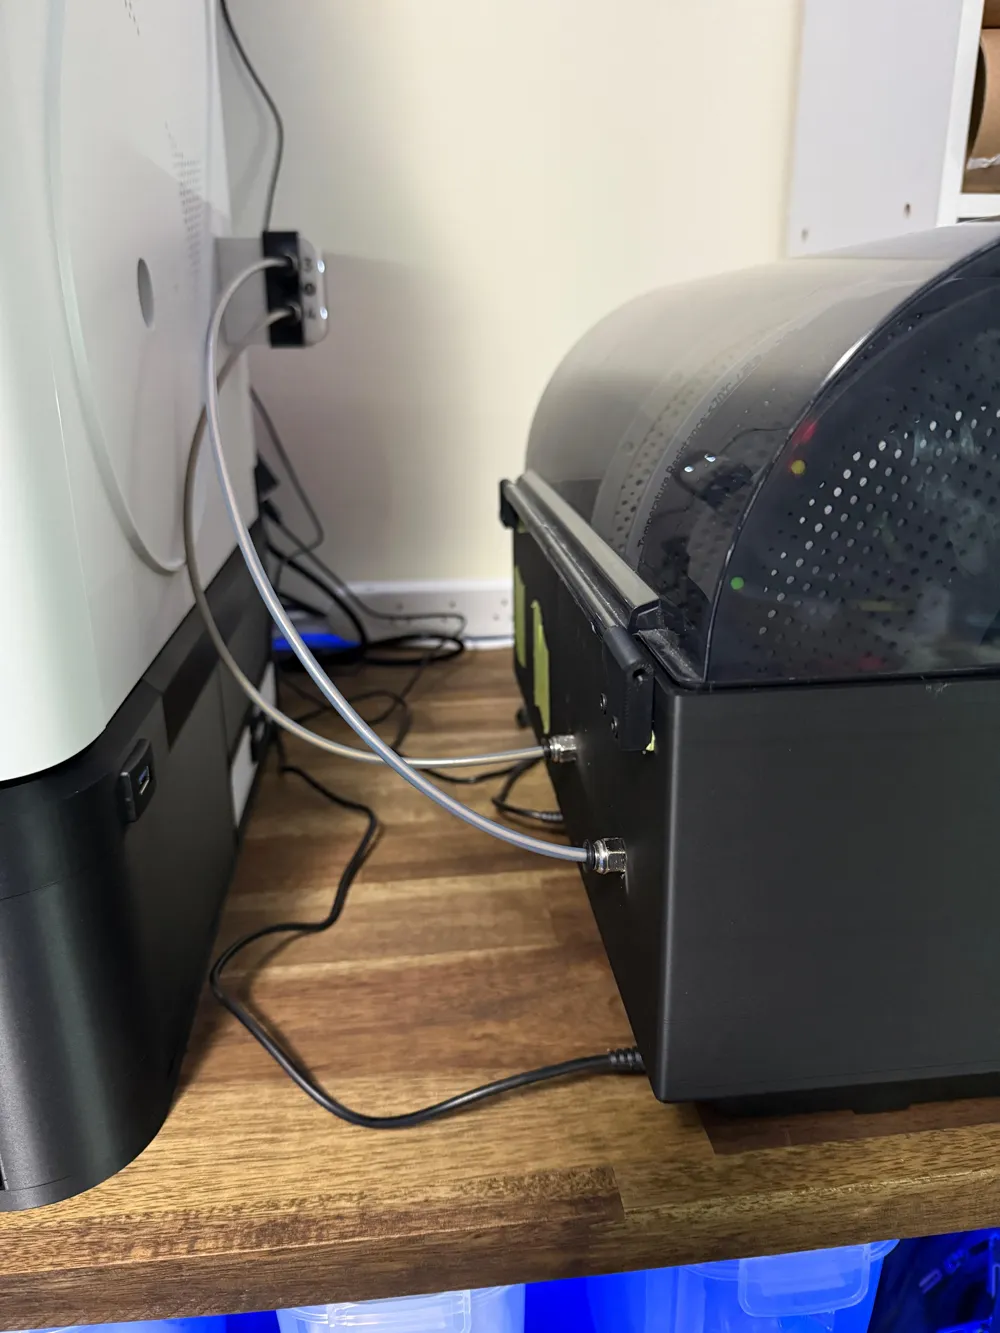
3. Put it all together
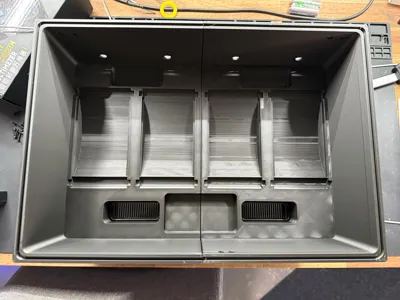
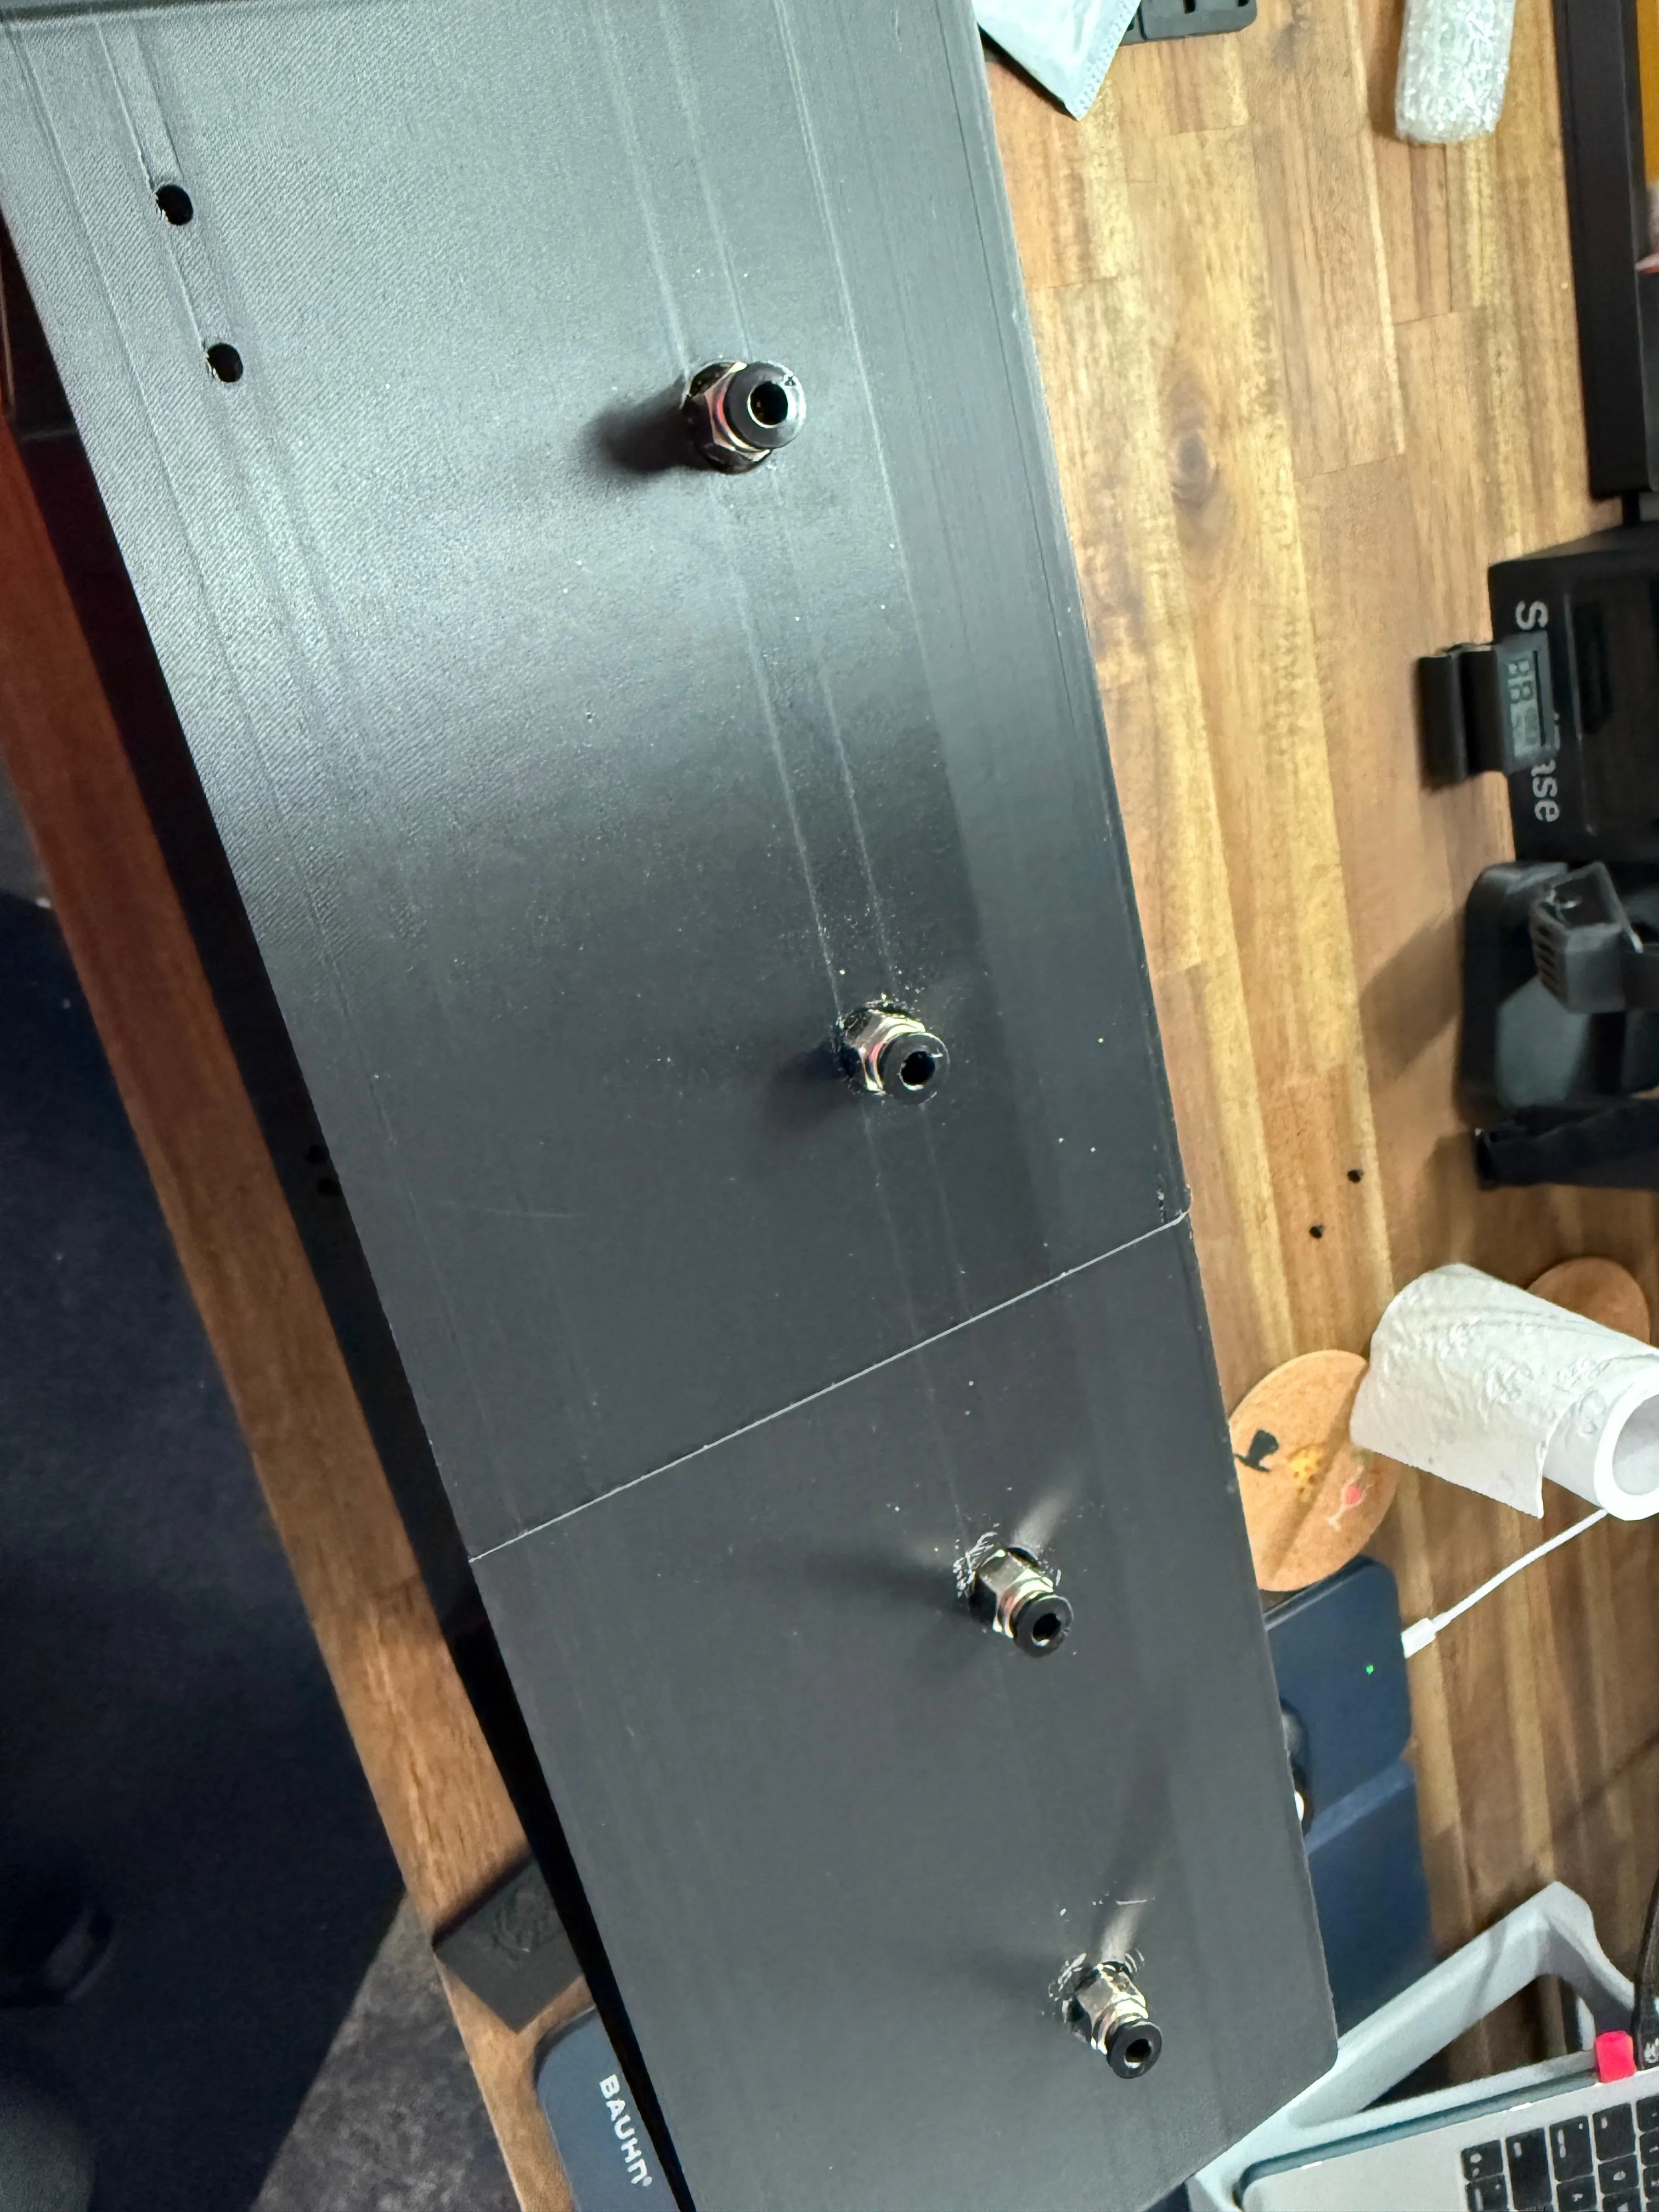
PTFE Fittings (behind the assembled Wayne Dryer Box)
- From the outside, screw in the 4 PC4-M10 fittings, one per hole
- Use pliers as they fit tight, fingers won't suffice
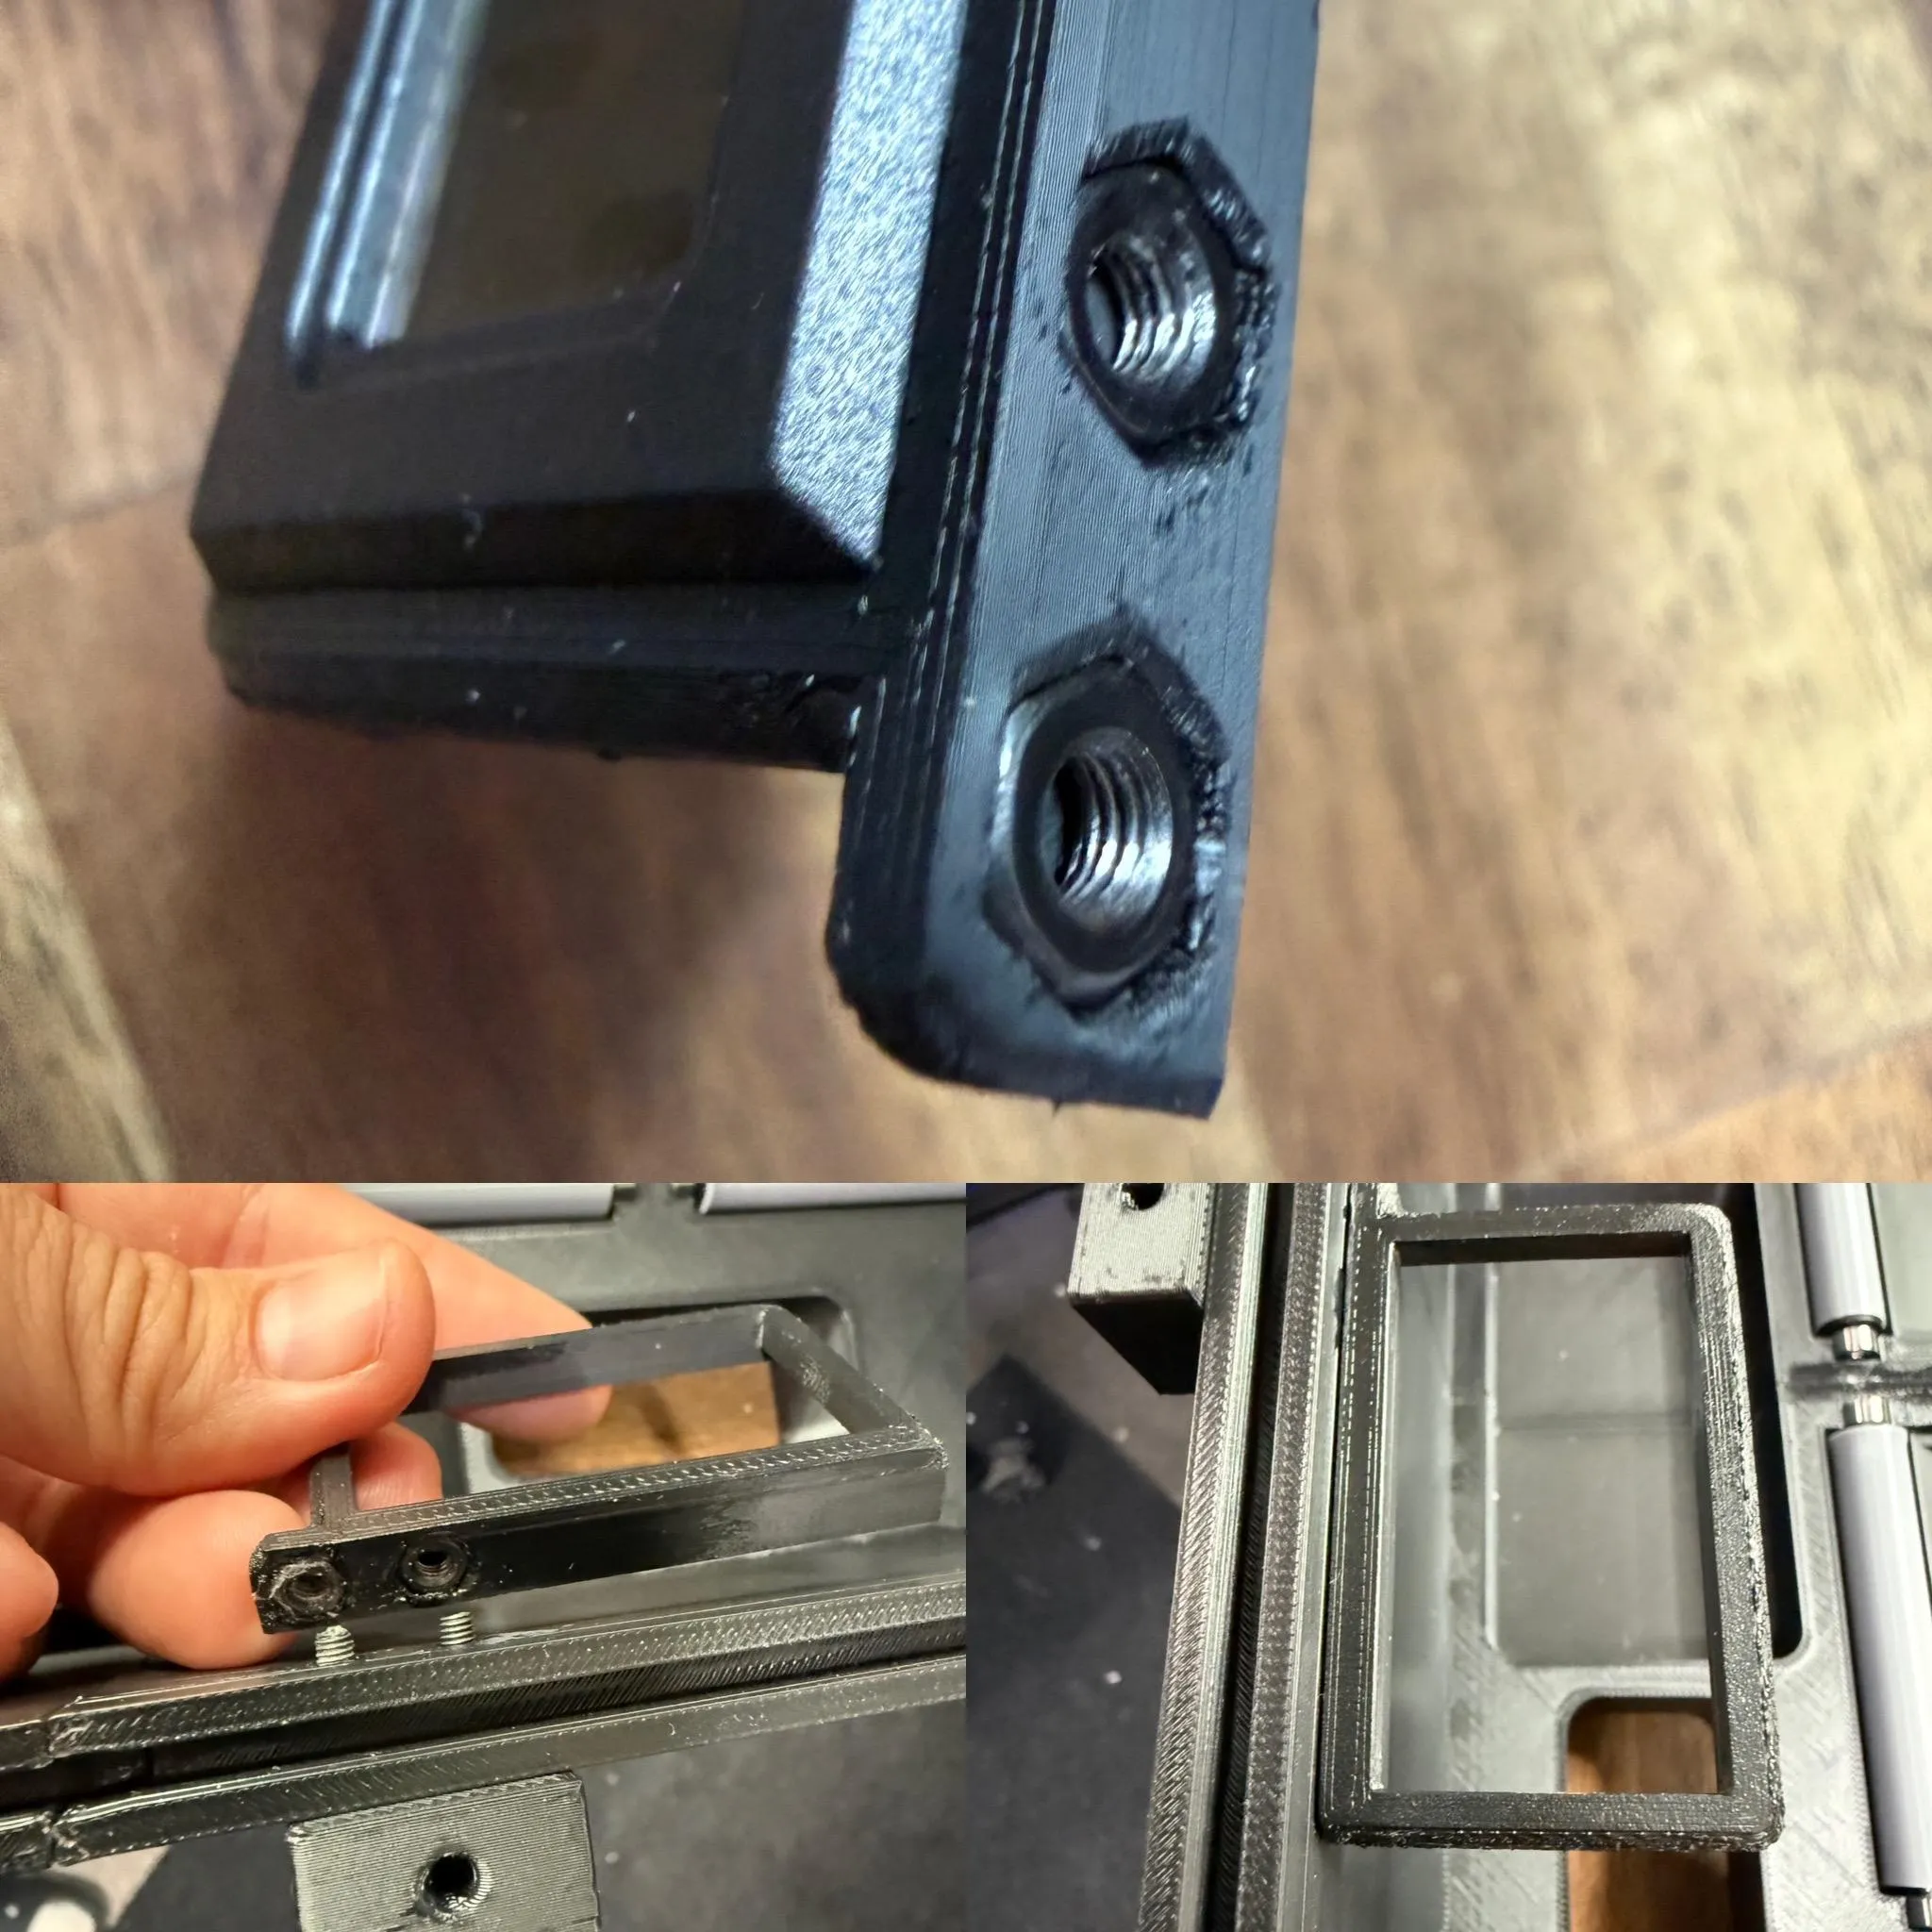
Lid Lock System (at the front of the assembled Wayne Dryer Box)
- Mount the lid lock support using:
- 2 × M3×18 hex socket head screws
- 2 x M3 nuts
- If installing the hygrometer, these same screws pass through first, holding the 2 x M3 nuts in place, and the remaining length can then be used to secure the hygrometer by reaching the 2 x M3 nuts inserted in the hygrometer mount. Yes, this is a double-nut setup.

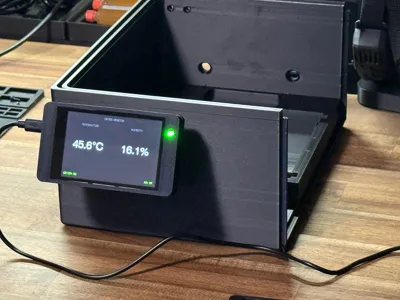
Hygrometer Installation (Optional)
- Insert 2 x M3 nuts into the hygrometer cavity
- I recommend fixing them carefully with super glue
- Then use the remaining screw length to mount it (as described in the step above)
⚠️ Do not overtighten, or you may damage the box walls due to the double-nut setup.
Lid Lock
- Secure the lid lock from the top using:
- 1 × M3×20 socket head screw
- 1 × M3 nut from below
- Again, I recommend fixing the nut with a small amount of super glue beforehand
- Tighten enough so the lock is firm, but do not overtighten it, so it still slides properly

Spool Support Shafts
- Insert the 8 pre-assembled shafts into their dedicated slots
- Make sure they roll freely
- Lubrication can be used if needed
- Ensure the bearings are spaced correctly and do not rub against TPU sleeves or any other part

Lid and Gasket
- Insert the TPU gaskets into the dedicated channel around the box
- The two gasket sections should overlap slightly
- You can apply some adhesive to help hold them in place and improve sealing if desired

Then:
- Position the top lid
- Insert the hinges
- Secure them with the 4 x M3×16 screws and nuts

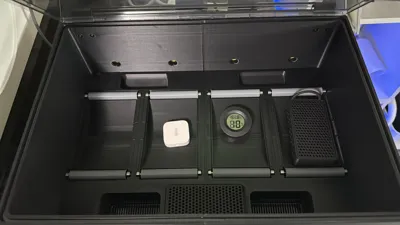
Desiccant Box
- Insert the desiccant box into its dedicated slot

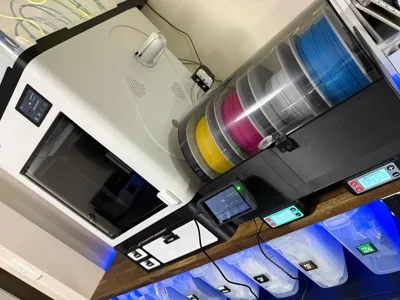
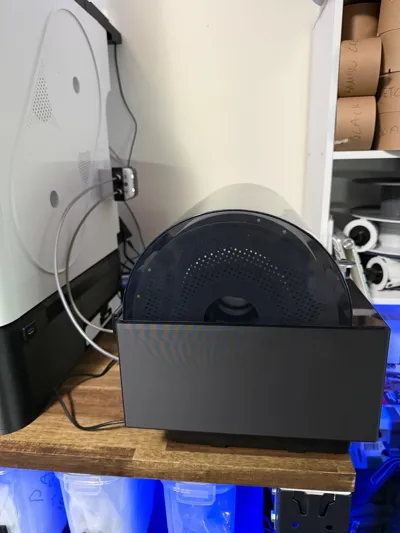
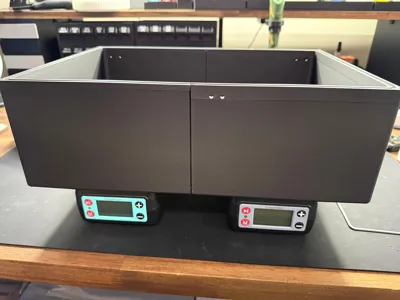
Final Placement
- Position the Wayne Dryer Box on top of the Polymaker Dryers
- Ensure they slot into the Wayne Dryer box properly
- They should slide in precisely and snugly
The heater blows air at the back of the Wayne Box, and return air flows at the front.
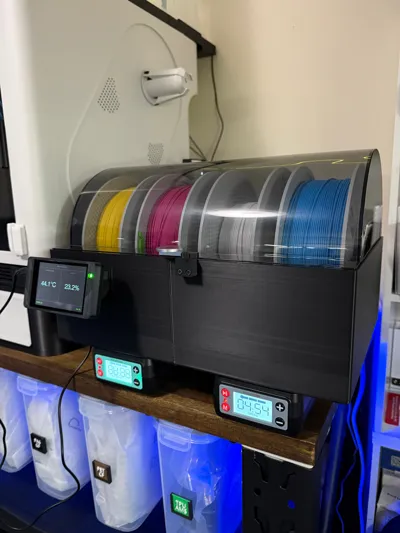
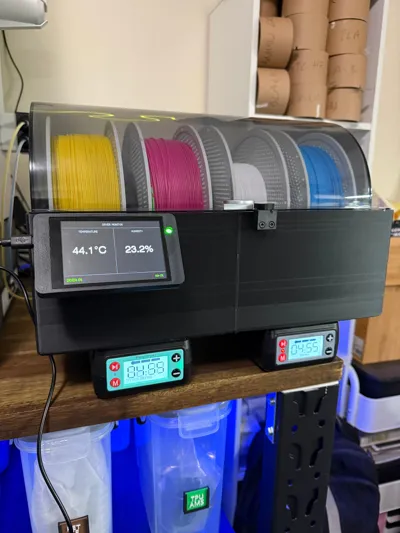
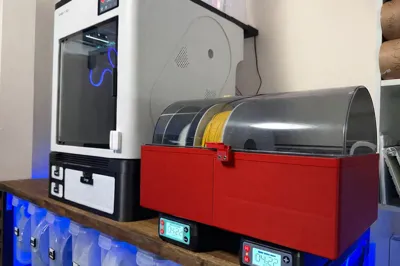
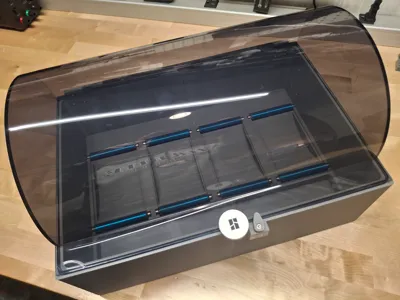
✅ Final Result
Congratulations — you now have a dryer box that, in my testing:
- Reaches just above a constant 53°C
- Keeps humidity comfortably under 20%
Enjoy.
🤓 Optional Geek Feature: SnapTouch (Snapmaker U1) / DryerDisplay (Dryer Only)
You may have noticed there is an optional left-side box part.
This is required if you want to implement SnapTouch (Snapmaker U1 mirror/control and/or Dryer monitor)
Find everything about SnapTouch here: www.snaptouch.net
📝 Printing Notes
- I first tested this in PLA. It printed nicely, but after several uses I noticed deformation near the hot air inlets
- To fix that, I moved to PETG and added reinforcements in certain areas
- I did not go back to fully retest PLA after those reinforcements, so PLA may or may not still work
- I also tested ABS
- As expected, ABS was more difficult to print
- It did not come out as pretty as PETG
- Tolerances were tighter or looser in some areas
- It still worked well overall
In the end, I chose:
- PETG for the main project
- ABS only for the spool support shafts
I strongly recommend sticking to the provided files and print profiles as they are. Some settings are carefully tuned and may not be obvious.
If you decide to modify or port this project elsewhere, do so at your own discretion and responsibility.
- Be aware that TPU is not as forgiving as PLA or PETG.
For the profile “(3 out of 4) TPU Spool Support Covers and Gaskets”, please be mindful of this and make sure your filament is fully dried and well tuned.
I sometimes experience issues (see photo bellow) when using the default Bambu TPU 95A HF profile. I realised the settings were too fast, so changing the profile to TPU 90A resolved the issues for me.
This depends entirely on your printing experience, printer setup, filament condition, and environment.

🙏 Special Thanks
Kevin G
Special thanks to Kevin G, who kindly allowed me to remix his dry box design and whose work served as a major inspiration for this project.
Please check out his profile for other amazing solutions and give him a follow.
Changes from Kevin’s original box:
- Support for 2 Polymaker Dryers as the main feature
- Reinforcements for exposure to temperatures up to 54°C
- Updated desiccant box to fit the new available space
- Completely redesigned hygrometer mount, with no more clashes with the spools or crooked mounting
- Improved lid lock user experience, making it easier to grab and smoother to slide
- Improved lid lock mount dimensions for perfect alignment with the AMS lid
- Completely redesigned spool support shafts for better printability and smoother rolling
- Improved lid hinges, which now also act as a rest for the lid so it stays open like the AMS does
- Support for the SnapTouch / DryerDisplay
- Improved airtightness overall, including revised tolerances and better AMS lid closure
Wayne
And once again, a huge thank you to Wayne for his generous donation and for inspiring the name of this project. Without his help, this project would not have moved forward the way it did.
⚠️ Disclaimer
This project is provided as-is. By downloading, printing, or assembling it, you accept full responsibility for your own setup, installation, use, and safety.
Please note:
- You are solely responsible for ensuring your materials, printer settings, adhesives, and assembly methods are suitable for your environment
- I do not have access to professional laboratories, industrial testing equipment, or certified safety validation tools
- I cannot guarantee performance, durability, airtightness, thermal resistance, or safety in every setup
- Users must assess their own risk, especially when working with heat, enclosed spaces, adhesives, and mechanical assemblies
Even though the recommended materials have temperature tolerances above the operating range observed in my testing, your environment, print quality, assembly quality, and usage conditions may differ.
You are responsible for:
- Verifying safe operation in your own setup
- Monitoring the project during use
- Ensuring no component interferes with printer operation, heat sources, electronics, or nearby objects
- Deciding whether the materials and construction are appropriate for your intended use
By using this project, you acknowledge that I am not liable for damage, failure, loss, injury, fire risk, material deformation, or any direct or indirect consequence resulting from its use or misuse.
Proceed only if you are comfortable taking full responsibility for your own build.
Membership
Love my models? Support future creations, or unlock a commercial licence and turn eligible prints into sales.
Boost Me (for free)
Support this design with a Free Boost! Your feedback and boosts help me prioritize future updates for this model.
💚 💚 💚 💚 💚 💚 💚 💚 💚 💚 💚 💚 💚 💚 💚
Thank you for printing my models
💚 💚 💚 💚 💚 💚 💚 💚 💚 💚 💚 💚 💚 💚 💚

This remix is based on
License
You shall not share, sub-license, sell, rent, host, transfer, or distribute in any way the digital or 3D printed versions of this object, nor any other derivative work of this object in its digital or physical format (including - but not limited to - remixes of this object, and hosting on other digital platforms). The objects may not be used without permission in any way whatsoever in which you charge money, or collect fees.
Comment & Rating (13)