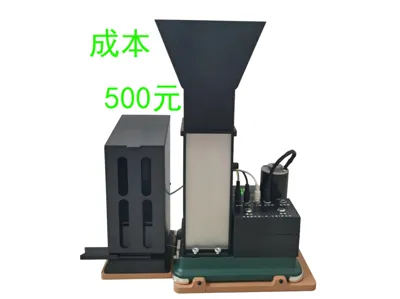
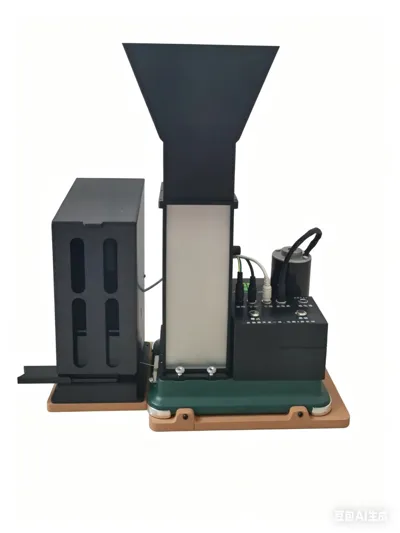
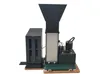
Part Four: 6.5MM Automatic Cigarette Rolling Machine Tube Dispenser


Print Profile(1)
Description
Boost Me (for free)
If it's useful, remember to like, comment, and share. Thanks~!!!
This is the tube dispenser part of the 6.5MM automatic cigarette rolling machine, compatible with the 6.5mm Hermit Crab 2nd generation Roman foot model. If you want the complete set, check my homepage. Let's get started without further ado.
Hardware:
4 M2*10 cap head screws,
6 M2.5*8 countersunk screws,
1 M3*15 cap head screw,
2 M4*5 countersunk screws,
4 M3*8 flat washers,
4 M2*5 heat-set nuts,
2 nylon standoffs, 5mm outer diameter, M3 inner diameter, 5mm length
1 extension spring, 0.5mm wire diameter, 5mm outer diameter, 25mm total length
a piece of filament
2 PTFE tubes, 4mm outer diameter, 2mm inner diameter, 3mm length
1 gear cable (steel wire rope), 1.2mm thick, 300mm long
1 DC5.5*2.1 plug with 400mm long cable
1 PWM DC motor speed controller, 4.5V-30V 5A
1 24V 160rpm geared motor with D-shaft
2 wires, 100mm long.

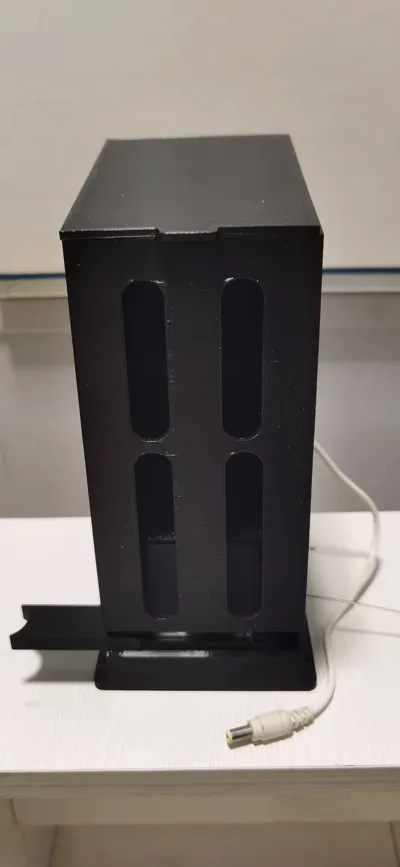
First, embed M2*5 heat-set nuts into the back of the tube feeder (I had M2*2 available, so I used two to increase the thickness). I usually screw the nut onto a screw, heat the screw head with a windproof lighter, then place it into the hole (you can use tweezers for positioning and a screwdriver to press down), trying to align it with the center. Embedding with a soldering iron can result in misalignment and deviation.


At these two points indicated by the tweezers, the internal supports must be completely removed.

Then insert the extension spring. Screw an M2*10 cap head screw into the upper hole to secure the spring.

The screw on the back should not protrude beyond the surface.

Insert it at this angle.


After removing the support from the bottom here (pointed at by tweezers), be sure to flatten it with a blade, especially near the slide rail.

Secure the spring with an M3*15 cap head screw.


M2*10 cap head screw with M3 flat washer and nylon standoff (Note that the smooth side of the flat washer should face the nylon standoff).

Screw in the heat-set nut, tighten it, but don't over-tighten. Test if it slides smoothly; if not, you can add a drop of lubricant.

Insert the PTFE tubes into both sides.

Embed M2*5 heat-set nuts into both sides of the vibration plate.

Place the vibration plate in this direction. Align the heat-set nut with the PTFE tube hole.

Screw M2*10 cap head screws with M3 flat washers into both sides. Be careful with the force; do not overtighten.

Use M4*5 countersunk screws to secure the motor.

Install the rotating wheel as shown in the diagram.

Connect the motor wires to M+ and M- on the speed controller.

Thread the DC cable through the eyelet on the right side of the tube dispenser.

Add a buckle to the DC cable. Connect it to V+ and V- on the speed controller. Pay attention not to reverse the positive and negative poles.

Place the motor board into the slide rail. Pay attention to the direction in the diagram.

Secure the speed controller. The capacitor side should face downwards.

Push the motor upwards.

After adjusting the desired vibration height, screw M2.5*8 countersunk screws into both sides.

The vibration height can be seen here.

Thread the steel wire rope through here.

Place it into the groove.

Pull it tight into the hole.

Screw in the M2.5*8 countersunk screw.

Finally, place the top cover and thread the filament.

Done.

License
You shall not share, sub-license, sell, rent, host, transfer, or distribute in any way the digital or 3D printed versions of this object, nor any other derivative work of this object in its digital or physical format (including - but not limited to - remixes of this object, and hosting on other digital platforms). The objects may not be used without permission in any way whatsoever in which you charge money, or collect fees.
Comment & Rating (0)