MeshT2 - Meshtastic Case for Wireless Tracker V2


Print Profile(1)
Description
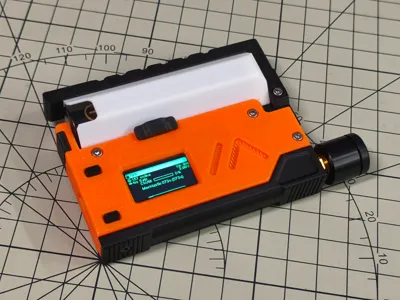
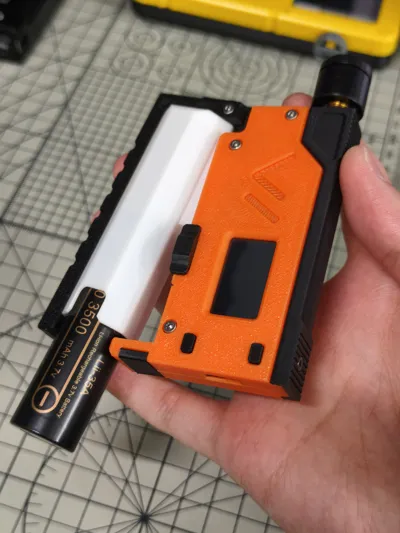
MeshT2 - Meshtastic Enclosure for Heltec Wireless Tracker V2
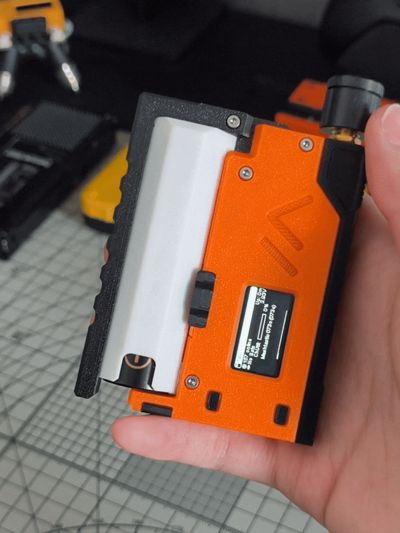
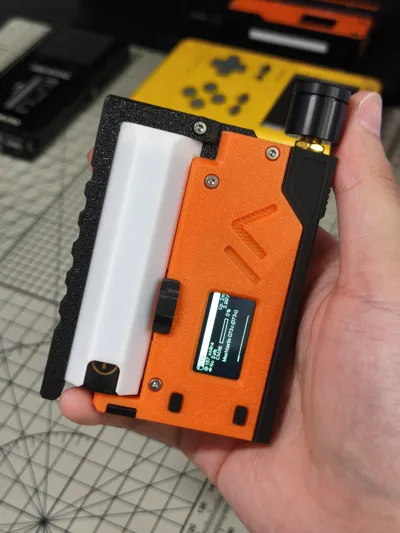
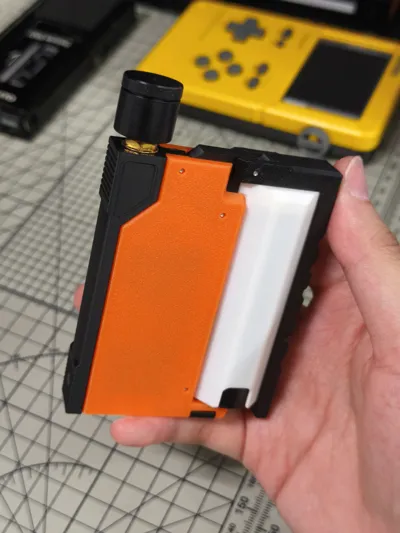
This print kit is suitable for the Heltec Wireless Tracker V2, featuring a magazine-style battery replacement design for quick 18650 battery changes
BOM List
- 3D Printed Enclosure B1
- 3D Printed Enclosure B2
- 3D Printed Enclosure U1
- 3D Printed Enclosure L1
- 3D Printed Enclosure S1
- 3D Printed Enclosure S2
- 3D Printed Enclosure M1
- 3D Printed Enclosure C1
- 3D Printed Enclosure C2
- Antenna
- IPEX to SMA female adapter cable, 5cm length
- Spring, 0.3mm wire diameter, 2mm outer diameter, 10mm length
- M2x10 socket head cap screws (4 pieces)
- M2x4 flat head socket screws (3 pieces)
- AAA battery contacts
- Terminal wires
- Heltec Wireless Tracker V2
- 18650 battery

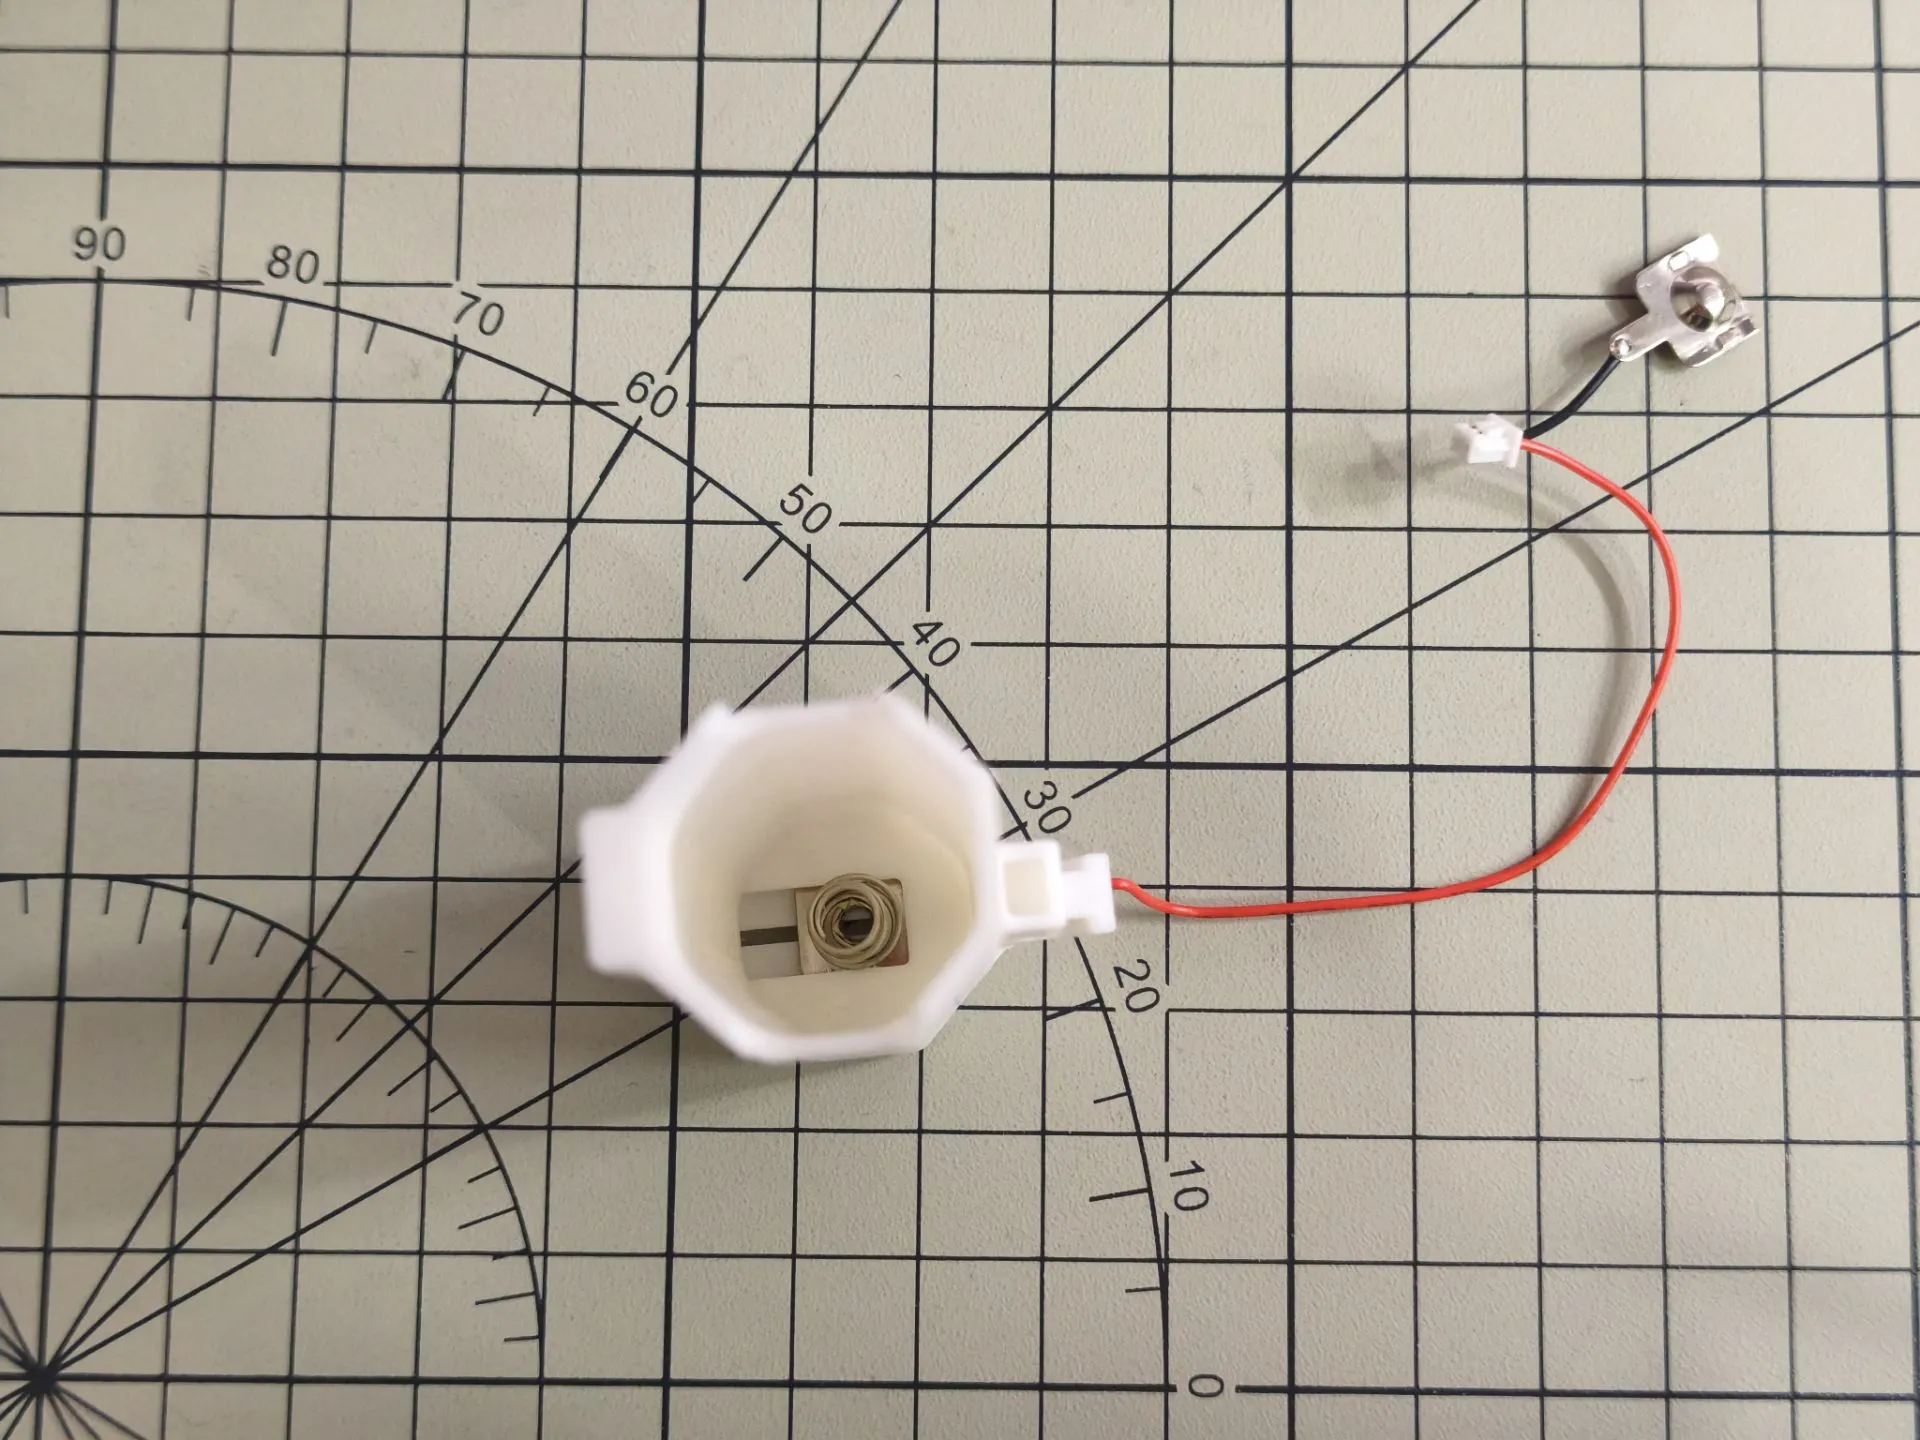
Battery contact dimensions are shown in the figure below, compatible size range: 9.0mm ~ 9.8mm

Assembly Instructions
Trim the terminal wires, red wire 10cm long, black wire 1.5cm long

Trim the battery contacts and flatten the protrusions on both sides

Solder the battery contacts to the terminal wires

Install the battery contacts into B1, glue is needed to secure them
Assemble B1 and B2 using 2 M2x4 flat head socket screws

Assemble B2 and M1 using 1 M2x10 socket head cap screw

Install the SMA adapter cable into S1

Connect the SMA adapter cable and terminal wires to the Wireless Tracker V2, paste C2 onto the Wireless Tracker V2

Install the Wireless Tracker V2 and battery contacts into L1, adjust the cable position

Install the spring and C1 into U1

Assemble U1 and L1 using 3 M2x10 socket head cap screws

Assemble U1 and S1 using 1 M2x4 flat head socket screw

Install S2

Install the antenna

Insert the battery
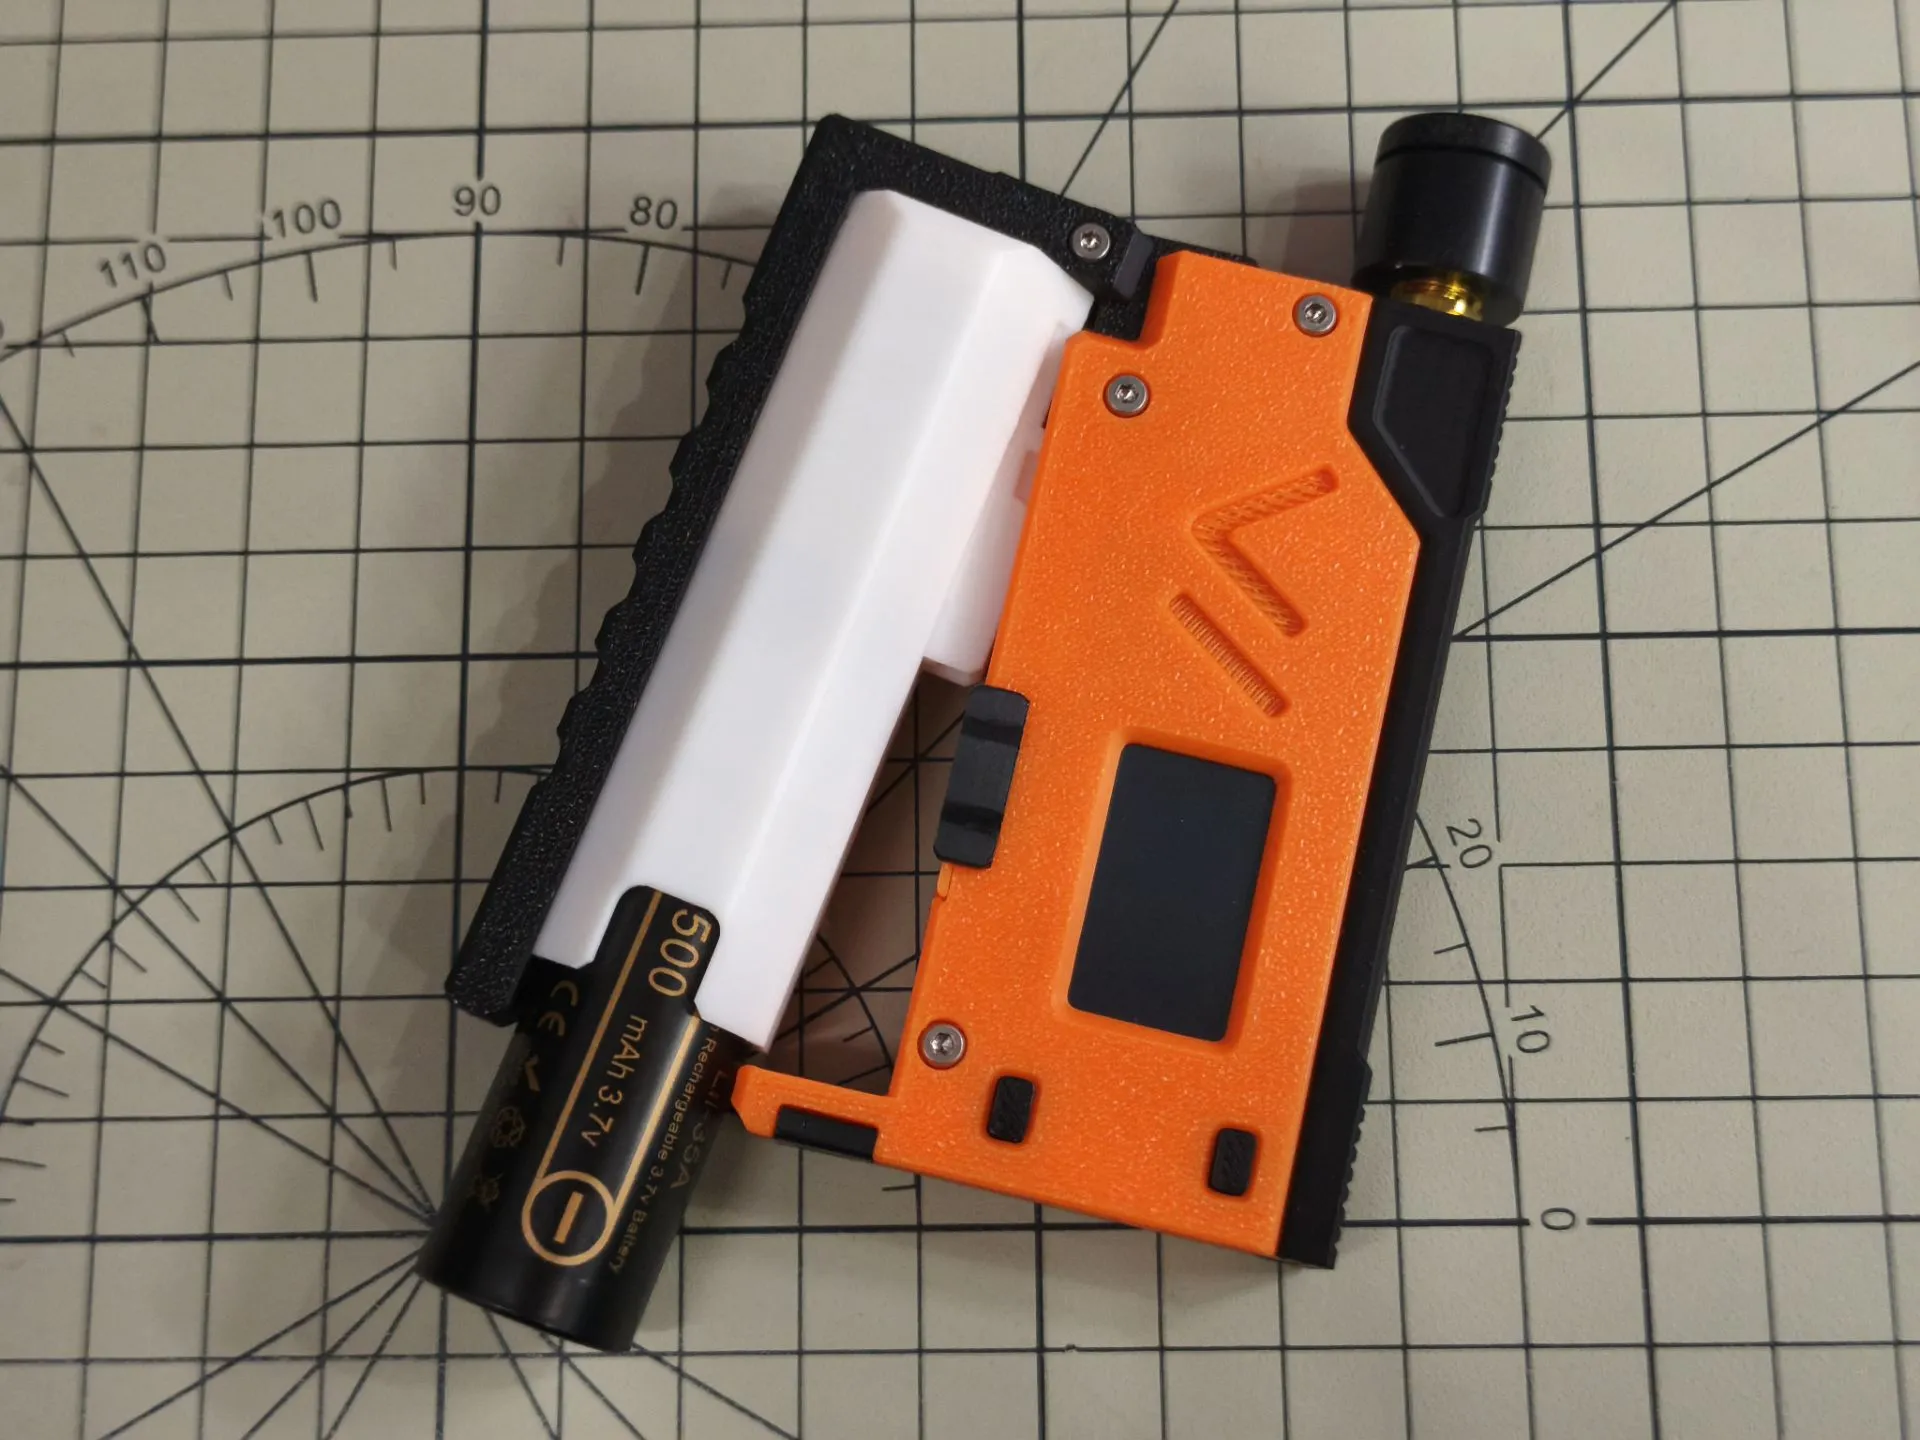

Assembly complete
Comment & Rating (12)