
SCX24 - C10 bed delete
Print Profile(2)


Description
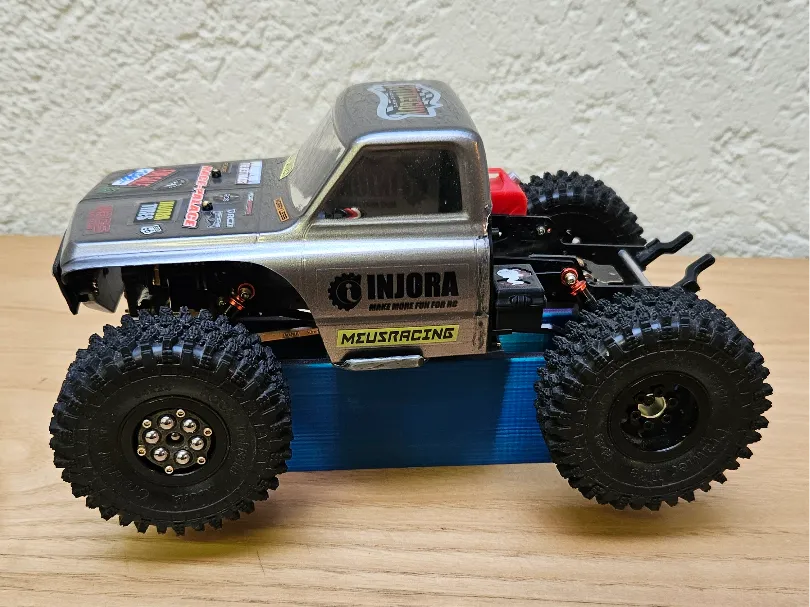
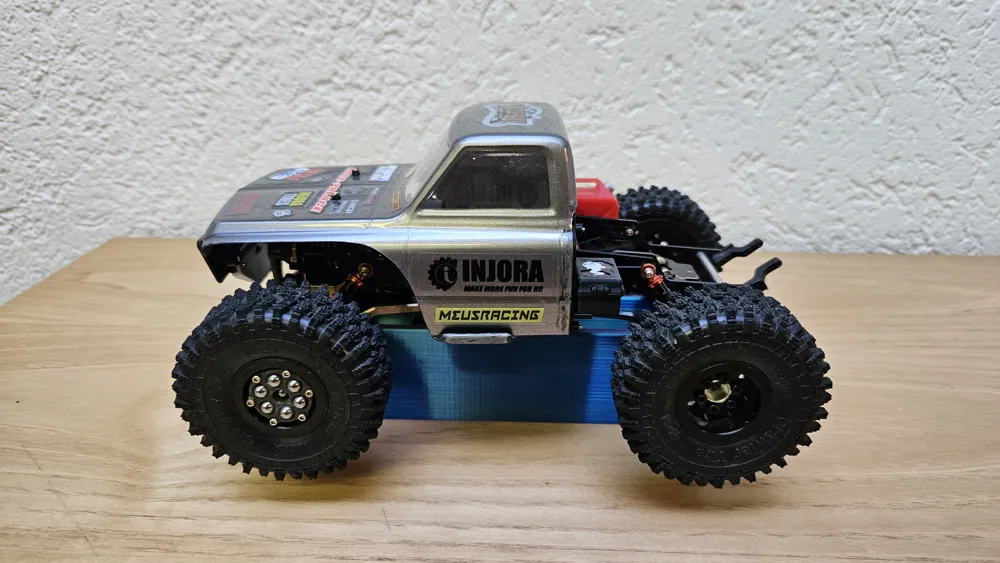
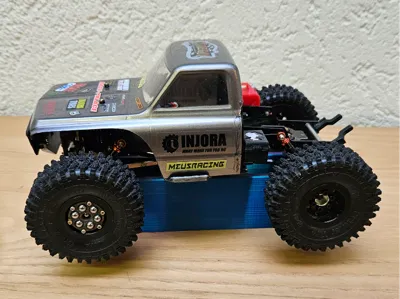
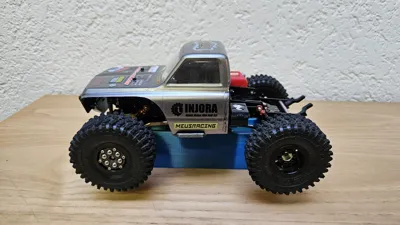
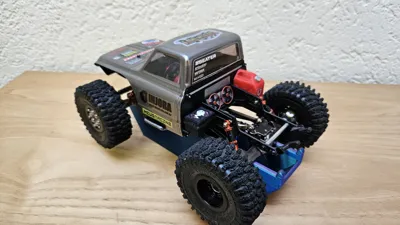
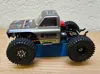
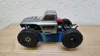
Bed delete conversion kit for Axial's SCX24 Chevrolet C10 lexan body.
Please read carefull, important.
Im uploading this only at the request of another user as it was only designed specificly for my own chassis layout and not with repeatability in mind. It's a finicky process of cutting the body to the exact tolerances aswell as glueing the main support bracket in precisly. You will have to improvise to make it work and i take no responsibility if someone cuts off too much or if it doesnt work.
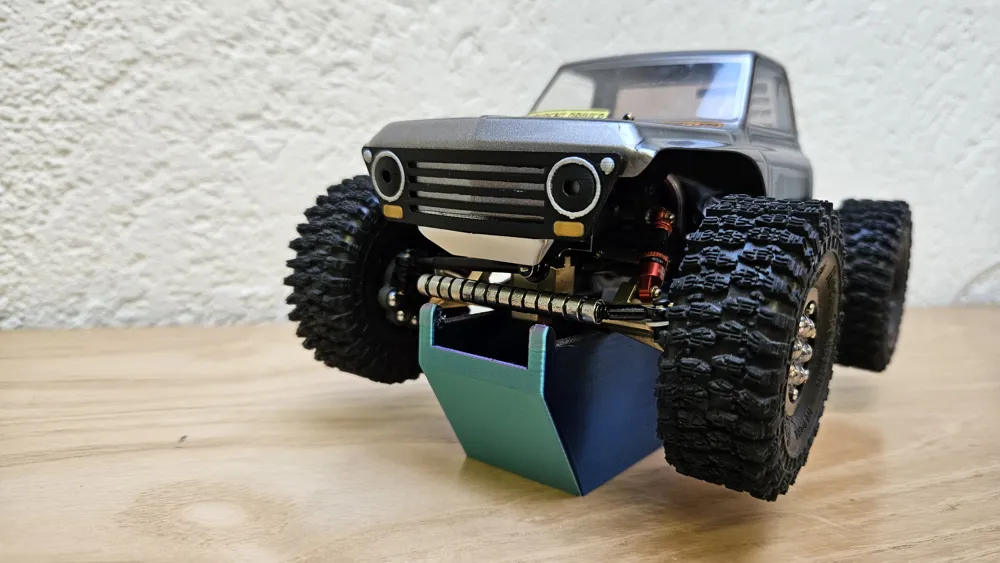
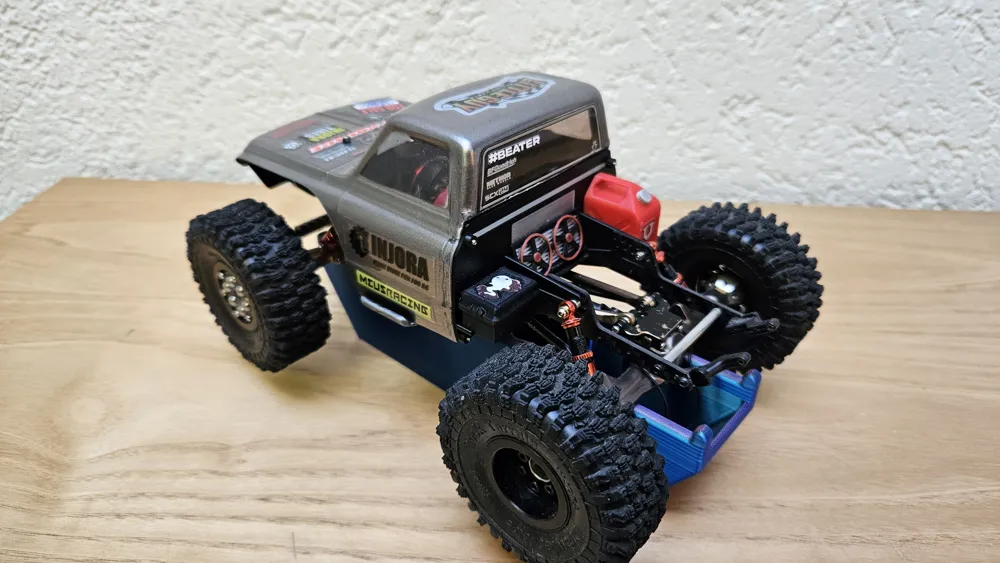
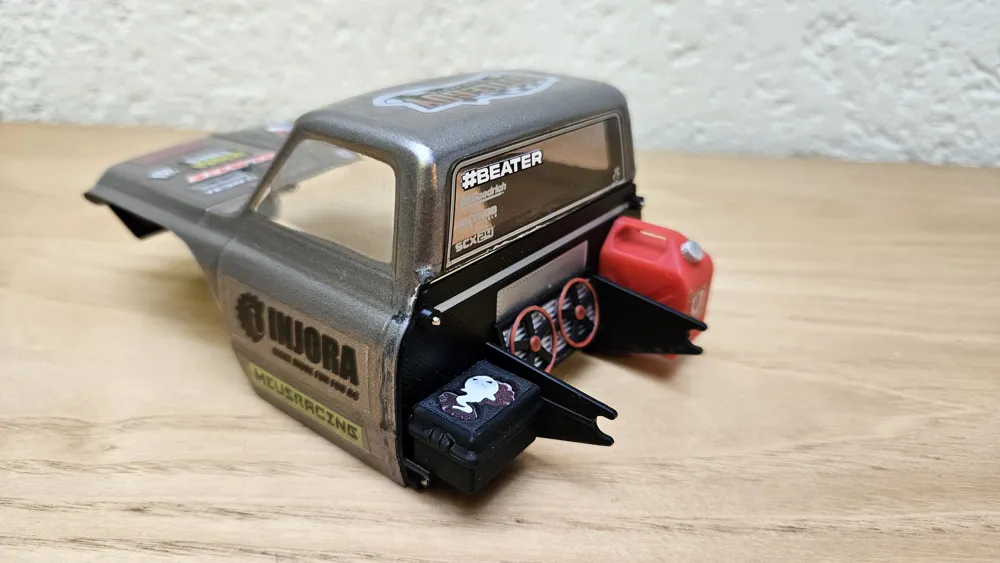
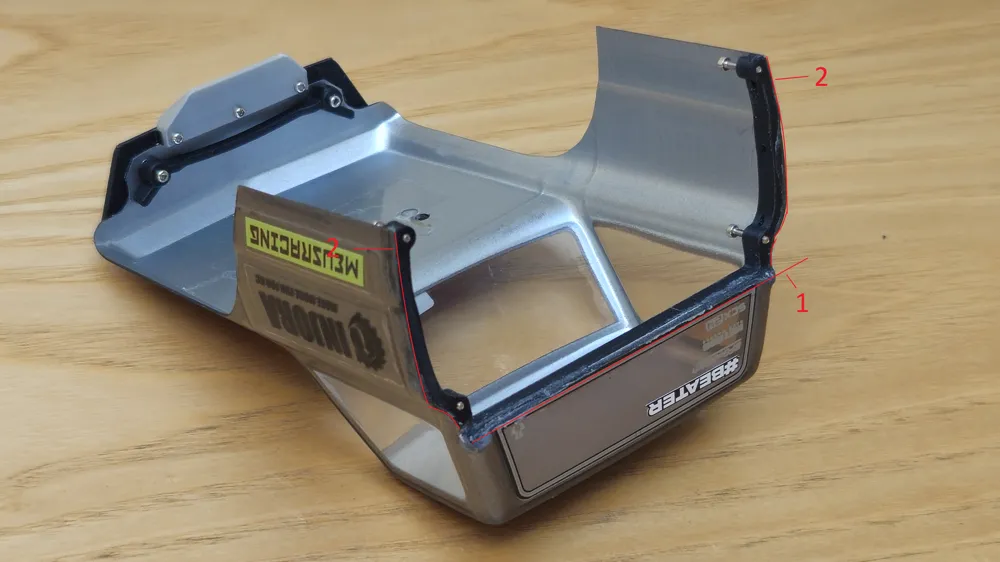
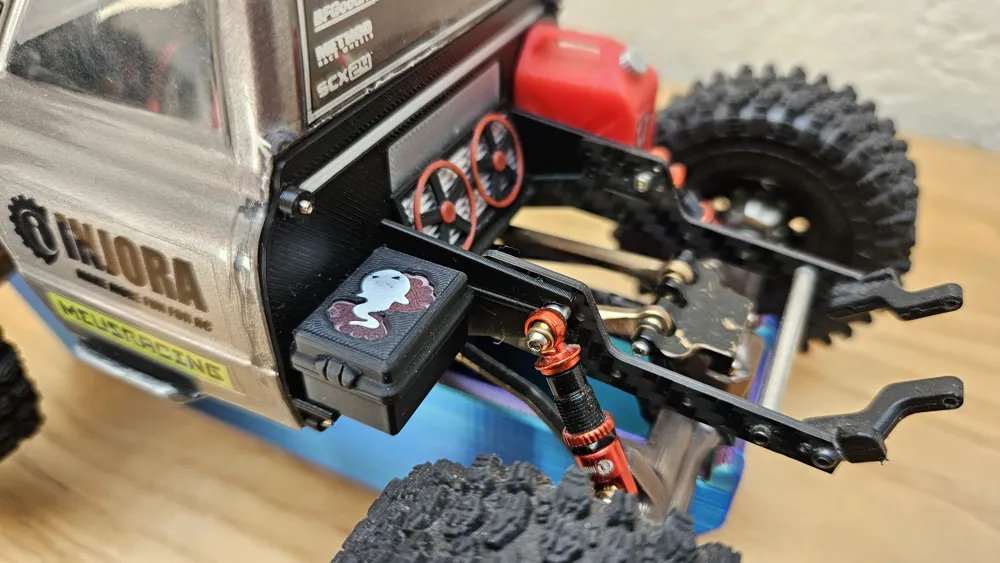
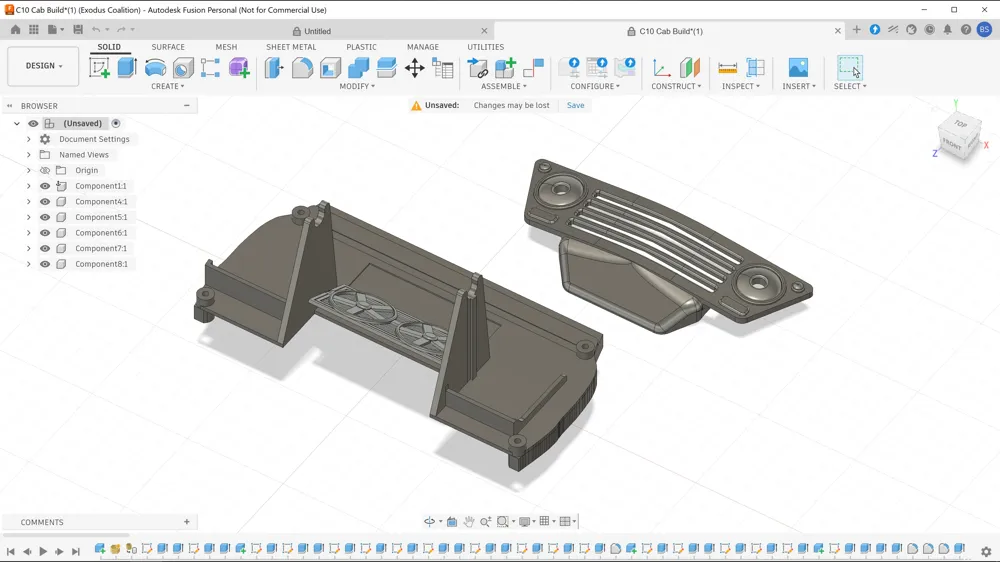
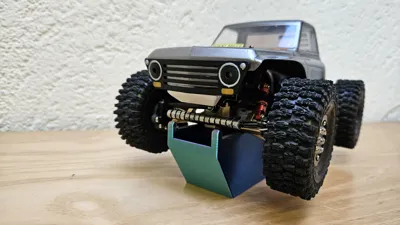
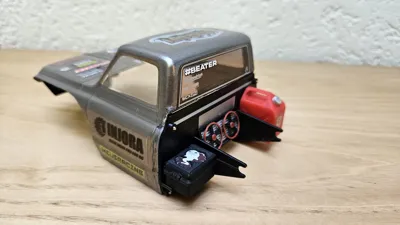
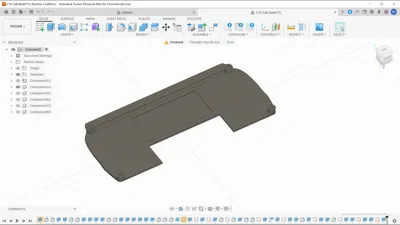
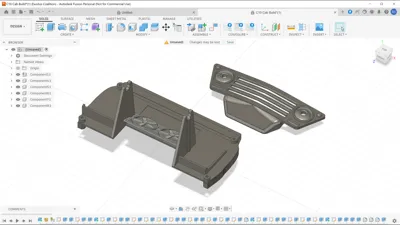
The kit consist of a structural bracket (pic 8, 9) that's glued directly to the lexan body, two rear walls (my original one that probably will be useless pic 4 and 10, an alternative flat version without rear supports for easier adaptability pic 11), a fake radiator and fans (printed with 0.2mm nozzle, seperate print profile, pic 10), a new front grill for better steering clearance and rock slider plate (pic 1).
Instructions:
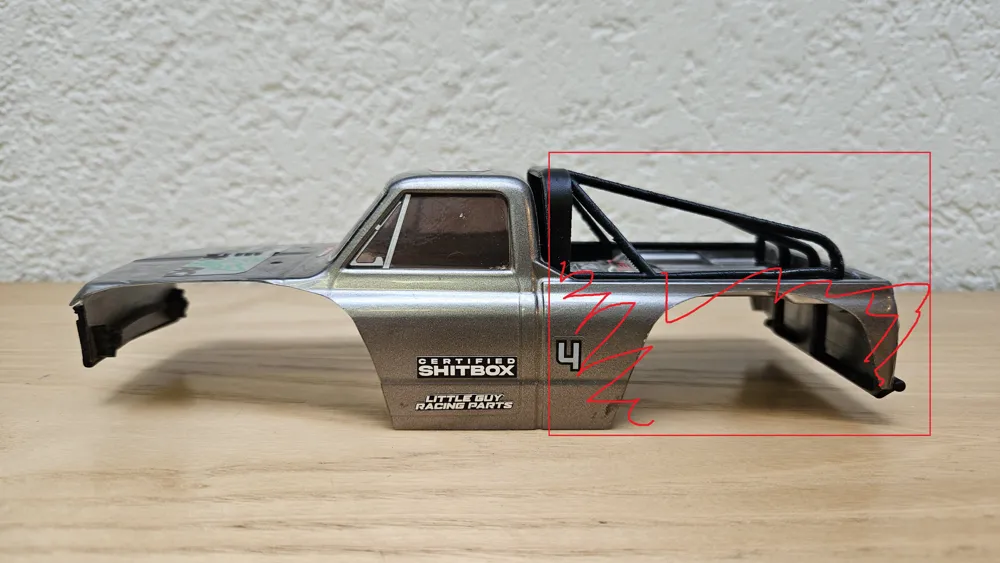
- Cut bed loosly as in pic 5
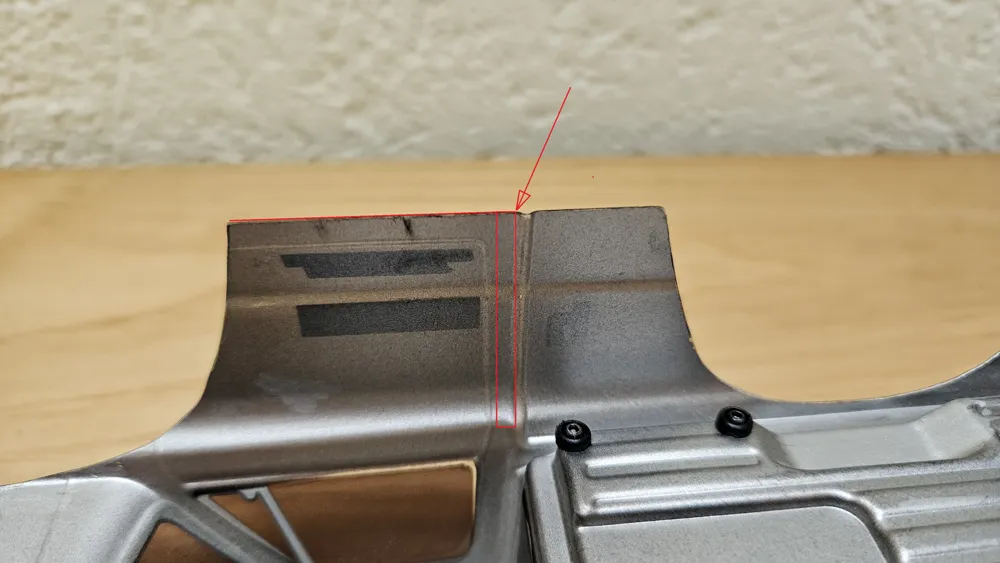
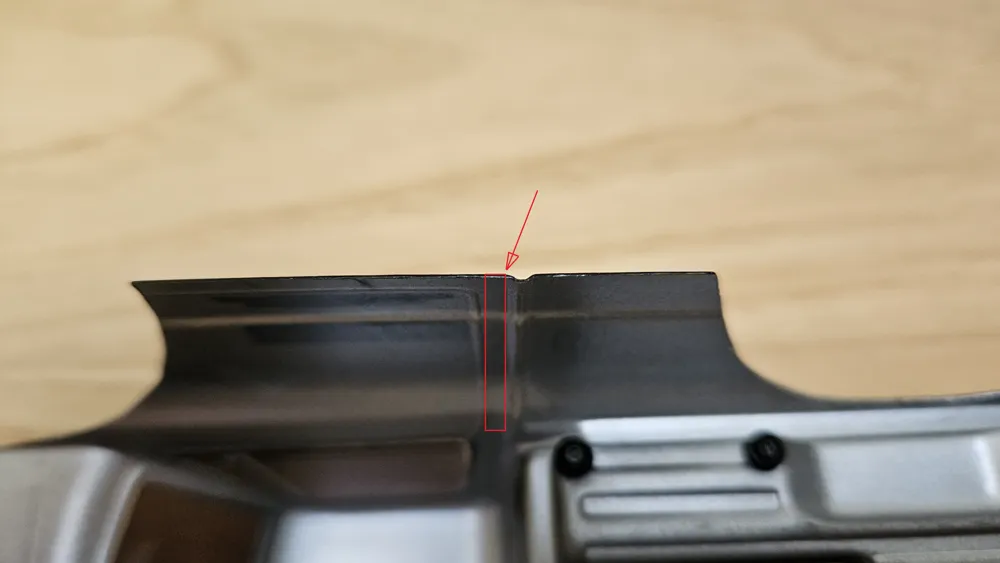
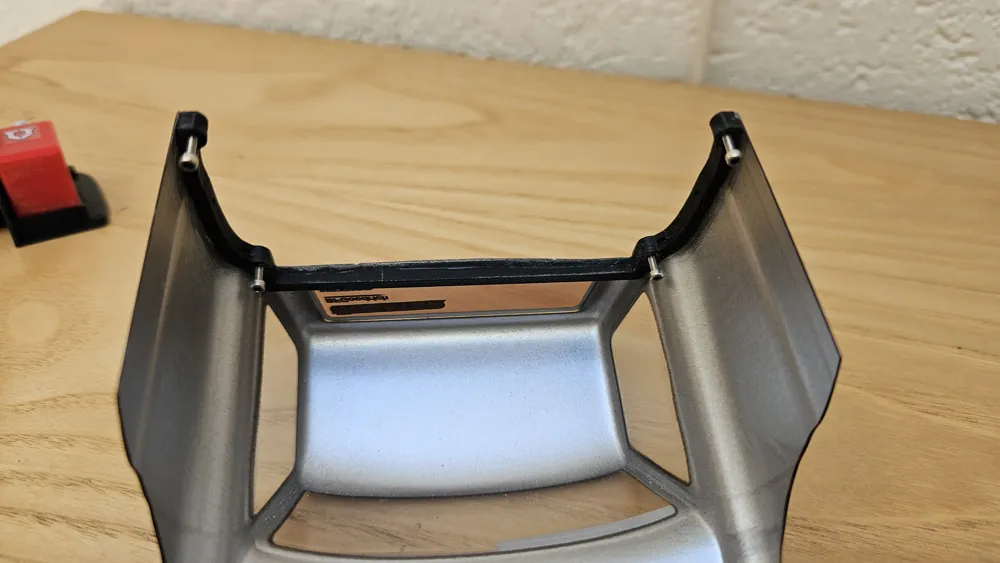
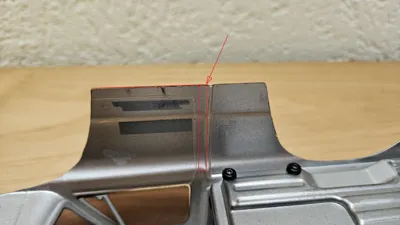
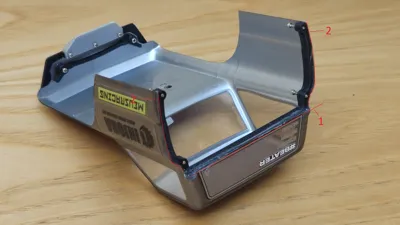
- Use mounting bracket to see how much you have to cut below the rear window to make the mounting bracket fit (pic 8 point 1), use the bigger edge behind the door as alignement reference for the bracket (pic 6, 7), do make the cut below the rear window (less is more, slow and steady, you can always cut more, if you cut too much you will have a gap), sandpaper or a small file can work for fine adjustments
- Cut the rear fenders close to the big edge in the door but leave the edge itself intact for now (pic 8)
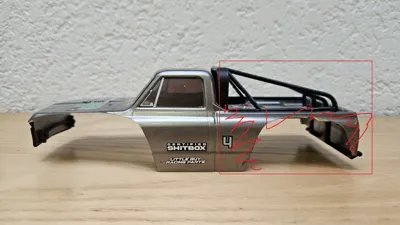
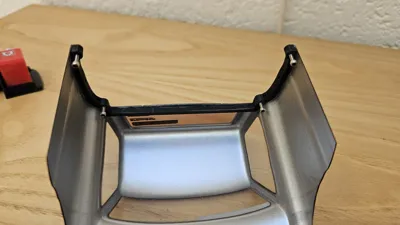
- Glue mounting bracket in, a little sandpaper on the interface can help with adhesion (pic 6 and 7, square areas), use the bigger edge in the door as alignment aswell as the side skirts (pic 6), the mounting bracket should align nice and square with both without force required and the lower part of the mounting brackets should align exactly at the lower part of the side skirt, but warning this is very finicky
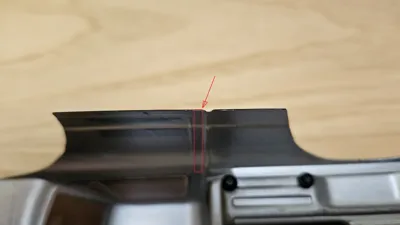
- If glue is hardend and alignment correct cut the rear fenders and the protruding edge of the door to its final shape to the mounting bracket (pic 6 and 7 where the arrow points to)
- Front grill and skid plate mounting should be self explenatory, some body cuts required, uses stock SCX24 hardware
- Rear wall can be screwed to the mounting plate with standard SCX24 screws aswell
- Fake radiator and fans are printed with a 0.2mm nozzle as it failed with a 0.4mm even with arachne activated, these two can simply be glued to the rear wall
The red jerrycan can be found here: https://makerworld.com/de/models/2163280-scx24-jerrycan
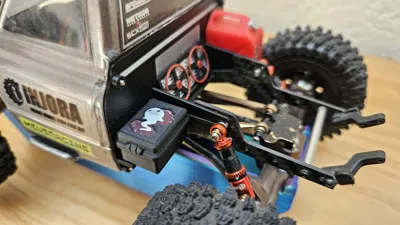
The black box on the other side i sadly i didnt save that design as this was never planned to be released, you will have to find some other alternative.
As for mounting solutions you also will have to improvise and figure something out that works for your chassis.
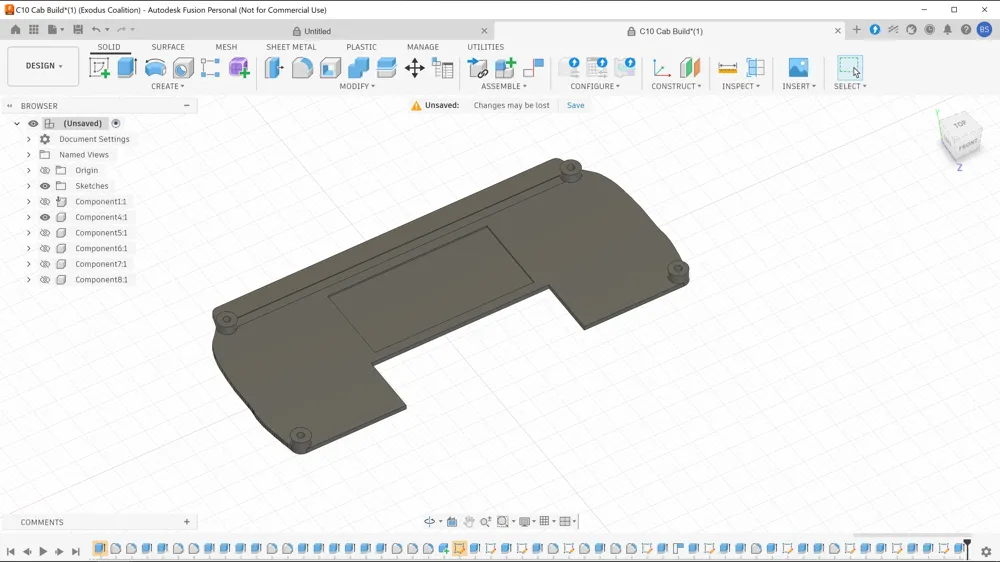
Added Fusion 360 file in case anyone wants to change something (Carefull, chaotic timeline)
Print Settings
- Material: Sunlu PLA+ Black, Generic PLA Silk Silver, Bambulab PLA Basic Orange, Bambulab PLA Basic Red
- Nozzle Size: 0.2mm + 0.4mm
- Layer Height: div
License



Comment & Rating (3)