Sonic the Hedgehog Wall Art - No AMS - multicolor


Print Profile(1)

Description
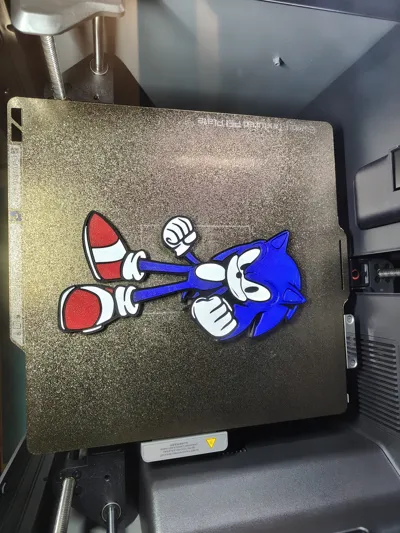
This project represents a stylized version of Sonic the Hedgehog, specifically designed for multi-color 3D printing through assembly.
Unlike classic multi-color prints with filament changes, this model is divided into multiple parts: each color is printed separately on different plates to ensure maximum precision and final quality.
Project Structure:
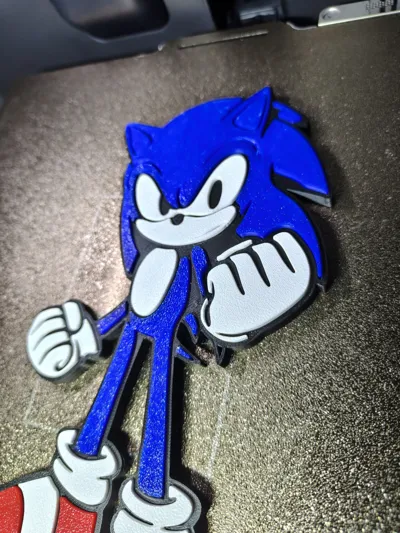
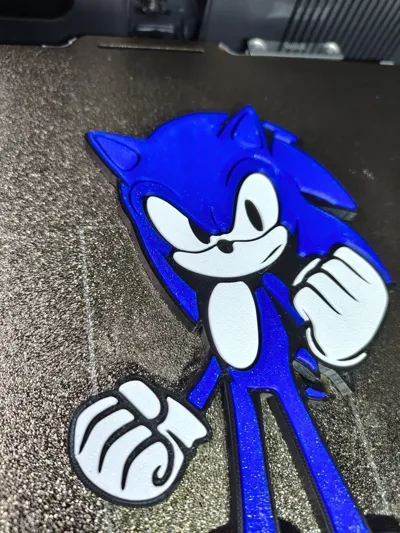
- Main base in black (serves as support and housing)
- Blue, red, and white elements printed separately
- Each color corresponds to a dedicated print file/plate
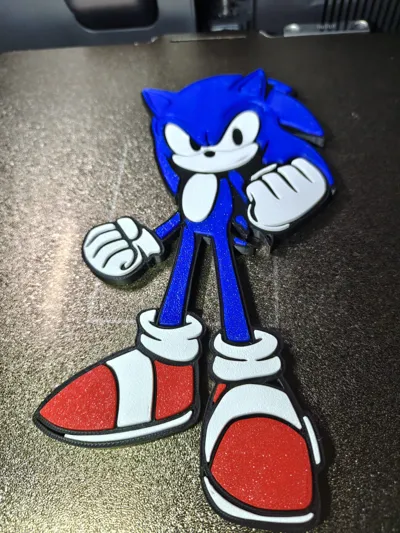
Once printing is complete, the various parts are manually assembled, creating a clean and professional effect without the need for AMS or complex filament changes.
This approach makes the model more accessible, precise in detail, and ideal for achieving rich and defined colors.
Perfect as a decoration, gift, or display piece for video game enthusiasts.
Caption:
Separate color Sonic: print each part and assemble the final result 


Assembly Instructions:
1. Part Preparation
After printing, remove any brim/supports and clean all pieces thoroughly. Ensure the interlocking parts are free from imperfections.
2. Base (black)
Use the black base as the main structure: all other parts will be inserted into their dedicated slots.
3. Assembly of Main Colors
- First, insert the blue parts (body and head) into the corresponding slots
- Proceed with the white parts (gloves, eyes, details)
- Finally, add the red elements (shoes)
4. Checking Interlocks
Each piece is designed for a pressure fit. If necessary, apply slight even pressure to perfectly fit the components together.
5. Fastening (optional)
If you want a more stable and permanent result, you can use a small amount of glue:
- Superglue (cyanoacrylate) for quick fastening
- Gel glue for more control
Use very little glue to avoid visible overflow.
6. Final Finishing
Once assembled, check the overall alignment and clean any residue. The model is ready for display!
Tip: if any piece is too tight, you can lightly sand the edges; if it's too loose, a drop of glue easily solves it.
License
You may create derivative works based on this object, provided that all such derivative works are published exclusively on the MakerWorld platform and include proper attribution to the original creator. You may not share, upload, host, distribute, or publish this object—or any derivative work of this object—on any other digital platform, marketplace, or distribution channel. Commercial use of this object and any derivative works is strictly prohibited. This includes, but is not limited to, selling, renting, sublicensing, or using the object in any context in which you receive monetary compensation or other financial benefits.
Comment & Rating (0)