Pokopia Pokemart Switch 1&2 Dock / No AMS


Print Profile(1)
Bill of Materials


Description
Boost Me (for free)
If you like my design, please consider giving it a boost!
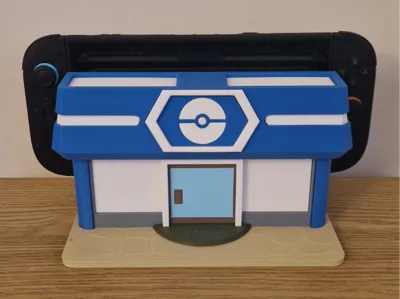
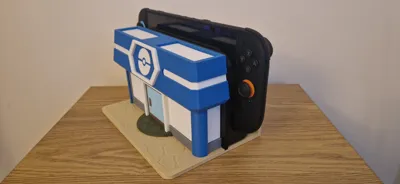
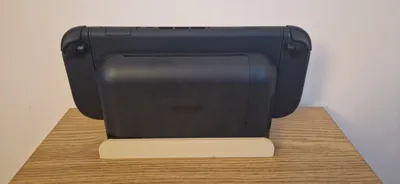
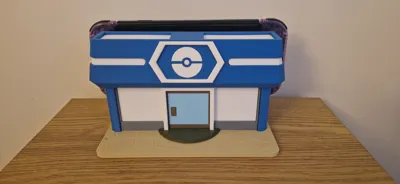
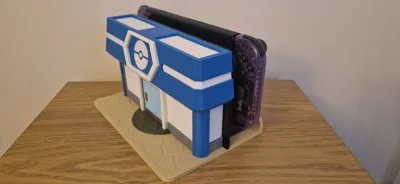
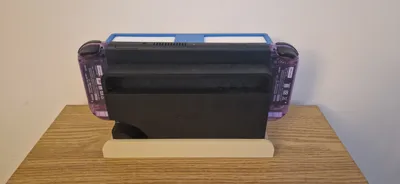
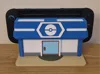
Pokopia Pokemart Switch 1&2 Dock
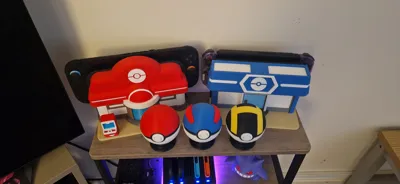
My switch 1 was looking pretty plain next to Rocketlab Designs amazing pokemon center dock so i designed this pokemart one to complement it. Fits both switch 1 and switch 2 docks. Hope you like it!
Features:
- Universal Fit: Designed to house both the Switch OLED and Switch 2 docks, however i'm sure the dock is exactly the same for all switch 1 models.
- No AMS Required: Parts are seperated by colour and assembled so no AMS is required!
- Assembly: Easy to assemble following the guide below, however some glue is required.
Colours used in photos:
- Bambu Matte Ivory White
- Bambu Matte Desert Tan
- Bambu Matte Dark Green
- Bambu Matte Ice Blue
- Bambu Matte Marine Blue
- Bambu Matte Dark Brown
- Elegoo Matte Slate Grey
- Unbranded Black PLA (Needed using up!)
Assembly:
Install Border onto Base Pegs

Install Step onto Walls

Slide walls down into Border

Install Door Border & Door Handle onto Door using a small amount of glue

Slide Door down into Walls

Install Corner_L and Corner_R into Base

Assemble Roof Pieces into Roof using a small amount of glue

Install Roof onto Backplate

Slide Roof and Backplate down into position ensuring Corner_L and Corner_R line up correctly to the holes in the bottom of the Roof.

- Once you are happy everything fits together, use some glue to secure all peices together
License
You shall not share, sub-license, sell, rent, host, transfer, or distribute in any way the digital or 3D printed versions of this object, nor any other derivative work of this object in its digital or physical format (including - but not limited to - remixes of this object, and hosting on other digital platforms). The objects may not be used without permission in any way whatsoever in which you charge money, or collect fees.
Comment & Rating (6)