
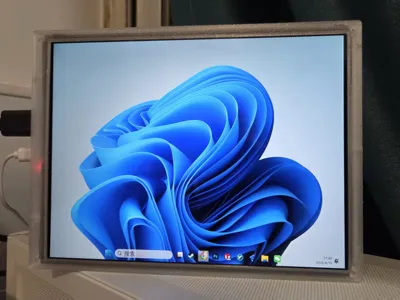
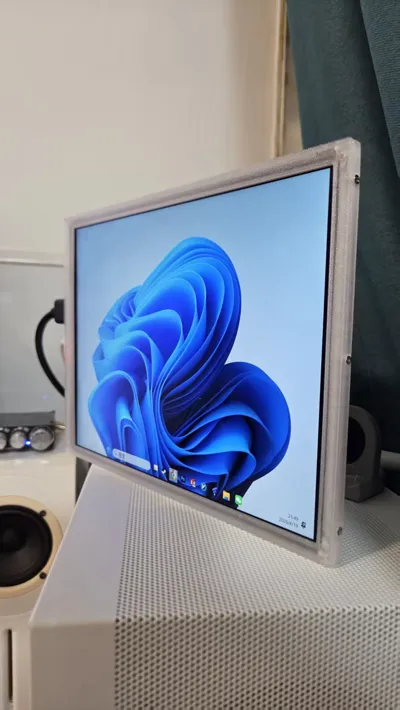
[Upcycling] Idle iPad 8 Screen Modified into High-Quality Portable Display / Minimalist Assembly Case
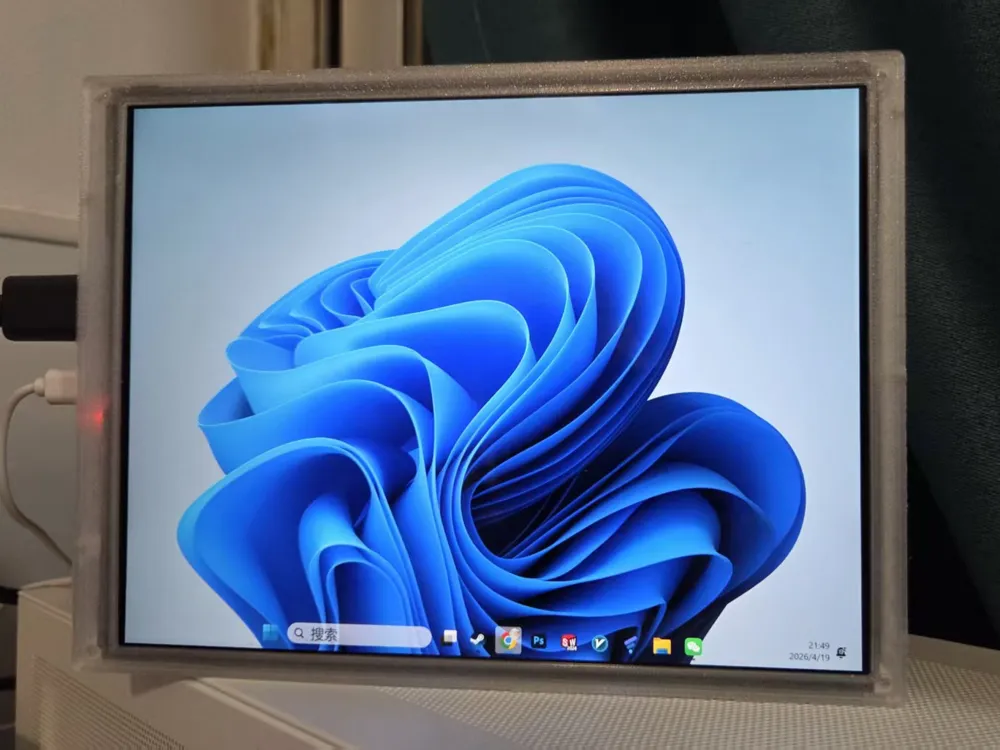
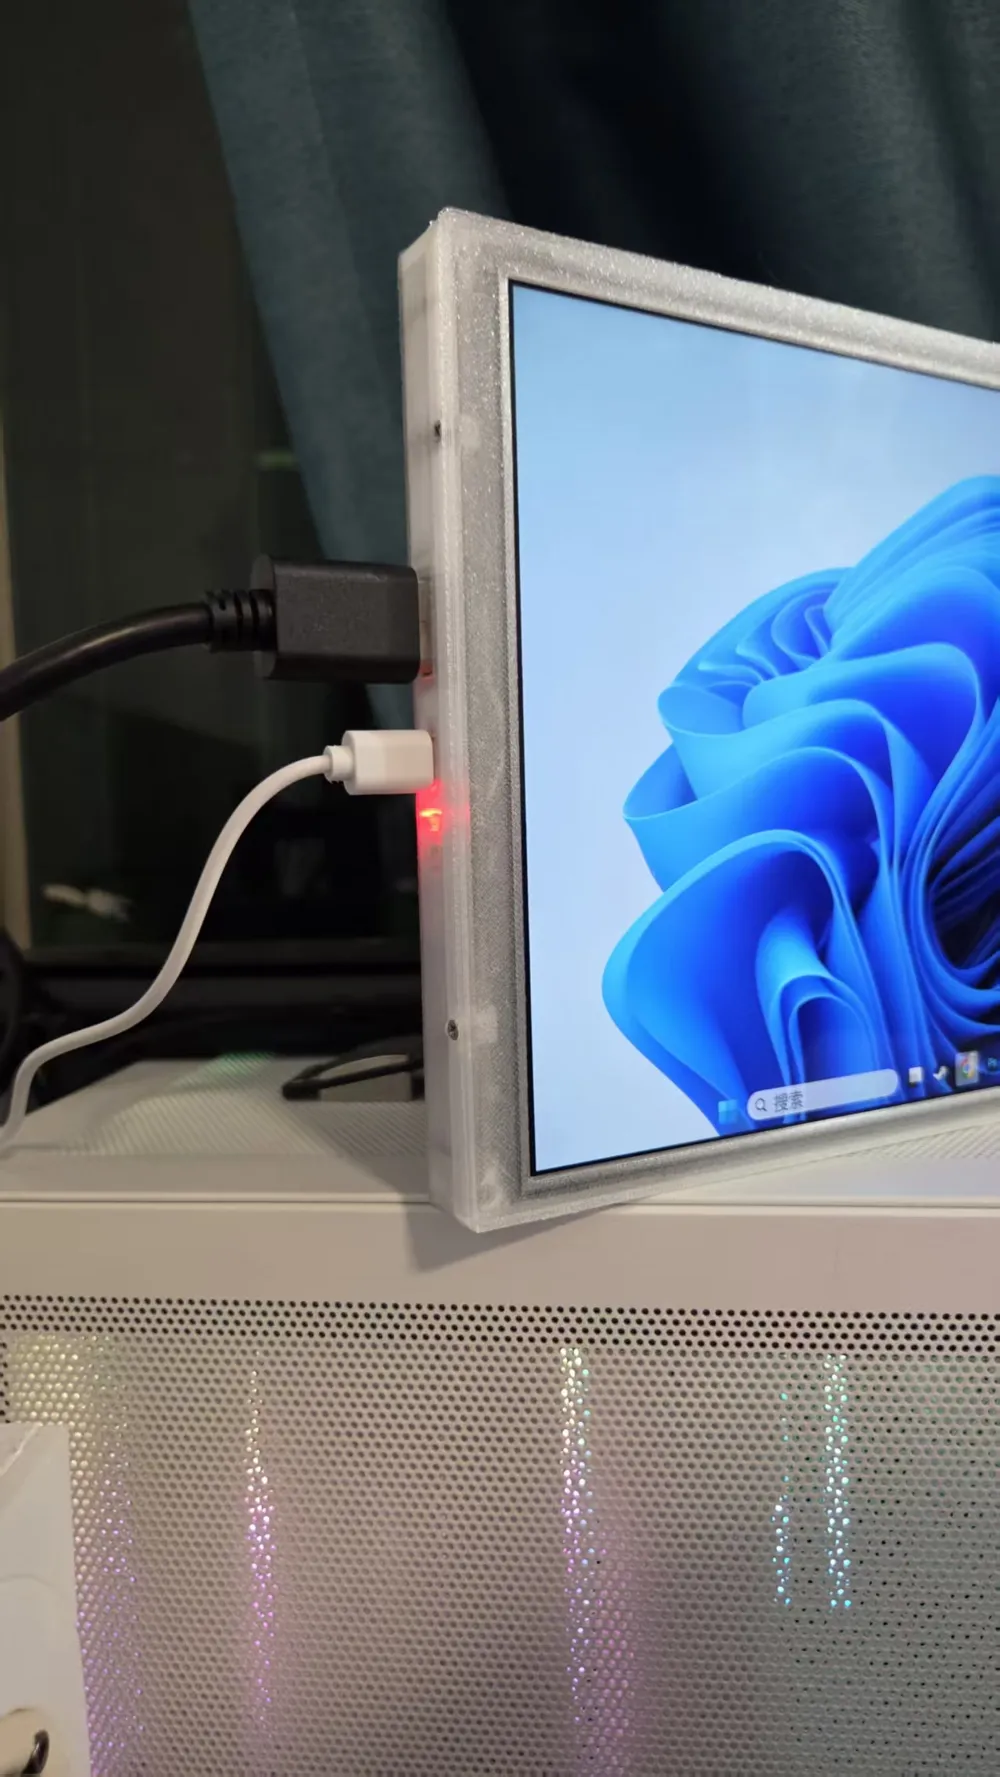
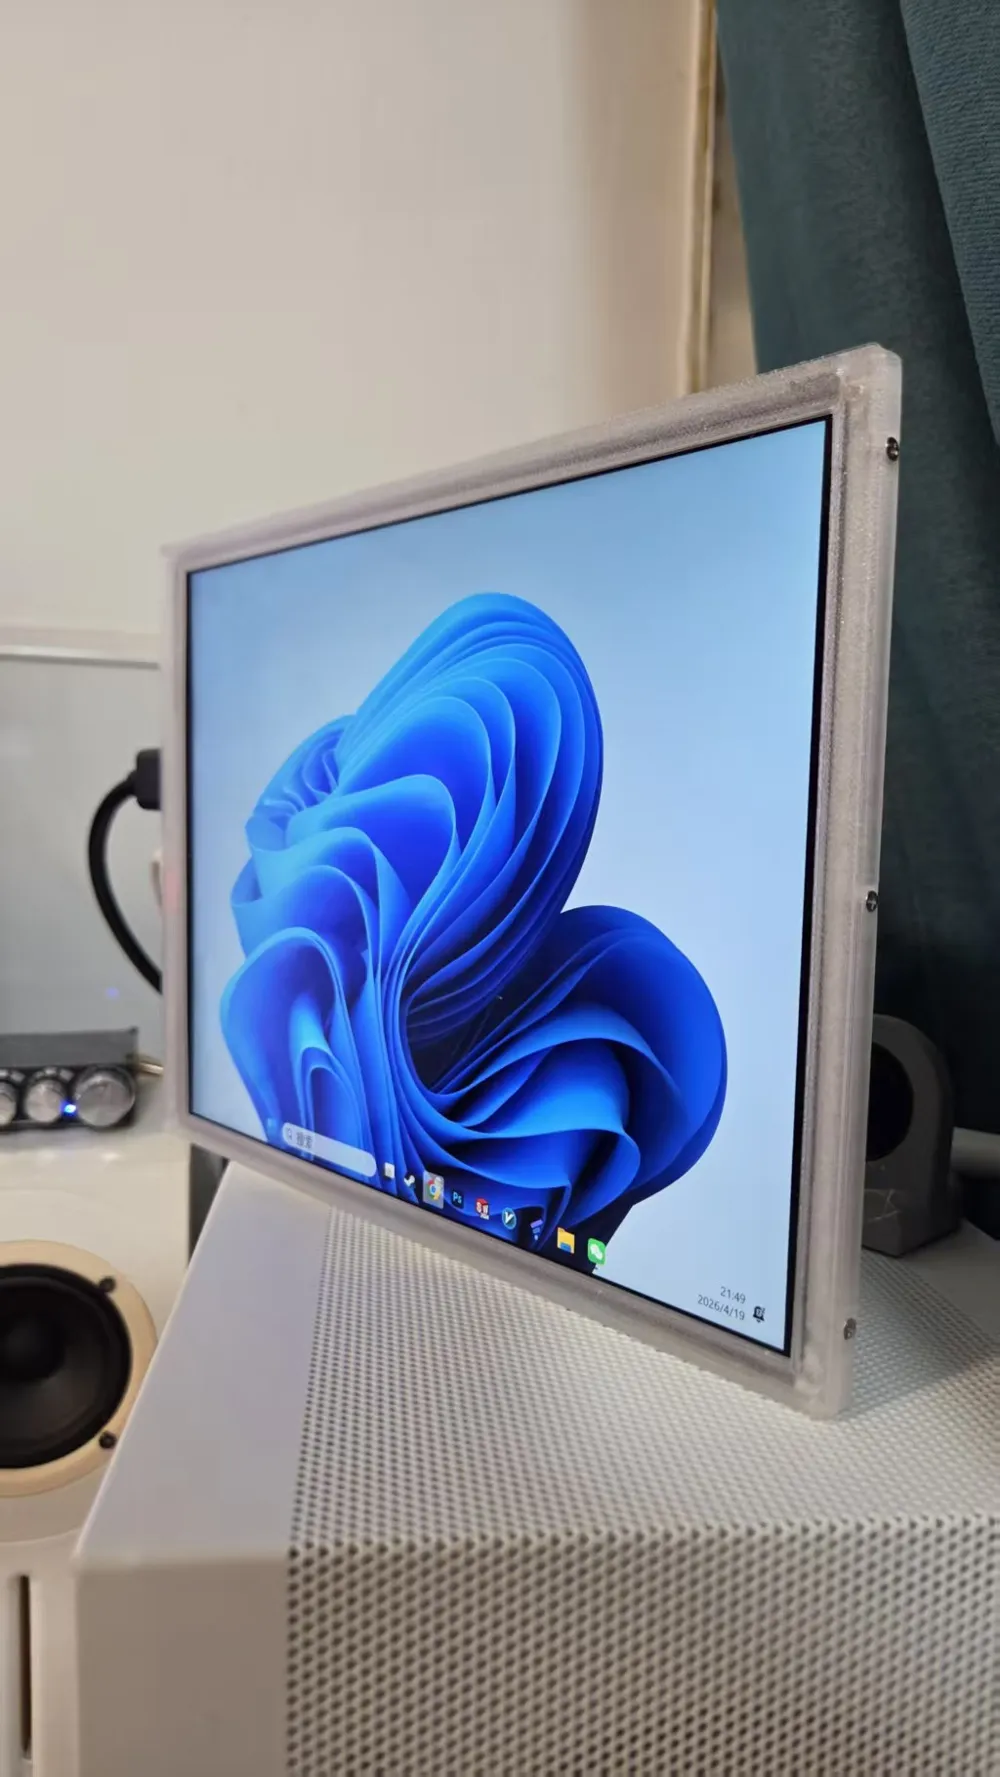
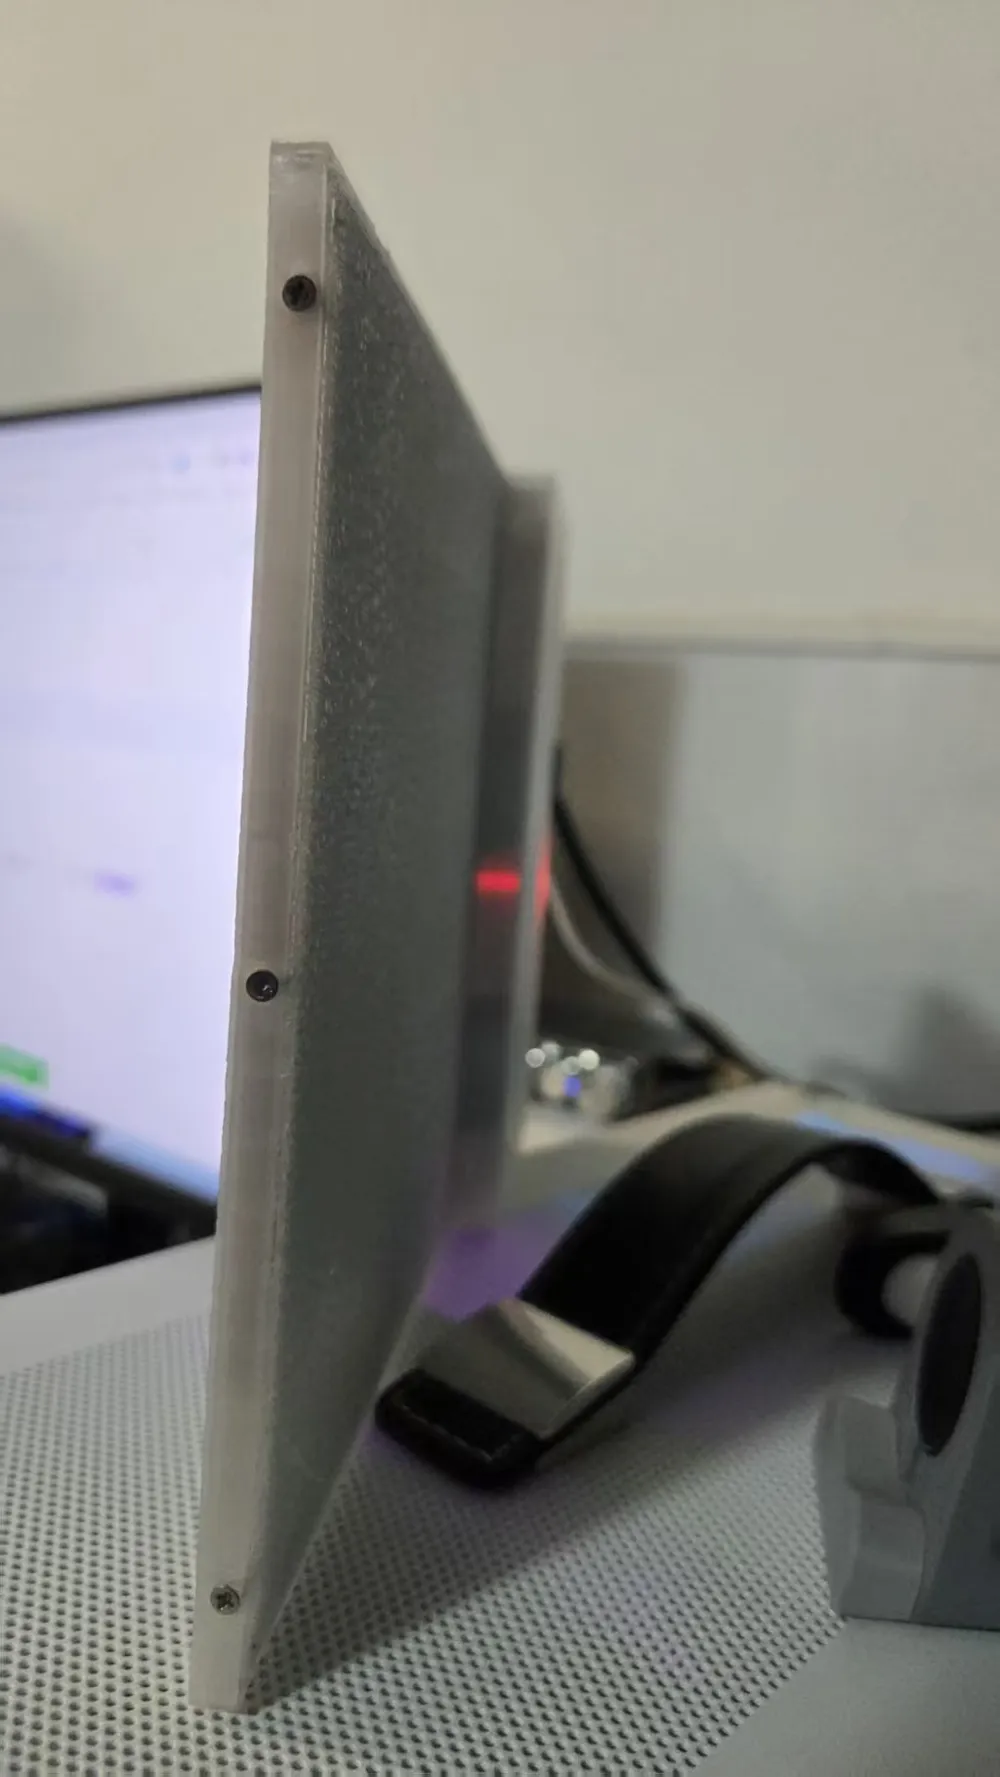
Print Profile(1)
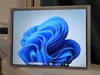
Description
Project Introduction (Description)
Have an idle iPad 8 or one with a damaged motherboard? Don't let this high-quality Retina display gather dust! This project provides a very low-cost (approx. 42 RMB), zero-skill threshold portable display modification case solution. No complex circuit soldering is required; simply use screws for fastening and plug/unplug ribbon cables to "revive" your iPad 8 screen into a thin, practical, high-quality secondary display.
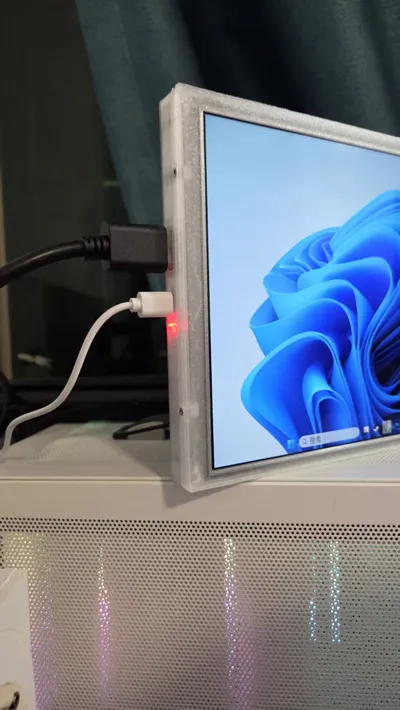
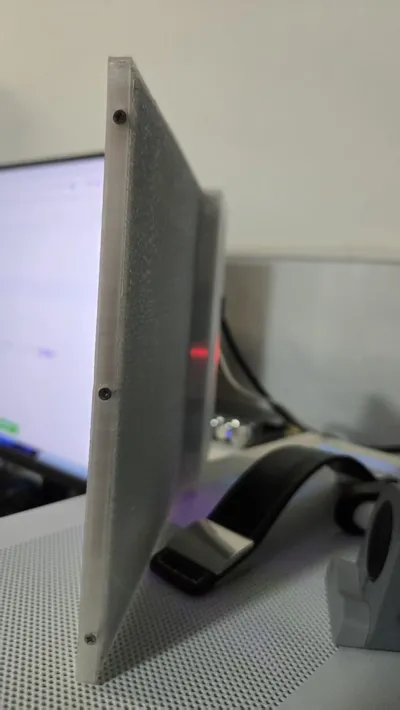
The case design includes precise tolerances to ensure a snug fit between the screen and the driver board, resulting in a compact overall structure that also accommodates internal cable routing.
📦 BOM (Bill of Materials)
Core Hardware:
- iPad 8 Screen Assembly × 1 (requires complete disassembly beforehand)
- Screen Driver Board & Adapter Board Set × 1 (recommended to search for the corresponding model on Xianyu, cost approx. 42 RMB) Recommendation: Hujiu Xianyu
Hardware Screws:
- M2*7 Screws × 7 pieces
- M2*4 Screws × 2 pieces
🖨️ Print Settings
- Recommended filament: It is recommended to prioritize printing with PETG. Portable displays are prone to minor bumps when carried out, and the driver board on the back generates some heat during prolonged operation. PETG's excellent structural toughness and temperature resistance make it very suitable as the material for this case.
- Layer height and infill: 4 walls, 0.2mm layer height, and 15%-20% infill are recommended to ensure case strength.
- Support settings: Supports required, mixed tree supports
🛠️ Assembly Guide
- Screen Disassembly: Novices should go to Bilibili and search for "iPad 8 Screen Disassembly Tutorial". Follow the video to carefully disassemble, avoiding damage to the LCD panel or ribbon cables.
- Power-on Test: Connect the purchased driver board and adapter board to the screen, then power it on to test if the screen displays normally.
- Hardware Placement: Lay the printed case flat, then sequentially place the screen, adapter board, and driver board, using the internal reserved space to neatly arrange the ribbon cables.
- Secure the Cover: After confirming that the ribbon cables are not pinched, use the prepared M2 screws to secure the handle wood to the case. Plug in the power and video cables, and enjoy your new screen!
License

You shall not share, sub-license, sell, rent, host, transfer, or distribute in any way the digital or 3D printed versions of this object, nor any other derivative work of this object in its digital or physical format (including - but not limited to - remixes of this object, and hosting on other digital platforms). The objects may not be used without permission in any way whatsoever in which you charge money, or collect fees.


Comment & Rating (1)