
QIDI Q1 Pro hotend air duct P2
Print Profile(0)
Bill of Materials

Description
This model took the mounting solution and inspiration from @kennethfox design (https://makerworld.com/en/models/445781-qidi-q1-pro-hotend-air-duct-cool-down-much-better)
PRINT IN HIGH TEMP FILAMENT LIKE ABS OR ASA. This part is installed in an area with high temperatures.
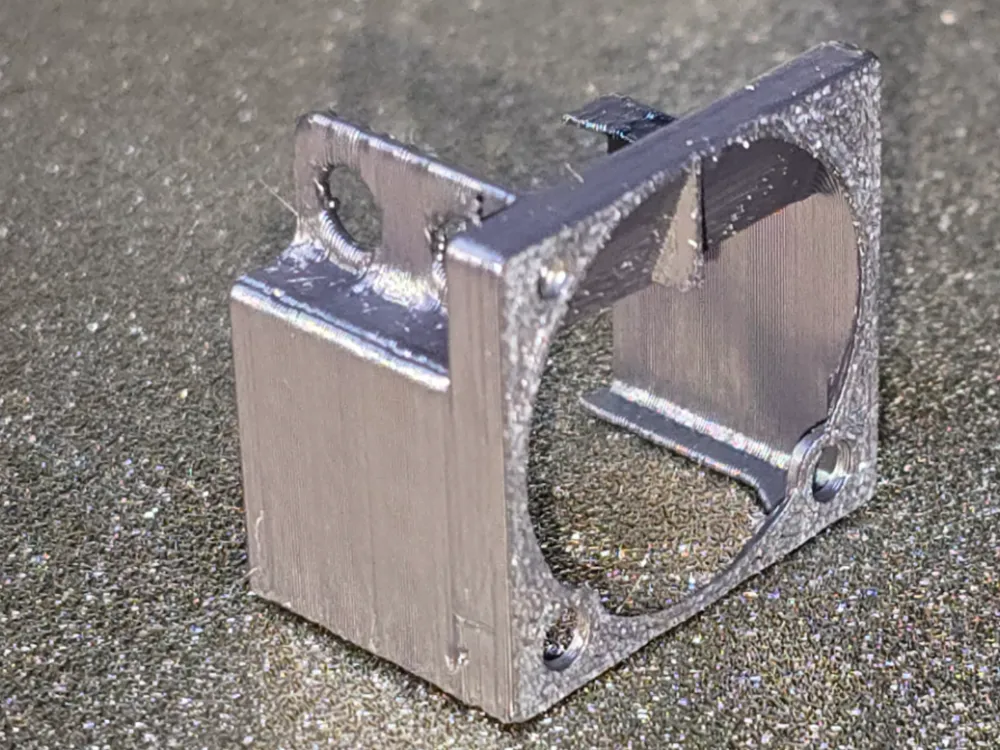
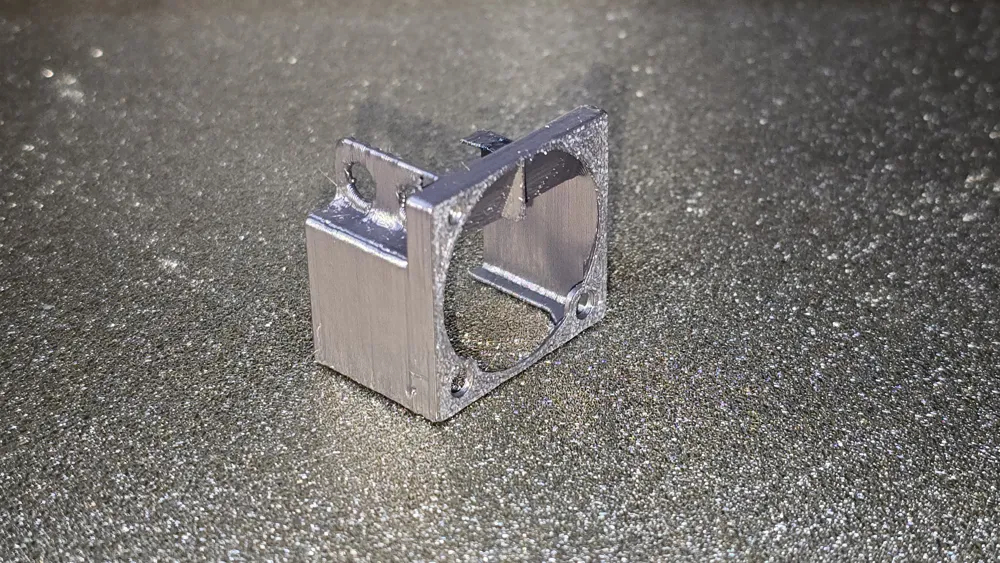
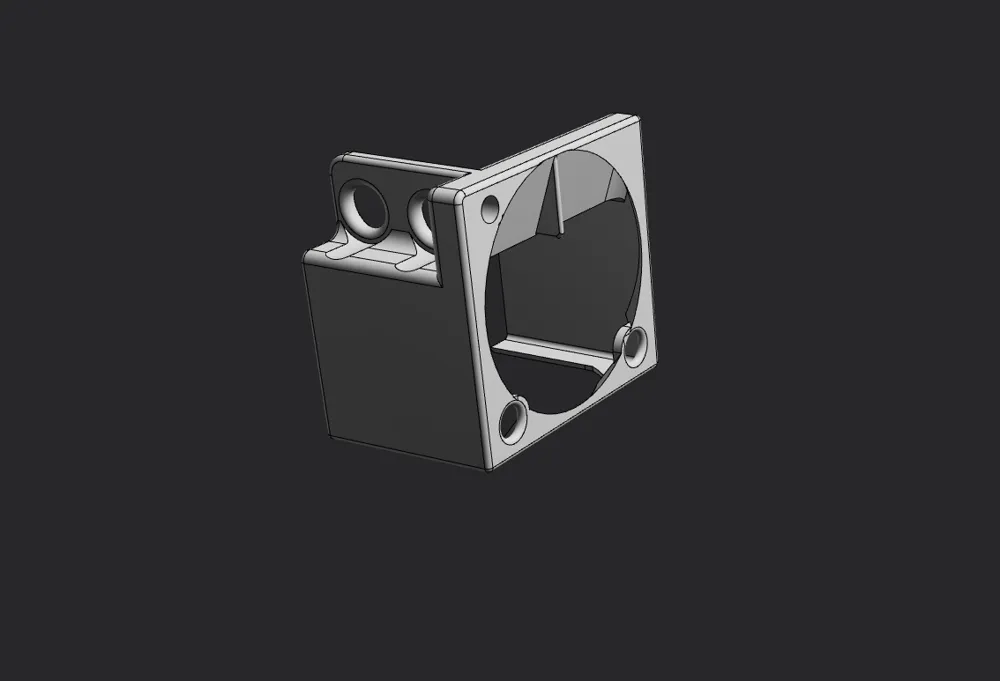
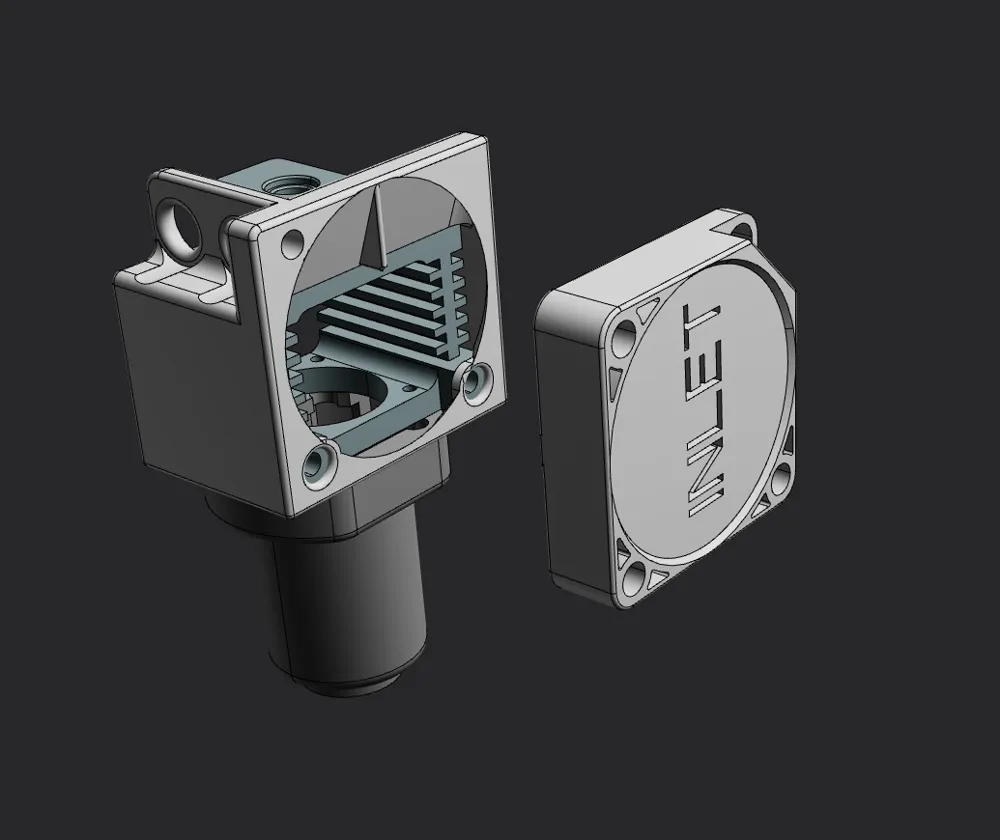
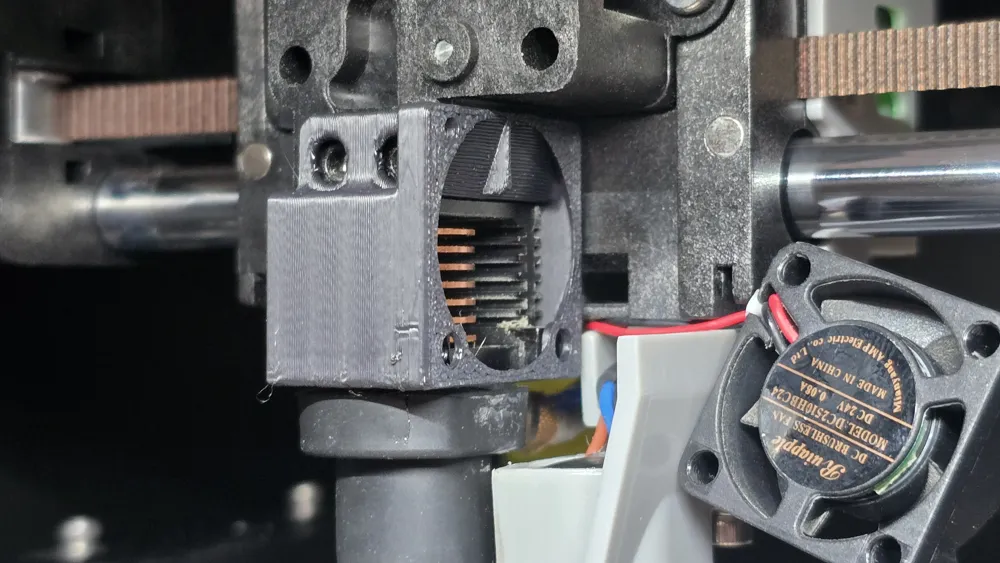
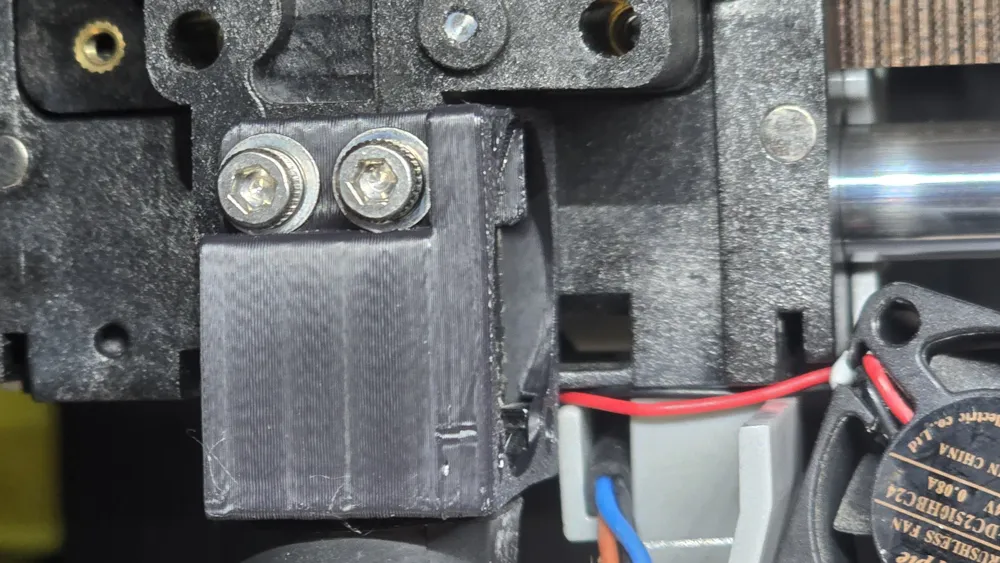
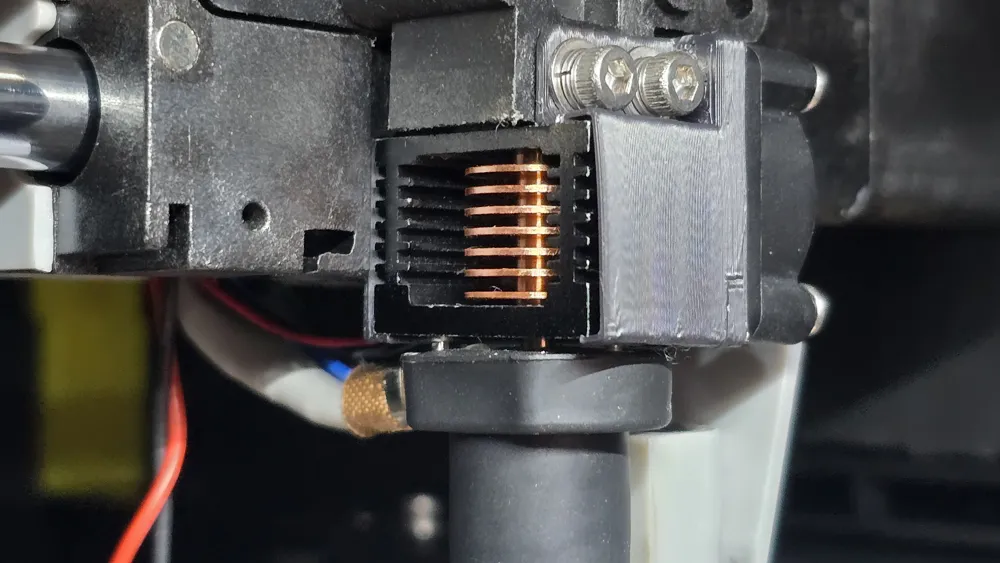
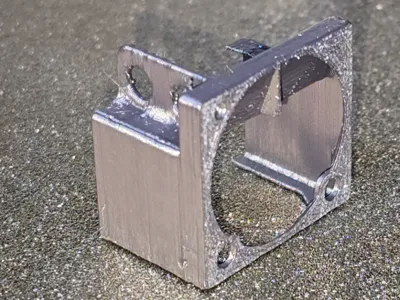
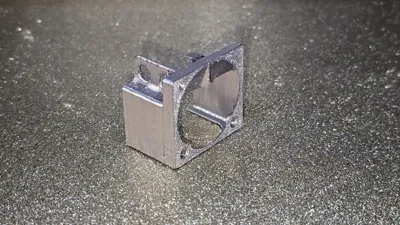
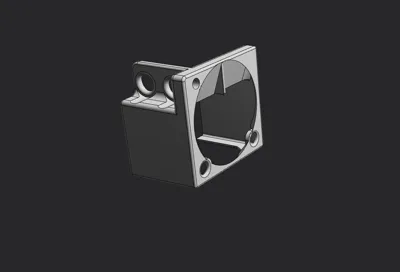
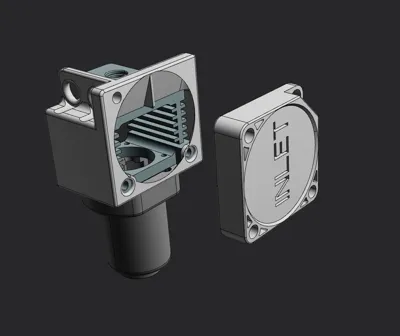
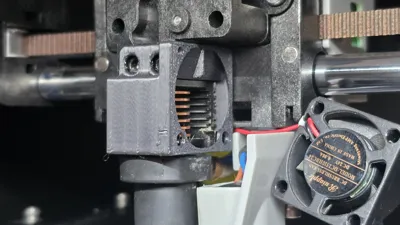
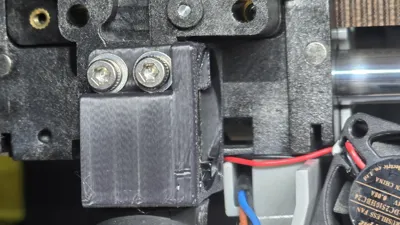
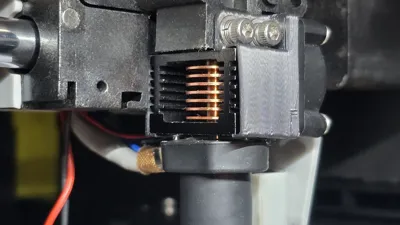
This adds a shroud around the outside of the hotend heatsink to allow for more surface area of the surrounding heatsink to be utilized. The mounting holes are also a hybrid of the original and the OEM mounting solution. The shroud slips on from the right side of the heatsink, BEWARE not to force it as there is tight tolerances between the shroud and the wiring going to the ceramic heating element. I printed mine in ASA for heat resistance and easier printing.
Ensure the printer is cooled before installation.
Do not over tighten screws, most components are plastic or aluminum and will strip easily.
You should only need to remove screws and move the 2510 fan to install.
1.) To install remove the print head cover (lift from bottom)
2.) Use a H1.5 hex key to remove the two M2.5 screws holding the fan and move it out of the way (you may need to loosen the bracket for the proximity probe to unscrew the right-side fan screw with an H2.5 hex key)
3.) Use a H2.5 hex key to remove the two M3 hotend retention screws (if you have filament loaded it will hold the hotend in place)
4.) Gently slip the shround from the fan side over the heatsink and align the mounting tab over the existing holes for the M3 hot end screws. (Take care to not force it as the bottom rear edge can sometimes catch on the ceramic heater core wiring.)
5.) Thread the M3 screws through the shroud's mounting holes and back into the hot end.
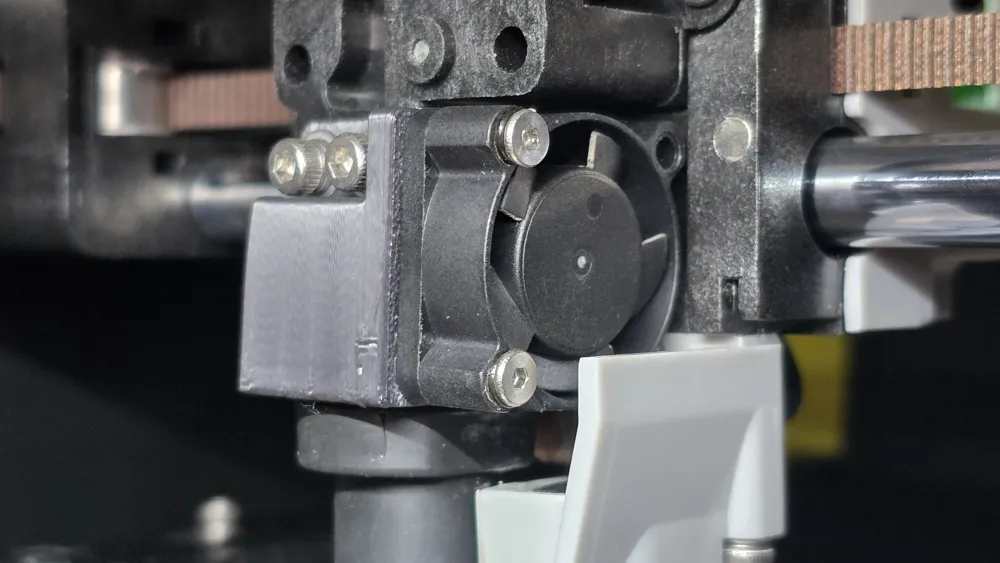
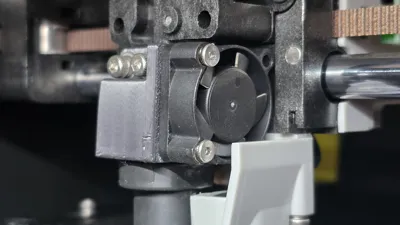
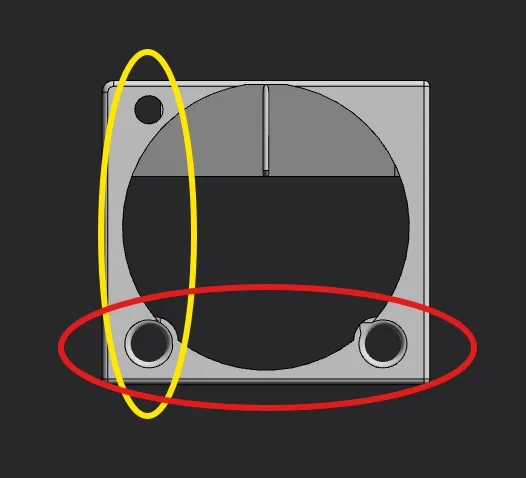
6.) Screw the fan into the shroud using either both of the OEM mounting location (red) or the provided top left hole (yellow)
7.) Replace print head cover.
This remix is based on


License



Comment & Rating (0)