
Sram Crank Bolt Removal Tool
Print Profile(3)
Bill of Materials
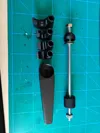
- Thrust bearing x 1: 12 mm ID, 26 mm OD
- M10 nut x 2: Make sure hex is for 17 mm spanner
- M10 threaded rod x 1: 200 to 250 mm
Description
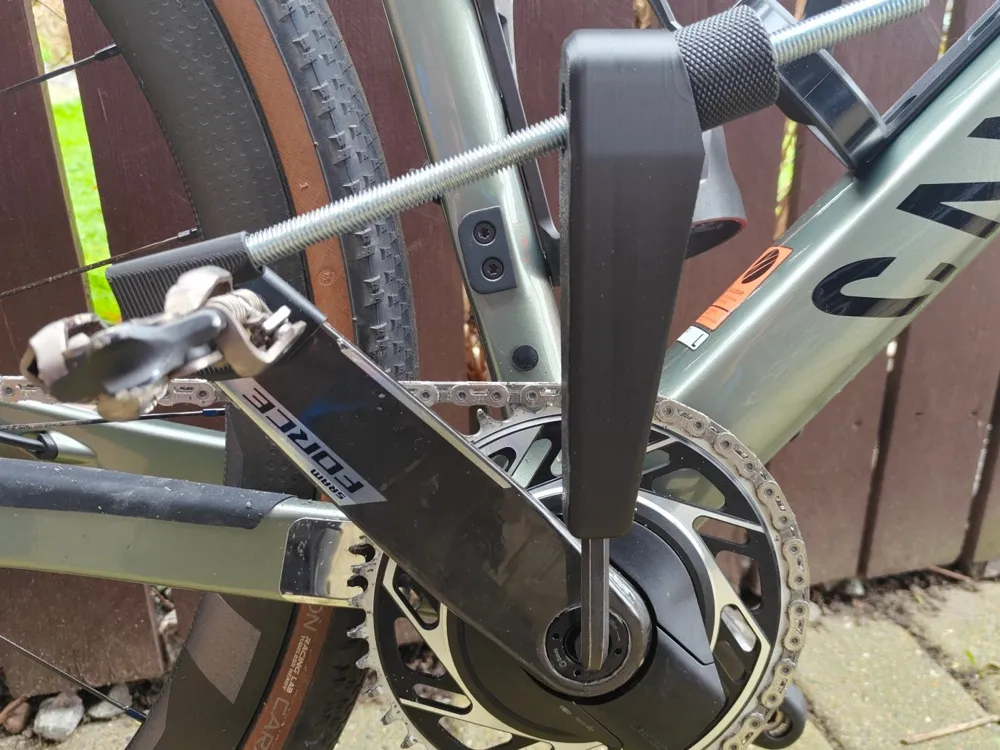
When removing a Sram crank you have to untighten a stubborn bolt in order to separate the crank arms. This can be difficult as the bolt is tightened to 54 Nm and often stuck - with little leverage, crank that wants to rotate and a bike that can flip over, this can be a struggle.
This tool makes loosening the bolt a childs play.
The tool is designed around a standard 8 mm hex key. I've used both a Bacho and a Bondhus branded key and both are very similar. Ball end is required as the tool body has a small detent inside to keep the key in place. Any key of similar design will work:
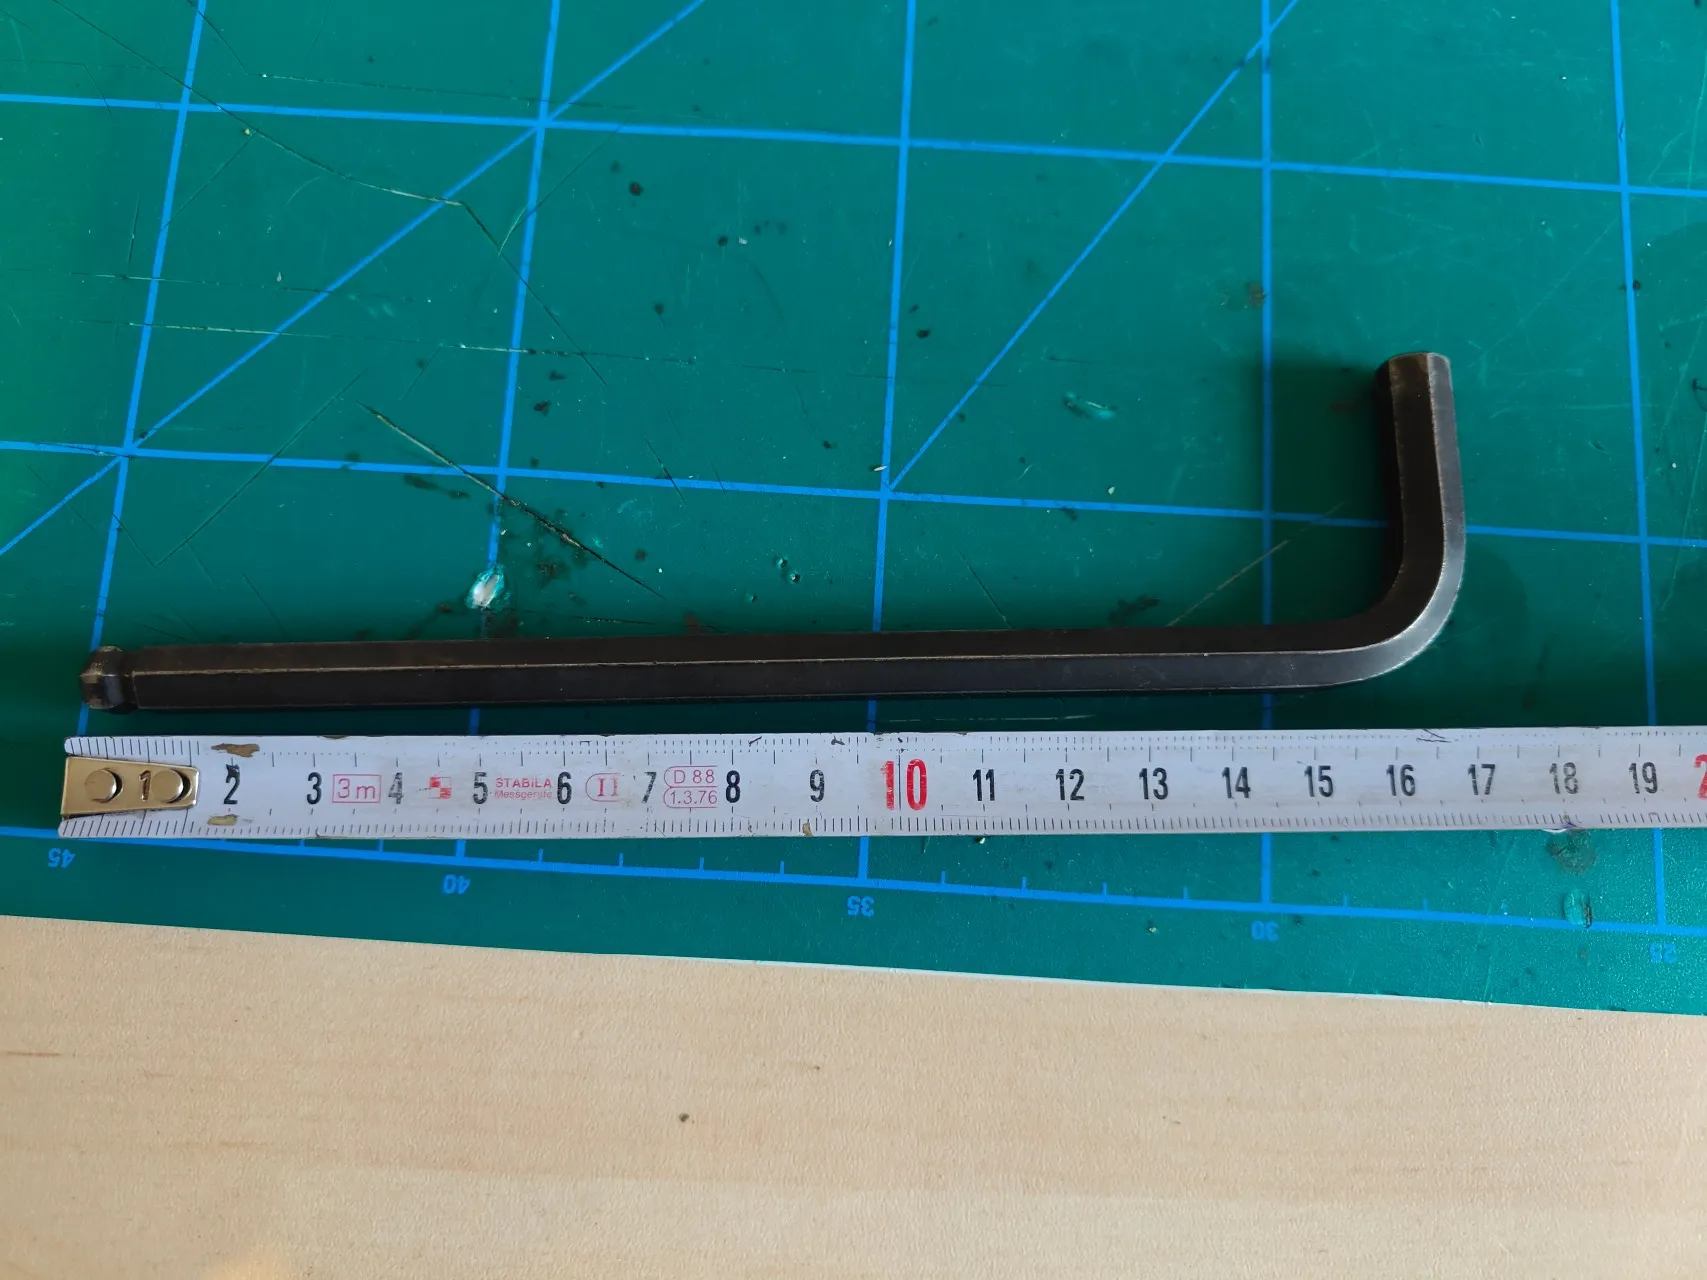
Other than printed parts you need a few pieces of hardware. See the Bill of Materials below. The thrust bearing used is a cheap and readily available needle-type. Search AliExpress for AXK1226. If you don't want to source/wait for the bearing I added a “bearing delete” disc in the print file. Just add that in place of the bearing with some grease. If not, then just delete the disc from the print file.
The tool goes together like this: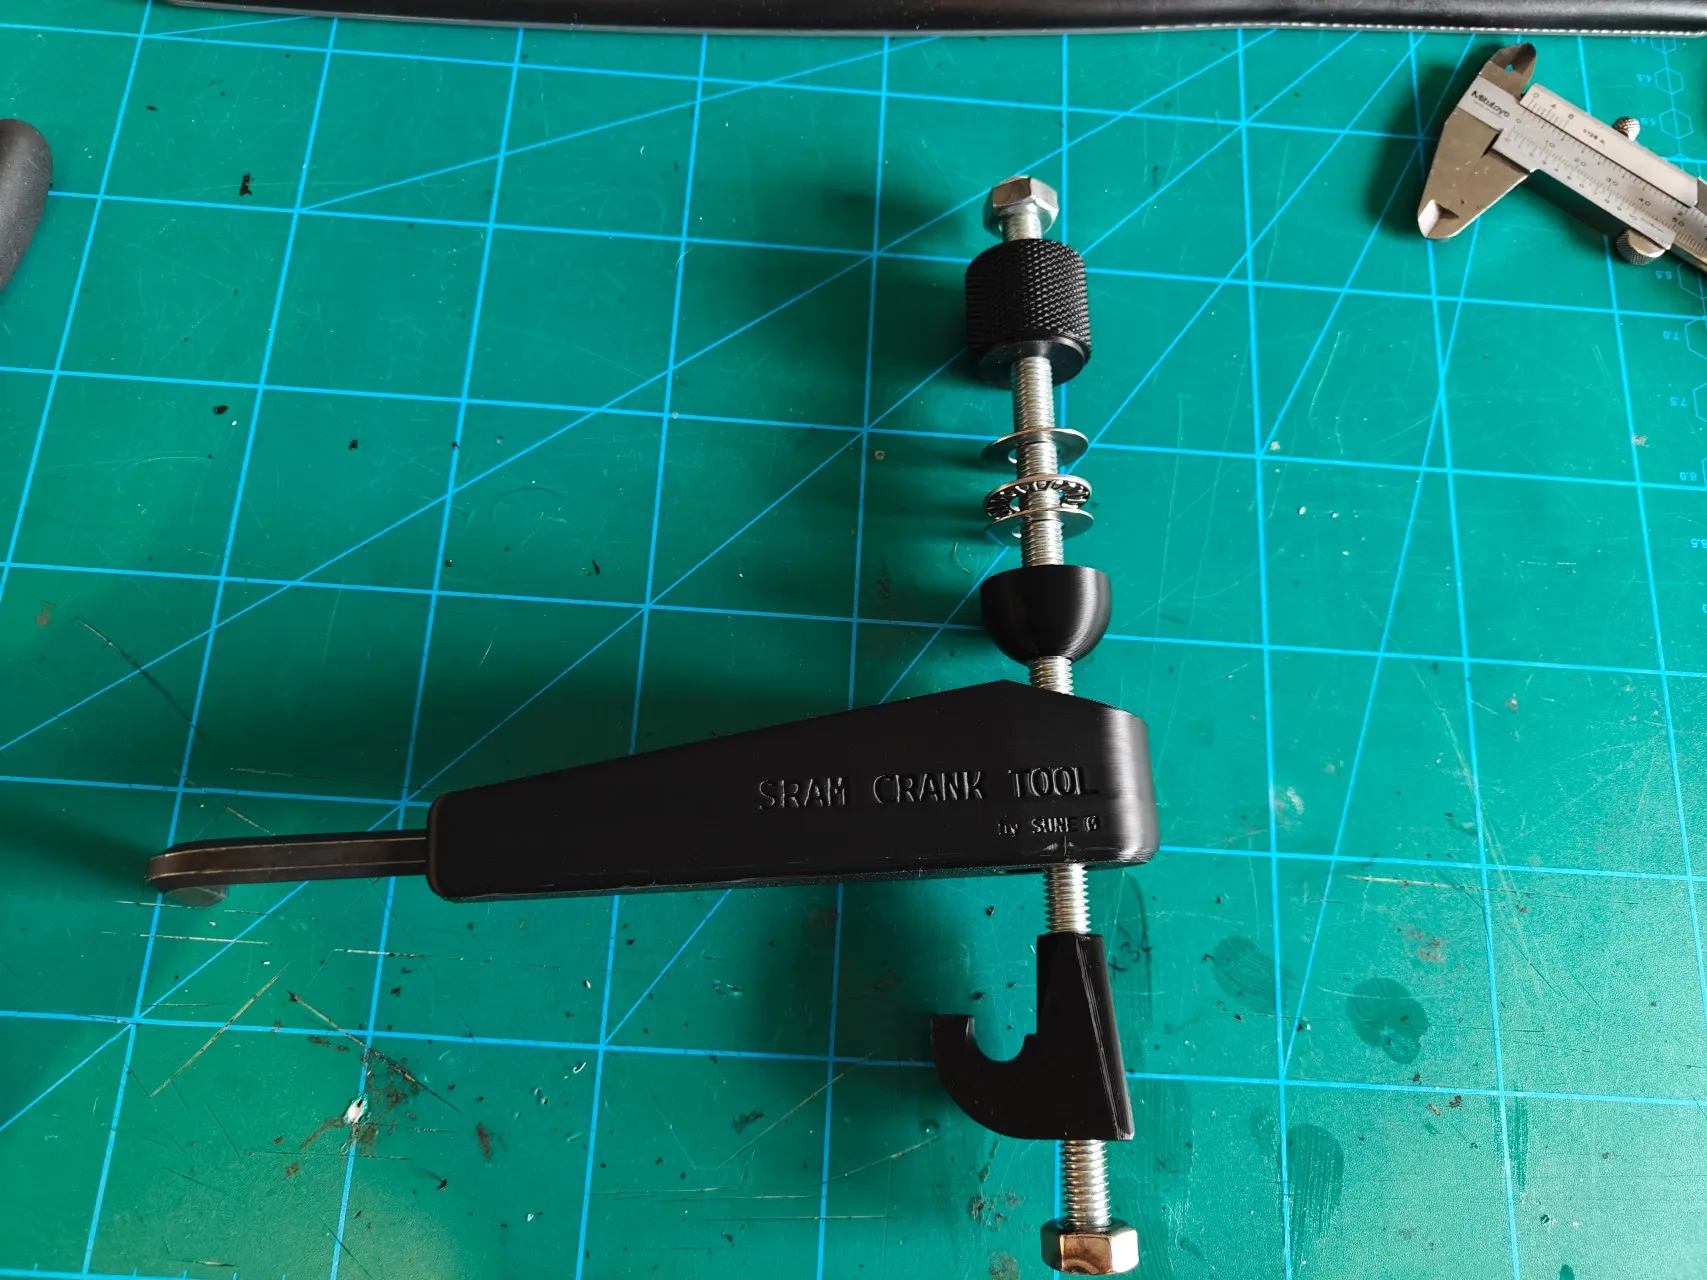
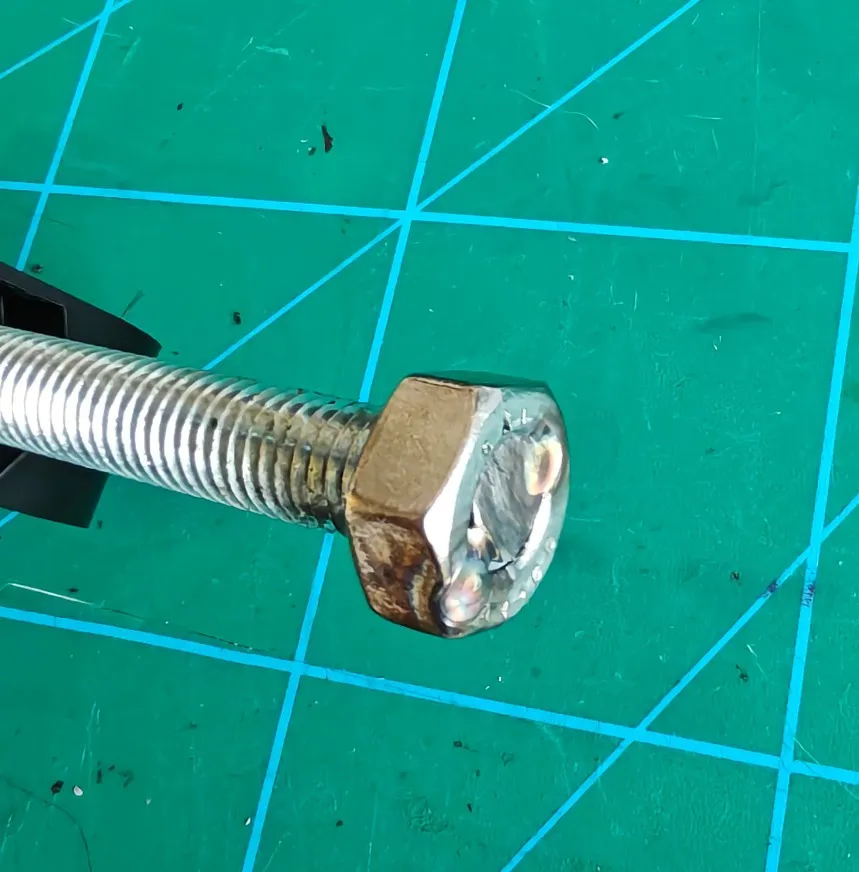
The nut that goes on the hook end of the threaded rod, I have tack-welded in place. If you do not have access to a welder I suggest to use a strong Loctite or alternatively stack to nuts and tighten them well.
To use it, position drive side crank arm in about 10 o'clock. Put the hex key into the nut at about 2 o'clock. Slide tool body over hex key and hook onto pedal arm. Thread the nuts down and turn knob. When the bolt has turned about 10 degrees it is often easier to remove the tool and undo the bolt the rest of the way by just hex key. 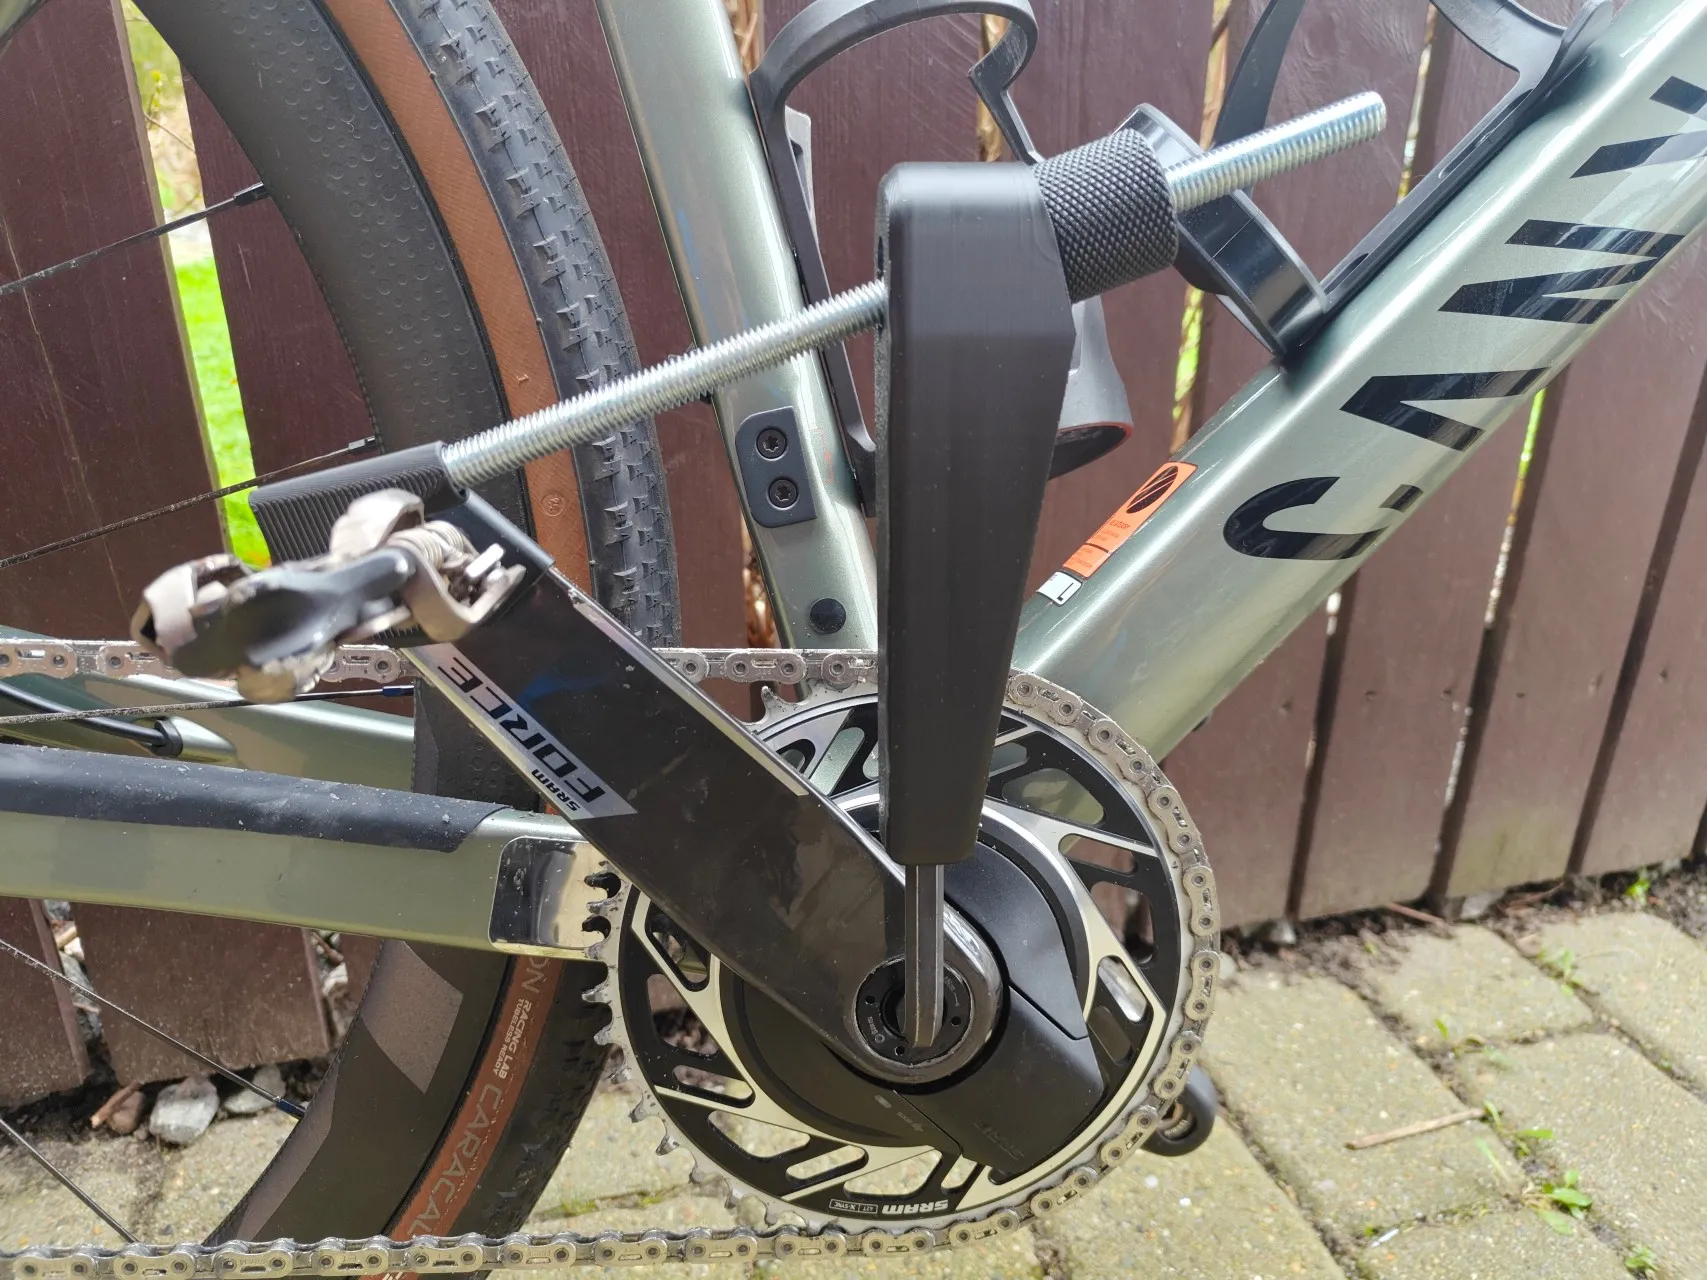
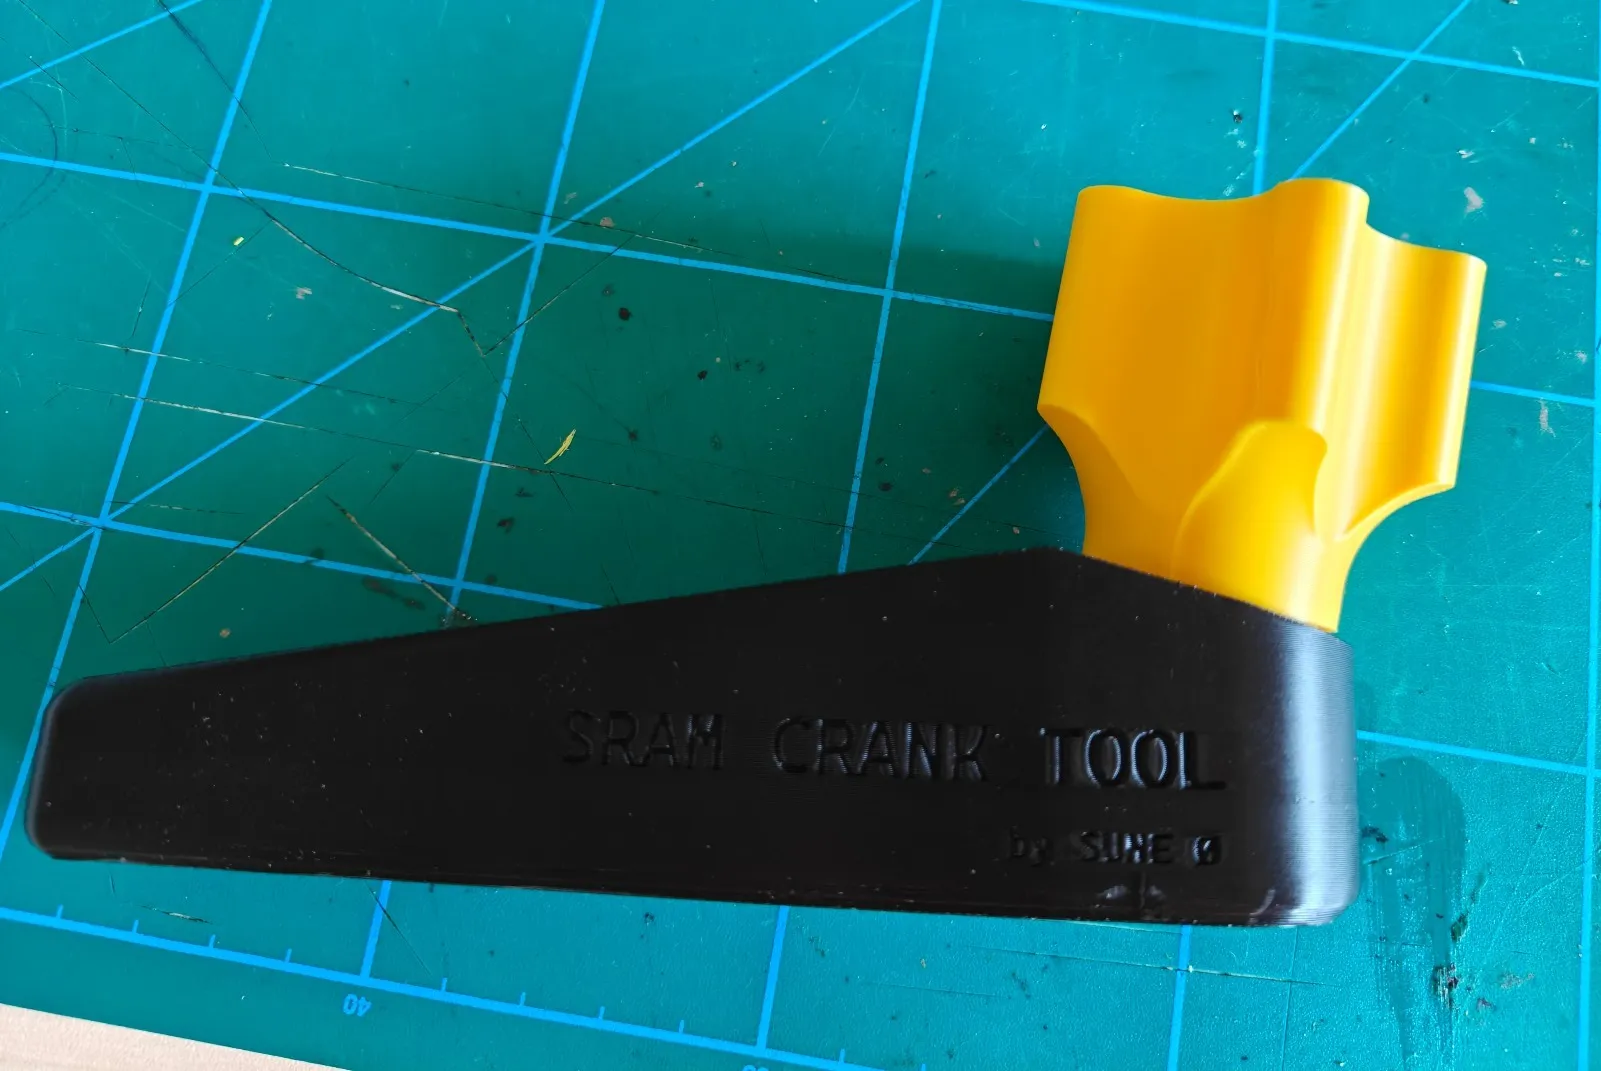
The hook design included in the print file is for a Shimano XTR pedal arm. If it does not fit you pedal, let me know and I can make another hook to include.
Print file provided is in PLA with 3 walls and 25% infill and is plenty strong.
Edit: I have added a new profile in high quality (H2S based slicer settings) where scarf seams are enabled. I have also added a separate file with only hooks. There's now hooks for Shimano Ultegra/XTR, Time Xtrack, Speedplay and Shimano Flats
Edit 2: If you find that you want a little more leverage, then knob from pressfit tool is cross-compatible: https://makerworld.com/en/models/2846579-bb86-bottombracket-tool
License



Comment & Rating (0)