Excalibur - The Puzzle


Print Profile(2)
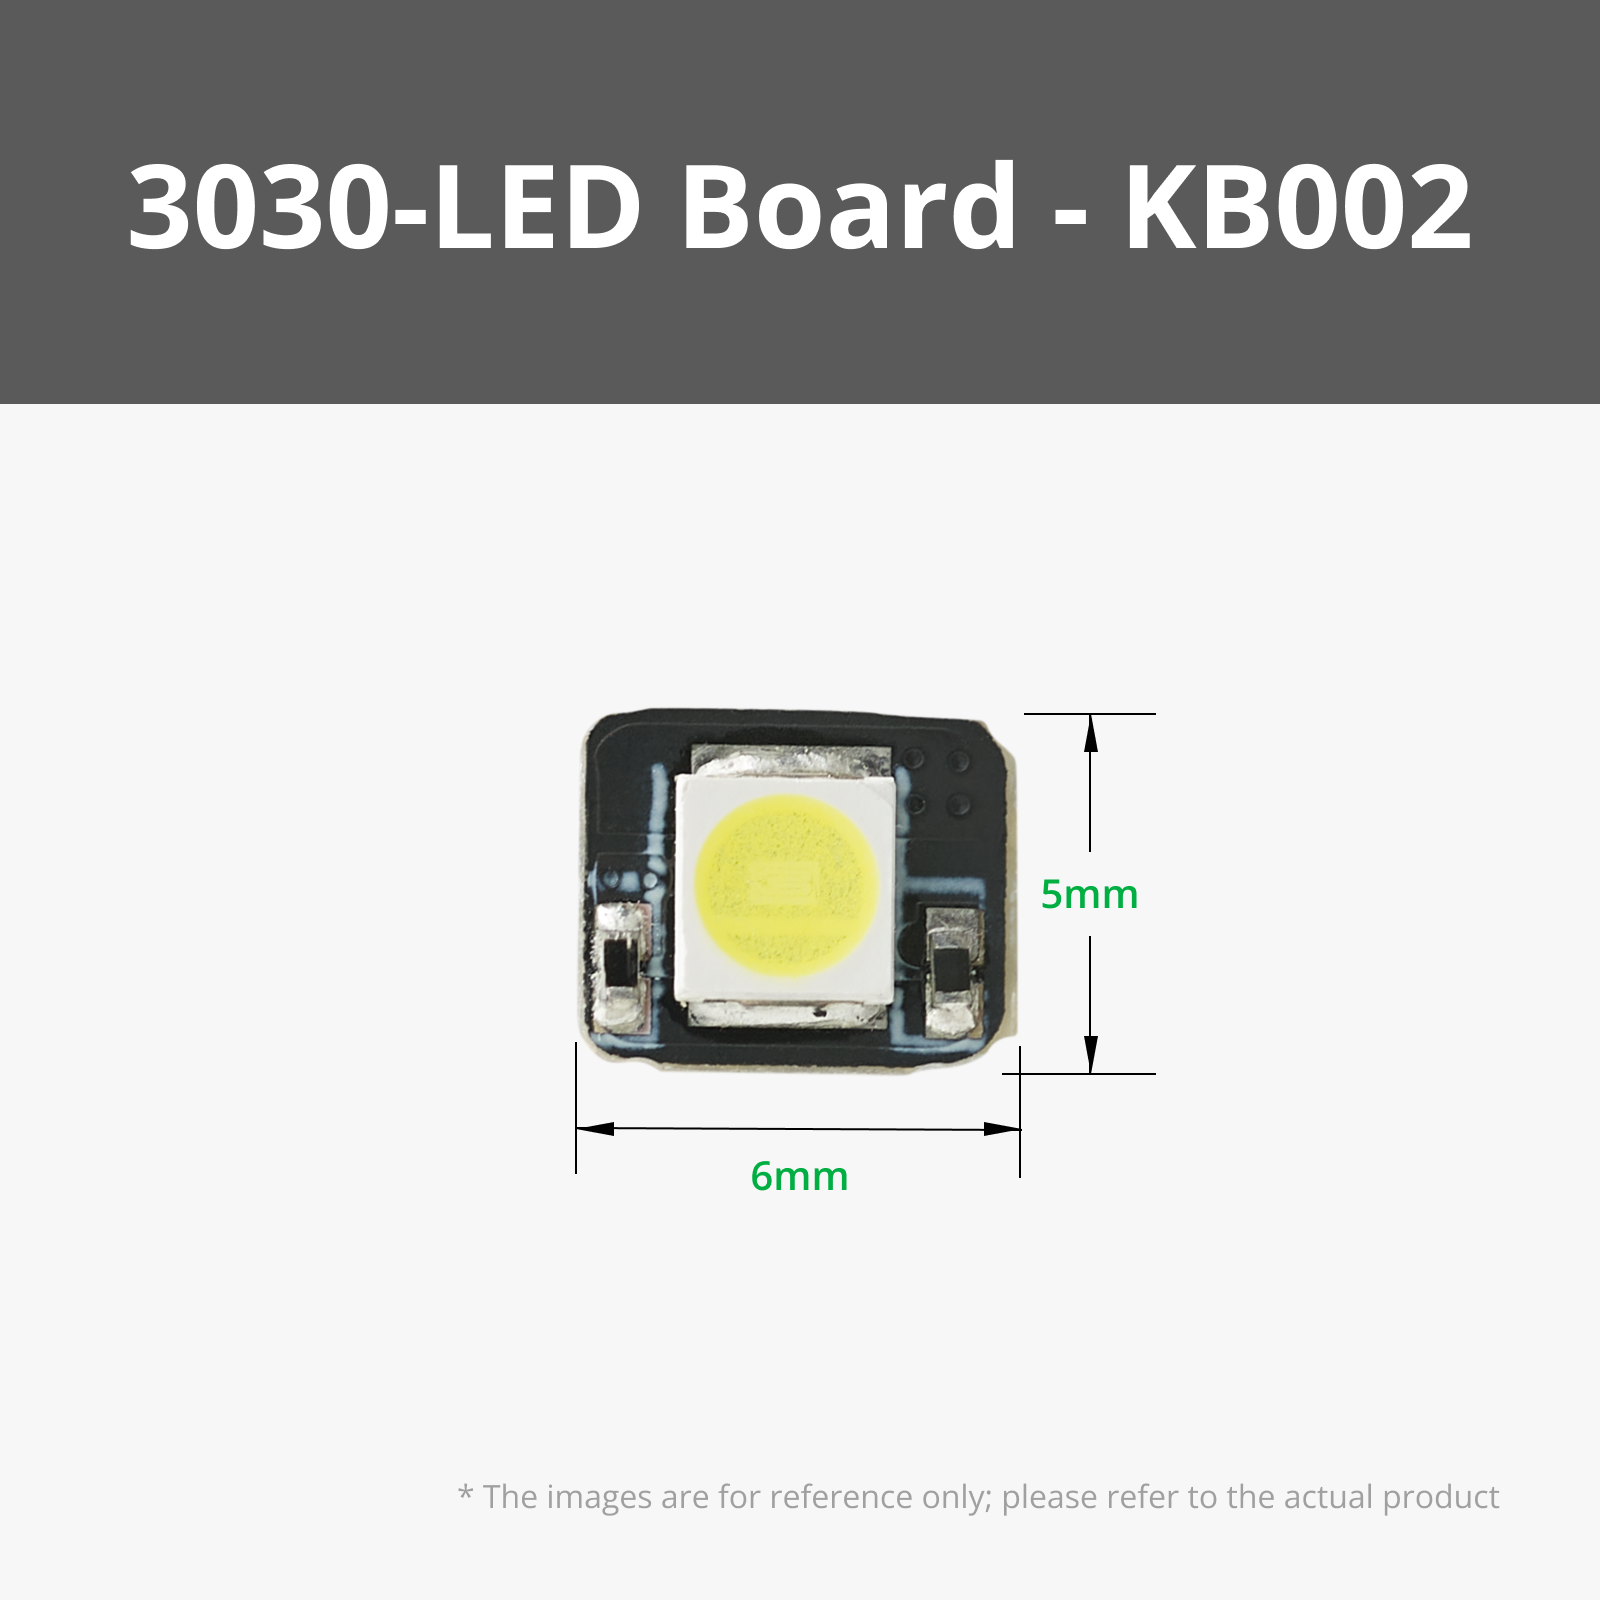
Bill of Materials


.png)


Description
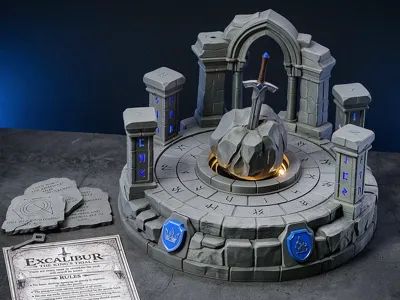
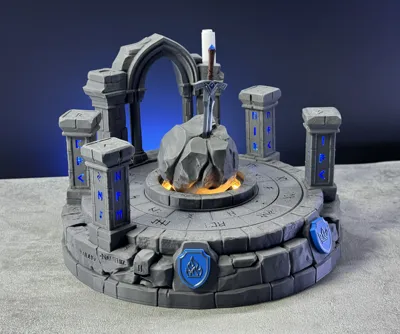
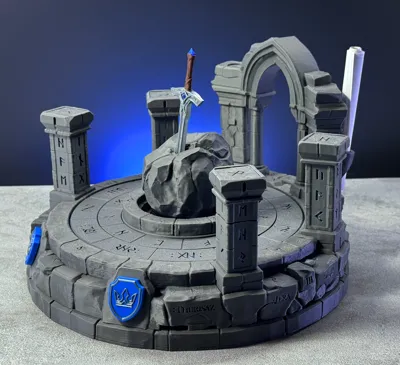
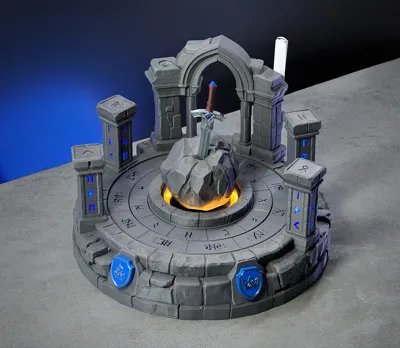
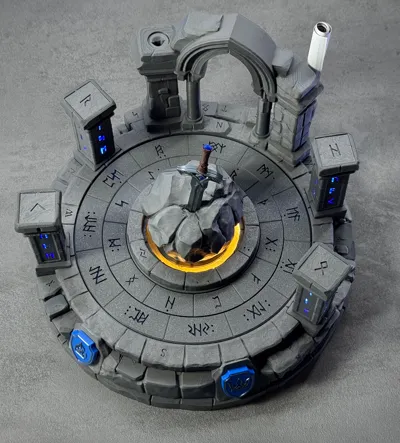
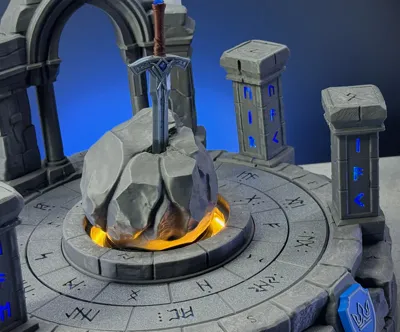
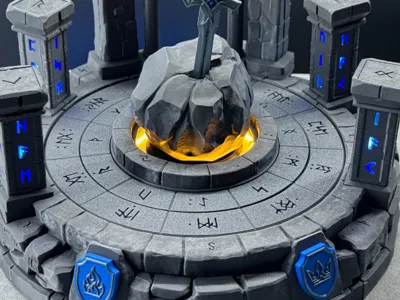
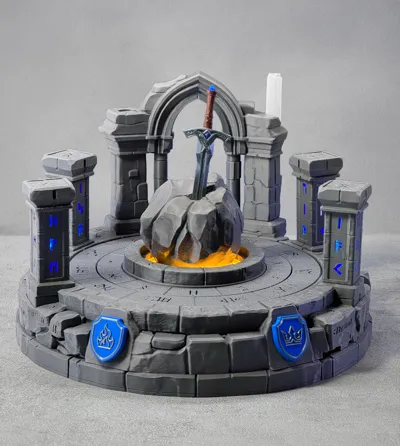
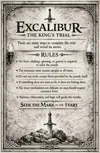
EXCALIBUR – The Puzzle
Excalibur is a fantasy-inspired tabletop puzzle experience that combines 3D printing with simple electronics to create a fully interactive escape-room-style challenge. Designed as a sequential puzzle journey, each solved mechanism unlocks the next. Hidden interactions, mechanical triggers, and subtle clues guide the player deeper into the stone structure — until the final secret is revealed: a hidden drawer opened by the sword, ready to hold your own personal gift.
With more than 45 unique puzzle steps, Excalibur offers a long, immersive experience filled with discovery, logic, movement, and mechanical surprise.

- Sequential Escape-Room Experience
Progress step by step through a carefully designed puzzle flow, where each solution naturally leads to the next. - 45+ Unique Puzzle Steps
A deep and rewarding challenge with a wide variety of interactions, discoveries, and mechanisms. - More than 35 Movable Parts & Mechanisms
Includes rotating rings, sliding elements, push mechanics, hidden buttons, drawers, and interlocking systems. - Motor-Driven Mechanisms
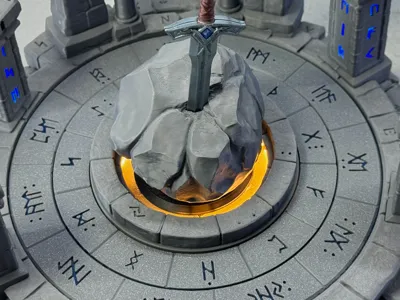
A motorized drawer creates a slow, satisfying reveal, while the motor-driven ring puzzle forms one of the central challenges. - Hidden Relics & Ancient Stone Plates
Discover concealed artefacts and engraved stone tablets bearing cryptic clues that guide you forward. - Integrated Lighting & Feedback
LEDs subtly reveal information, highlight progress, and enhance the atmosphere without giving away the solutions. - Compact, Transportable Design
A complete escape-room experience contained in one solid, stone-like structure designed for tabletop play. - No Programming Required
Built with simple, accessible electronics — easy to assemble, yet rich in functionality. - Place Your Personal Gift
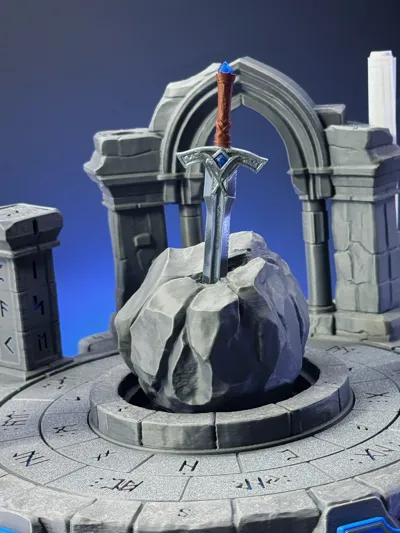
The journey ends with the sword unlocking the final hidden drawer — a special compartment where you can place a personal gift, message, or reward, turning the puzzle into a unique and memorable experience for friends and family. - Detailed Illustrated Solution Guide Included
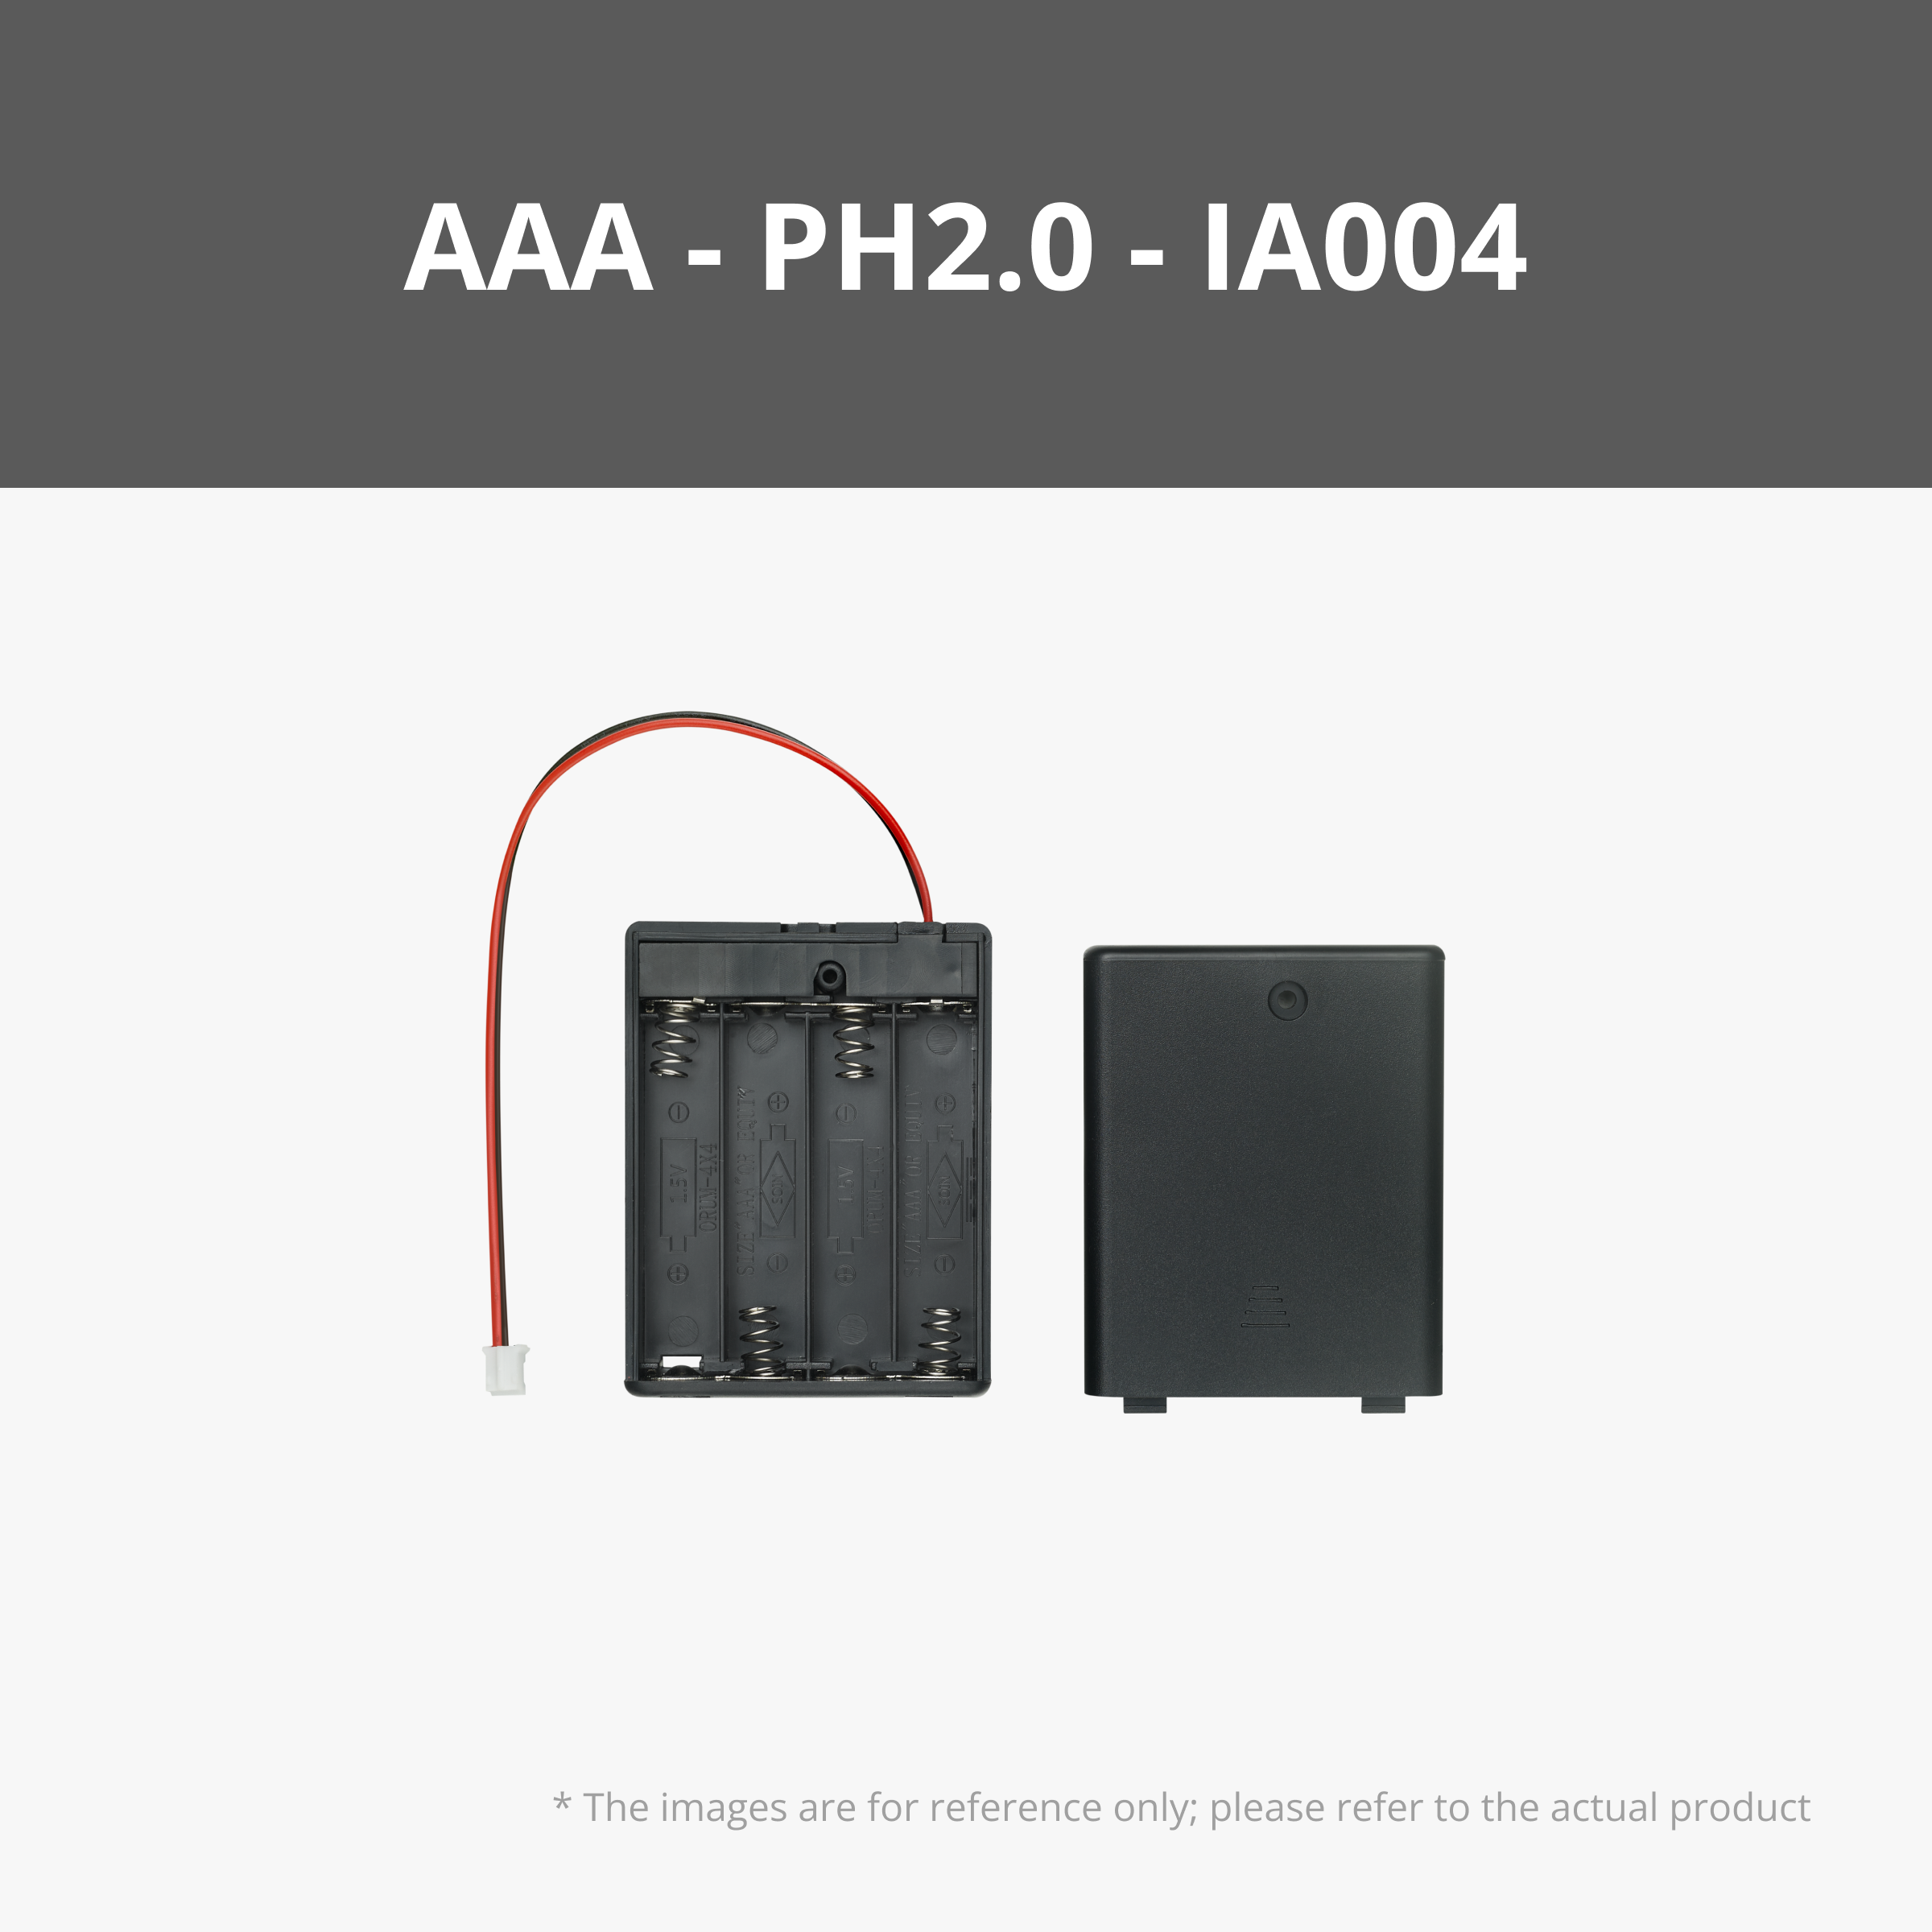
A clear, step-by-step guide with images that explains the full puzzle flow and helps you if you ever get stuck. - Powered by AAA Batteries
Runs on standard AAA batteries with easy access and quick replacement.
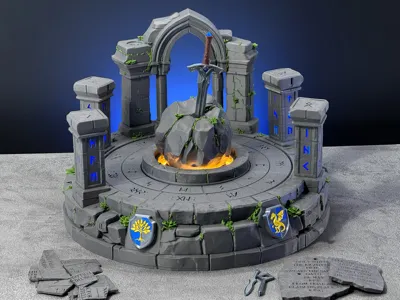
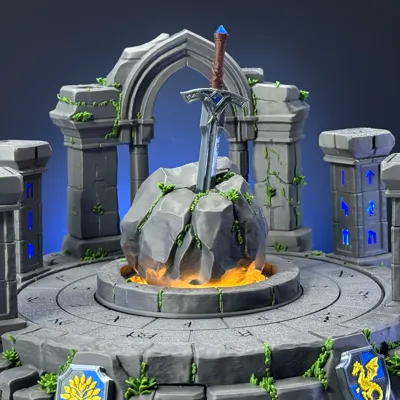
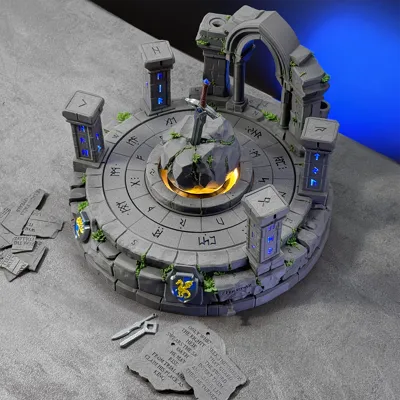
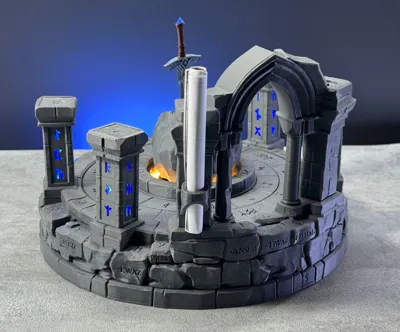
Also take a look at the alternate print profile, where some of the parts are covered with plants for an even more atmospheric look.

Assembly

Assembly requires patience and careful work, especially because many mechanical parts, magnets, and cables have to fit into a compact space. Check for the Troubleshoot section, if something doesn't work as expected.

Part 1: Preparing the Parts
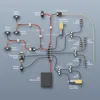
In this video, the pillars, magnets, and other individual components are prepared for assembly. Small details such as dots, side markings, notches, and plug orientation help determine the correct position of each part. Some elements must be pressed in and rotated to lock them into place, while button parts need to be checked to make sure they move freely. You'll find the wiring graphic at the end of the page.
Part 2: Installing the Electronics
In this video, the main base, stone ring, shields, pillars, and electronics are assembled. The power distribution board is prepared, the battery and motor cables are connected, and all cables are routed into place.
Part 3: Completing the Build
In this video, the final parts of EXCALIBUR are assembled. The drawers are filled, the sword mechanism is installed, the stone plates and key are placed, and the final mechanical tests are made. After this step, the puzzle is ready to be solved.
Part 4: Puzzle Demonstration
This video shows a demonstration of EXCALIBUR and gives an overview of how the puzzle is played. Not every detail is shown in this video.
Important Notes
- Be very careful when placing the magnets. Their orientation is important for the mechanisms to work correctly.
- The electronics are kept simple, but careful routing and clean assembly will make the build much easier. Push all plugs in firmly and test connections whenever possible during assembly. Cable management can be tricky in some areas due to the compact design.
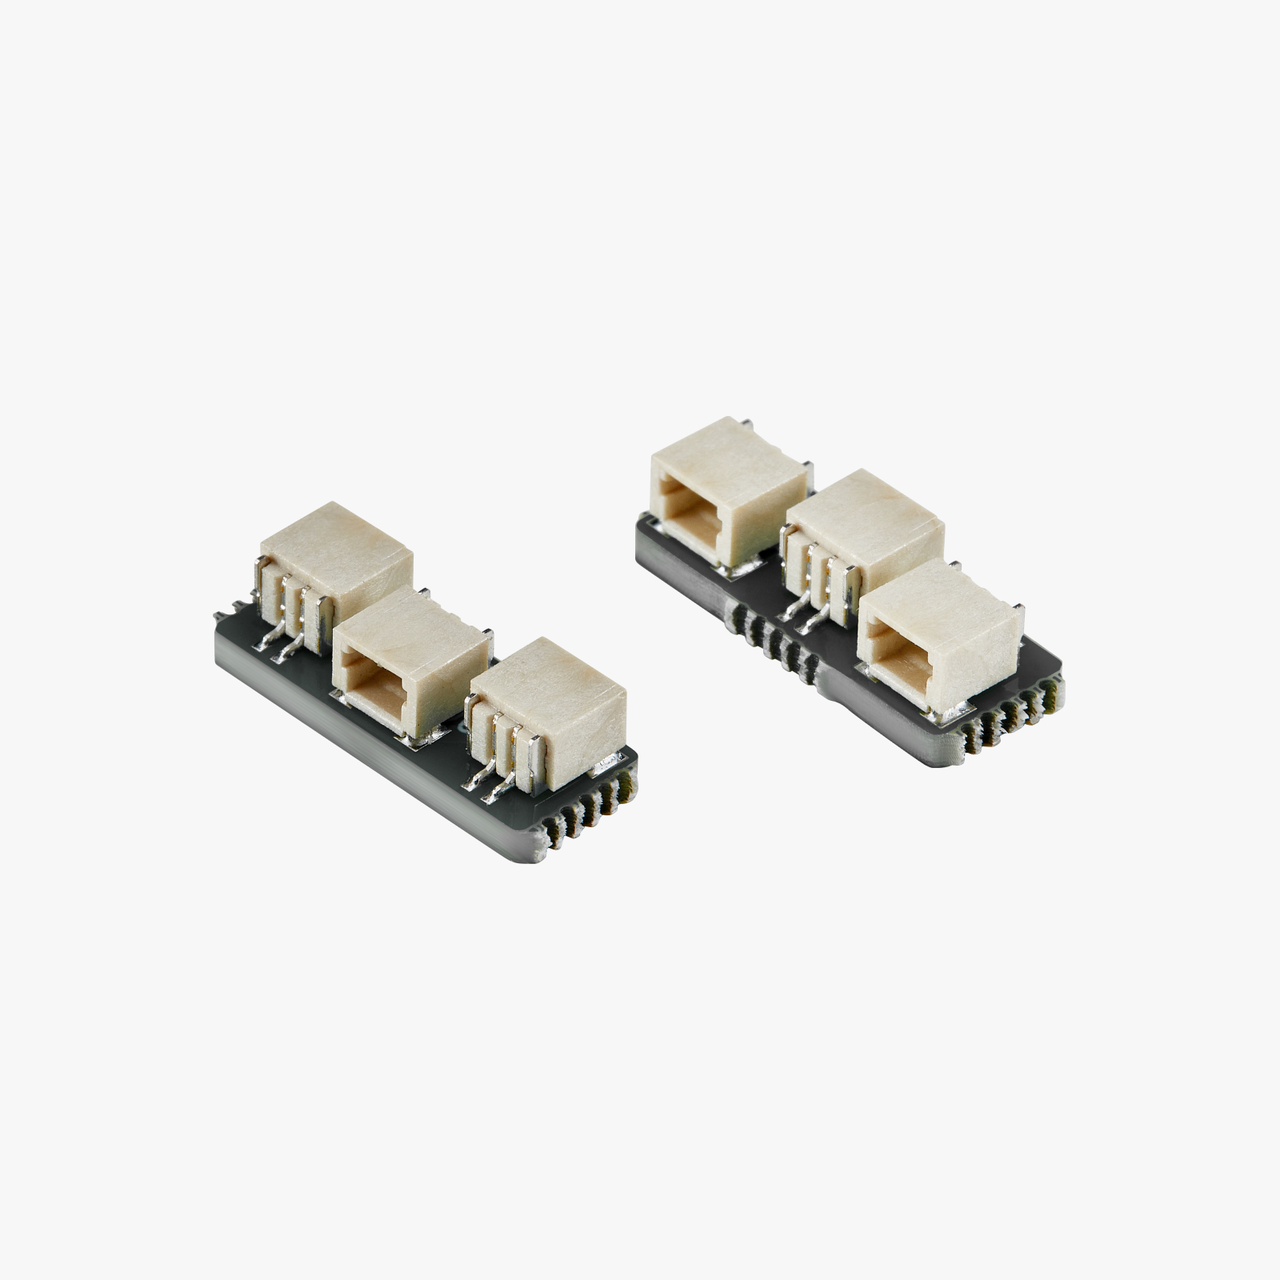
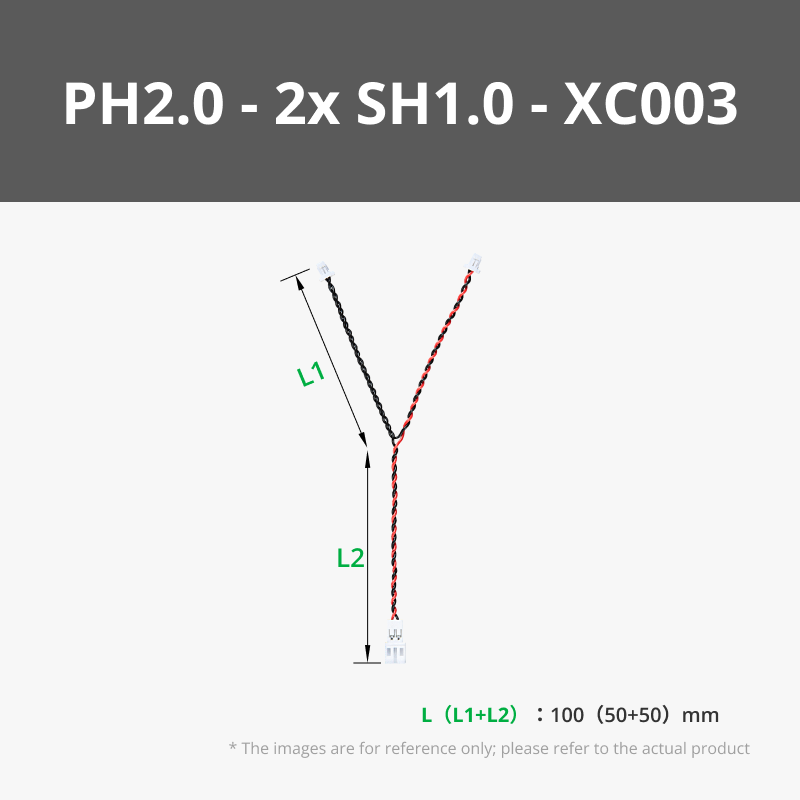
- If you're looking for the third PH2.0--PH2.0 cable, you'll find it included in the package of the Power Distribution Board (IA005).
Troubleshoot
The inner part of the pillars needs to lock onto the button. You may need to press it in firmly.
Important: only do this while the rune elements are not locked in place.
What do you need?
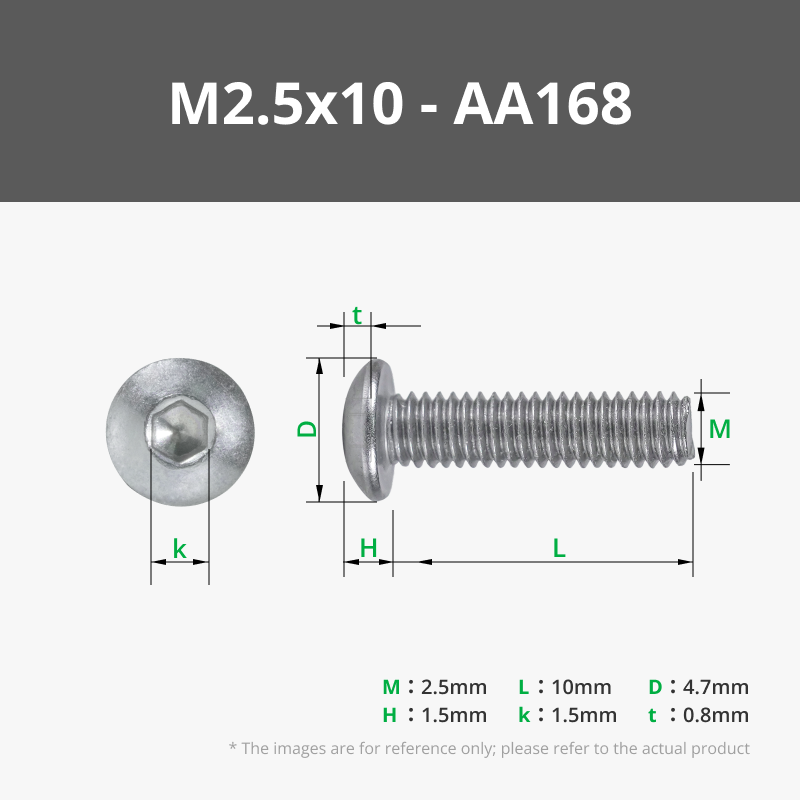
- Electronic components (see the detailed list above)
- Superglue for the magnets
- A screwdriver & Pliers
- A standard printer to print the instructions shown below
Print the Rules Paper at approximately 160 × 110 mm. The size does not need to be exact.

Printing & Filament
- On the pillars, be careful when removing the parts from the build plate and when removing supports.
- Make sure variable layer height is activated for all top stone surfaces to achieve the best stone look.
Recommended filament usage
- Stone: Basic PLA Dark Grey – 740 g
- Inside mechanics: Basic PLA Black – 150 g
- Shields: Basic PLA Blue – 40 g
- Blue accents / light parts: PLA Translucent Blue – 35 g
- Silver sword: Any metallic or silk filament – 10 g
- Sword handle: Brown – 6 g
- Center light diffuser: Yellow, orange, or translucent yellow – 20 g
Electronics
The detailed List is available here: EXCALIBUR Electronics List

For Makers, Friends & Family
Excalibur is more than a model — it is a build, a puzzle, and an experience. The assembly itself is engaging, but the real fun begins when the puzzle is explored. Some mechanisms will already be clear during the build, while others remain hidden until the very end.
It is also designed to be passed on, so after solving it yourself, you can give it to friends or family and let them take on the challenge. It is resetable.
If you enjoy sequential puzzles, mechanical interactions, and escape-room-style discovery, this project was made for you — and for the next worthy person who dares to try.
Documentation (3)
License
You shall not share, sub-license, sell, rent, host, transfer, or distribute in any way the digital or 3D printed versions of this object, nor any other derivative work of this object in its digital or physical format (including - but not limited to - remixes of this object, and hosting on other digital platforms). The objects may not be used without permission in any way whatsoever in which you charge money, or collect fees.
Comment & Rating (155)