Poolin EOC05 Magnetic Hoop – Large (4” × 9.25”)


Print Profile(2)


Description
The Poolin EOC05 comes with two standard hoops (4” × 4” and 4” × 9.25”), and I’m sure many of us have struggled with hooping fabric using these. Since I started embroidery a few years ago, I’ve been looking for a magnetic hoop for the larger size, but couldn’t find one. So I decided to design my own—and I’m happy to say it works!
Boost Me (for free)
Please give me a boost if you find it useful!
Bill of Materials:
- Remove the peg connector from your original hoop. You will reuse the two M3 × 8 mm screws.
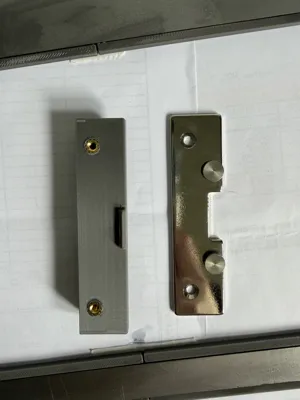
- Mild steel plate (1 mm thickness)
Options for obtaining this part:
a. Laser cutting – A .DXF file is included.
I personally used Xometry (not sponsored, just sharing what I used). The cost was ~£25 including tax and shipping.
Make sure to select mild steel, not stainless steel, as magnets will not work with stainless steel.
b. Manual cutting – You can cut it using aviation snips and a sheet of mild steel, or source it from a local metal supplier offering cut-to-size services. - Four M3 heat-set threaded inserts with M3 × 8 mm screws (including the two reused screws).
- Adhesive felt sheet (0.5–1 mm thickness).
- Strong magnets (6–8 pcs).
The commonly used type is R25 × 11 mm for magnetic hoops.
Example source (not sponsored): AliExpress link. - Epoxy glue
- Painter’s tape or washi tape
Print Plates:
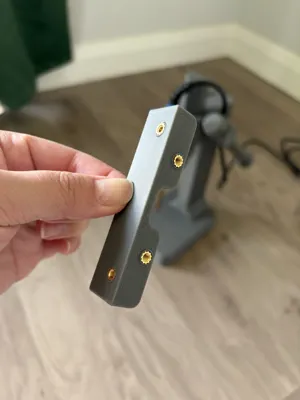
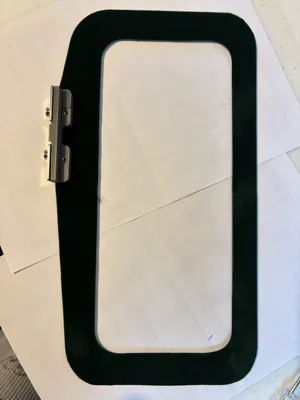
- Plate 1: Peg adaptor + hoop base (split into two halves due to size constraints).
I printed mine in PETG. - Plate 2: Optional template for manually cutting the steel plate.
Assembly Instructions:
Apply painter’s tape to the back of the hoop base to temporarily hold the two halves together. This prevents epoxy from seeping through.

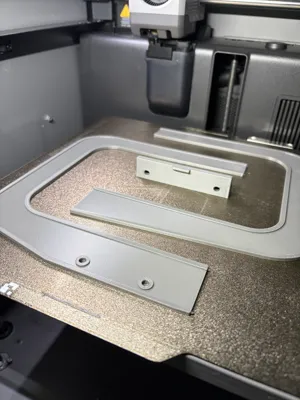
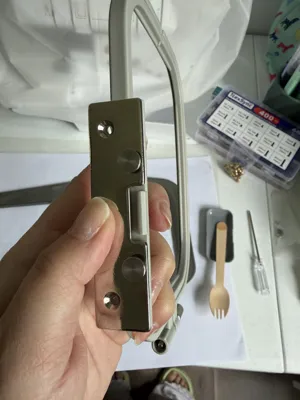
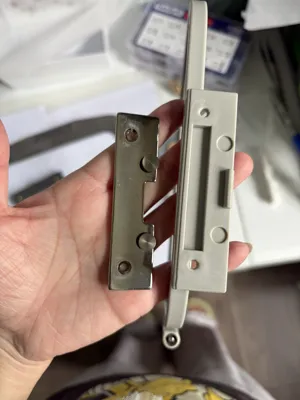
Mix epoxy and apply a generous layer to the hoop base. Place the steel plate into the recessed area, ensuring it sits flush. Allow to cure fully.


Install the four heat-set inserts into the peg adaptor using a soldering iron.

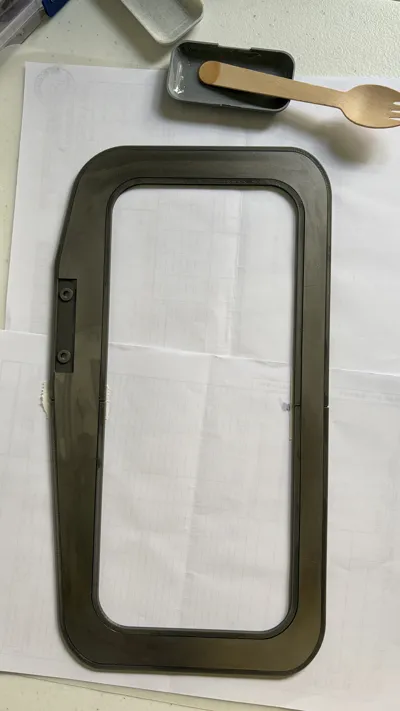
Remove the peg from the original hoop and attach it to the peg adaptor.


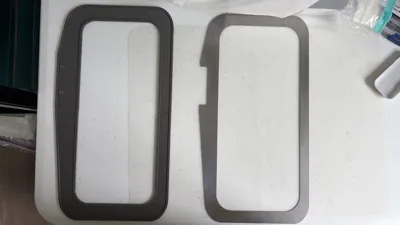
Use the hoop base as a template to cut the felt sheet.


- Once the epoxy has fully cured, apply the felt sheet over the steel plate.
Attach the peg adaptor to the base using screws.

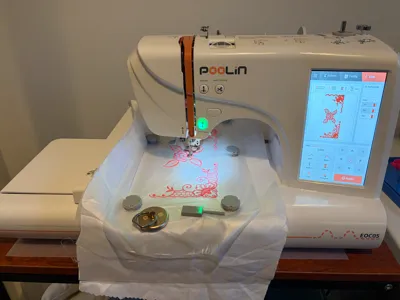
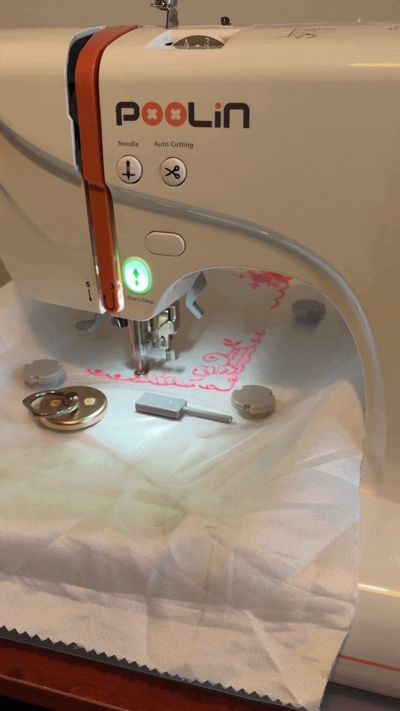
Start embroidering!

Tips:
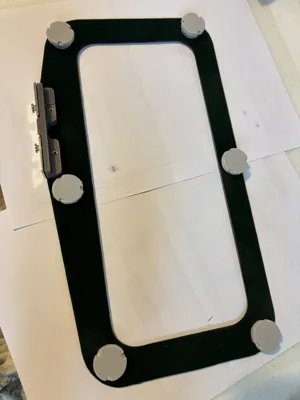
The original large hoop has a design limitation: the peg only engages at two points, which can make the longer edge less stable during use. With this magnetic hoop, you can place additional magnets along the longer edge to improve stability. In my demo, I used extra magnets (including a phone mount magnet and a nail magnet) to add weight—simple, but effective.

License:
This design is for personal use only. If you are interested in selling prints of this model, please contact me to discuss a commercial license.
Comment & Rating (0)