Pokemon Magnetic Fidget Slider - 6 Design Variants


Print Profile(1)
Bill of Materials


Description
Boost Me (for free)
Thanks for checking this out. If you enjoyed the model, a boost is greatly appreciated and helps support for future releases!
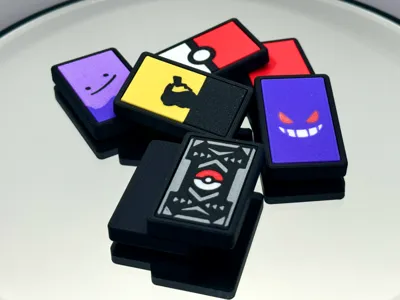
Bring a satisfying click to your collection with this Pokemon-inspired fidget slider! Designed for both fun and function, this compact slider features smooth glide with crisp, tactile feedback: perfect for stress relief, focus, or just keeping your hands busy.
The internal magnet system delivers a satisfying “snap” with a subtle rattle, giving it that addictive fidget feel while staying durable and pocket-friendly. Whether you're a pokemon fan or just love fun fidget toys, this piece blends playful aesthetics with everyday usability.
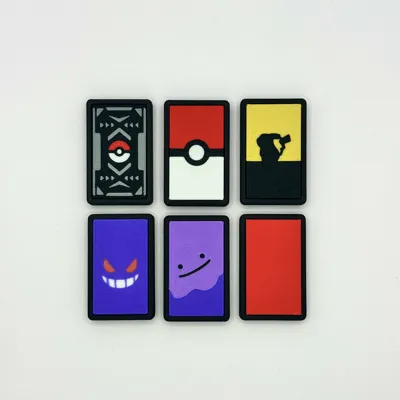
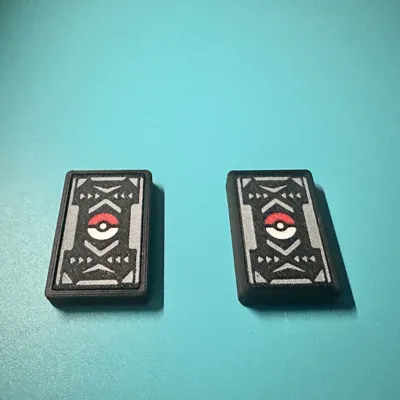
Available in 6 plate design options:
- Pokeball (2 variations)
- Pikachu
- Gengar
- Ditto
- Blank (for custom color builds)
Print & Assembly Notes:
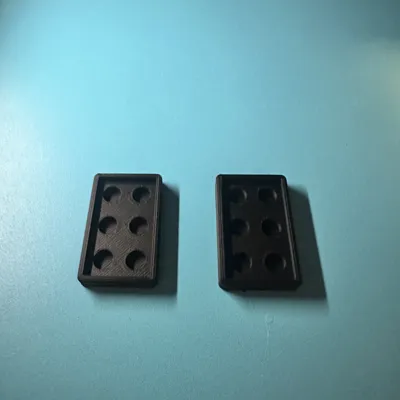
- Designed for 6mm x 2mm magnets (6 per side)
- If you are ordering from Amazon here are some strong ones that I use for my projects:
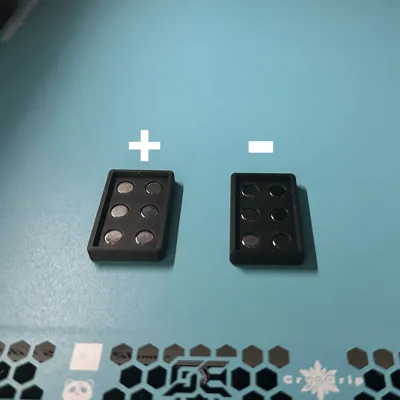
Magnet Polarity (IMPORTANT):
- Polarity must be consistent for proper function.
- Magnets on both bases should attract not repel.
Magnet Fit & Sound Design:
- Magnet slots are intentially designed slightly larger than 6x2mm magnets to provide that satisfying snap & rattle sound during use.
- Because of this tolerance installation may be a little tricky and may require care and patience.
Recommended Assembly Method:
- Print the plates first followed by the base (Files are separated by plate, you can add a copy if you're printing 2 of the same plate)
- Once the base is done printed, place magnets into the base slots while it's still on the build plate.
- Reliable method:
- Stack all magnets together (keeps polarity consistent)
- Insert magnets into the first base directly from the stack - do not flip
- For the second base, flip the magnet stack and repeat so one base mirrors the other.
- Reliable method:
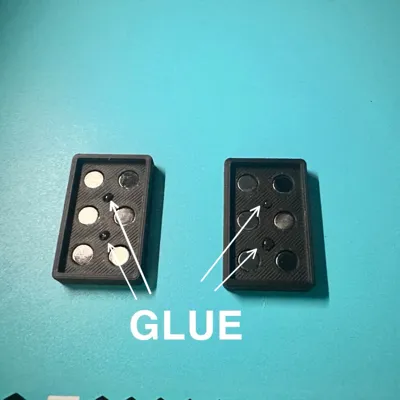
- Once magnets are inserted a small amount of glue needs to be added to secure the plate. *A little goes a long way as you don't want too much, otherwise it will get on the magnets.
- Once glue is applied, attach the design plate and allow some time to dry before use.
Notes from the designer:
This is one of my earlier designs, and I'm continuing to improve with each model I release. If you enjoyed this model or brought you some fun, a boost, and rating, plate design idea is genuinely appreciated - it helps support future designs.
This model is free for personal use.
If you want to sell printed versions, you can obtain a commercial license by accessing my Patreon here:
PokePrintWorks — 3D Prints | Patreon
Thanks for supporting my work! It helps me keep designing and releasing new models!
License
You shall not share, sub-license, sell, rent, host, transfer, or distribute in any way the digital or 3D printed versions of this object, nor any other derivative work of this object in its digital or physical format (including - but not limited to - remixes of this object, and hosting on other digital platforms). The objects may not be used without permission in any way whatsoever in which you charge money, or collect fees.
Comment & Rating (2)