Upper Tankring PRO quick lock for custom bags


Print Profile(1)

Bill of Materials
- Neodym Magnete 8x3 x 24: optional but only in combination with attached tankring
- rubber bands x 1: ~ 55 cm diameter
- Screw M3x25 x 4:
- Screw M3x12 x 5:
- Screw M3x10 x 5:
- Screw M3x8 x 8:
Description
Boost Me (for free)
If you like the model you can boost me for free. Thank you :-)
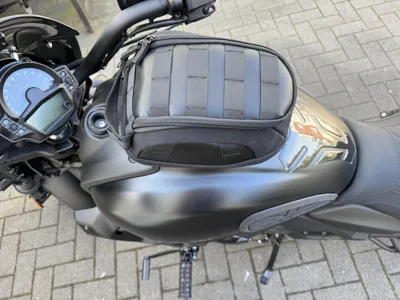
I bought the following bag and attached the printed Upper Tankring to it:
https://de.aliexpress.com/item/1005007870718406.html

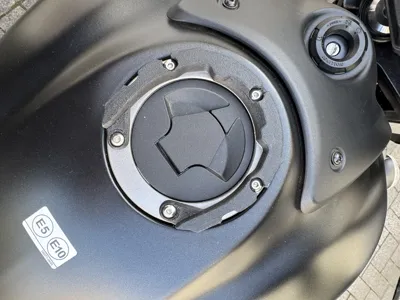
Compatibility to the famos SW Motech tankring PRO should be given, but is untested so far as i don't have one. Let me know if it works.
Assembly instructions:
For the screws I've used the box from amazon:
https://www.amazon.de/dp/B0D7VQ34HM?ref=ppx_yo2ov_dt_b_fed_asin_title&th=1
1. Print all parts unsing PETG or ASA filament
if you are using carbon fiber (CF) materials use the optional files name “CF more tolerance” for better fitting
I've printed the tankring and the snapper in PATH-CF, but ASA or PETG should be fine
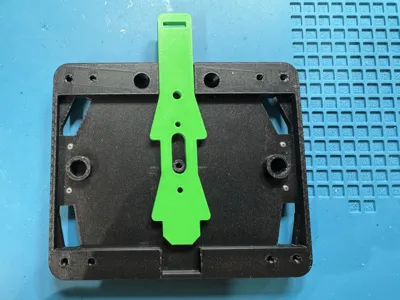
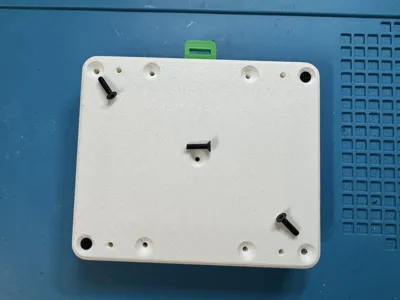
2. Start with the groundplate and add the puller for better oriantation of the front

3. Turn around and screw the three guildes to the groundplate using M3x8 screws.

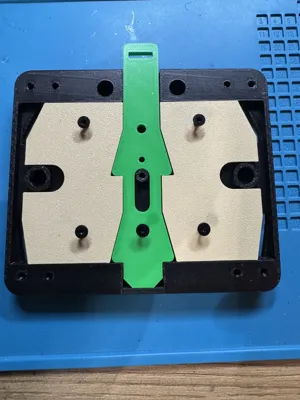
4. Add the M2x10 screws to the puller and to the left and right snapper

be careful, shrws should not be passed throgh the tiles, just turn til they are stable to hold the rubbers.

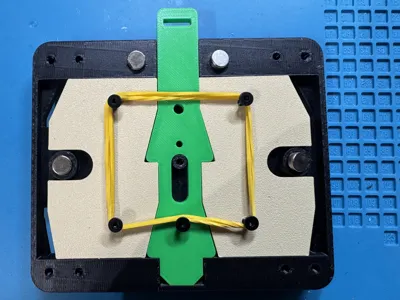
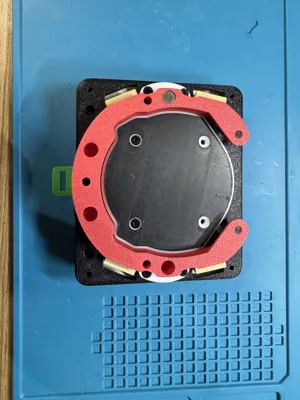
5. Plase the rubbers as shown below (rubber must be strong) you can add up to two:

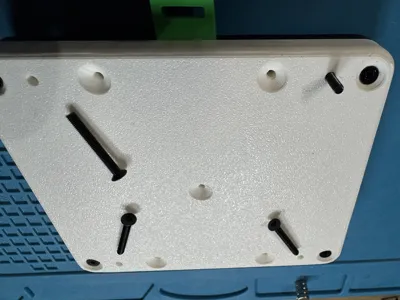
5. Place the Top cover with the M3x12 screws

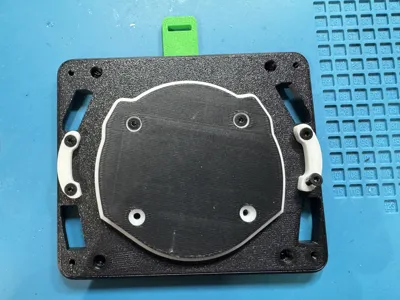
6. Use the M3x25 screws and put them from the downside

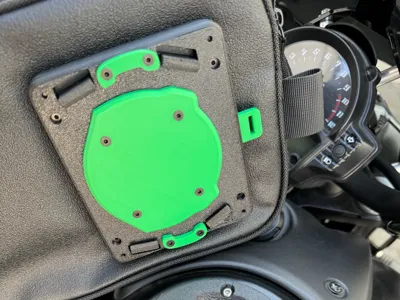
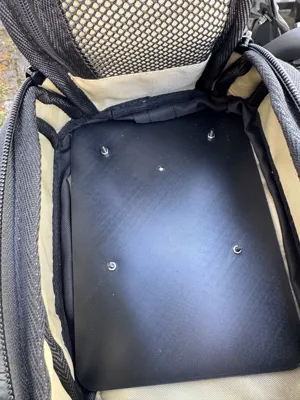
7. Use the counterplate to drill holes into you bag and fix the outer tankring with the counterplate:

Neodym Magnete 8x3 are optional an can be placed into both rings. I recommend to put three in each hole:


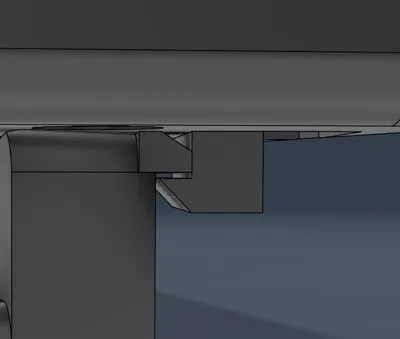
This picture shows an early prototype:

Check out my other camping creations here.


Boost Me (for free)
If you like the model you can boost me for free. Thank you :-)
License
You may create derivative works based on this object, provided that all such derivative works are published exclusively on the MakerWorld platform and include proper attribution to the original creator. You may not share, upload, host, distribute, or publish this object—or any derivative work of this object—on any other digital platform, marketplace, or distribution channel. Commercial use of this object and any derivative works is strictly prohibited. This includes, but is not limited to, selling, renting, sublicensing, or using the object in any context in which you receive monetary compensation or other financial benefits.
Comment & Rating (2)