


Print Profile(1)
Description
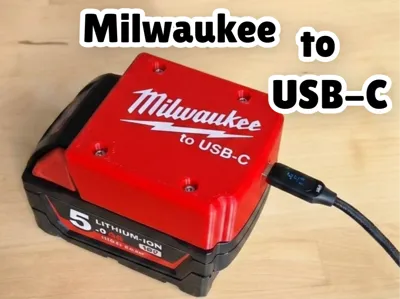
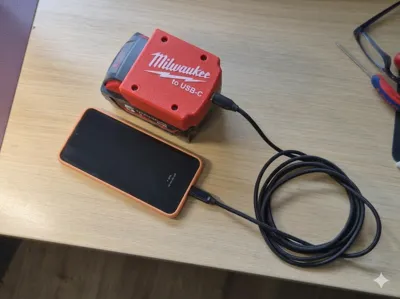
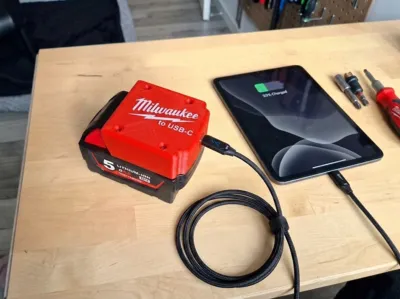
This project allows you to convert your Milwaukee M18™ tool batteries into a high-power mobile charging station. Equipped with a PD65W module, it provides enough juice to charge not only smartphones but also USB-C powered notebooks and tablets.
Features
- Fast Charging: Supports Power Delivery (PD) up to 65W.
- Wide Input Range: The charging board handles 8-32V DC, making it perfectly compatible with the M18 battery voltage.
- Secure Fit: Designed for a tight, click-in fit on the battery rails.
- Durable Design: Uses threaded inserts for a long-lasting mechanical assembly.
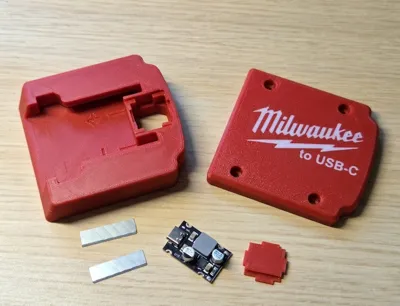
Bill of Materials (BOM)
To build this adapter, you will need the following components:
1. Electronics
- 1x PD65 Fast-Charging Board (Model: U1E): Featuring a USB-C socket. Dimensions: 30 × 20 mm. Input Voltage: 8-32V DC.
2. Hardware & Fasteners
- 4x M3 Threaded Inserts: For the main housing assembly.
- 4x M3 x 8mm Screws: (Button head or socket head).
- 4x M2.5 Threaded Inserts: To mount the PCB.
- 4x M2.5 x 6mm Screws: For securing the PCB to the housing.
3. Battery Contacts
- 1x 9mm Snap-off Utility Blade: A standard narrow blade can be cut to size to create the electrical contact tabs that slide into the battery terminals.
Assembly Instructions:
Step 1: Install Threaded Inserts
Begin by installing all 8 threaded inserts (4x M3 and 4x M2.5) into the designated holes in the main adapter body. Use a soldering iron at a medium temperature to gently press the inserts into the plastic until they are flush with the surface.
Step 2: Prepare the Battery Contacts
Take a standard 9mm snap-off utility blade and carefully cut it into two pieces, each exactly 30mm in length. These metal strips will act as the electrical contacts for the M18 battery terminals.

Step 3: Test Fit and Soldering
Insert the two metal contacts into the main housing. Ensure the sharp edge of the blade sits securely inside the guide groove of the casing.
Mark the positions on the blades where the wires will be attached.
Remove the blades and solder a 60mm long wire to each contact.
Step 4: Secure the Contacts (Heat Staking)
Re-insert the contacts with the attached wires into the housing.
Feed the wires through the internal openings toward the electronics compartment.
Using your soldering iron, carefully melt the plastic of the housing in two spots over each contact (as shown in the photo). This "heat staking" process will lock the metal contacts permanently into place.

Step 5: Connect the PD65W Module
Place the PD65W charging board (U1E) into its mounting position and fix it with the M2,5 screws. Solder the two wires coming from the battery contacts to the input pads of the module.

Step 6: Final Assembly
Place the top cover onto the adapter and secure it using the M3 screws. Your adapter is now ready! Slide it onto a Milwaukee M18 battery and enjoy high-speed charging on the go.
Step 7: Final Touches
Apply a small amount of adhesive (superglue or plastic cement) to the small inner lid on the inside of the adapter to seal the assembly.
You’re all set! Enjoy your high-speed Milwaukee-powered charger!
Boost Me (for free)
Do you have any suggestions for improvement, did you run into any problems, or would you do something differently? Please let me know, and if you like this adapter, give me a boost!
Enjoying this model?
Support my work with a coffee!

License
You shall not share, sub-license, sell, rent, host, transfer, or distribute in any way the digital or 3D printed versions of this object, nor any other derivative work of this object in its digital or physical format (including - but not limited to - remixes of this object, and hosting on other digital platforms). The objects may not be used without permission in any way whatsoever in which you charge money, or collect fees.
Comment & Rating (5)