
Snapmaker U1 Front Power SW & USB延長
Print Profile(0)
Description
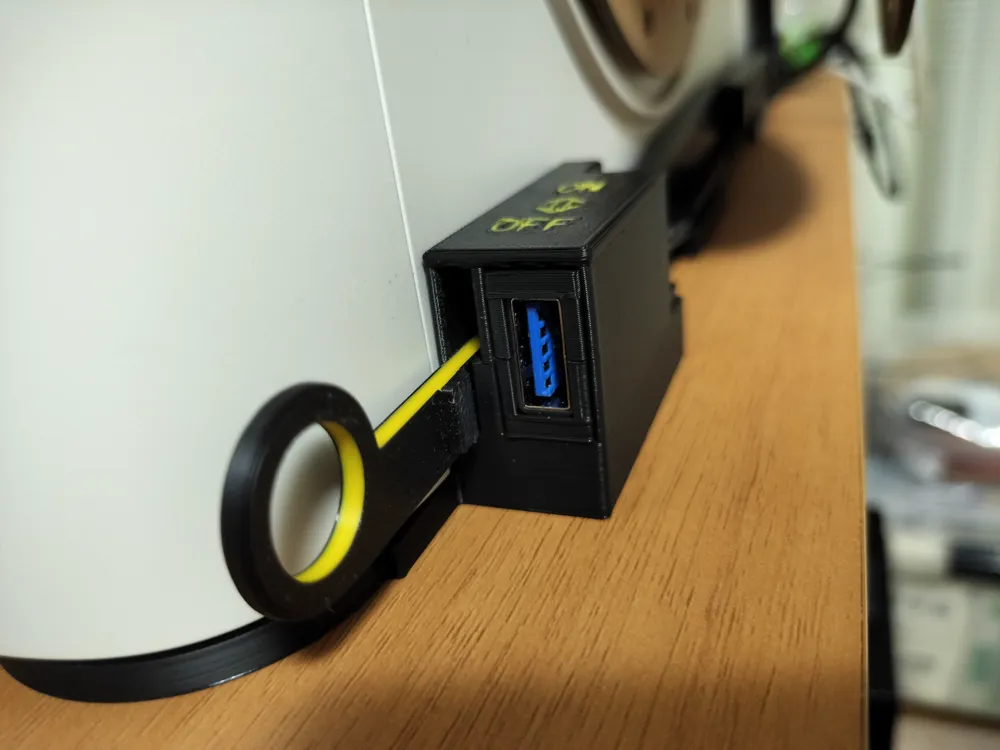
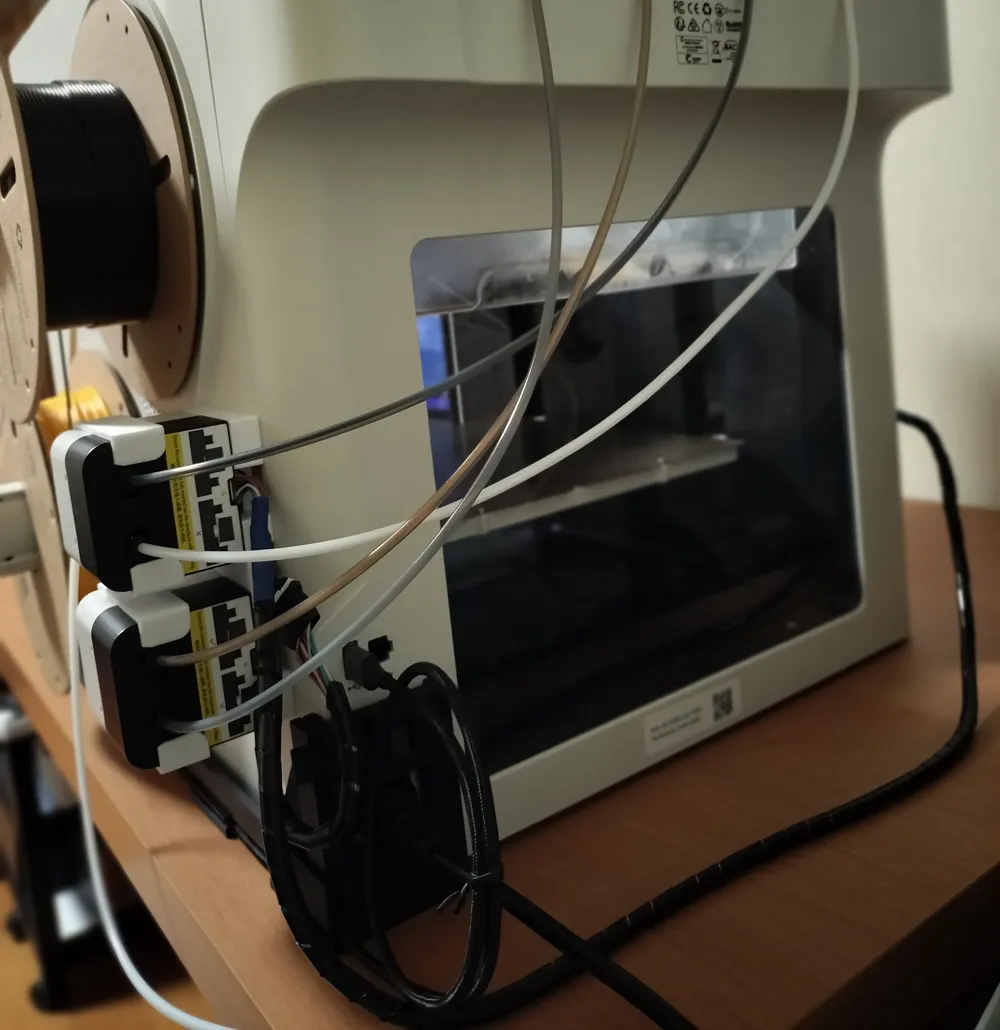
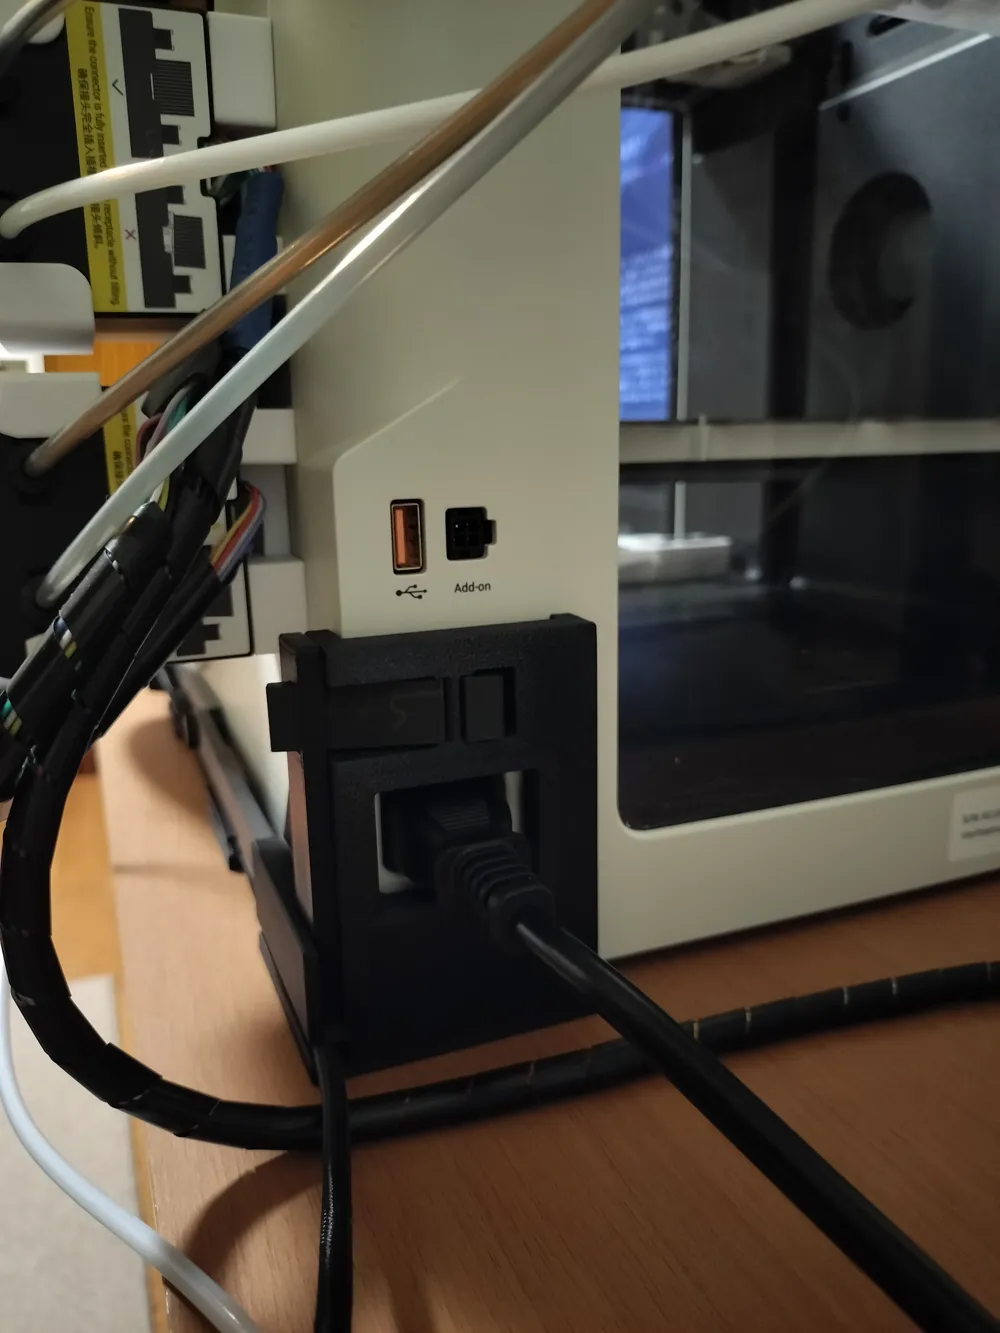
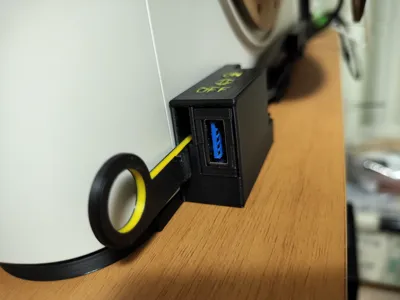
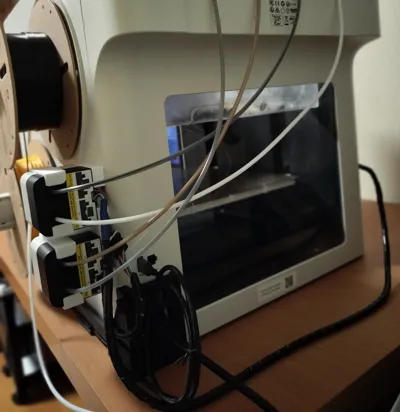
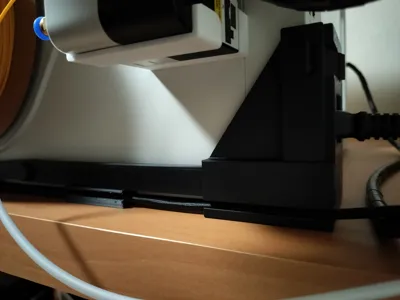
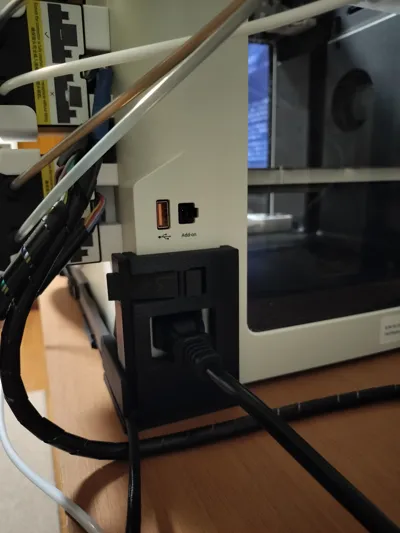
Front-mounted Power SW operation and USB port for Snapmaker U1
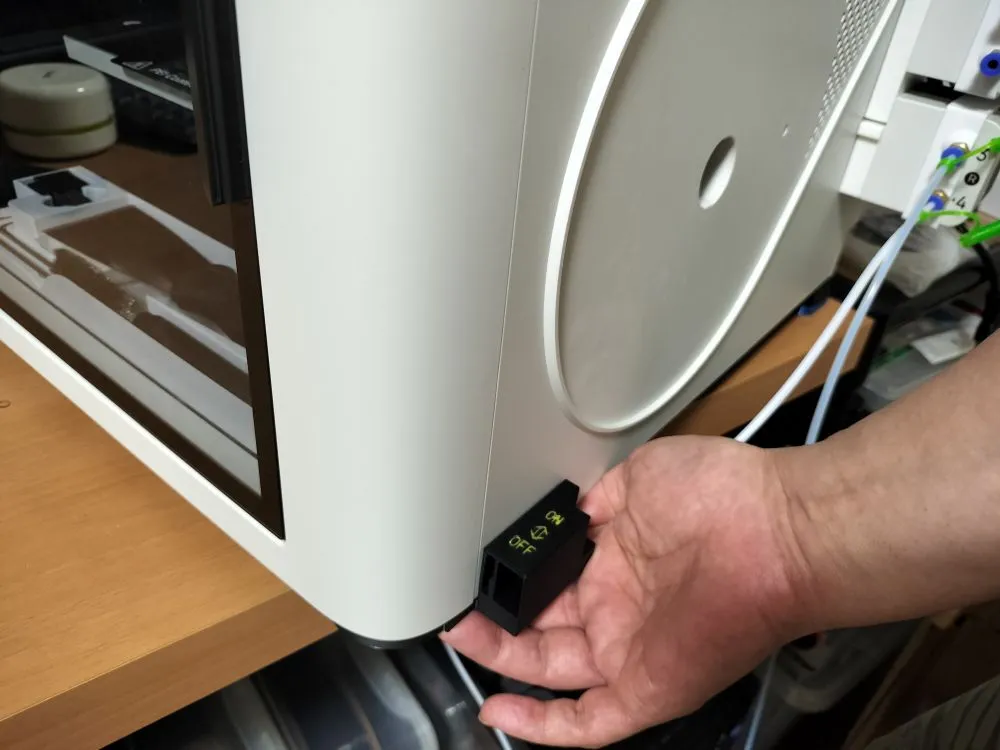
Pulling the lever turns it off, pushing it turns it on
Slide it up, then push or pull it
The photo shows the pulled (off) state
Assembly Instructions
Set the front base
Simply insert the rubber feet into the round holes and the frame ends into the grooves
As it will fall if you let go, shift the printer while holding it down
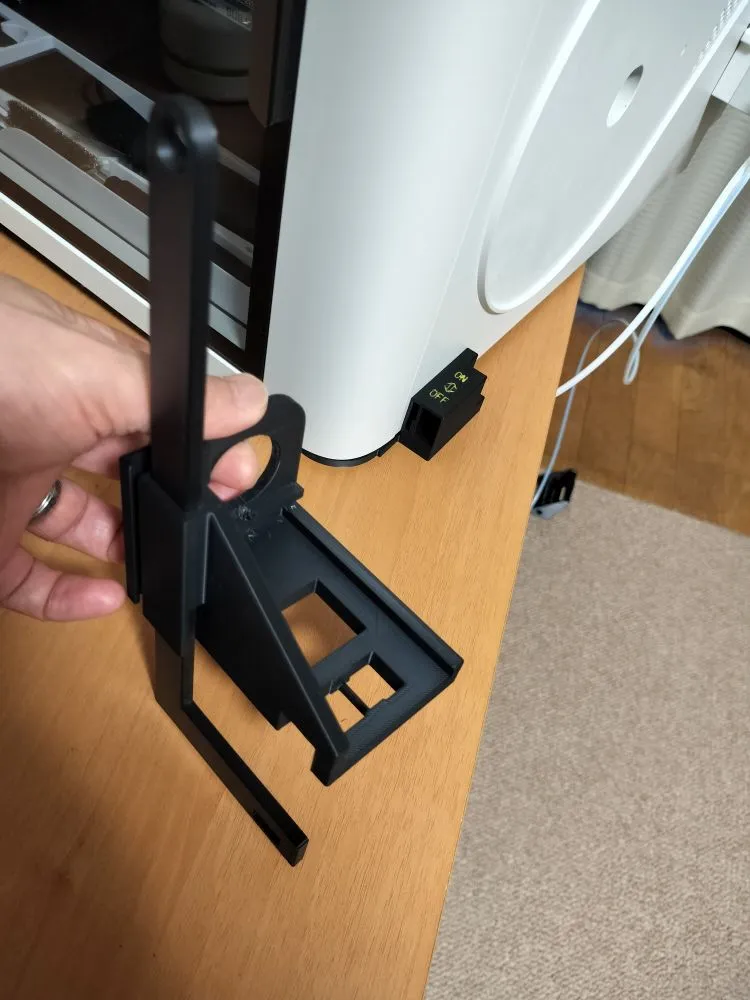
Assemble the rear base
Insert the arm into the base, then set the switch part
|
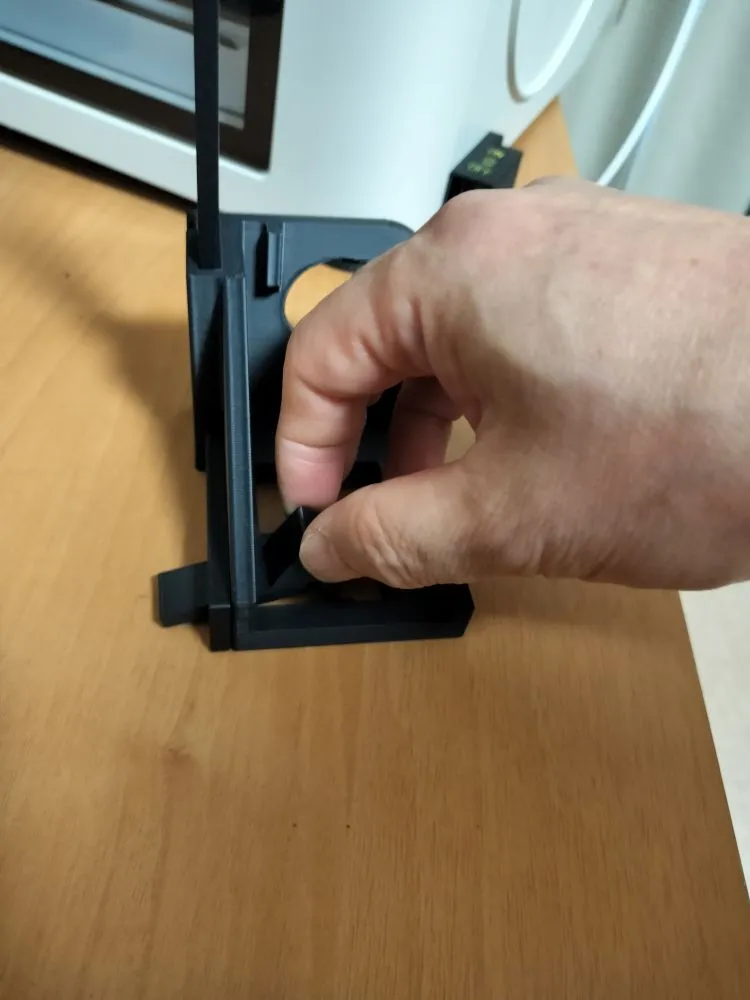
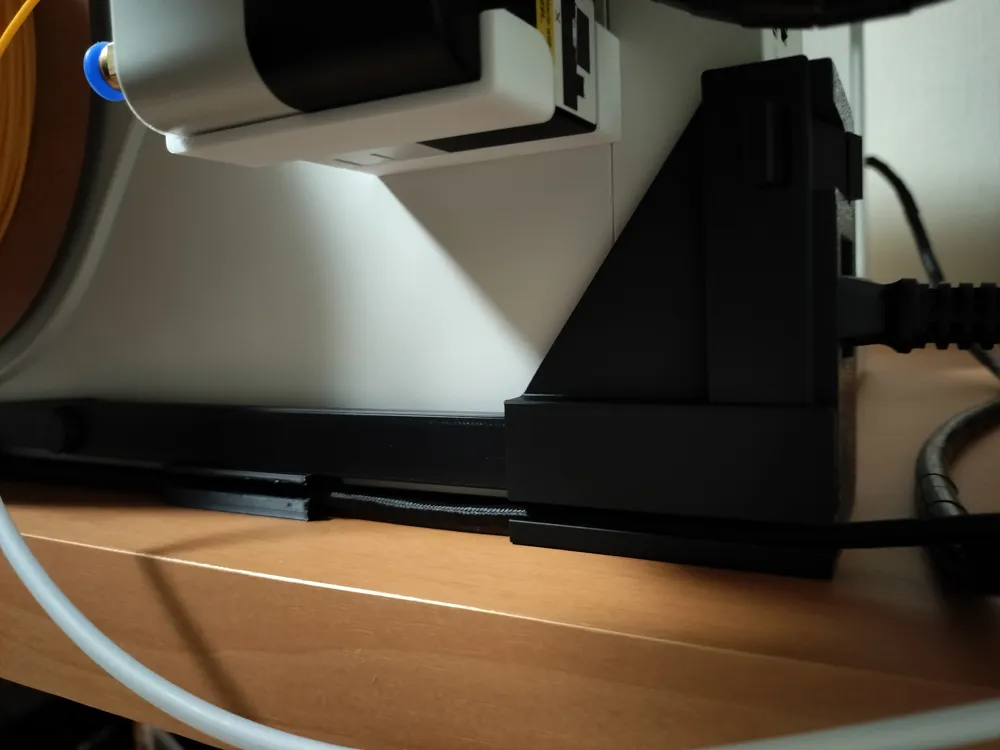
Set the rear base
Simply insert the rubber feet into the round holes and the frame ends into the grooves
Shift the printer while holding it by hand until it's in a position where it won't fall
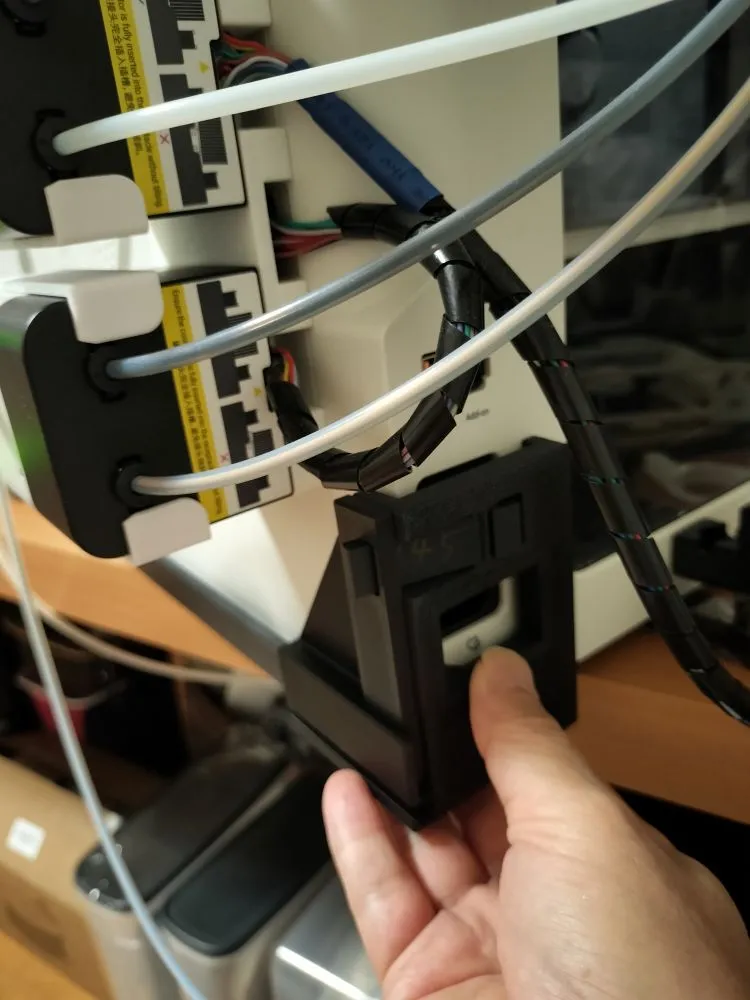
Insert the two USB cable guides (not necessary if not using USB)
|
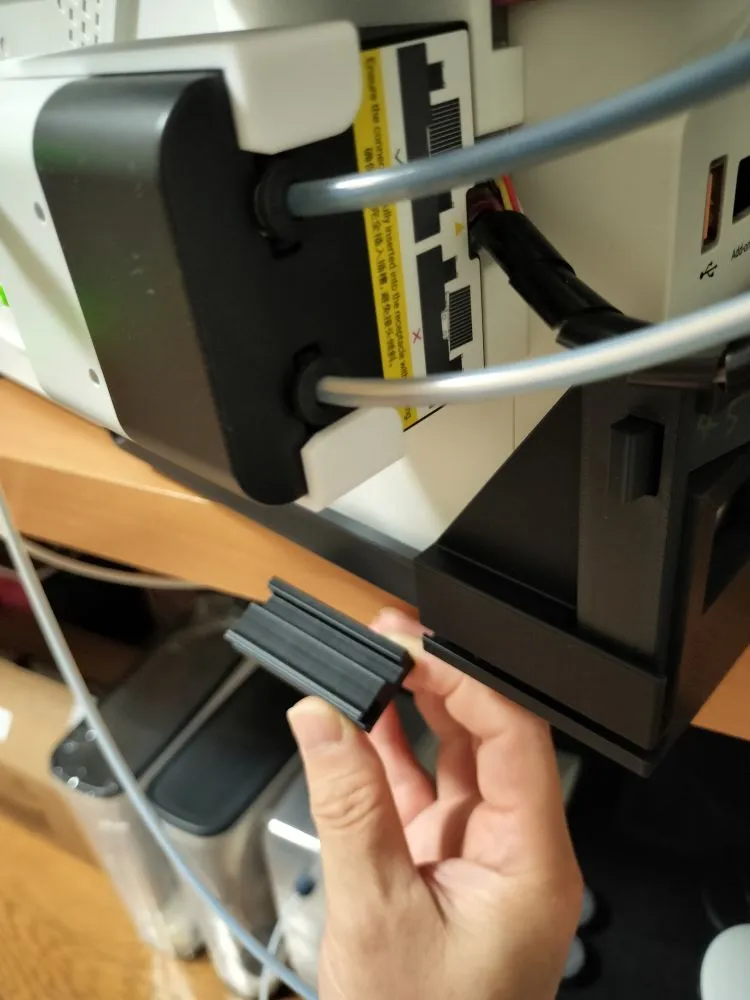
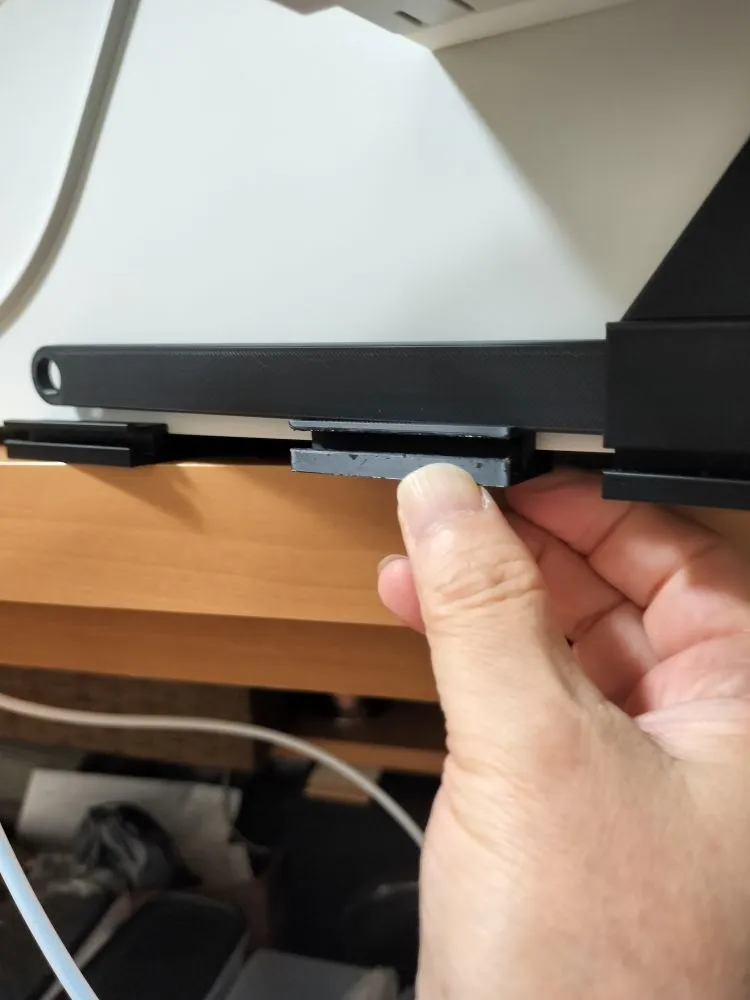
Insert the front arm into the base and secure it to the rear arm with screws
|
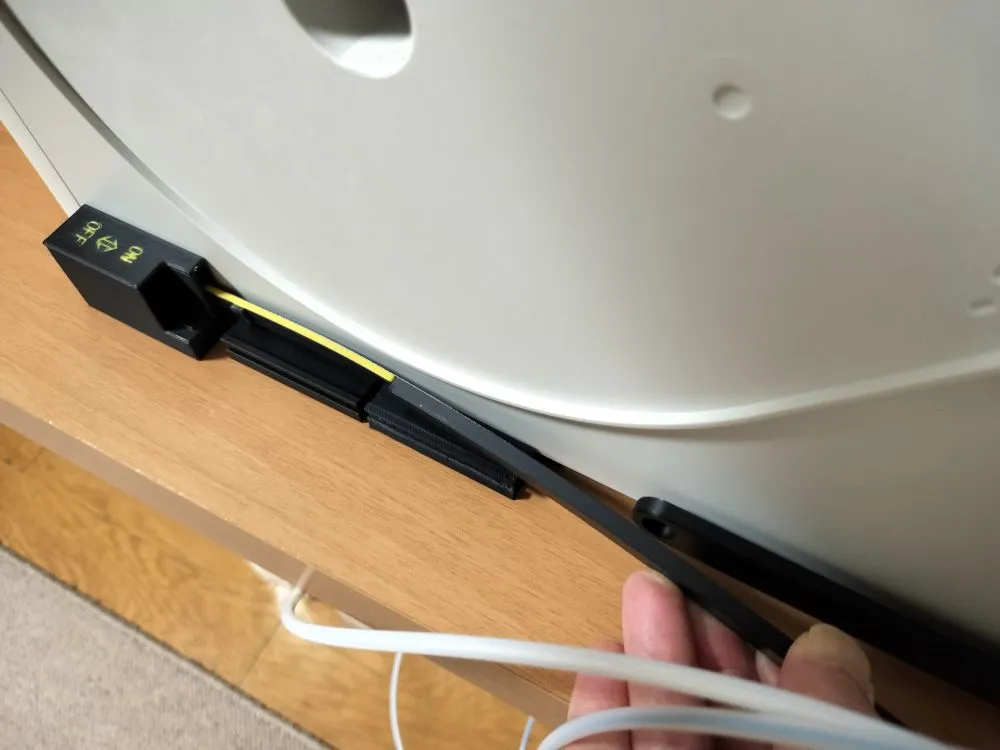
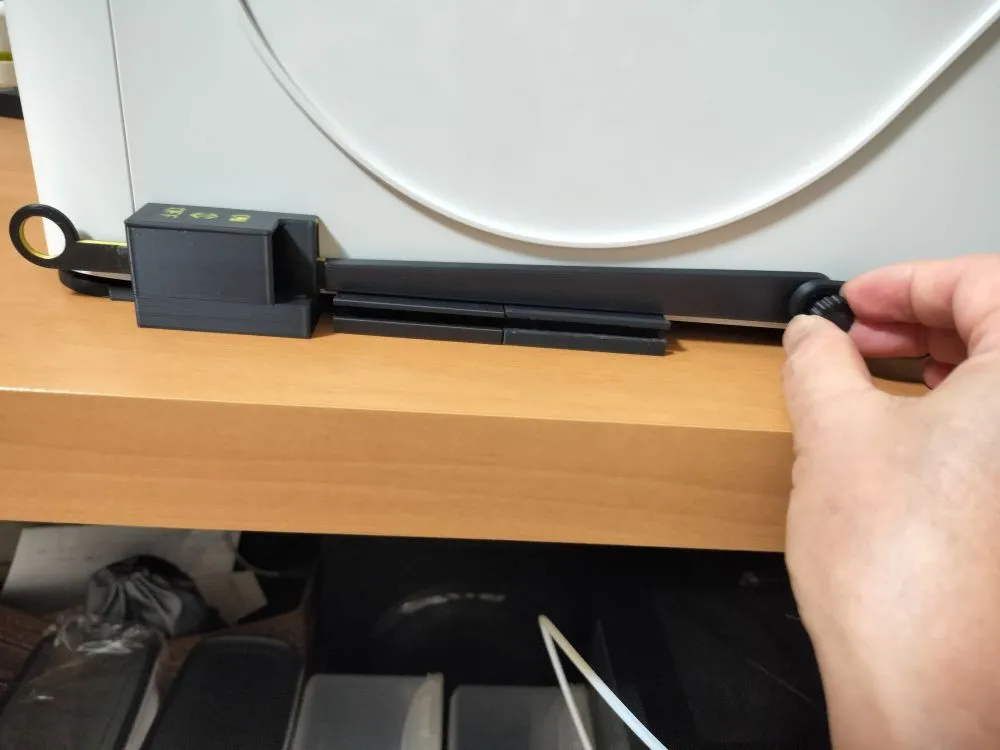
Pass the USB cable through the base
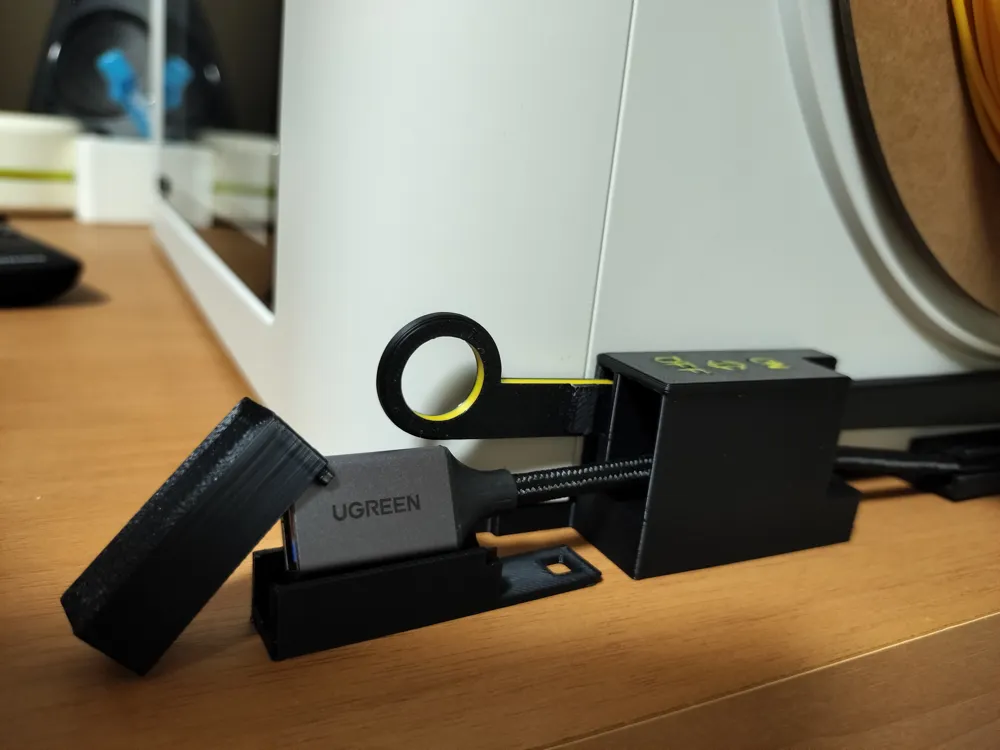
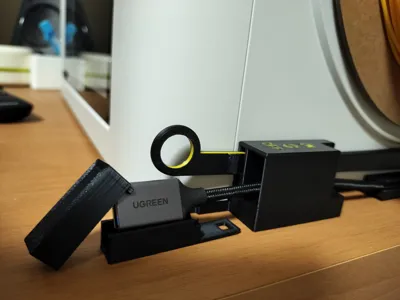
The USB cable used is this one
https://www.amazon.co.jp/dp/B086ZGYCLD?ref=ppx_yo2ov_dt_b_fed_asin_title&th=1
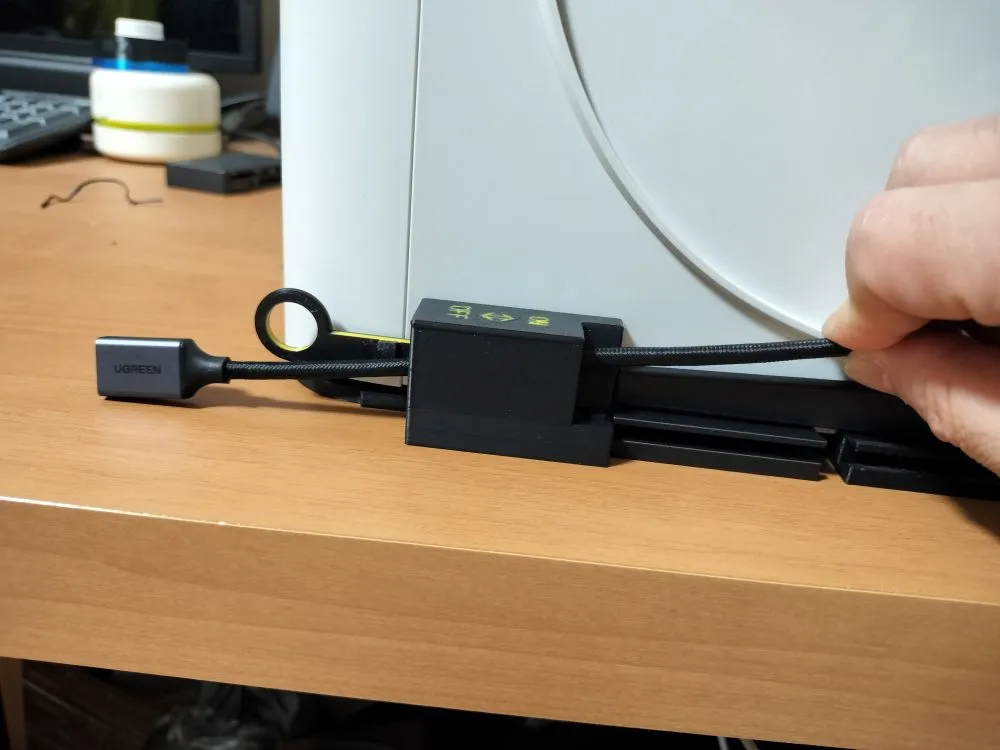
Sandwich the terminal with the connector set case and insert it into the base
It is best to set it in the square hole with the tabs slightly lifted
|
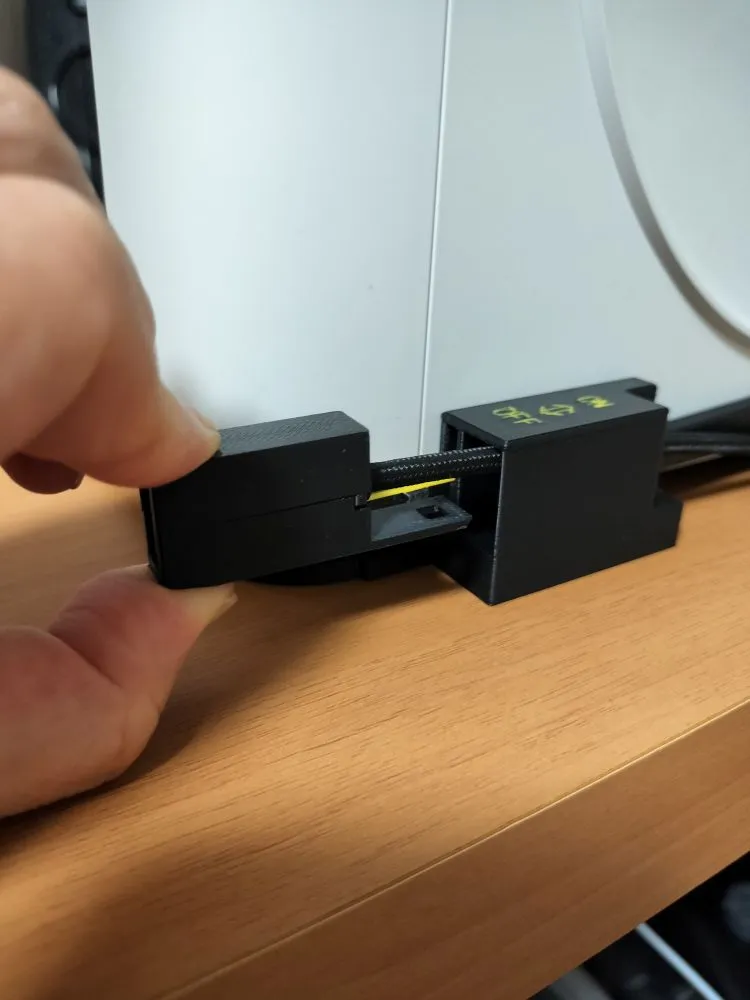
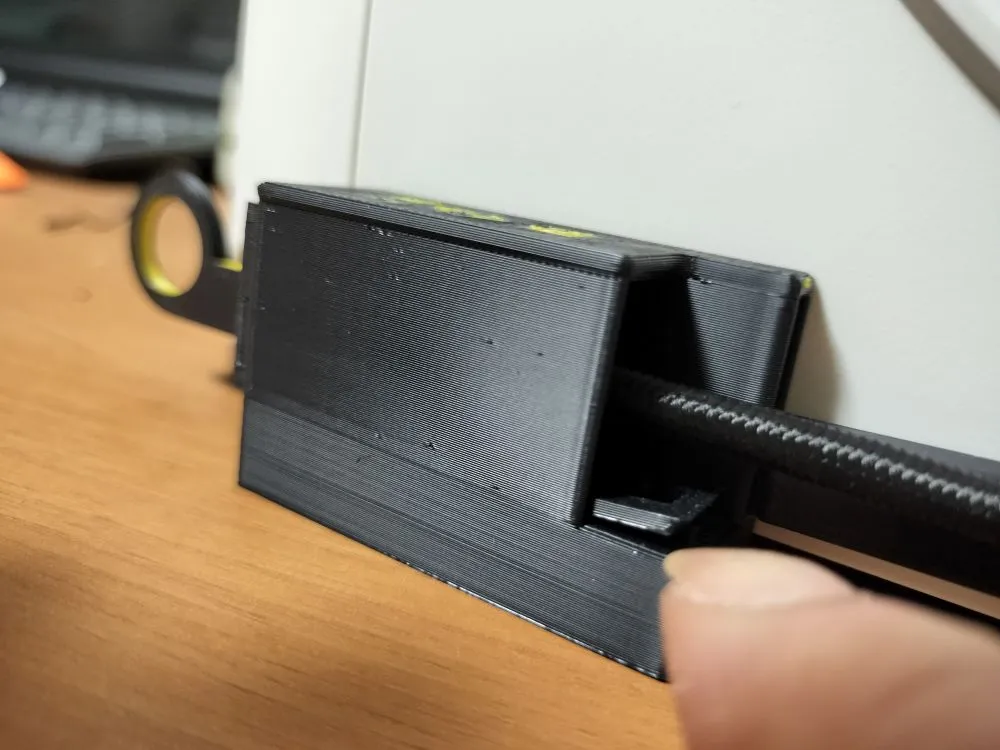
Push the USB cable into the guide and it's complete
|
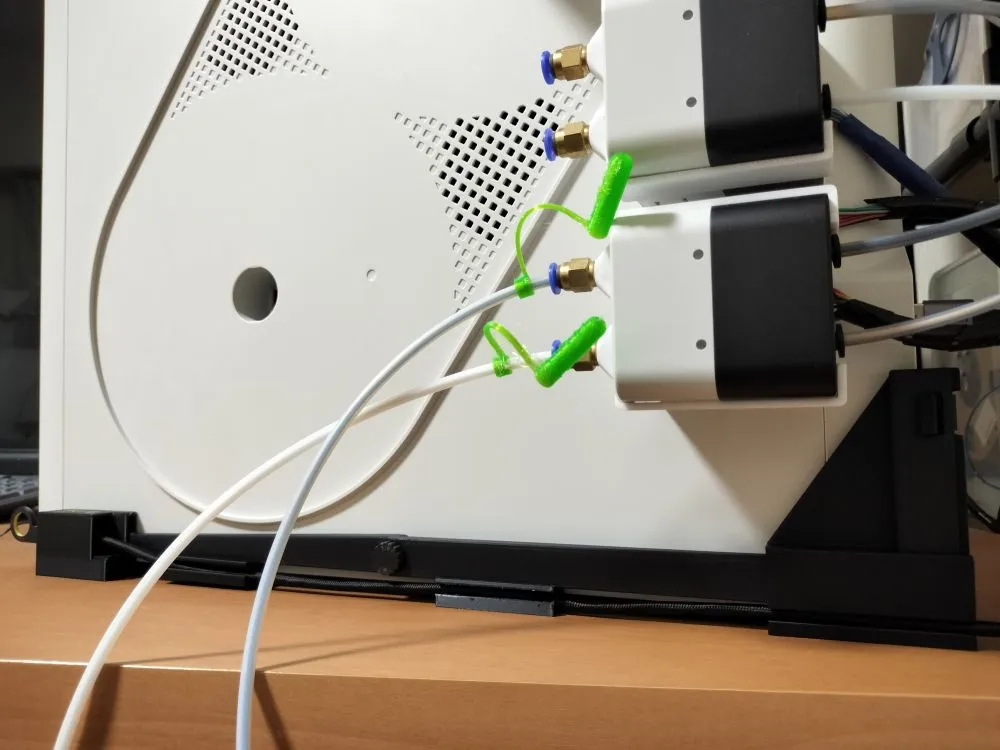
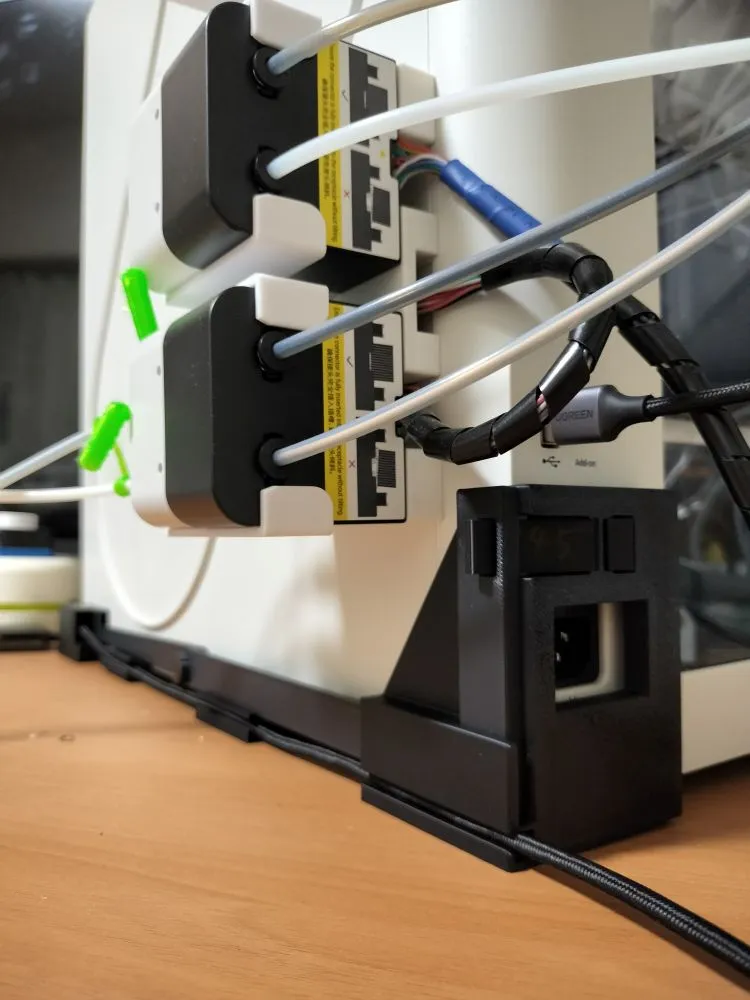
License



Comment & Rating (7)