
Print Profile(2)
Description
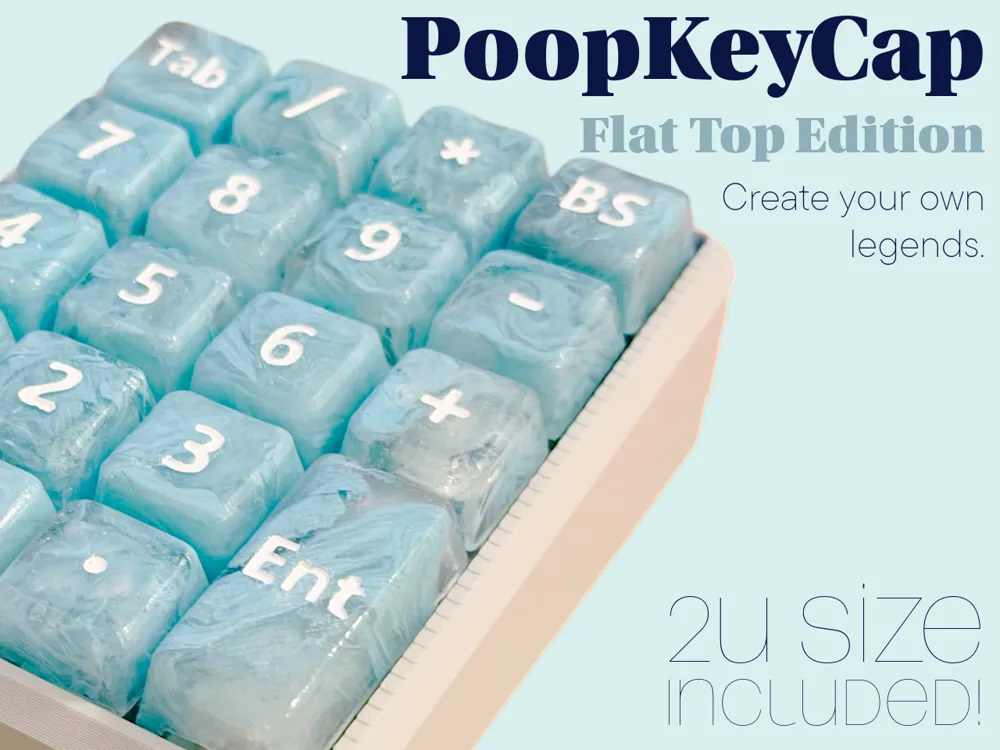
PoopKeyCap – Flat Top Edition
Overview
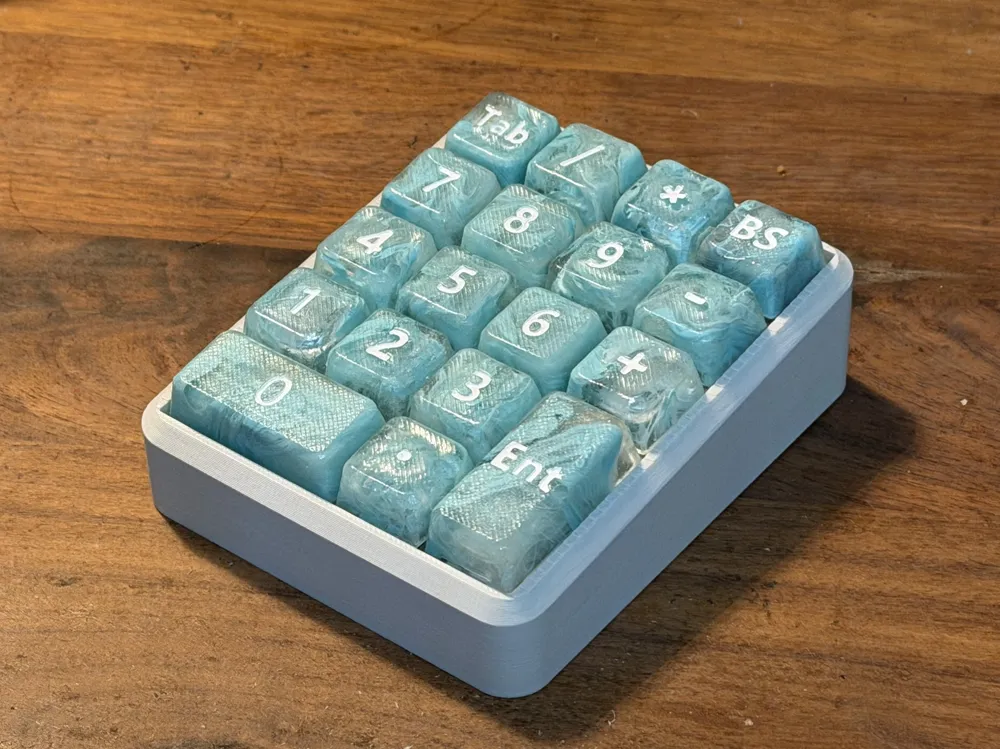
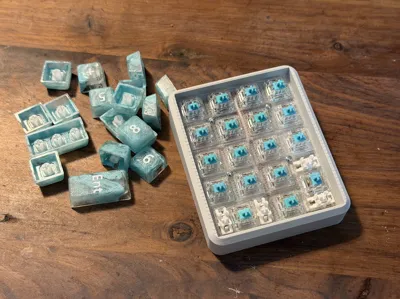
This project transforms 3D printer purge (Poop) and other waste material into usable keycaps using 3D-printed molds.
This is not a rushed contest entry.
It is based on hundreds of compression molding trials, and I am confident in its reliability.
It won’t disappoint.
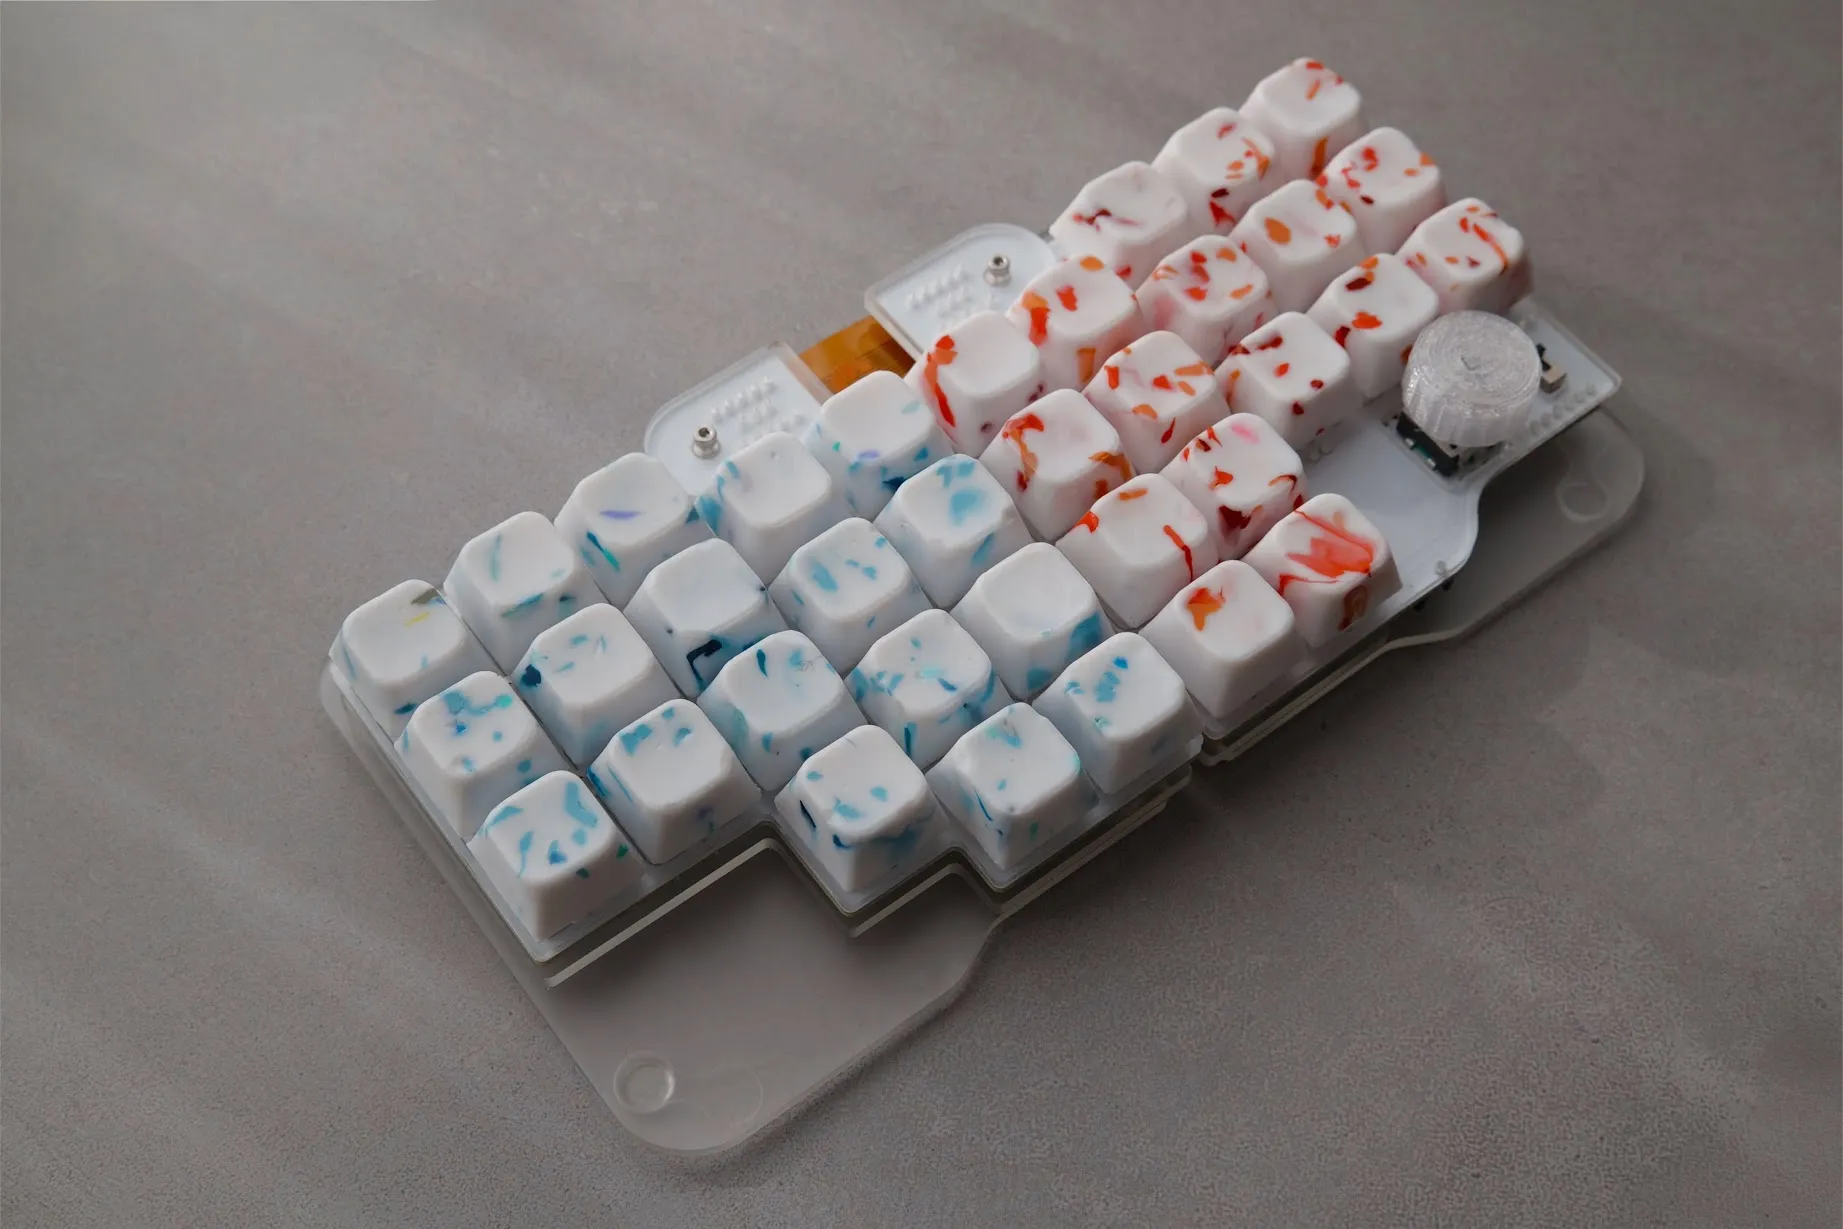
Key points
- Only PLA is supported as the molding material
- Molds must be printed in PETG with 100% infill
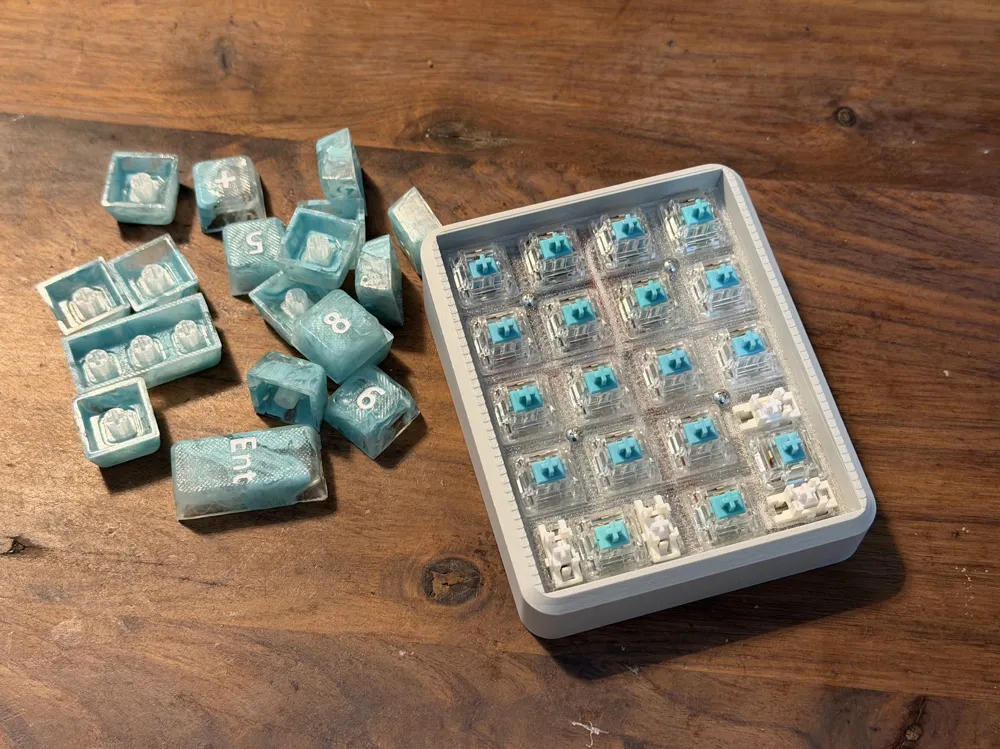
- The stem is printed separately and inserted during molding
This prevents fusion with the mold and ensures practical usability and accuracy
What’s new
Optimized for 3D printing
- Flat top surface and improved print orientation reduce visible layer lines
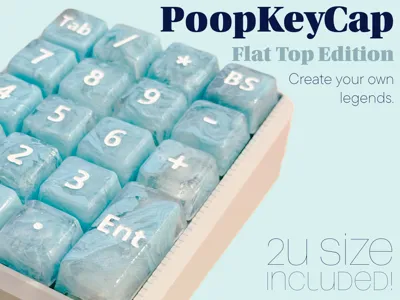
Custom legends support
- Add your own text or logos
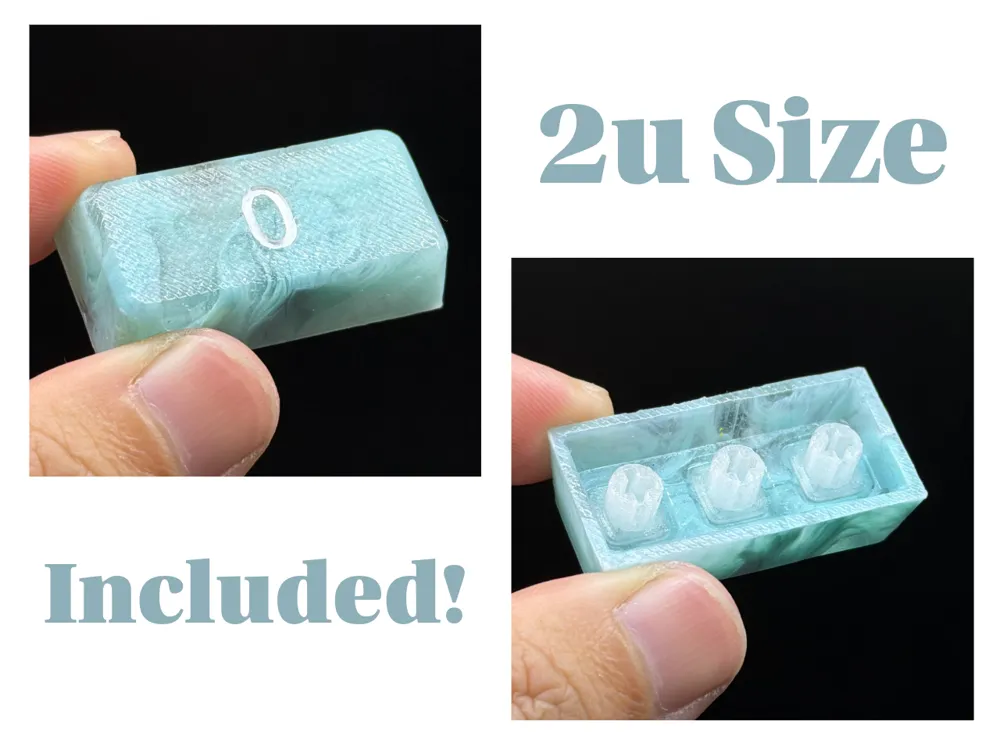
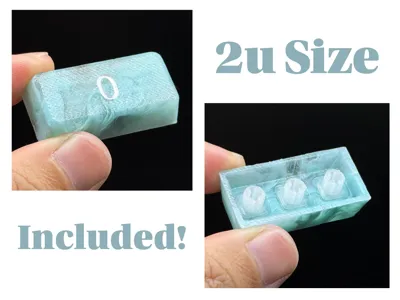
Now supports 2u keycaps
- A major upgrade from previous versions
Included models
- 1u blank mold
- 2u blank mold
- 1u legend mold
- 2u legend mold
- Stem (0.2 mm nozzle recommended)
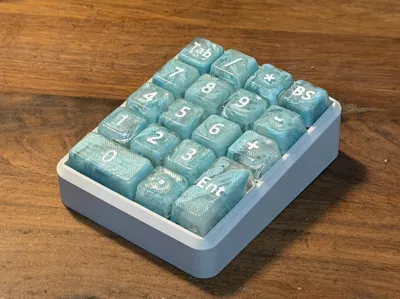
- Bonus: Numpad set
How to create custom legend keycaps
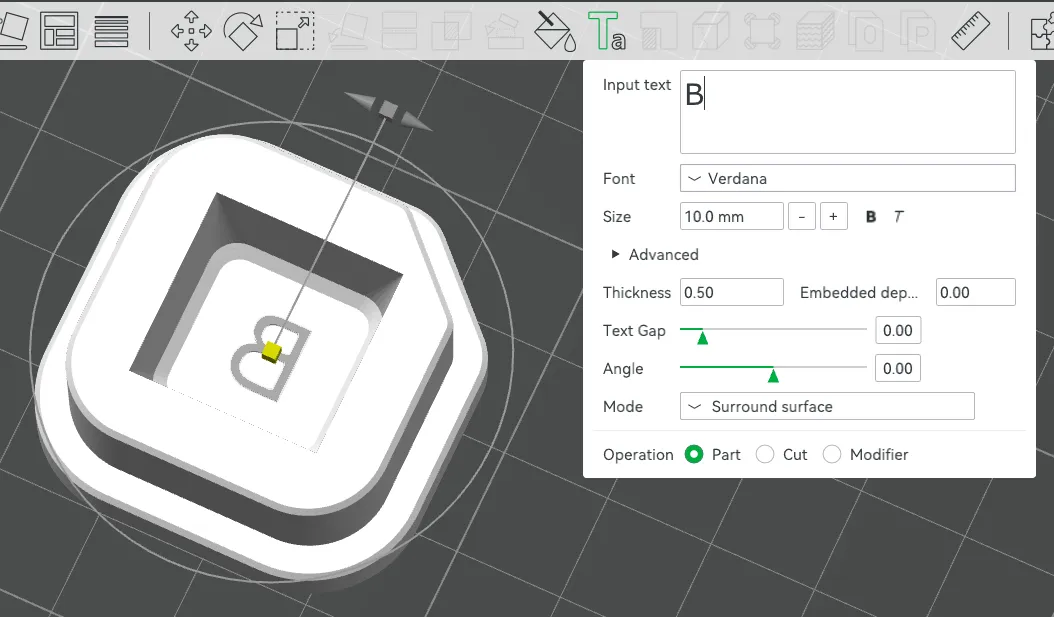
Edit the text_shape in the legend mold
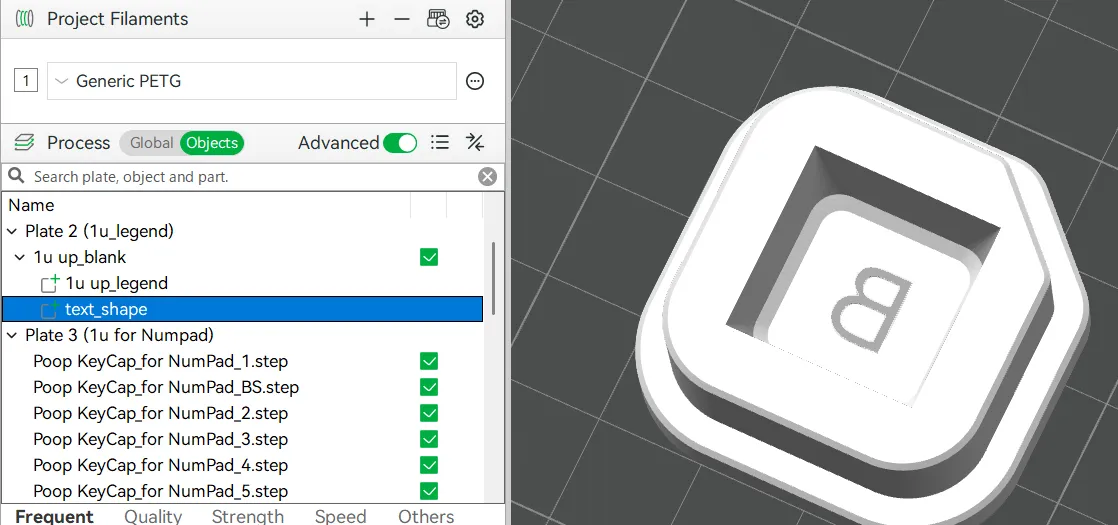
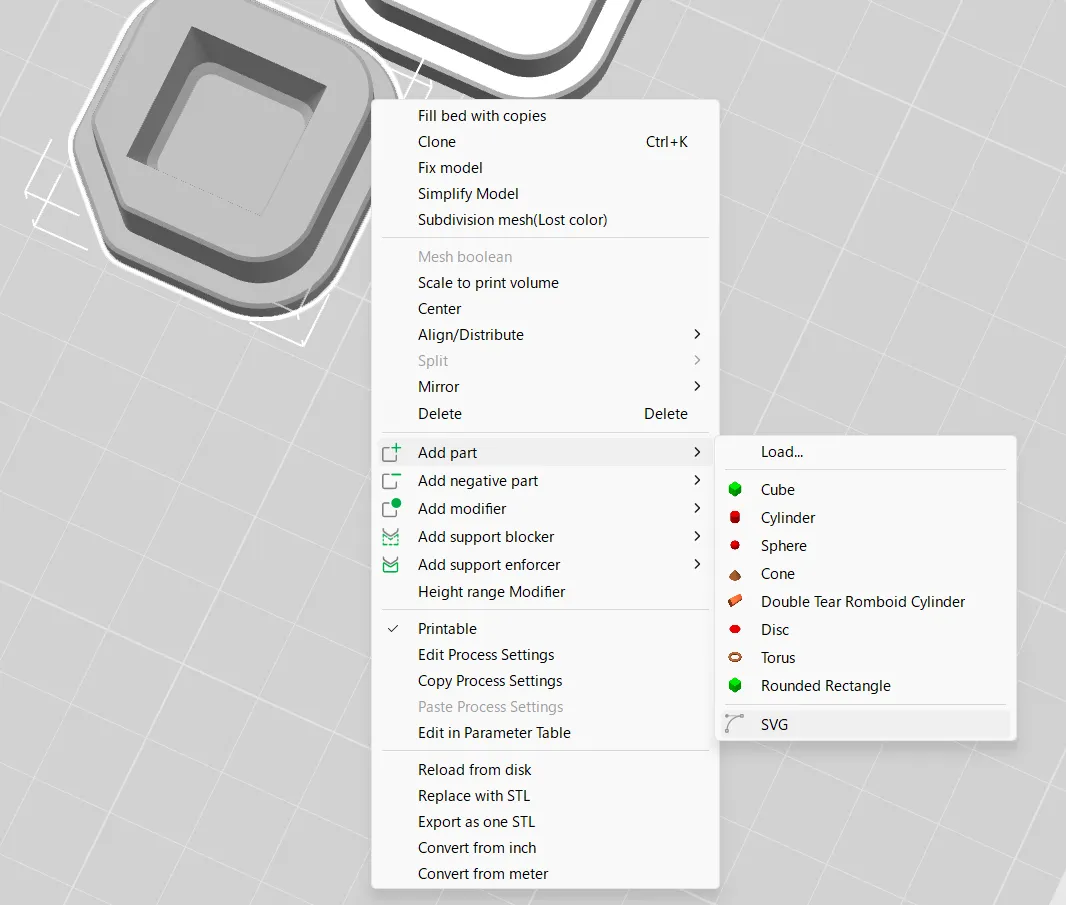
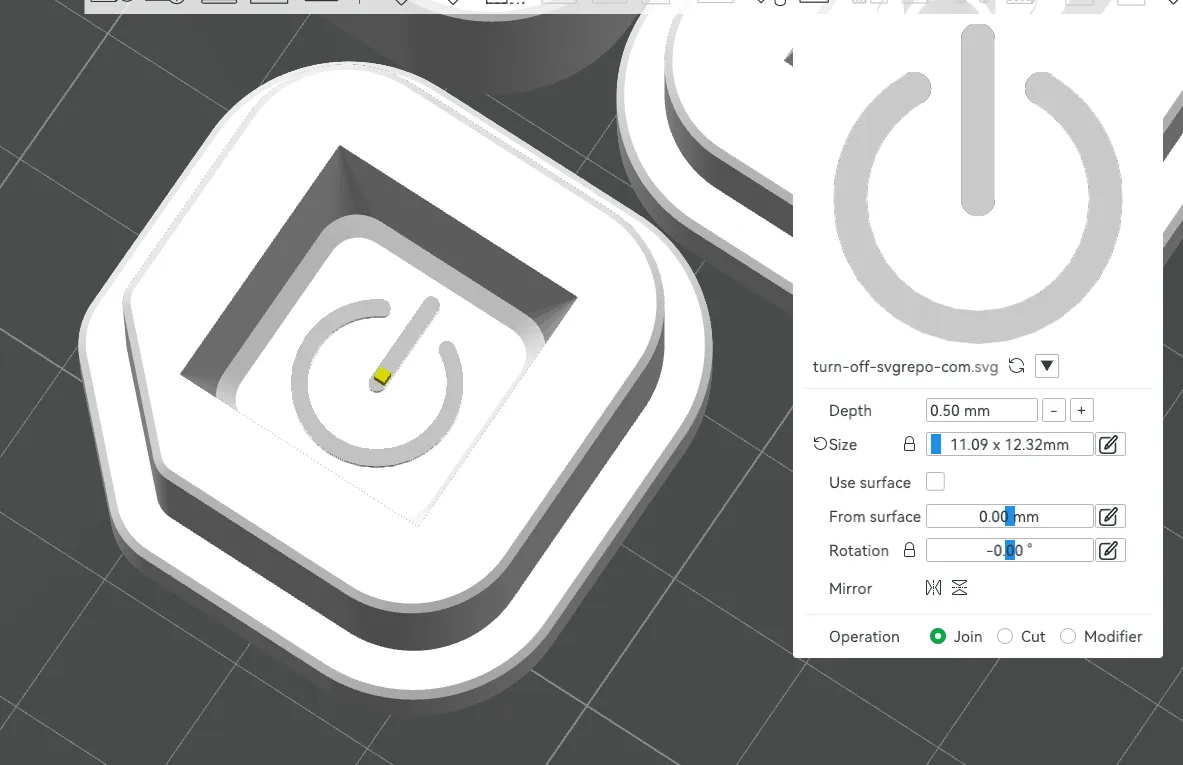
Or insert an SVG into the blank mold
Important:
You must mirror the design horizontally to get the correct orientation on the final keycap
Recommended engraving height: At least 0.5 mm
Printing notes
No complex settings are required, but this is critical: Use 100% infill for all parts
Also note that molds may degrade due to heat, so they are typically usable only a few times.
How to use
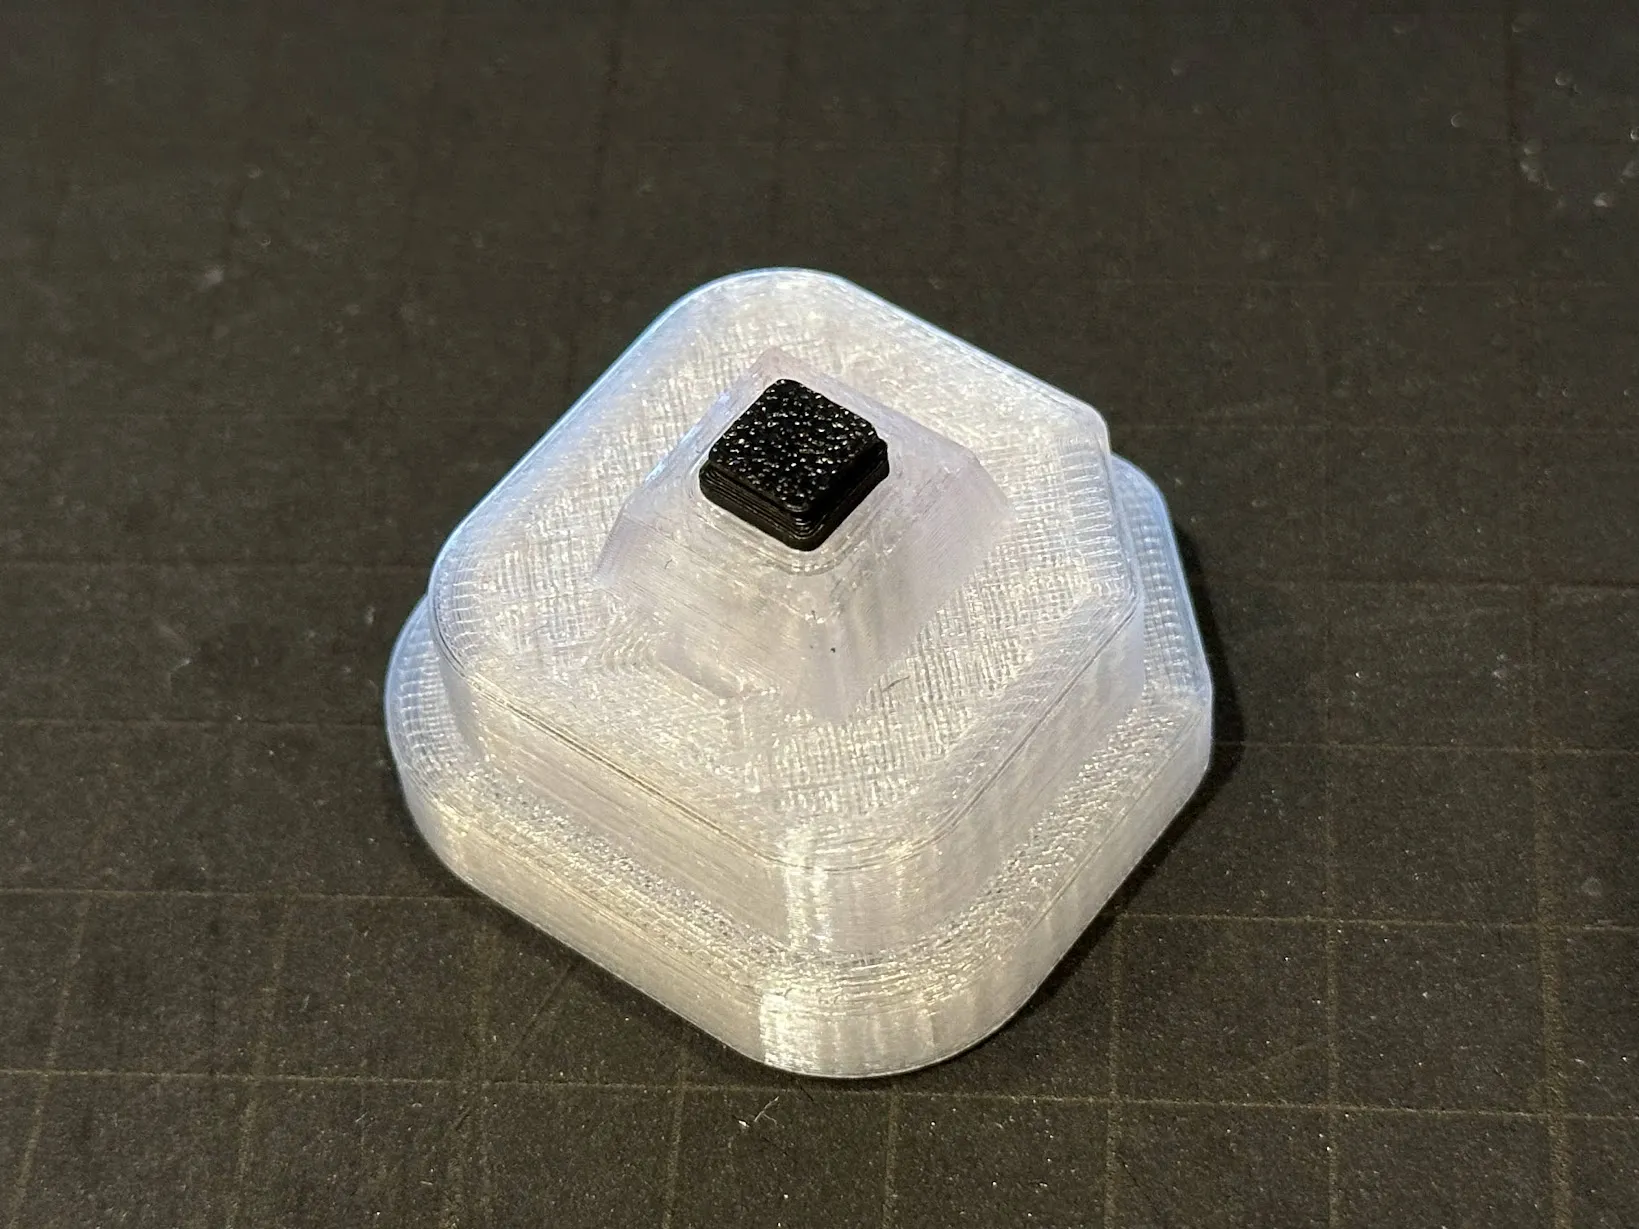
1. Insert the stem
Insert the stem into the male mold, aligning the chamfer.
2. Apply release agent
Apply release agent to the mold
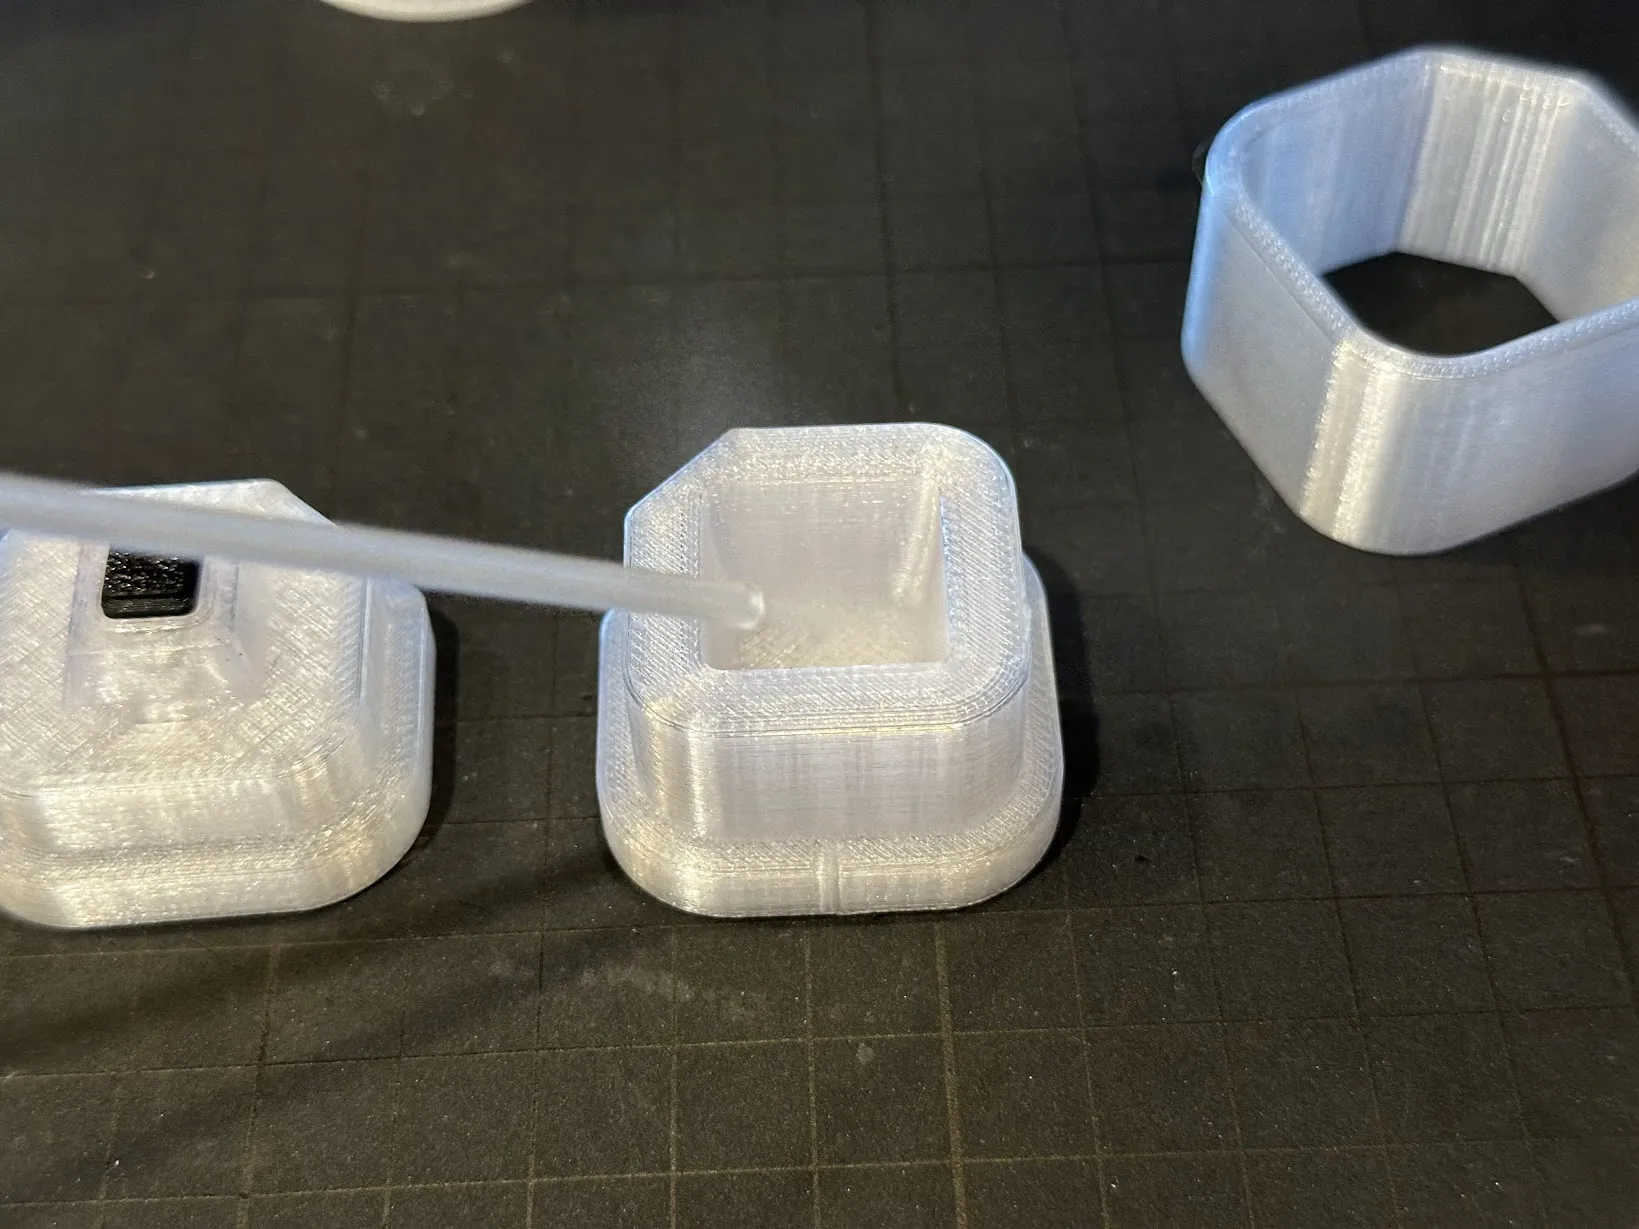
Wipe off excess
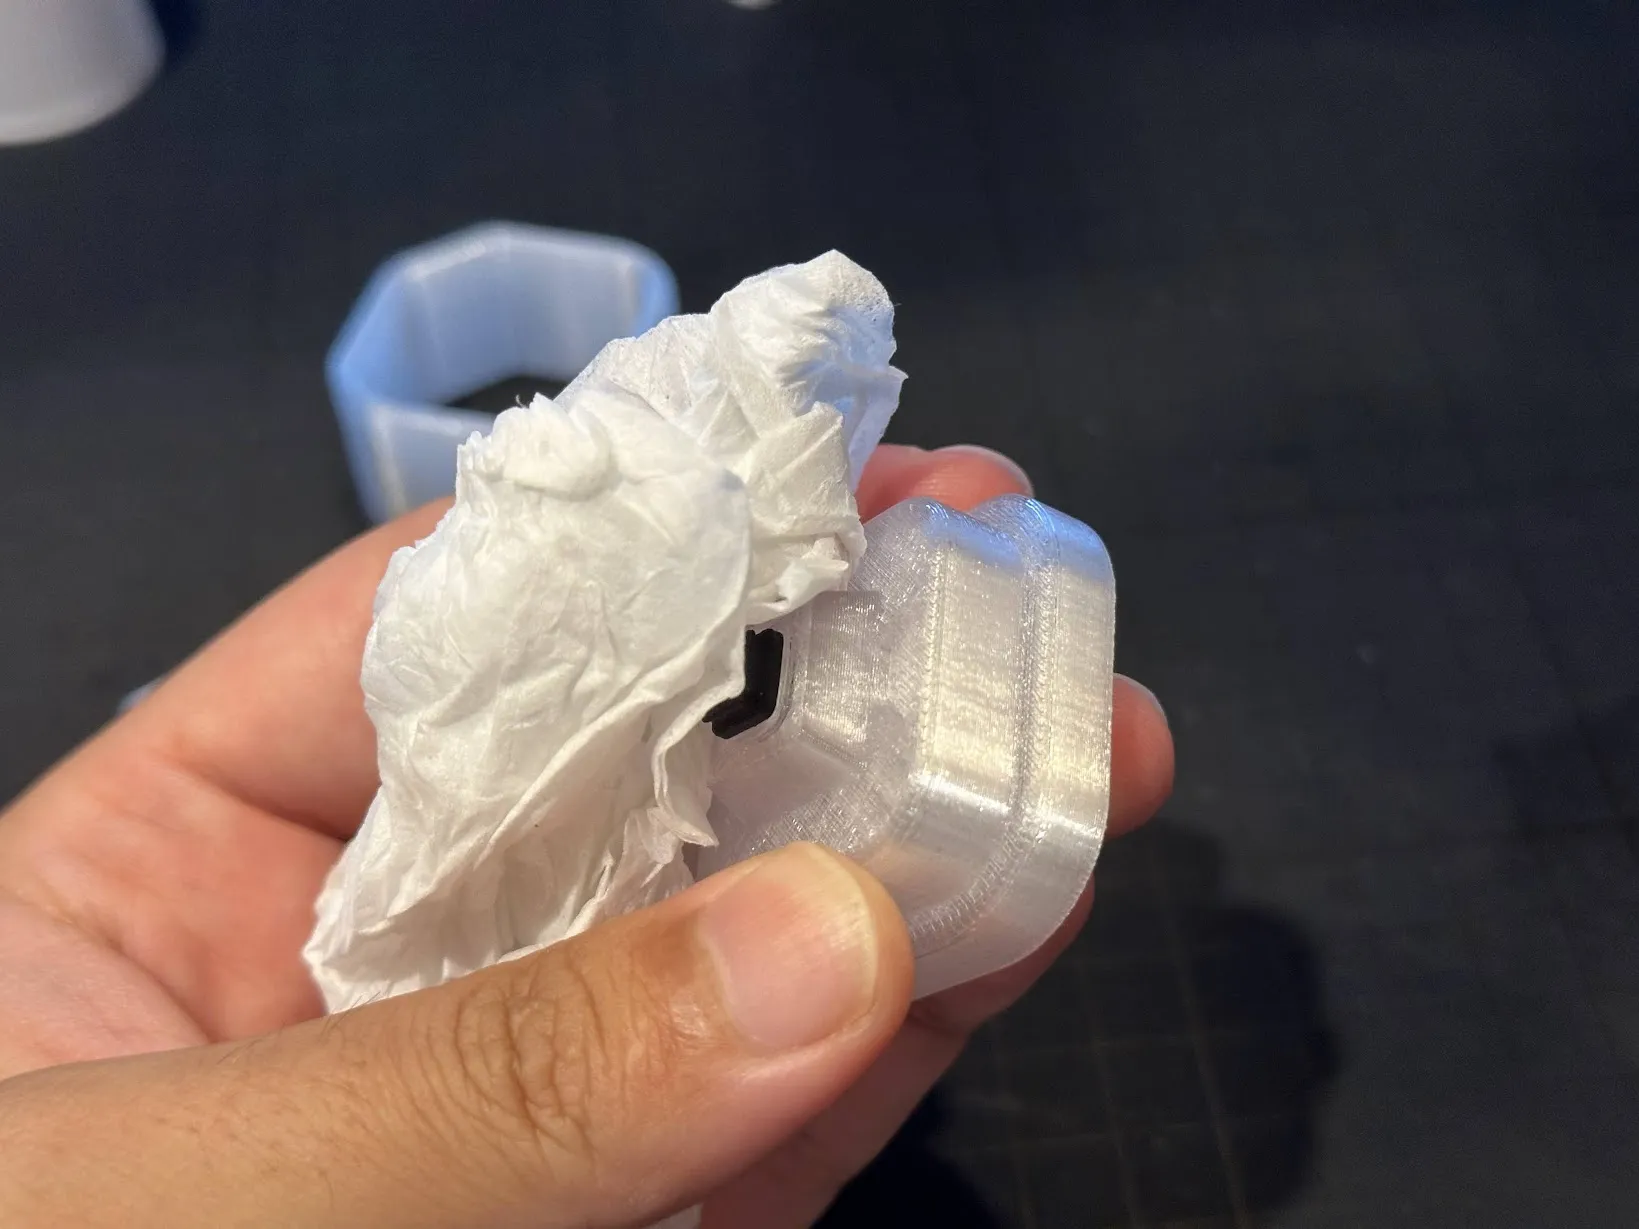
Do not apply to the stem
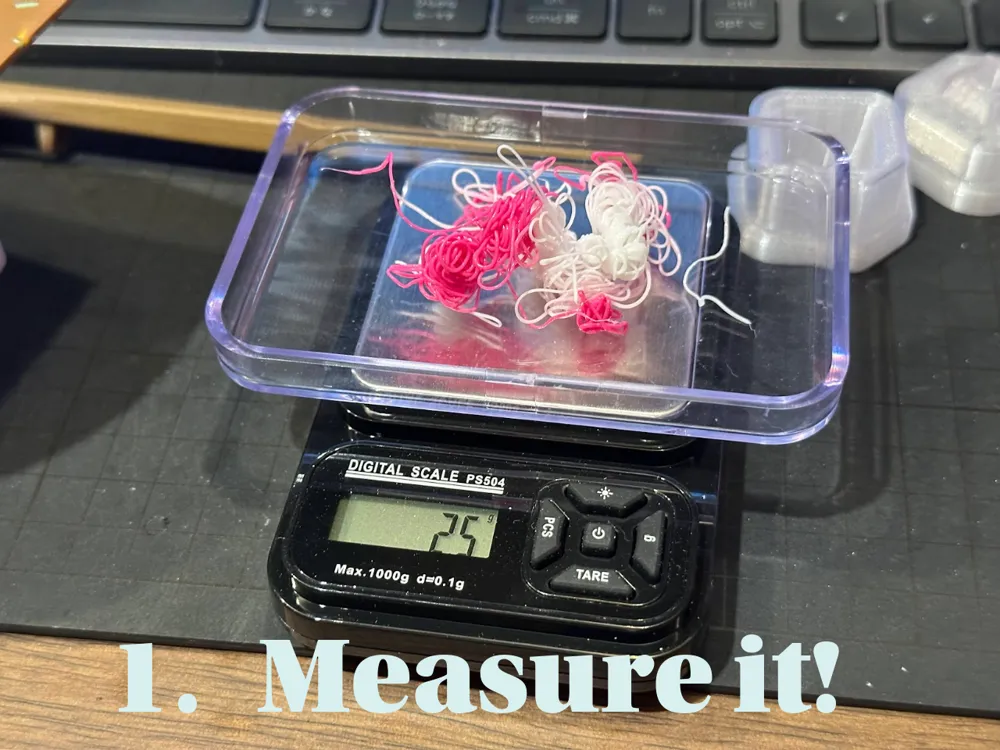
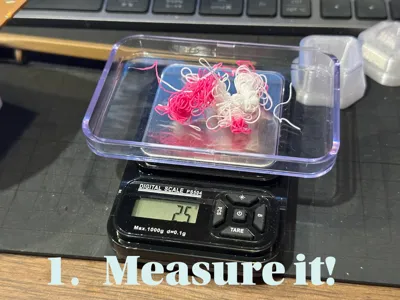
3. Weigh the material
Use at least 2.5 g of PLA for 1u, and at least 4.3 g for 2u
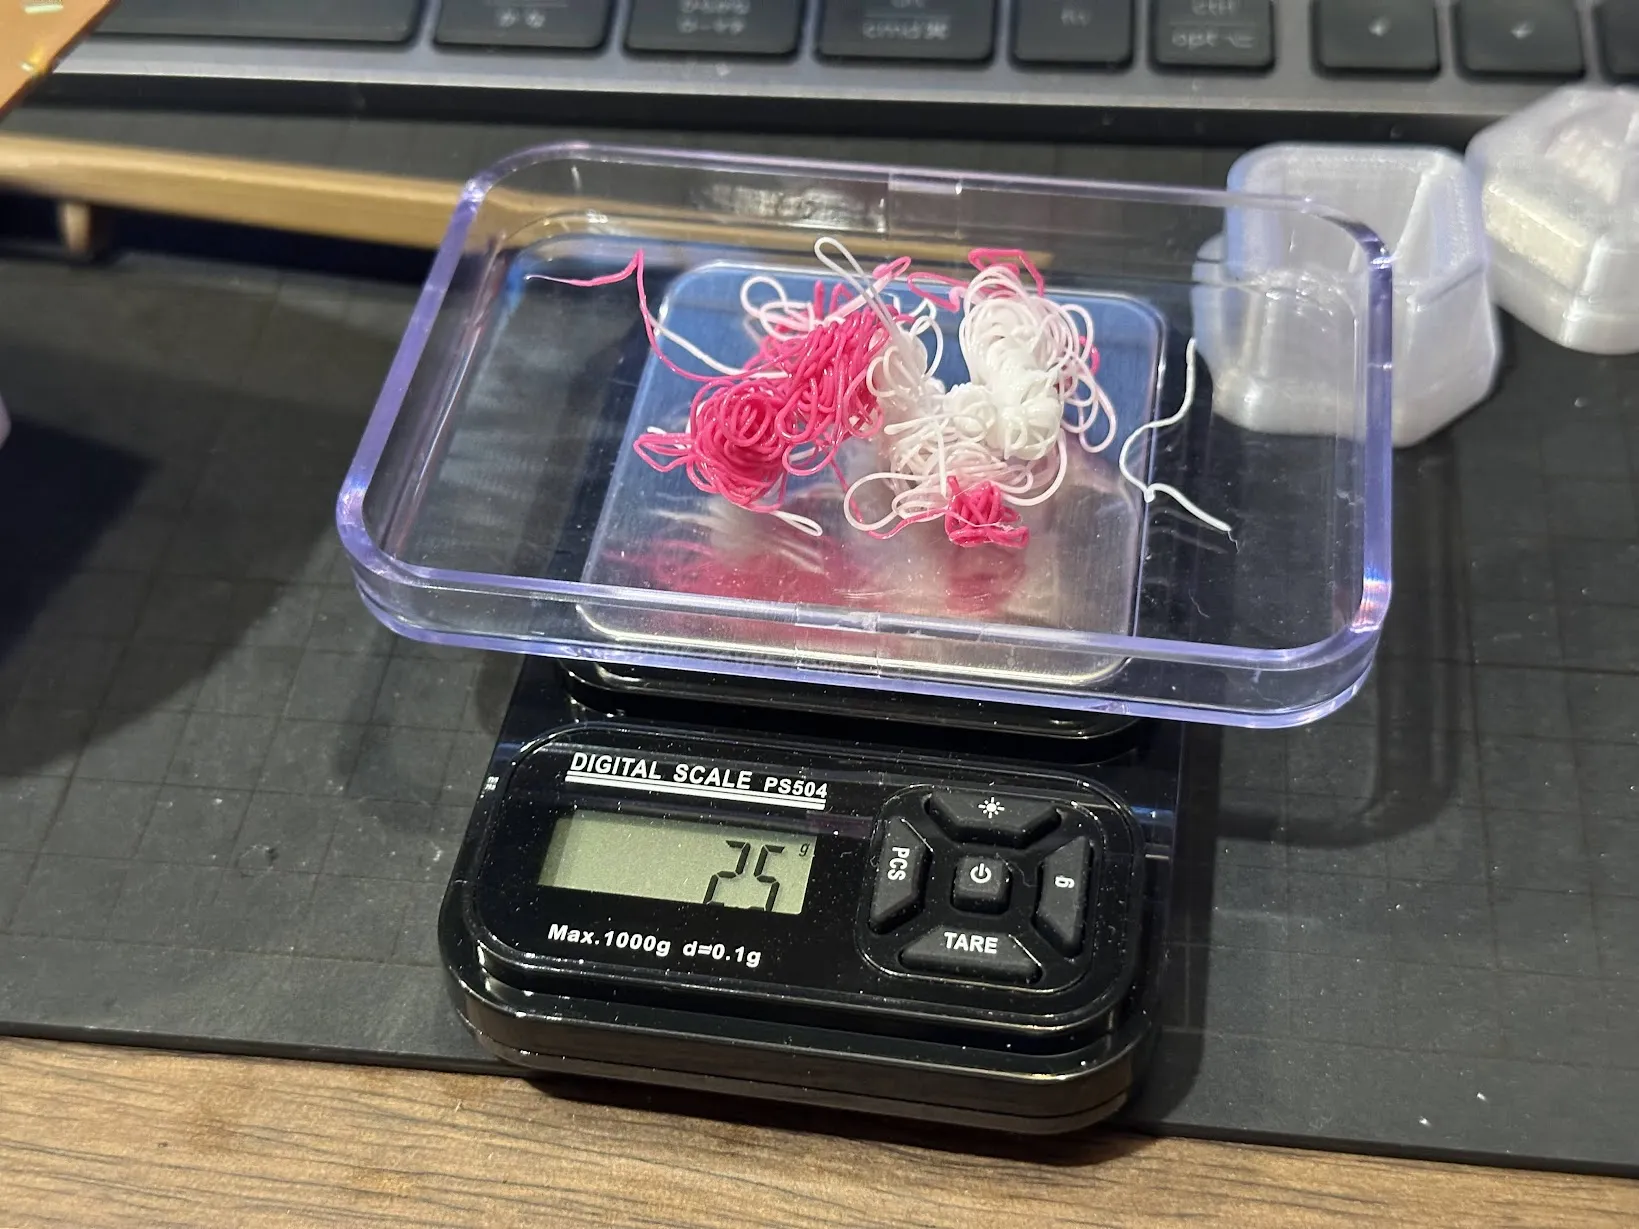
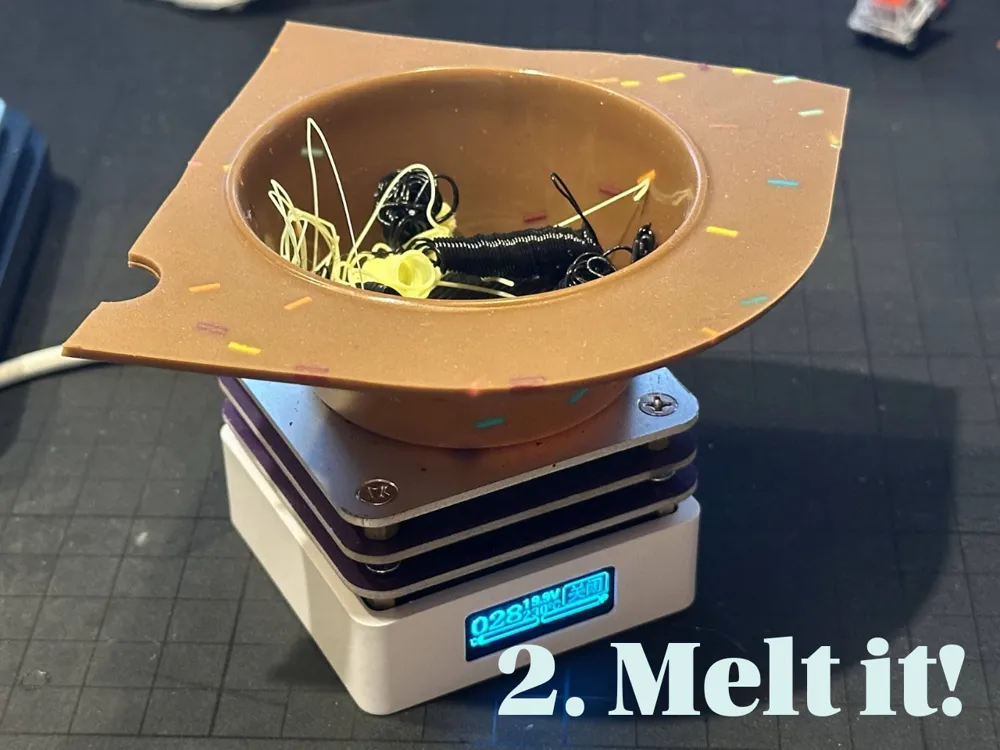
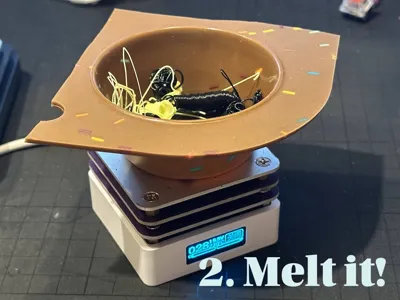
4. Heat the PLA
Heat the PLA to around 200°C using a hot plate or oven
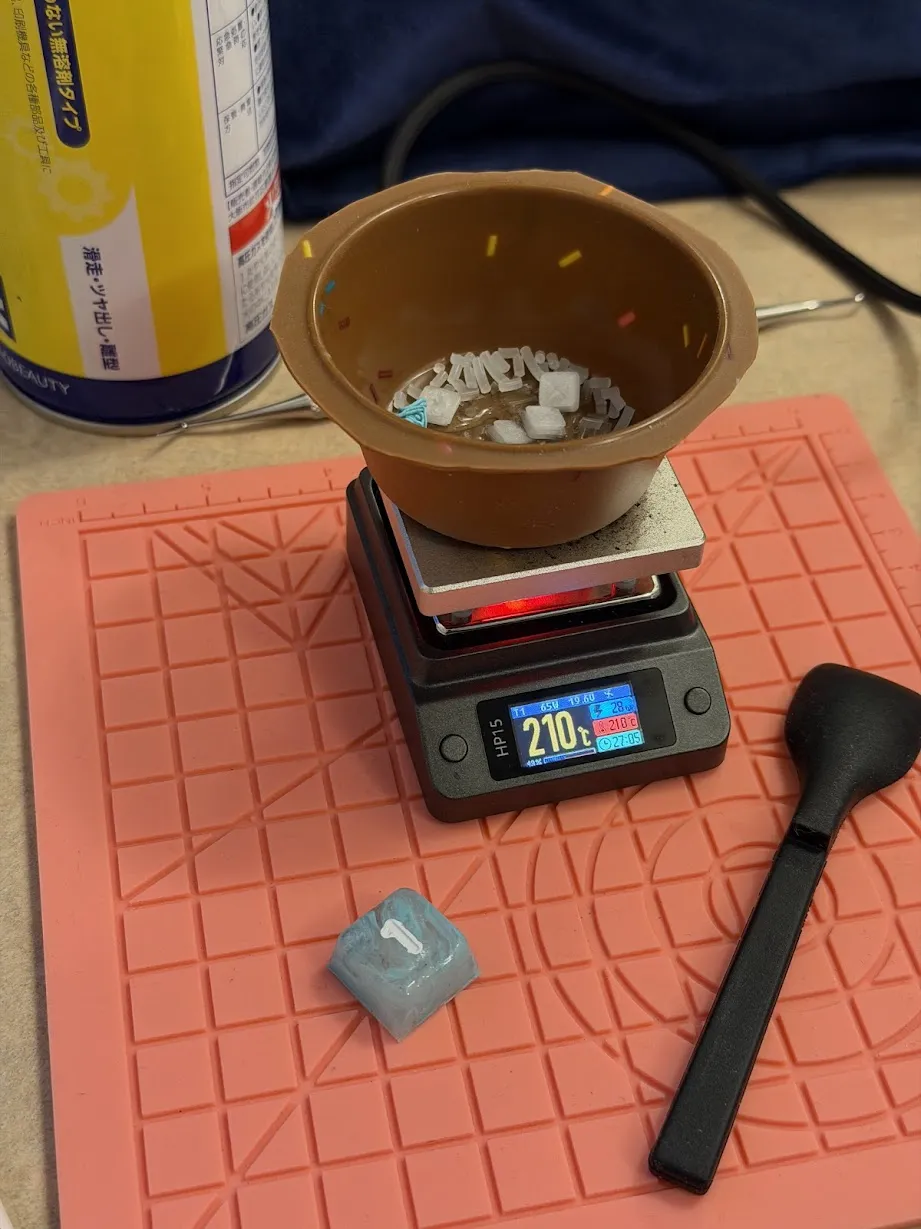
A heat gun helps speed up melting
A silicone cup mold is convenient
Caution:
Silicone is not fully heat-resistant — avoid temperatures above ~200°C
For better melting and marbled patterns, flatten the PLA with a spatula
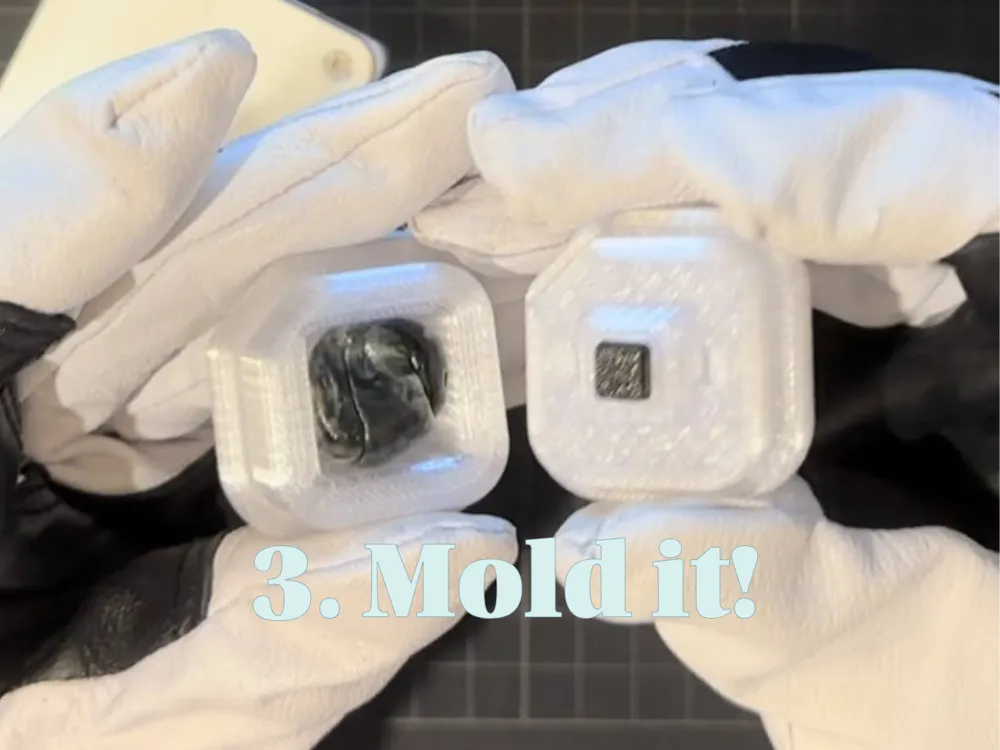
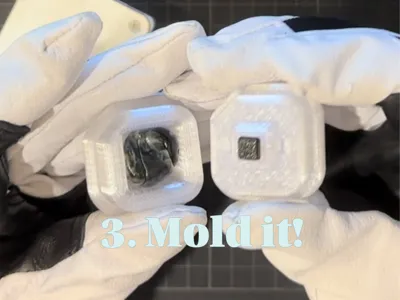
5. Prepare for molding
Form the melted PLA into a solid mass
Make sure it is tightly shaped to remove air bubbles
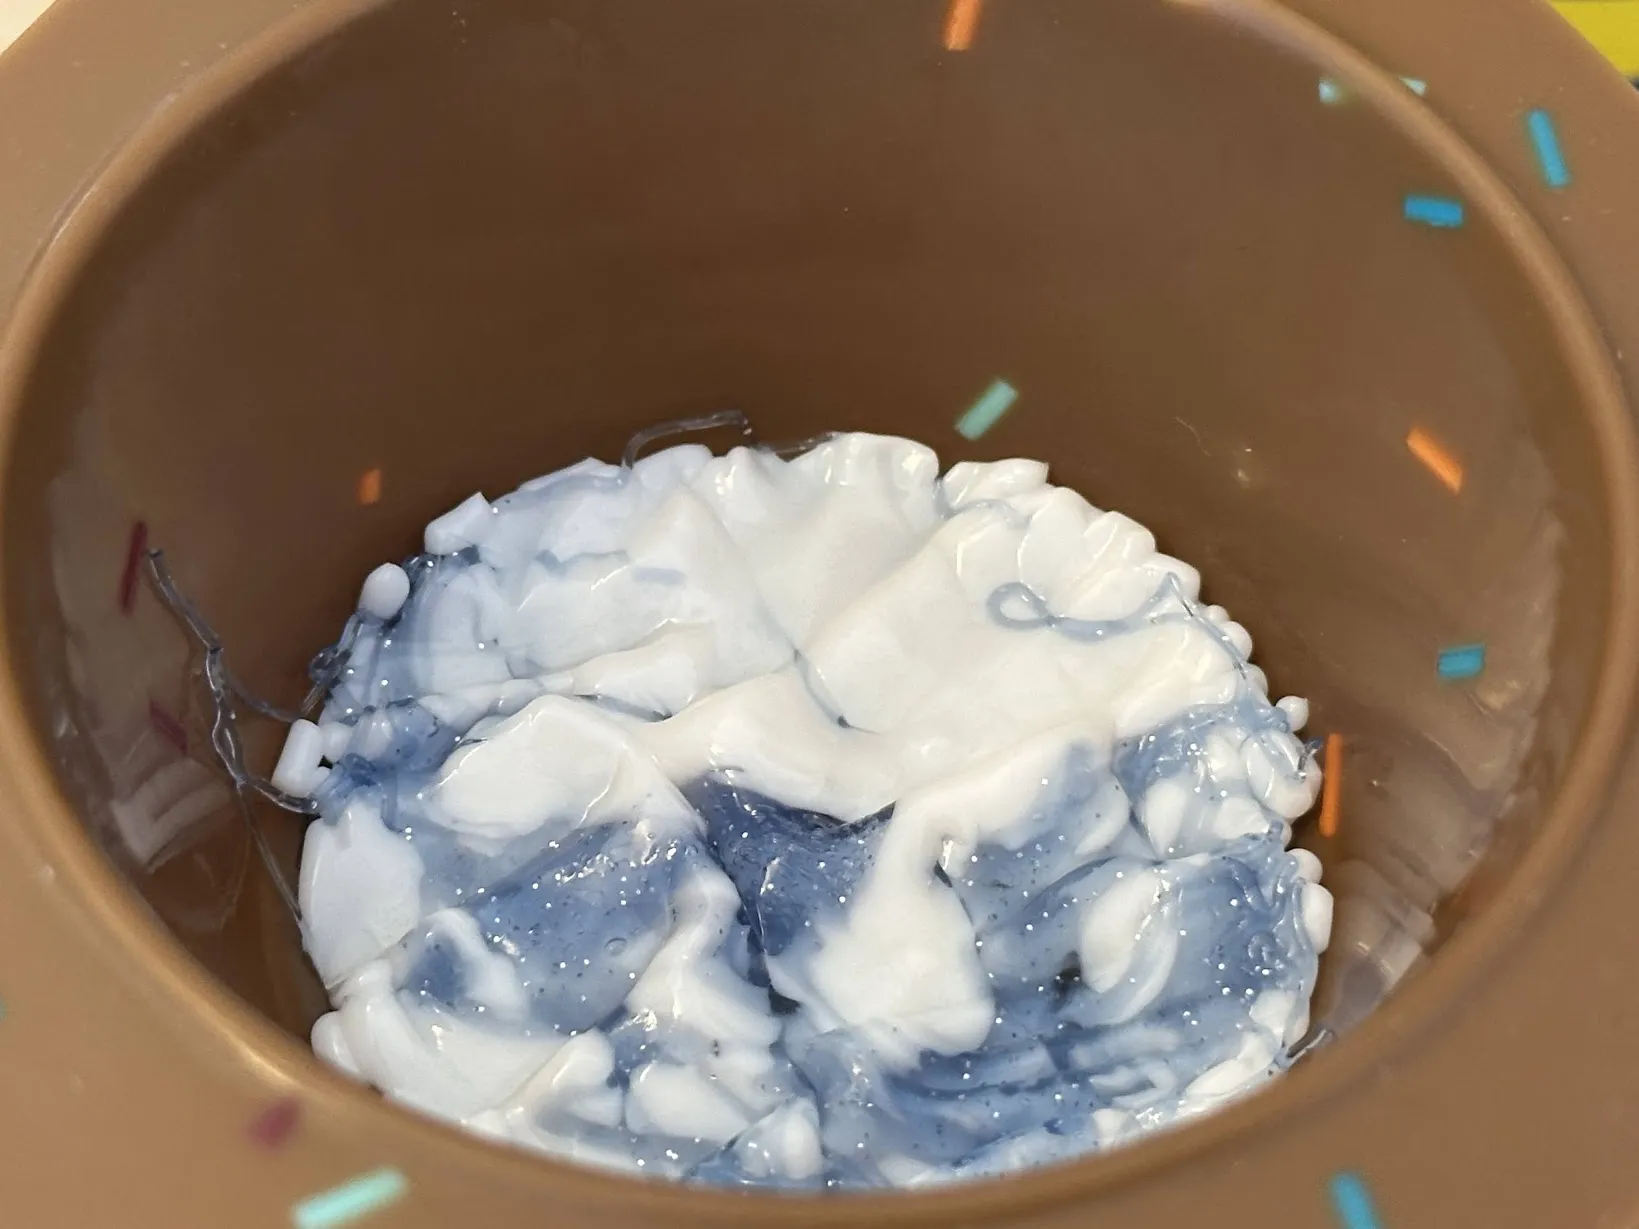
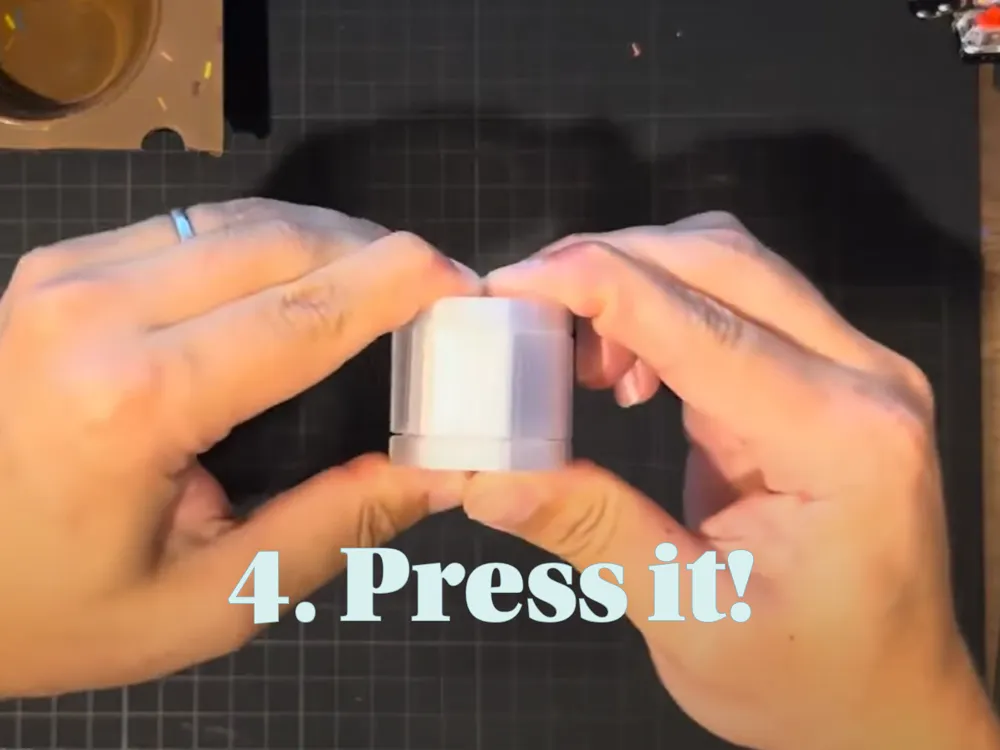
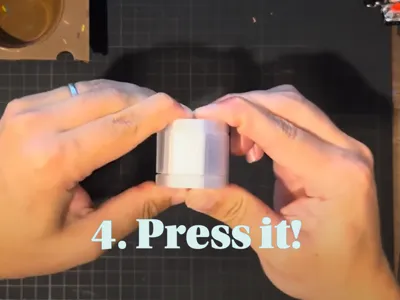
6. Compression molding
Place the PLA into the mold and press it
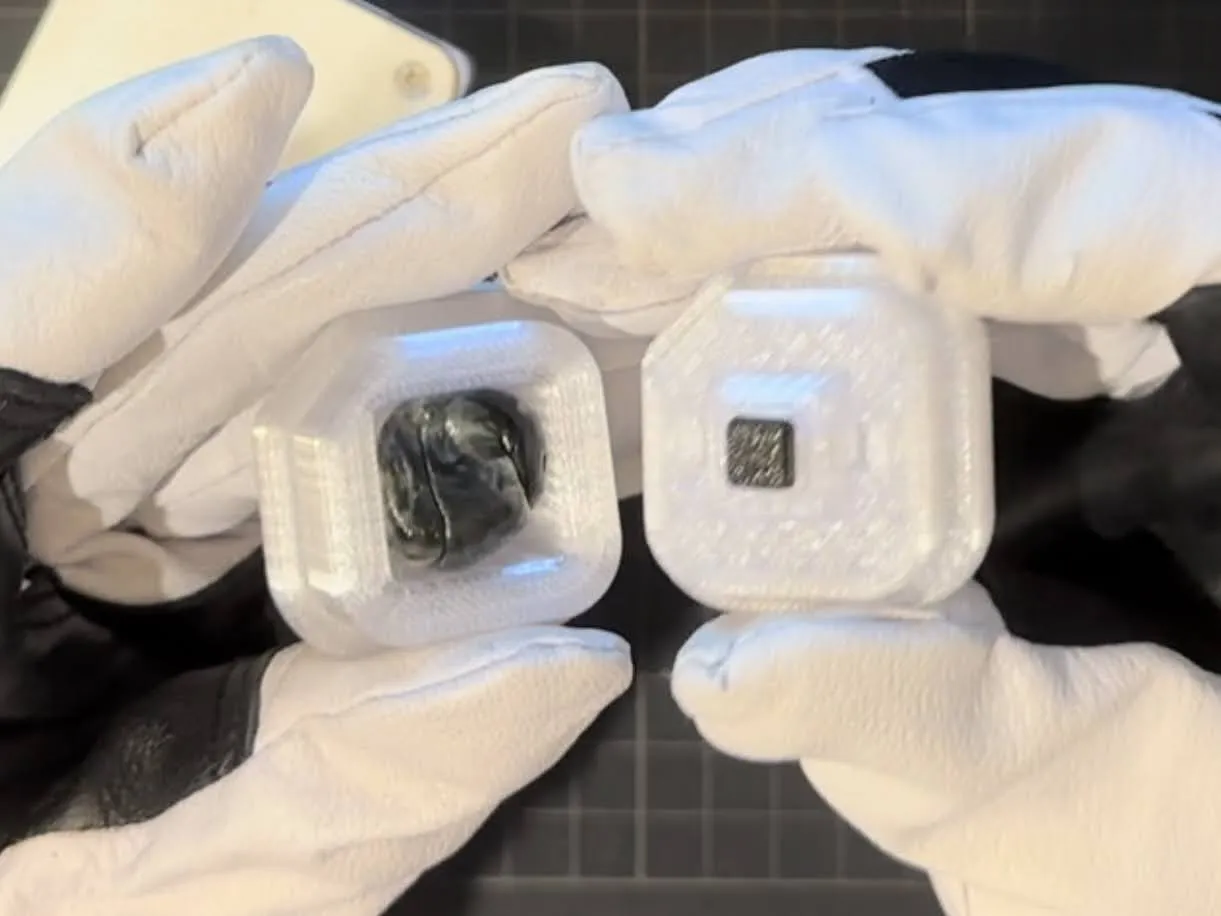
Hand pressure is sufficient
Work quickly, as the material cools fast
(You can also step on it — just be careful)
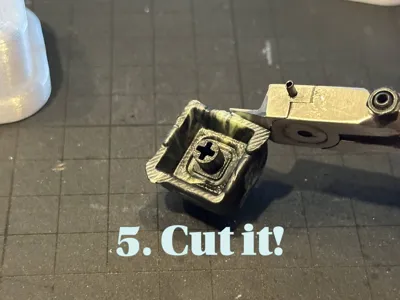
7. Demolding
Let the mold cool, then remove the keycap
Use a utility knife if needed (be careful)
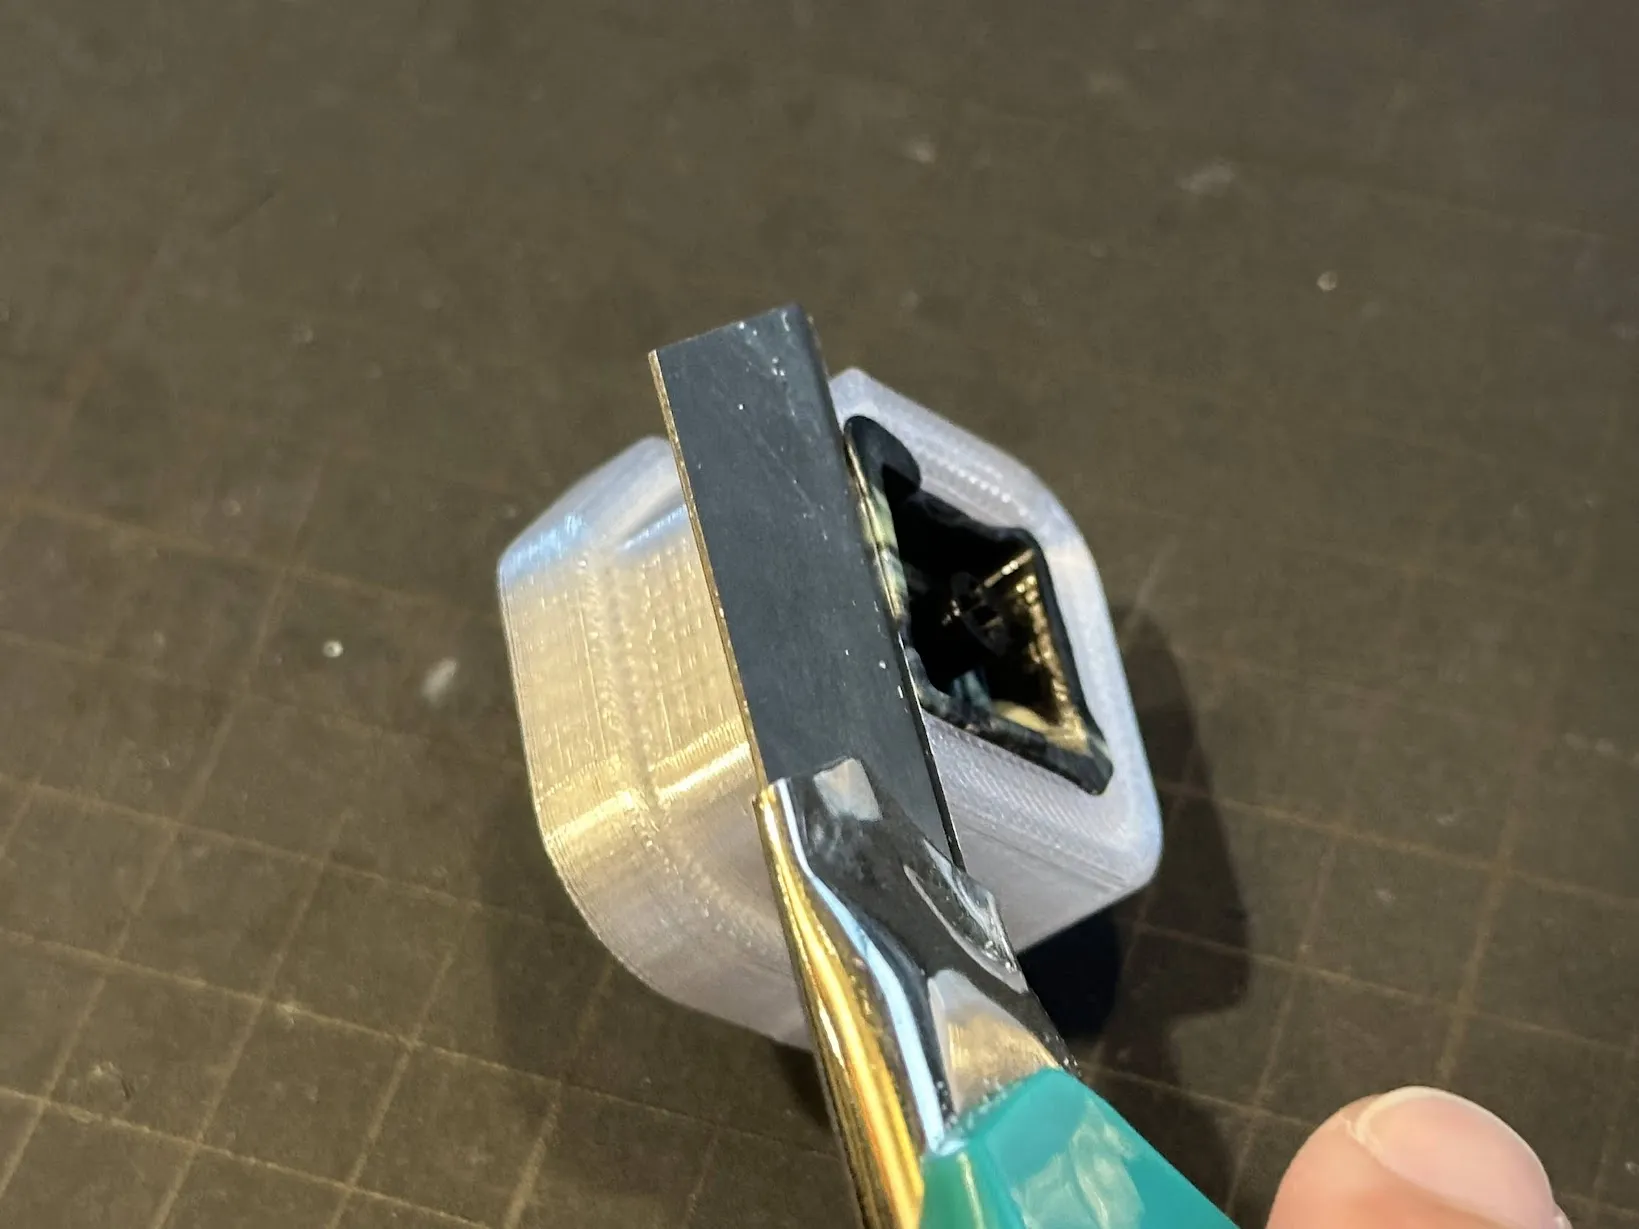
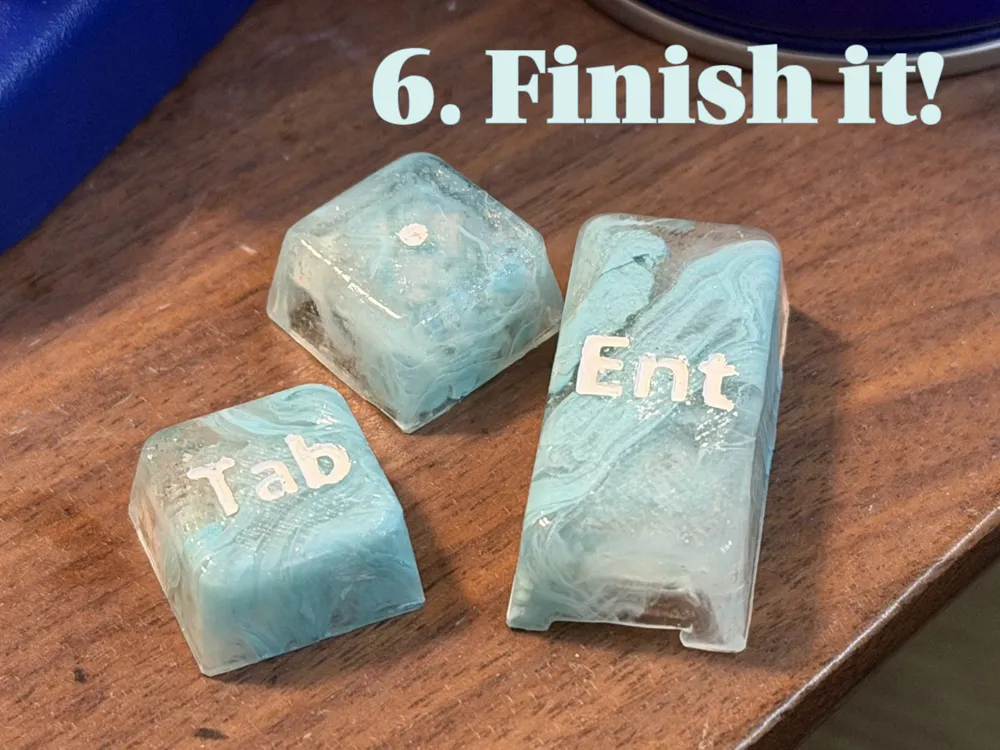
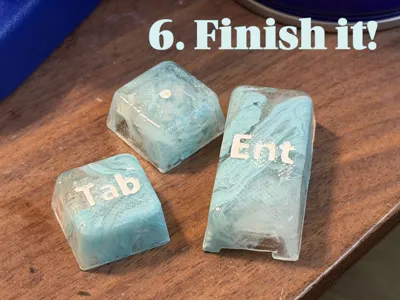
8. Finishing
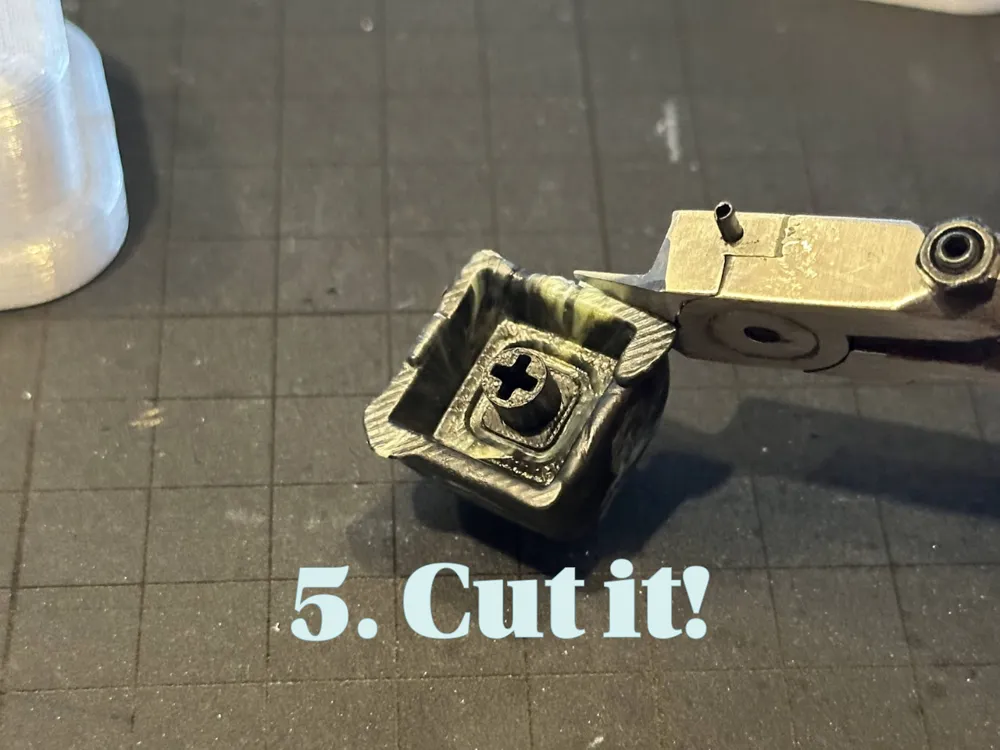
Remove burrs with nippers or a file
Wipe off release agent
Sand the surface if needed
Optional: Painting the legend
Fill the engraved area using an acrylic paint marker.
Then wipe off the excess paint from the surface using a cotton swab lightly dampened with water.
This leaves paint only in the engraved areas.
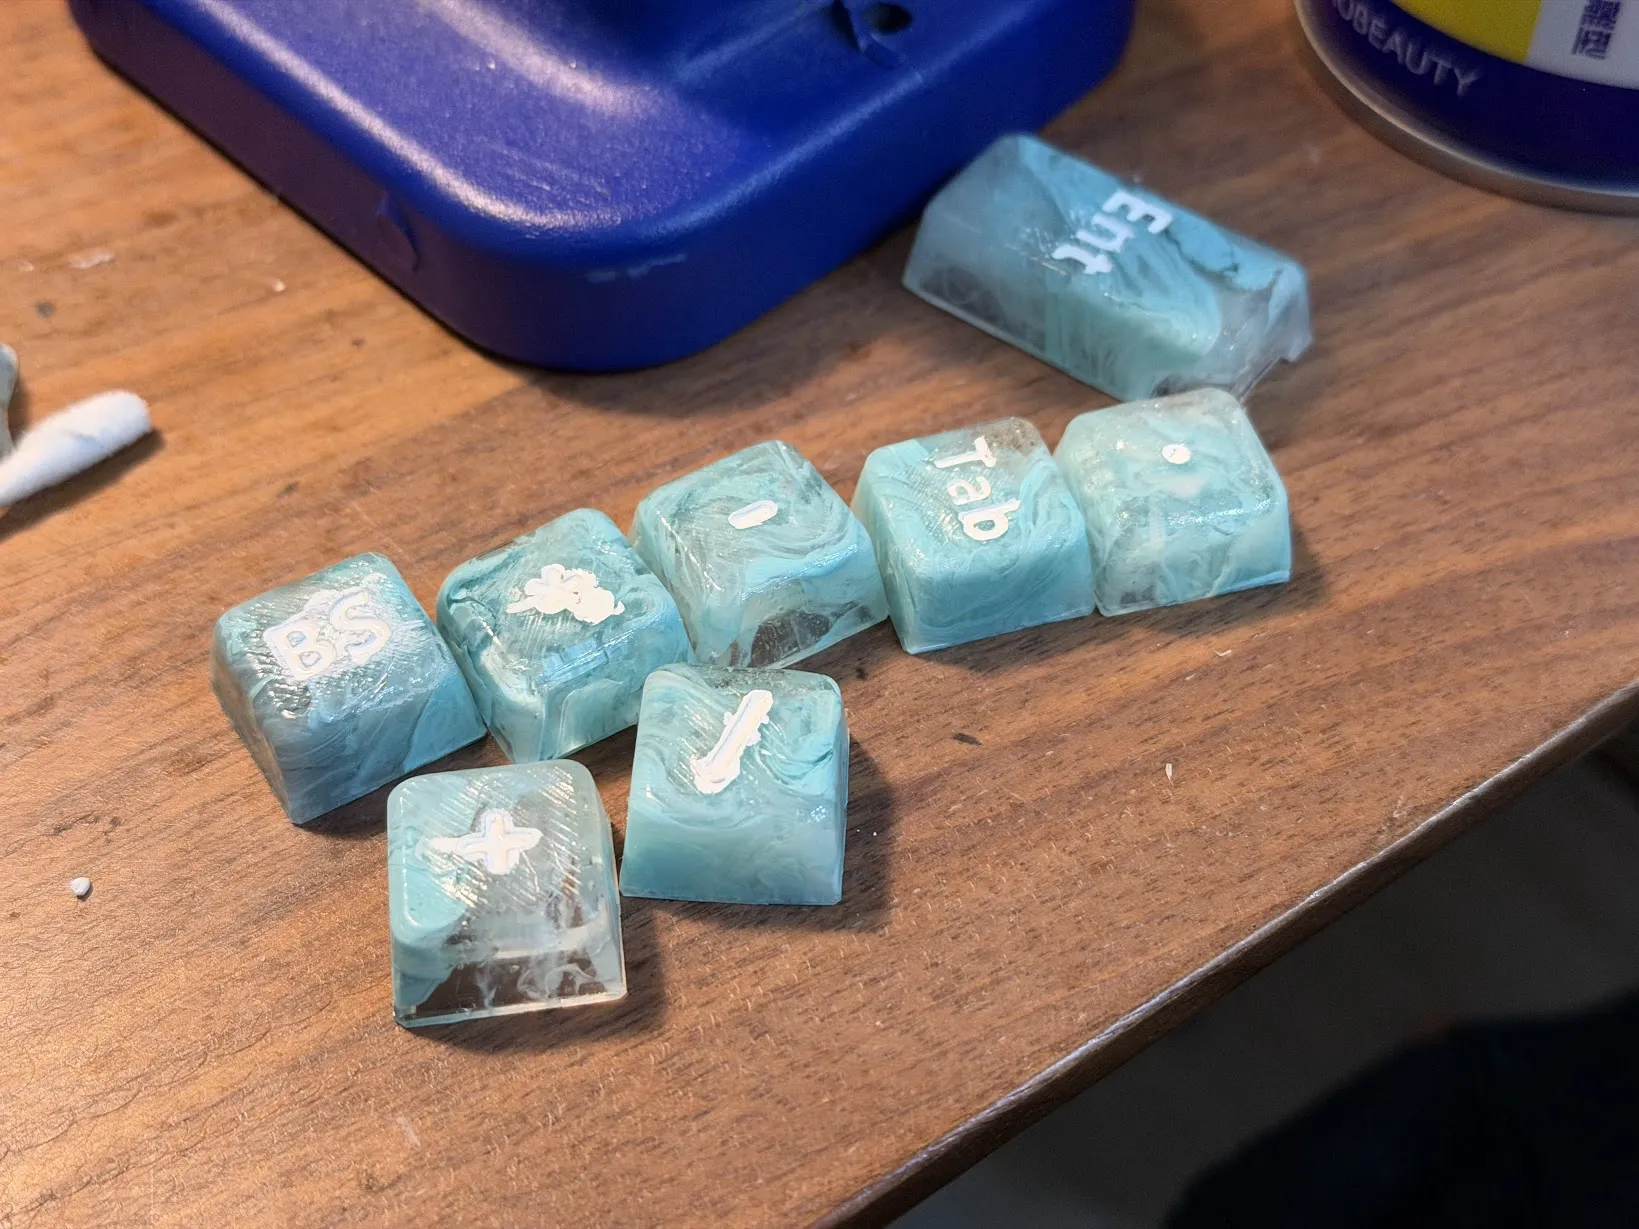
Final notes
This project is about more than just recycling waste.
It’s about turning discarded material into something functional and usable.
Try it, experiment with it, and find your own best process.
If you come up with improvements or new ideas, feel free to share them.
Boost Me (for free)
If you found this project useful or interesting, consider boosting it!
Your support helps me continue developing and sharing new ideas.
Membership
If you would like to sell keycaps made using this model, please subscribe to the membership.
License

You may create derivative works based on this object, provided that all such derivative works are published exclusively on the MakerWorld platform and include proper attribution to the original creator. You may not share, upload, host, distribute, or publish this object—or any derivative work of this object—on any other digital platform, marketplace, or distribution channel. Commercial use of this object and any derivative works is strictly prohibited. This includes, but is not limited to, selling, renting, sublicensing, or using the object in any context in which you receive monetary compensation or other financial benefits.


Comment & Rating (57)