
Brushless FPV Hovercraft (Using 75mm Whoop Parts)
Print Profile(1)
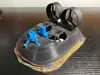
Description
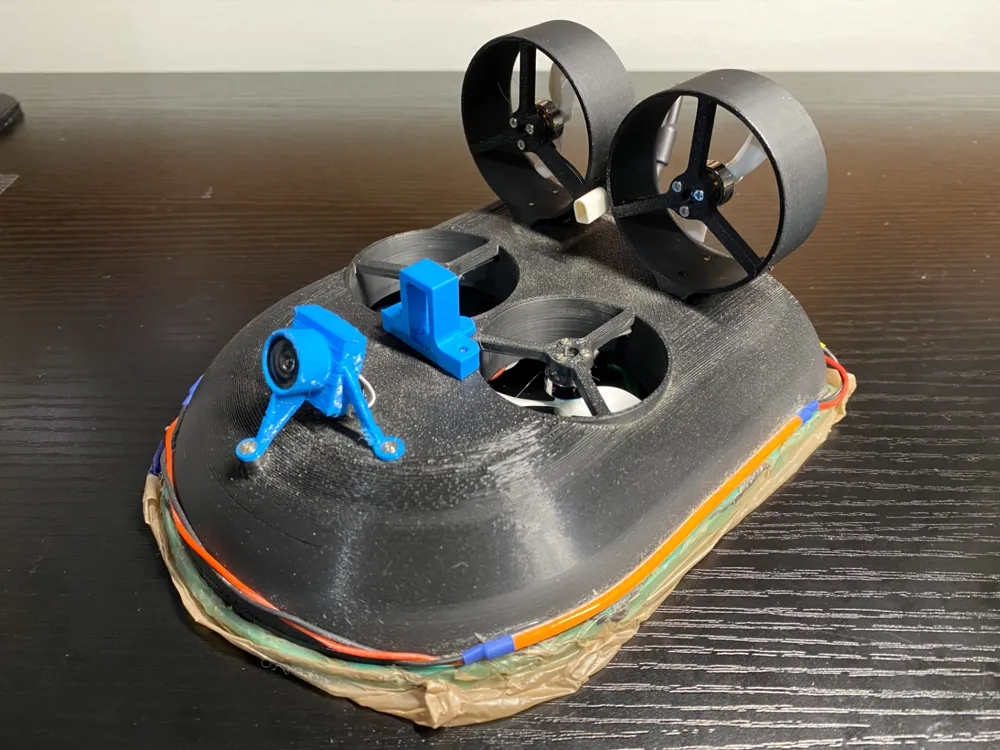
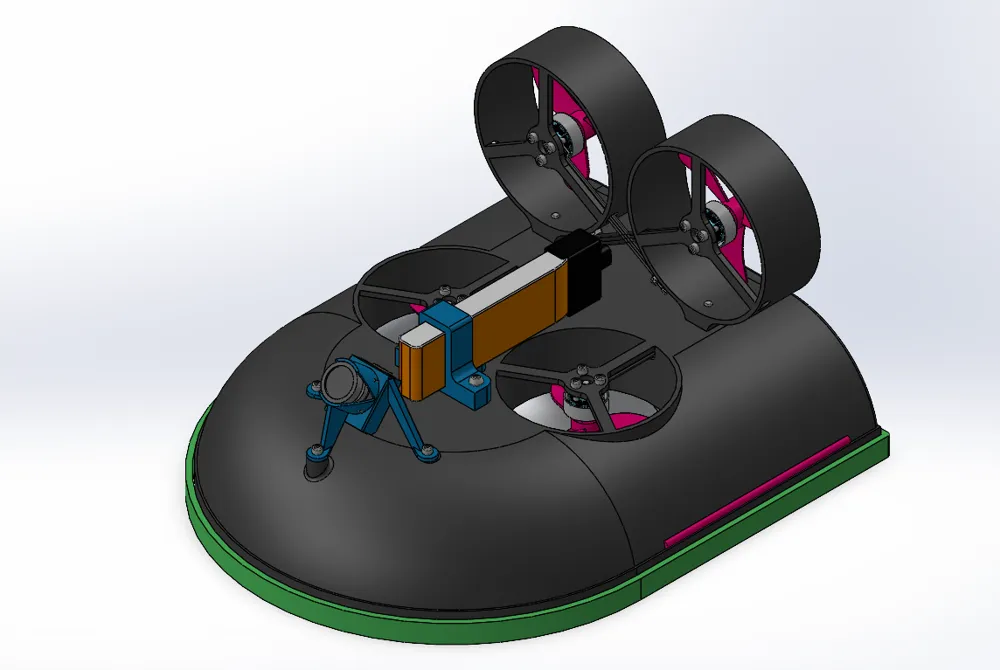
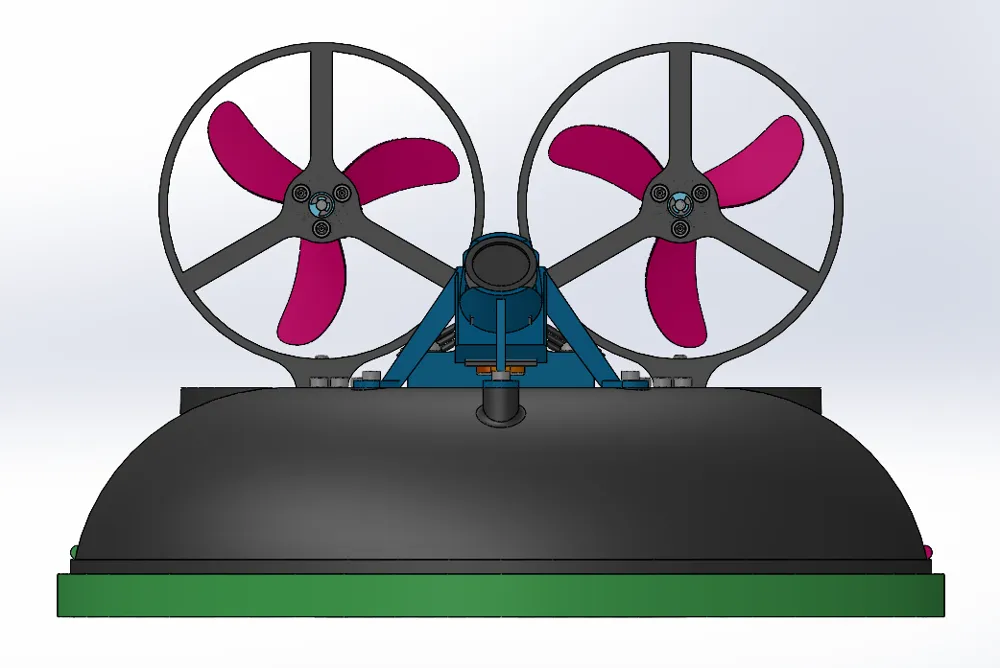
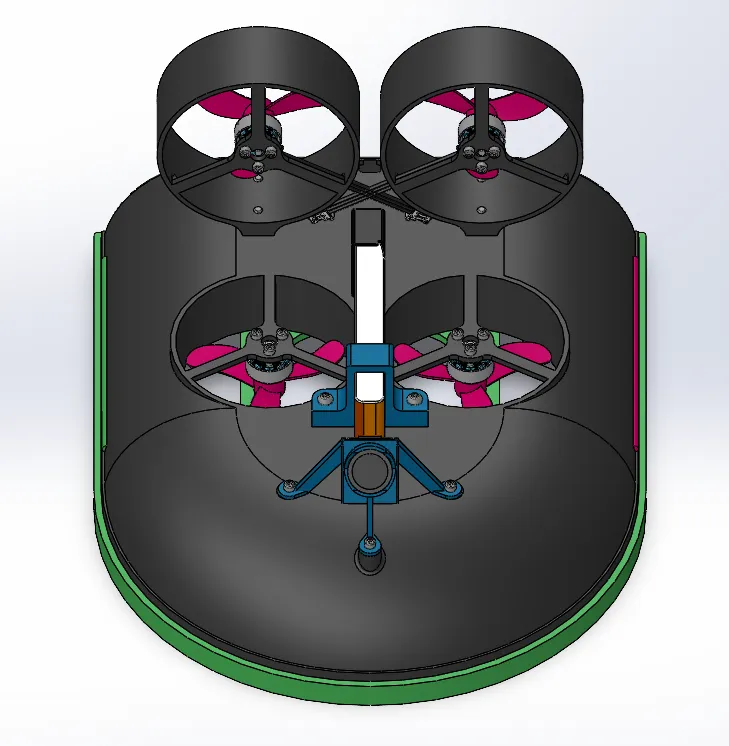
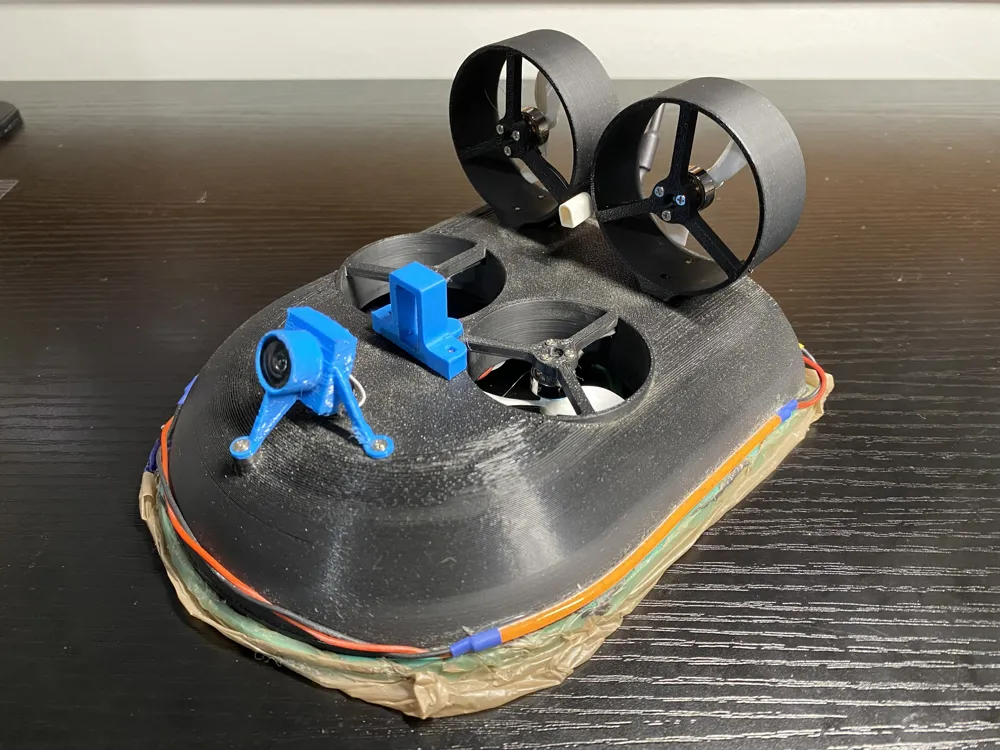
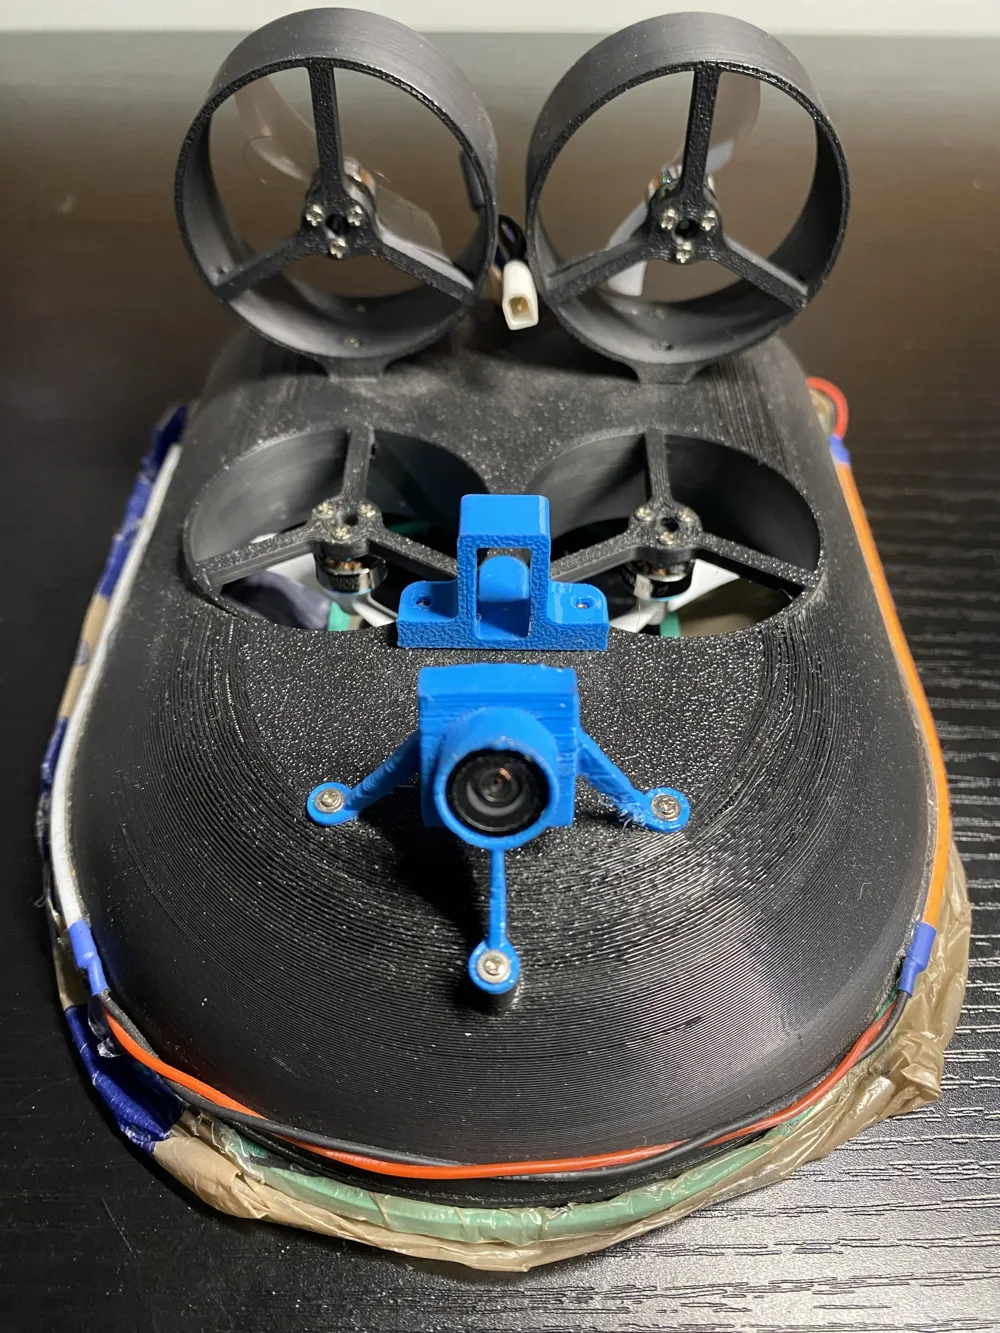
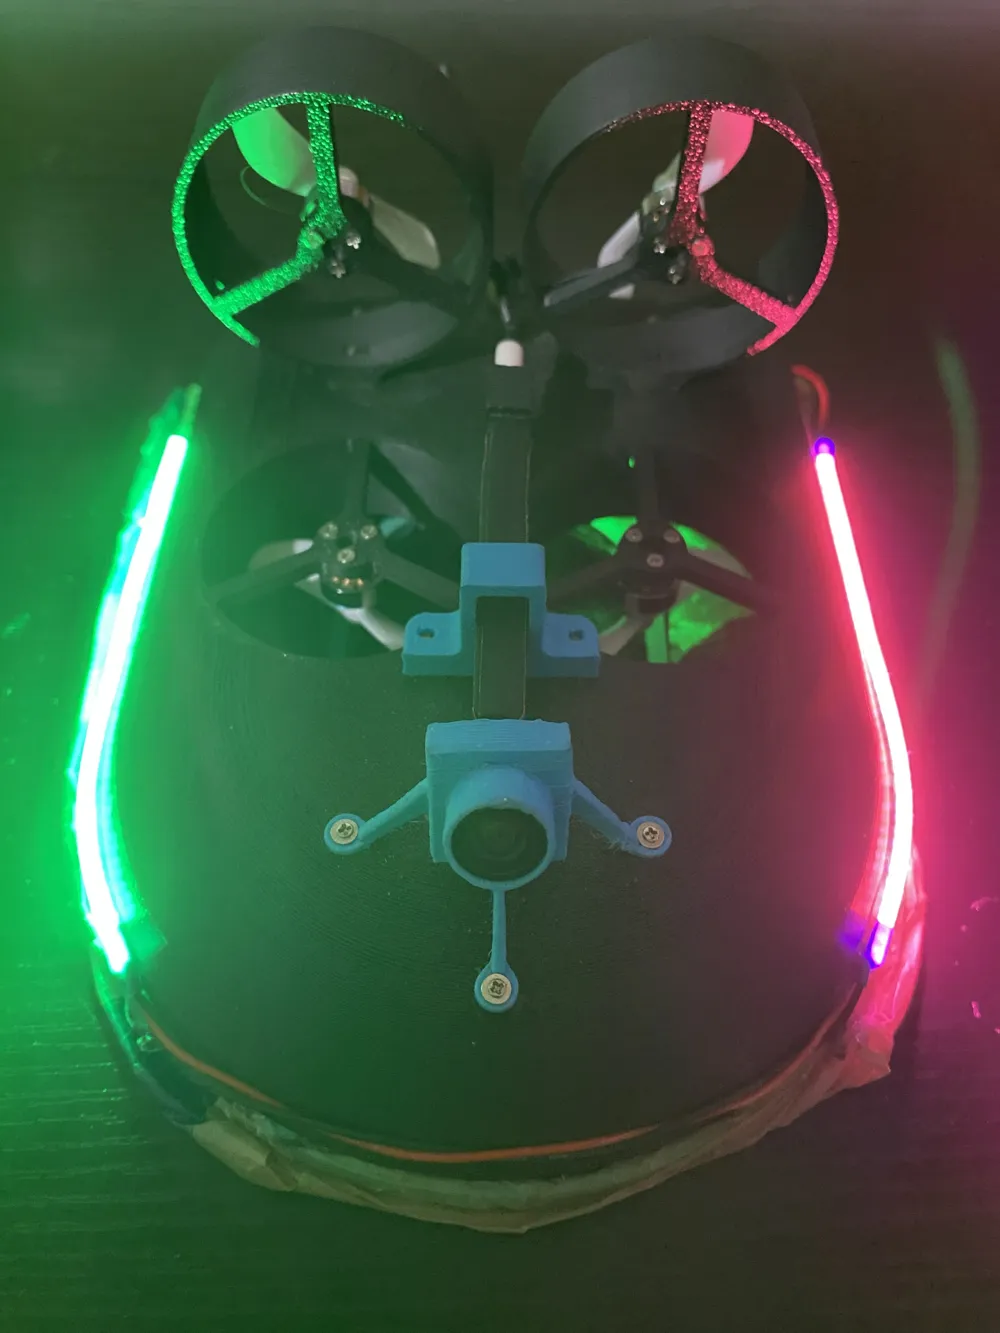
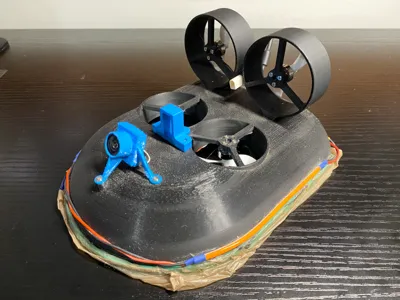
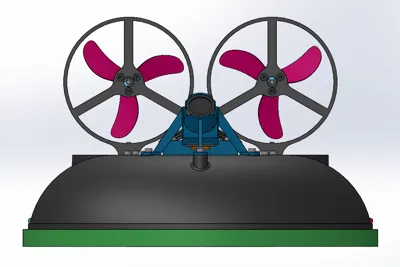
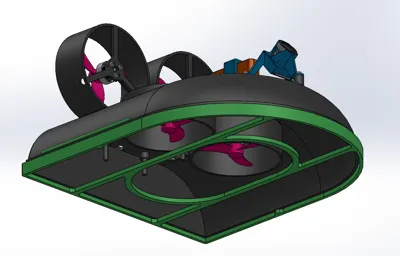
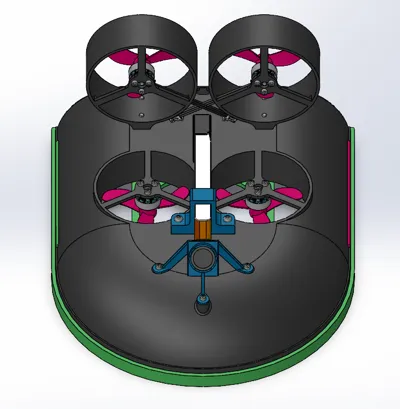
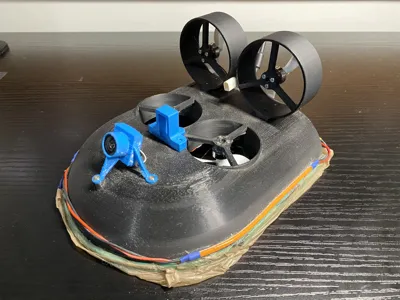
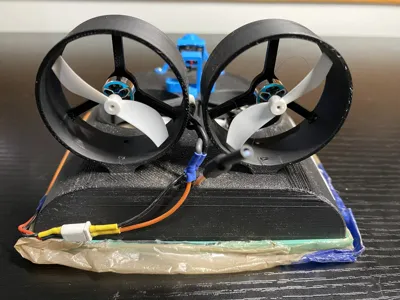
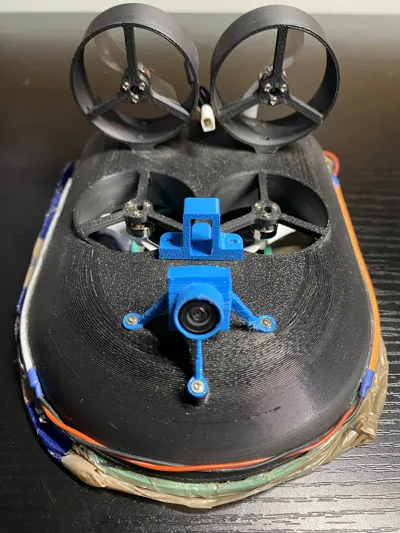
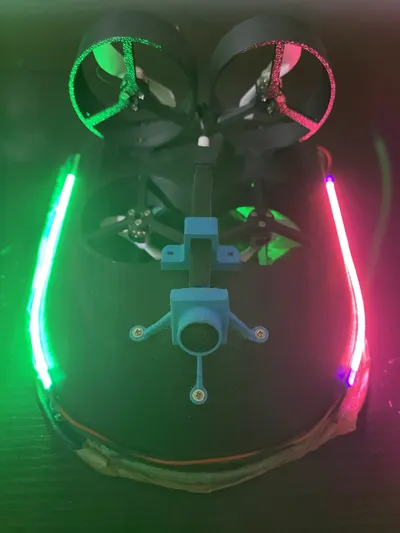
This is a simple kit to turn your 75mm whoop with 0802/1102 motors and 40mm props into a brushless FPV hovercraft powered by any 450mah 1S battery. This is the same concept as all Tiny Whoovers previously made, but adapts the frame to fit modern brushless electronics in 2025. (I made this because I really wanted a tiny whoover, but I didn't want to do it with shitty brushed motors and a Silverware board from like 2017).
This is just VERSION 1 so many things need working out still - the hardware works fine, but Betaflight is VERY poorly optimized for hovercrafts. At the bottom of this page, there is a Google Drive Link with a custom Hex file for the BetaFPV Cross F411 AIO as well as a CLI Diff all. Because getting the hovercraft to work requires a custom Motor MMIX that can only be done by directly editing the Betaflight source code, I recommend you use the BetaFPV Cross F411 AIO (https://betafpv.com/products/f4-1s-5a-aio-brushless-flight-controller-elrs-2-4g?srsltid=AfmBOopHpF86hnavsfoDWUYnI4R0ORLWtiwINDlGNM0QNbu2oNKTzxSl) as I already have that Hex file in the Google Drive link with the code changed. If not you will need to edit the Betaflight source code yourself for your own AIO and compile it yourself. I will explain more down below.
What you will need:
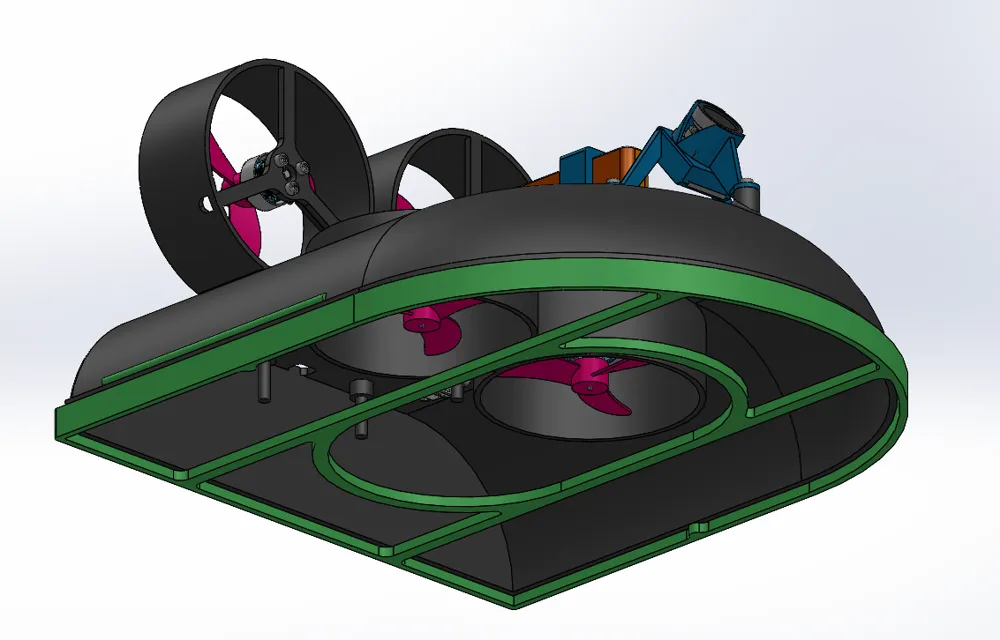
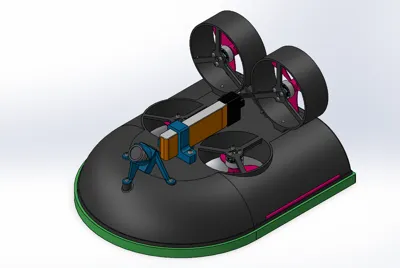
1x Shell (PLA/ABS/PETG)
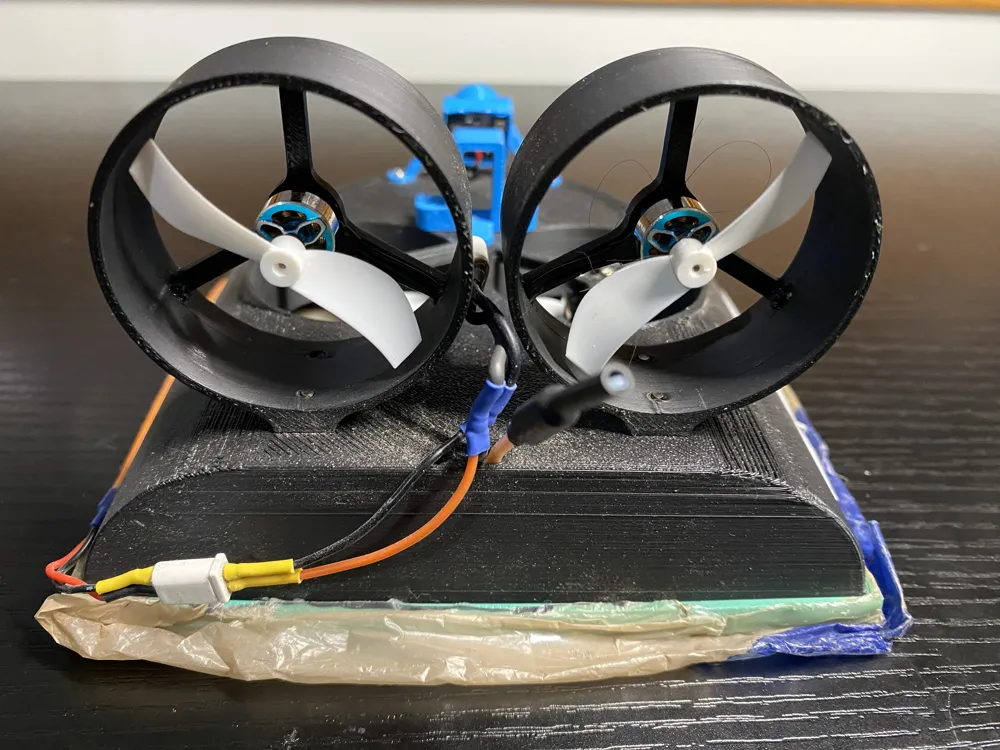
2x Pusher Mount (PLA/ABS/PETG)
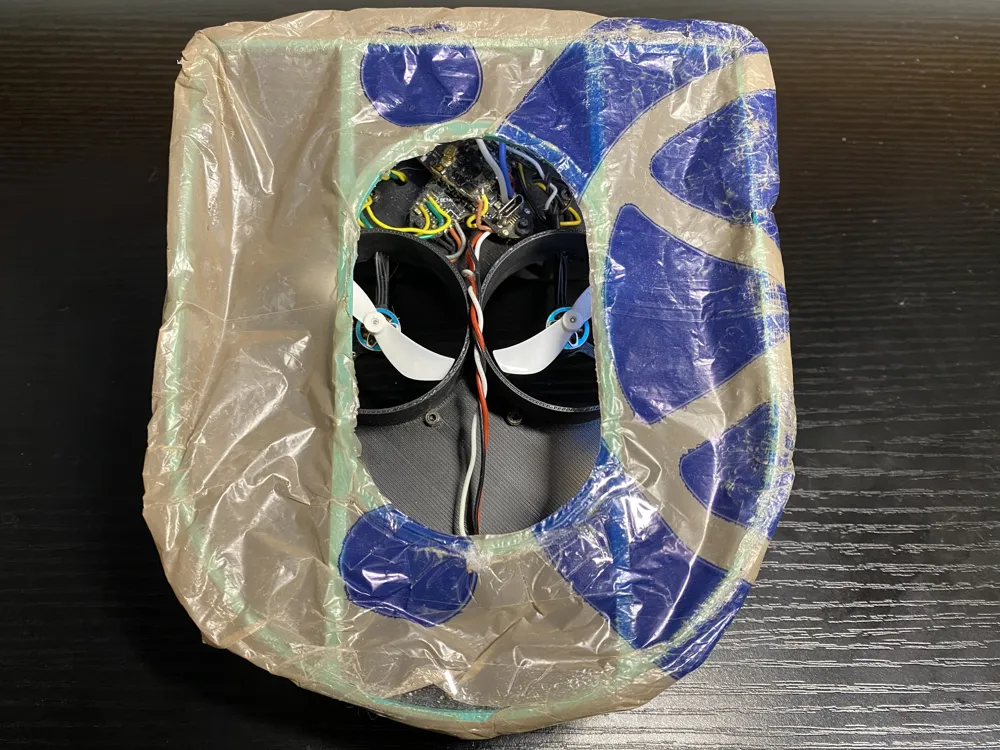
1 x Skirt (PLA/ABS/PETG)
1x Battery Holder (TPU)
1x Camera Mount, find and print your own, uses standard 25.5x25.5 Whoop Board Pattern (TPU)
1x 25.5x25.5 1S AIO FC/VTX/RX (Recommend BetaFPV F411 4in1 Cross Board AIO)
4x 0802 or 1102 Motors with 40mm props
12x M1.4 4mm screws (Reny/PEEK/Metal)
6x M2 6mm screws (any material)
1x 450mah 1S Battery (Betafpv Lava II fits best)
Steps for assembly:
1. Wire up the camera and power lead, passing them through the holes in the shell
2. Wire up the motors and screw on the pusher mounts
3. Screw in battery holder and camera mount
4. Configure Betaflight (work in progress)
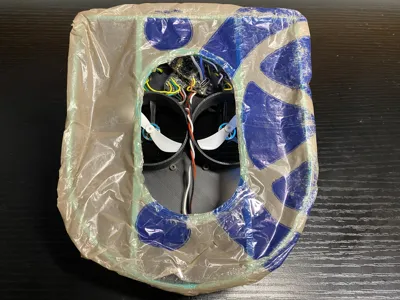
5. Build skirt with a plastic bag according to Peter Sripol's hovercraft video on YouTube
6. Software setup!
7. Control the lift motors with a knob (e.g. S1) and then use yaw and pitch to drive around. No throttle/roll needed
SOFTWARE setup
LINK TO NECESSARY HEX FILE AND CLI DIFF ALL: https://drive.google.com/drive/folders/1TxMpl-X8ZtRDocQl8vhzfRZH0YC-ydcG?usp=sharing
IF YOU WANT TO BUILD YOUR OWN HEX FILE, WHAT YOU NEED TO DO:
1) Change https://github.com/betaflight/betaflight/blob/master/src/main/flight/mixer_init.c
-Find the line that says if (customMotorMixer(i)->throttle == 0.0f) {
-Replace that line with if (i >= 4){
2) Change https://github.com/betaflight/betaflight/blob/master/src/main/cli/cli.c
-Find the line that says if (customMotorMixer[i].throttle == 0.0f)
-Replace that line with if (i >= 4){
3) Compile your HEX file
--
Why are we doing this?
-Because we need to apply this custom MMIX:
# mixer
mixer CUSTOM
mmix 0 0.000 0.000 0.700 0.500
mmix 1 0.000 0.000 0.700 -0.500
mmix 2 1.000 0.000 0.000 0.000
mmix 3 1.000 0.000 0.000 0.000
This custom MMIX is needed in order for the controller to IGNORE throttle for the lift motors.
In regular Betaflight you CANNOT ignore throttle for any of the motors - it will not let the mmix save.
However for our hovercraft, we NEED the lift motors to only respond to a knob input, indepedent of throttle.
Therefore, Betaflight must be MODIFIED to allow this!
Read up more on https://betaflight.com/docs/development/Mixer to understand!
CHEERS -Werdna FPV
License

You may create derivative works based on this object, provided that all such derivative works are published exclusively on the MakerWorld platform and include proper attribution to the original creator. You may not share, upload, host, distribute, or publish this object—or any derivative work of this object—on any other digital platform, marketplace, or distribution channel. Commercial use of this object and any derivative works is strictly prohibited. This includes, but is not limited to, selling, renting, sublicensing, or using the object in any context in which you receive monetary compensation or other financial benefits.


Comment & Rating (2)